Play it again, Kid: Upcycled Vintage Jaymar Kids Piano

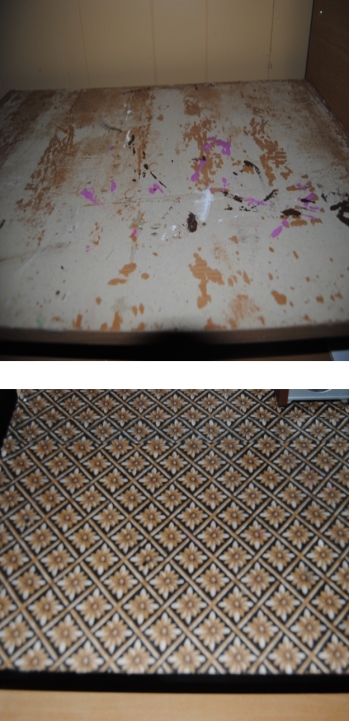
When I take a trip to an antique shop or thrift store, the thing I enjoy the most is the element of surprise.  Sometimes I come away with nothing and other times when I least expect it I find something rare.  Speaking from experience antique shops tend to have pieces that are in better physical condition. Thrift stores such as Goodwill often times are stocked with basement throw aways and estate sale clean-ups.  Many of these items are not well cared for and in some cases downright abused.  I have come across items that I wanted to rescue, but I felt with my skill level I could not save them.  It always leaves me with mixed emotions.  On this day I was about to leave the store.  The husband and I have been regularly stopping in searching for a vintage rotary phone.  Not only have I always wanted to upcycle one of these phones, My husband and I love the loud ring it produced from our childhood memories.  We have missed many calls at home unable to hear our landline phone ring if we are in a certain part of our house. Upon taking one last stroll through the cluttered furniture aisle, my eyes wandered and there it was staring back at me! It seemed too good to be true: a vintage Jaymar Kids Piano. The toddler apprentice and I had been out shopping last year around Christmas at The Christmas Tree Shop, and stumbled upon an adorable kids baby grand piano.  She loved playing it and I could barely peel her off it at the store.  The price tag was a bit hefty weighing in at $89.99.  When we left the store without it,   I couldn’t get that little piano out of my mind and finding the vintage Jaymar at Goodwill seemed a bit like the product of fate. As with any upcycling story there are challenges to be faced and this adorable piano was no different.  The wood in many places was peeled away, It had its share of loose nails, and a large crack spreading across the base and back of the piano.  Incredibly, all the white keys worked perfectly and all, but one of the black keys worked perfectly.  The plastic keys were more yellow than white as is what happens to plastic stored under certain conditions with age.  It did not have a price tag so I took it up to the associate at the register. Even in rough shape I was surprised it was priced at a mere $5.99!

Vintage Kids Jaymar Piano Est 1960's

I snatched it up and brought it home.  I may not have found the rotary phone that I was searching  for that day, but I was surprised and delighted to find the piano.

Despite its charms, I knew very little about the toy.  I grabbed my laptop and did some research.  Thanks to Old Wood Toys.com  I was able to read about the history of the Jaymar company.  The toy company produced wooden novelty trinket toy through World War II.  After the war the company exclusively produced kids pianos and puzzles.  The company officially closed it’s doors in 1990. When I searched on Ebay, there were a few for sale, many of them in rough shape with price tags ranging from $39.99-$89.99.  On most, keys were broken. I concluded I had gotten a very good deal on this toy!

Jaymar Kids Piano

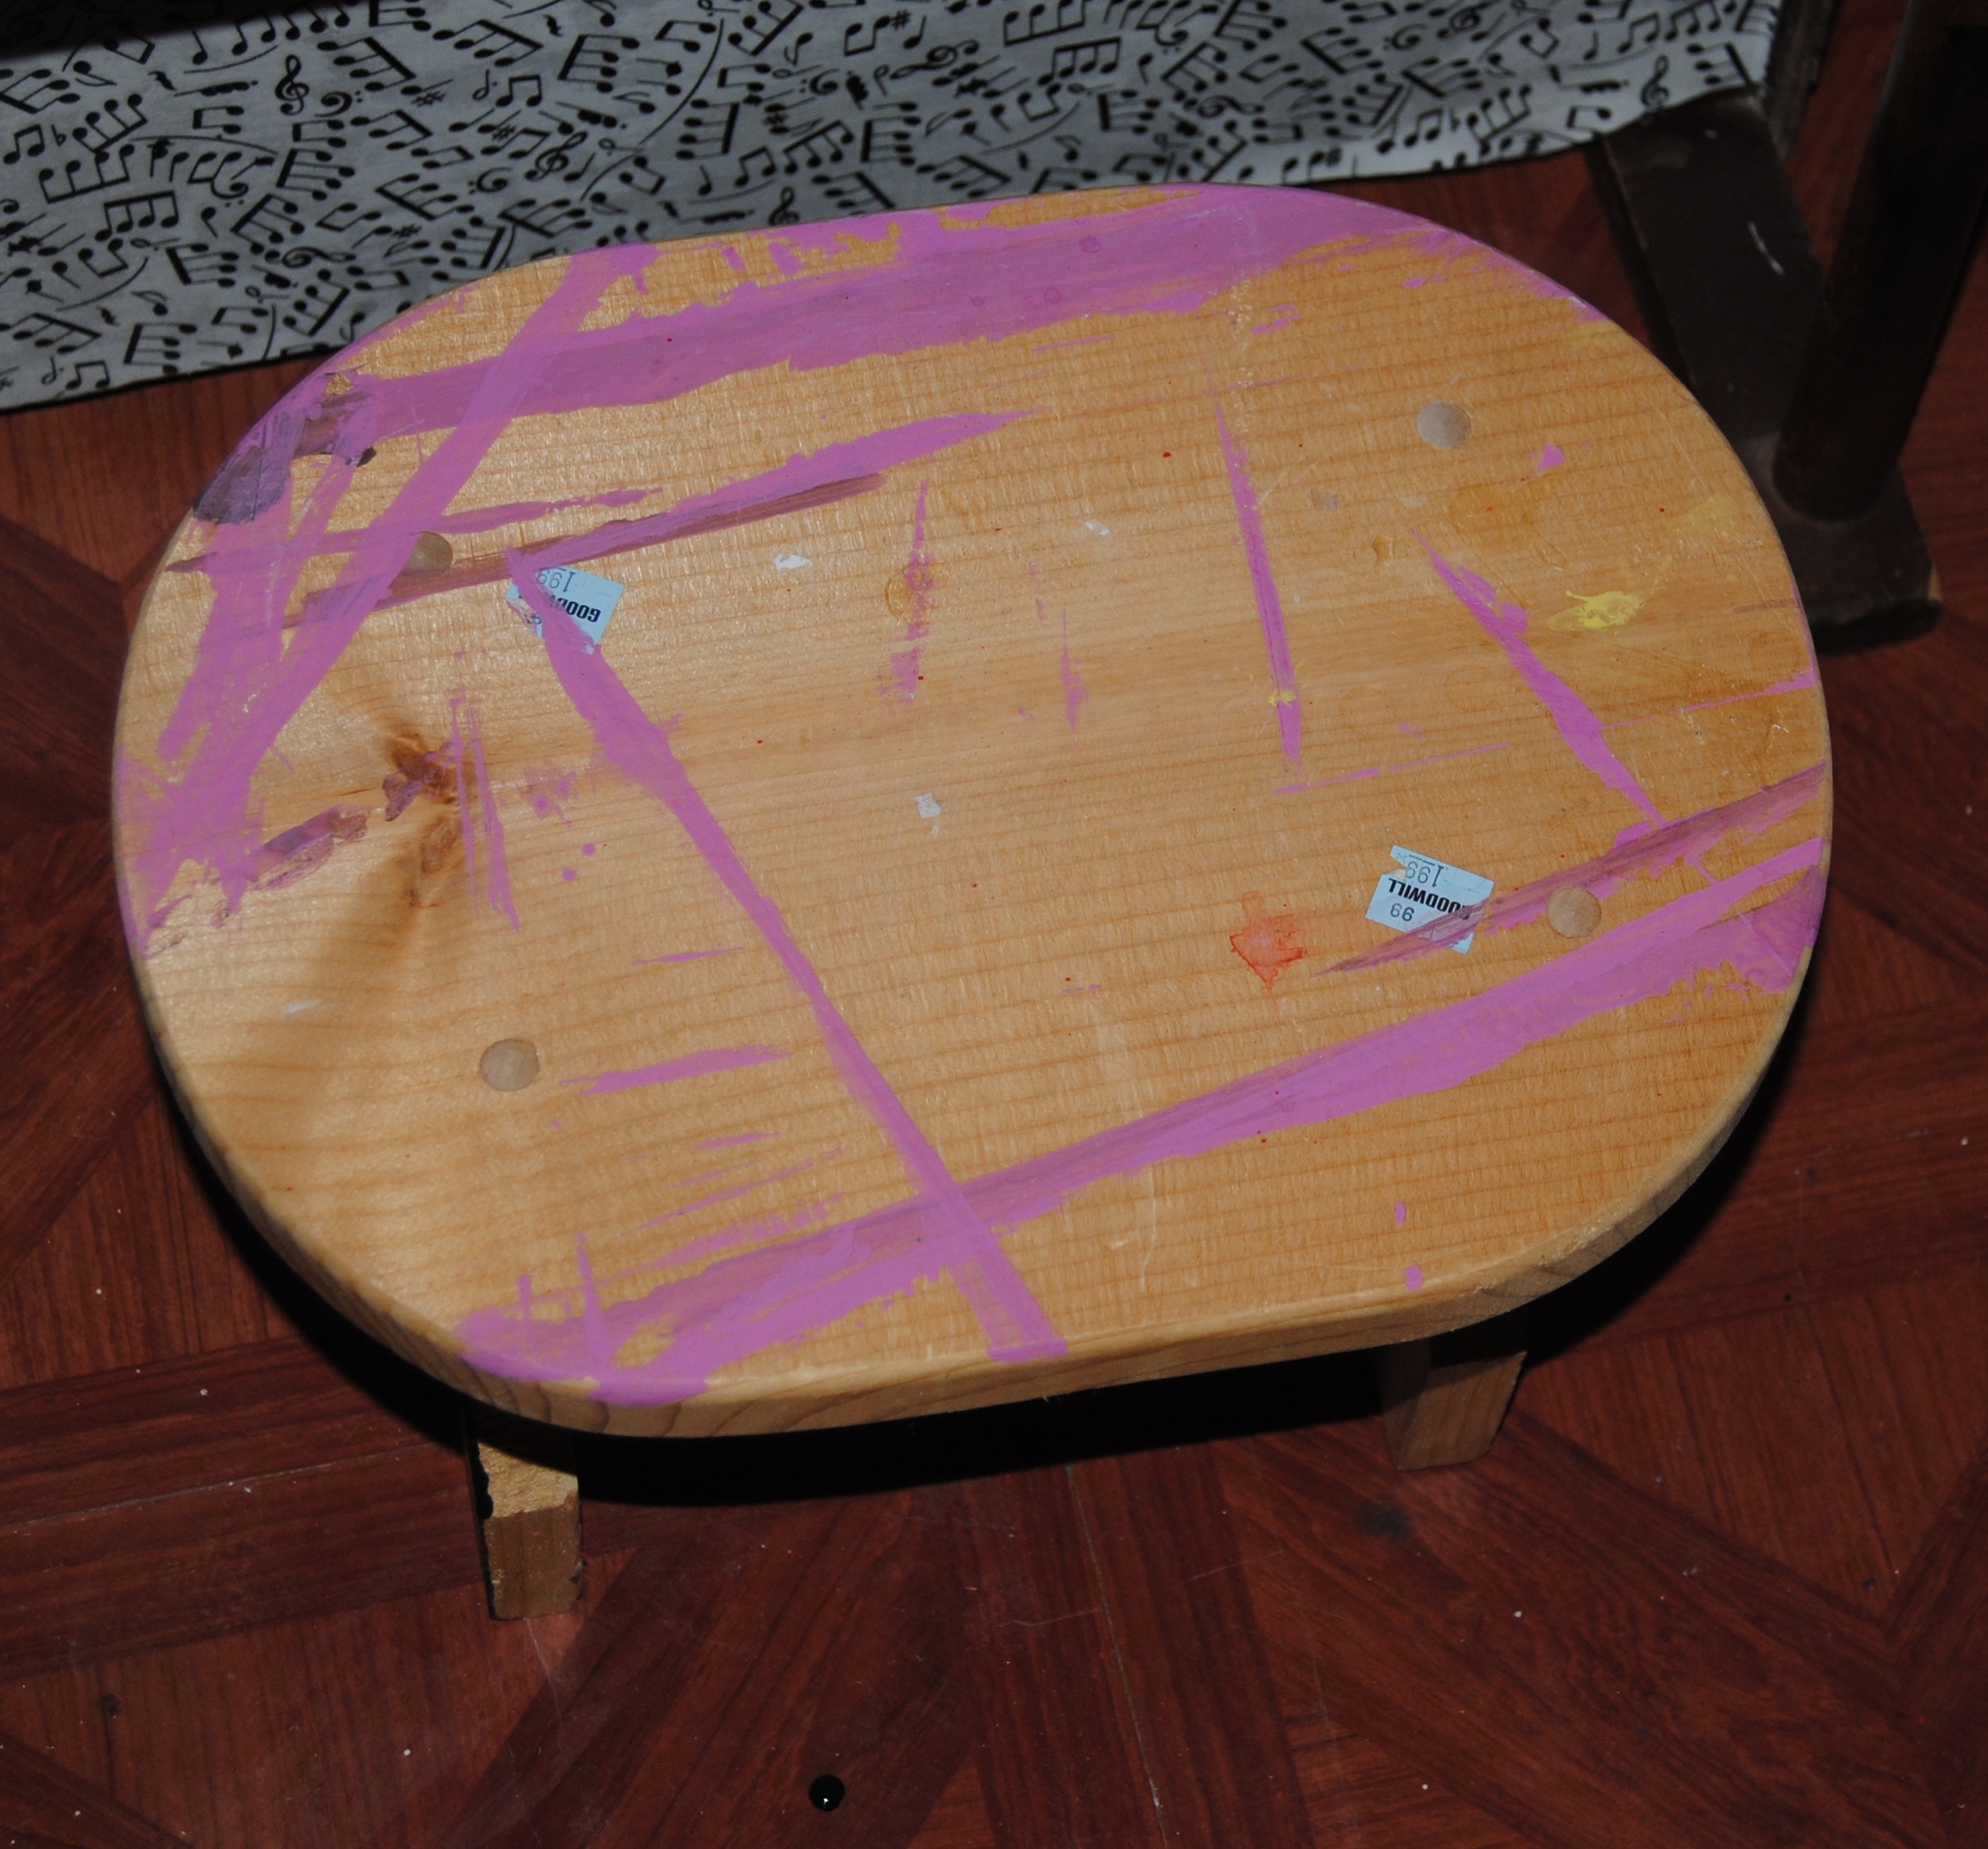
Since the piano did not come with a bench, I had a kids unfinished step stool that I thought would repurpose and stand in nicely as a piano seat.

Unfinished Step  Stool

I decided the cracked area of the piano would benefit from decoupage.  I believed the Mod Podge and fabric would reinforce the cracked wood and prevent it from spitting further.  I chose black and white music note fabric from Joann Fabric.  I used a white brush on acrylic primer to paint the entire piano after cleaning it thoroughly with a damp cloth.  I measured the area I wanted to decoupage and cut a piece of fabric to fit.  Once the paint was dry, I applied Mod Podge generously to the cracked area underneath with a foam craft brush, and carefully applied the fabric smoothing it put with my hands.  Once dry, I applied three more coats of Mod Podge over top of the fabric allowing it to dry between coats.  I then painted the entire piano with several coats of black acrylic paint with an appropriate sized paint brush.  I painted parts of the piano white for emphasis.  While the piano dried between coats, I worked on repurposing the step stool into a piano seat.  I traced the seat surface on to the back of the music note fabric with a pencil.  I cut out the fabric with scissors and placed it aside.  I painted the entire chair black except for the seat which I planned to decoupage with fabric. Once dry, I applied Mod Podge to the seat and applied the traced fabric.  I applied three coats over top of it to seal it.  Once the Mod Podge was dry I used a Polyurethane clear semi-gloss sealer to add a final protective coat over the piano and the piano chair.

Upcycled Vintage Kid's Piano

The one frustration with this project was the yellowed plastic piano keys.  I would have preferred a method to whiten them, but after doing some research decided not to mess with the patina on the keys.  I have read everything from sanding the keys with fine sandpaper or cleaning them white toothpaste.  In the end, I decided the risk of damaging the function of the piano was too great and simply used the corner of a Magic Erasure pad to throughly clean the keys.

Play it again kid, restyled kids piano


Have any safe plastic whitening tips?  I would love to hear them!

Materials used:

Black and White Acrylic Paint

White Acrylic Primer

Large and Small Paint Brushes/Foam Craft Brush

Mod Podge

Polyurethane Clear Sealer

Fabric Of Choice

Scissors

Wet Cloth or Magic Erasure Pad for cleaning

Kids Piano/Kid Step Stool (for seat)


Repurpose and Remember: Ideas for The Backyard

This weekend officially kicked off the start of summer in our household.  On Saturday, we celebrated our daughter’s 3rd birthday with a small family BBQ.  I am usually big on party planning, but this time I was forced to pull it all together last-minute.  This week has been hectic to say the least, as our daughter also started Preschool.  I am happy to report that things went well and the only tears shed were our own!  She handled going to school and riding the bus with ease and excitement, and asked us several times throughout the weekend if she was going to school!  Mission accomplished!

On Sunday, the hubby and I decided to do something we rarely get a chance to do:  Enjoy our backyard.  I like to think of our outdoor area as an extension of our indoor living space, but we very rarely get to relax and enjoy it together.  This weekend, with the holiday in full swing we decided to enjoy some time outside.   Sunday night in our area was absolutely beautiful.  No mosquitos and a cool evening breeze tickled the trees.  It was the perfect evening to sit and enjoy what Mother Nature had to offer. We put the little one to bed,  hooked up the monitor outside to listen for her, and  we lit a fire in our outdoor fireplace, sat back and enjoyed a relaxing much-needed evening together.

DSC_0322

I thought I would share some simple ideas to creating the scene for a relaxing evening at home.  Kudos to my husband, who came up with a simple but very useful idea.  A popular item at kid’s parties are glow sticks and bracelets. The sticks that continued to glow, he used to line our back porch stairs.  Not only did it look cool, but helped us navigate the stairs safely in the dark.

Glowsticks

Over the years we have received quite a few decorative candle holders as gifts.  As much as I would like to display each and every one in our home, there just isn’t enough wall space.  This particular gifted item was originally a decorative fireplace screen that was also a candle holder.  Although it was a lovely idea, we could no longer safely use it with our three-year old.  I decided to repurpose it as an outdoor wall hanging.  I attached it to our patio area wall with screws and used flameless tea lights to illuminate it.  It adds a festive and romantic feel to our seating area, and was a great way to repurpose an old decoration previously destined to attic exile.

DSC_0305

DSC_0304

I have always been a fan of the neighborhood Dollar Store.  Dollar Tree in particular has some great affordable decorations.  Patriotic decorations are no exception.  Since our daughter’s party is held close to the Memorial day holiday, I always incorporate patriotic decorations with her birthday décor.  I picked up these great round paper patriotic decorations.  Dollar tree sells a version of these that light up online, but the ones that I purchased did not.  To remedy this I added flameless battery operated tea light to illuminate them.  This added such a lovely look.  Battery operated tea lights are a great way to add decorative lighting without the dangers.  Having a three-year old roaming around, open flame candles and tiki torches become a hazard.  Despite this I still love the look and feel of luminaries and this is a great way to enjoy them without the danger.

DSC_0332

When my husband and I sat back and soaked it all in, we spoke of, and were thankful for all the men and woman who sacrifice so much to protect our freedoms.  If it wasn’t for these sacrifices, we would not be able to have moments like these.  Thank you to all those who have sacrificed so much so we can live in freedom and have a quality of life that we often take for granted.

Remember

If I Only Knew Their Names

For a junior genealogist like myself, who enjoys prying into the previous lives of my ancestors, discovering a new name to add to my family’s growing tree is a feeling like no other.  It gives an identity to those previously unknown.   A researcher is doubly blessed if they are lucky enough to posses actual photographs of their ancestors and can add a face to a name. Such photographs also document the history of early photography and add an extra layer to the family story.  For me peering into the eyes of an ancestor adds an even bigger excitement and vintage photographs are genuine gifts.  Last year I attended a lecture given by photo detective Maureen Taylor.  I find it amazing that if you know what you are looking for a picture surely does speak a thousand words, but for me it is not always easy to hear them! Picking up visual cues in old photo’s is a welcomed challenge for me. I am lucky enough to have some vintage family photographs from my mother’s side of the family, but I am also unlucky to have so many unidentified photographs that remain “nameless”  Many of the photo’s were marked in ink but the author referred to them as “sons and daughters of” only deepening the mystery of these lost family members and friends.  I thought I would share some of these faces with you today, in the hopes that my fellow photograph detective’s might be able to catch some clues.

John Plummer's daughter #1

This is a photograph of my 3rd cousin (daughter of my great grandmother’s brother) I love the flapper style of clothing which would date the photograph to about the 1920’s. If I knew enough about cars, I could probably learn a lot about the photo from the car parked in the background.  I am of course intrigued by the tropical looking trees.  This family was from England, but this photograph may have been taken on a holiday.

John Plummer and Family2

My Great,Great Uncle John Plummer ( pictured above center)  is the father of the My unknown 3rd cousin.  This photograph was simply marked “brother John family and friends.” The mountains in the background offer beauty, but not many clues as to location.

I wish I knew

Finally, this photograph was found with the same book of photo’s.  This appears much younger than the rest and is one of few color photographs in the album. “The Mad Men” clothing style and home interior give this photograph an early 60’s feel.   After that, this photo and all those in it are a complete mystery, and I will be honest, I didn’t notice the dog….until now.

Do you have any mysterious family photographs?  Do you find photographs to be an exciting tool for genealogists?  I would love to hear from you!

Bed Skirt Craft Table Makeover

May is turning out to be a rather hectic month.  My daughter’s 3rd birthday is just around the corner, not to mention she is about to start pre-school for the first time next week.  At the risk of sounding cliché, time is flying by and filled with things to do, forms to sign, and errand filled lunch breaks.   Despite this, I have been busy working in the background on a few projects though at a slower pace than usual.  One of these projects was resurfacing my craft table and organizing the space. Despite my best efforts, my craft room has become a cluttered nightmare of various holiday decorations, toys and kids clothes which never made their way up to the attic.  I was once again determined to clean it up and work on the craft table.

Craft table has seen better days


This old desk top computer table had seen better days but worked well as a crafting table. Of course a table used for this purpose is going to bare the scars of crafting, but I had a lot of left over fabric from an old bed skirt that I had used for a few previous projects. The pattern and color scheme also happened to match the room nicely.  I cut two pieces of fabric to fit over the table surface.  I applied Mod Podge generously with a foam craft brush.  I carefully applied the fabric to the table surface creating a seam to connect the two pieces together.  I then applied Mod Podge to the top of the fabric.

DSC_1529

I applied several layers of Mod Podge allowing it to dry clear between coats. I painted the areas I could not decoupage black.  Once it was dry it created a workable surface that was much more attractive than before.

craft table resurface before and after

Table Before and After

Craft room shot

Craft Room Shot featuring “On The Upcycle” Projects  

Getting better with organization Lets hope I can keep it that way-Finally!

Mod Podge Your Cottage: Window Sills Accented With Fabric

One of the features I loved when we first saw our house was our front living room window. It was a large half hexagon shape with a deep window sill.  It is a nice accent area, and fun to decorate during the various holidays.  During other times of the year our Tiffany knock off lamp illuminates the window and the front of the house outside. Our cat loves to climb in and chase after various bugs who find themselves unlucky once he discovers them. It is also the perfect spot to place my stereo cabinet, which also acts as a nice window seat.  The downside is the ledge often gets dirty and is difficult to keep clean. I also wanted to add an accent and brighten the dingy white paint that constantly needed a touch up. I thought decoupage would be a nice option here. I had used a similar technique in a previous project Decoupage Mania Restyling your home with Mod Podge.  For that project I used scrapbook paper to cover a built-in wall vanity.  I decided to use fabric on this window sill project due to more decorative variety and the larger project area. Our living room is a neutral sandstone color and I chose a neutral flower pattern.  The advantage of using fabric makes it easier to remove if you want a change the look as opposed to using paper which tends to tear apart when you attempt to remove it.

I used a magic erasure to thoroughly clean the area before getting started.

DSC_0167

I cut two pieces of  fabric and lined up the images to create a seamless appearence in the middle of the sill.  The best part? The cut fabric doesn’t have to be perfect. Once the Mod Podge dries it is stiffer and easier to trim with a box-cutter knife.  Any excess fabric can be removed later.  I applied Mod Podge with a foam brush and placed the fabric over top.  I then applied Mod Podge over the top of the fabric.

DSC_0170

I allowed the Mod Podge to dry, trimmed away any excess fabric with the knife and applied an additional layer of Mod Podge over top and around the edges.

DSC_0171

Once dry, Mod Podge leaves a nice, clear protective and easy to clean surface.  It also adds a decorative touch in any room.  The styles of fabric and possibilities are without limits, and suddenly I have to urge to do more decorative sills throughout the house!

DSC_0193


Finished Decorative Fabric Decoupage Window Sill

DSC_0194


Neutral Floral Pattern-Fabric Purchased at Joann Fabric


DSC_0195


Materials:

Mod Podge

Fabric

Foam Brush

Box Cutter Knife