Made in the Shade-Lamp Shade Fabric Restyle

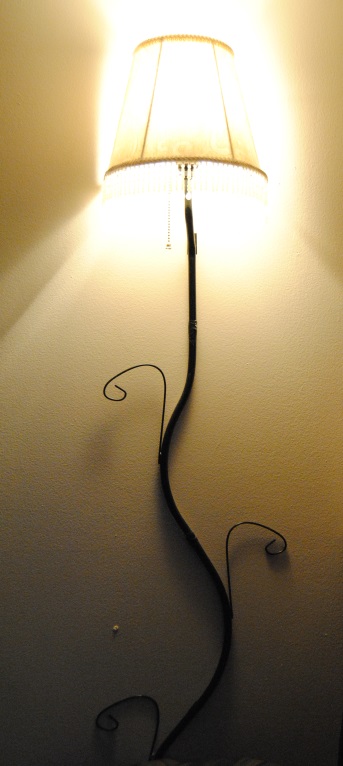
Many years ago, my mom gifted me a stylish lamp that she no longer had a use for.  I am a big  fan of decorative lighting, so I was happy to have it.  The lamp attached directly to the wall, so it was also a wonderful space saver.  The decor of the lamp was fairly neutral, so it fit most of my living room design changes through the years.  The lamp shade was a cream color with hanging beads along the shade rim.

wall lamp

For a long time, I had wanted to try a lamp shade decoupage, and I felt this would be the perfect lamp for my first attempt.  I had some smaller pieces of black and white damask fabric left over from several previous projects.  These projects were:  The Broken Chair ChallengeYou Had Me At Half Table, and Vintage Sewing Box (Just to name a few)

Upcycled chair with half moon table

Keep in mind, if you plan on restyling a lamp shade it is important that the shade is light in color, and there are no dark designs on it.   Otherwise, when the shade is illuminated the previous pattern will show through the new fabric.

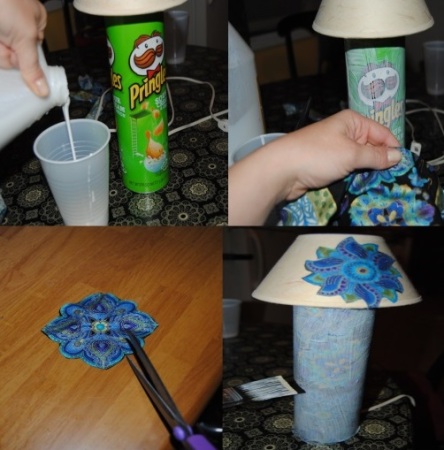
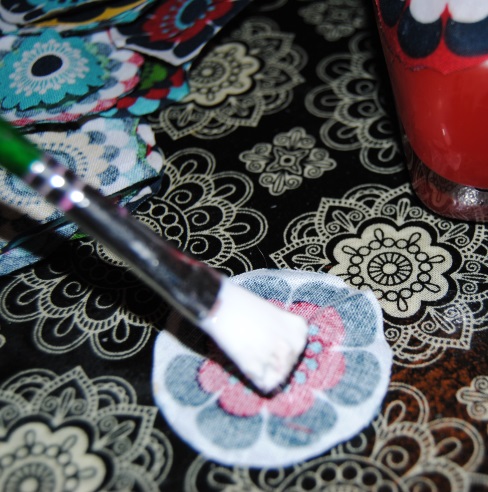
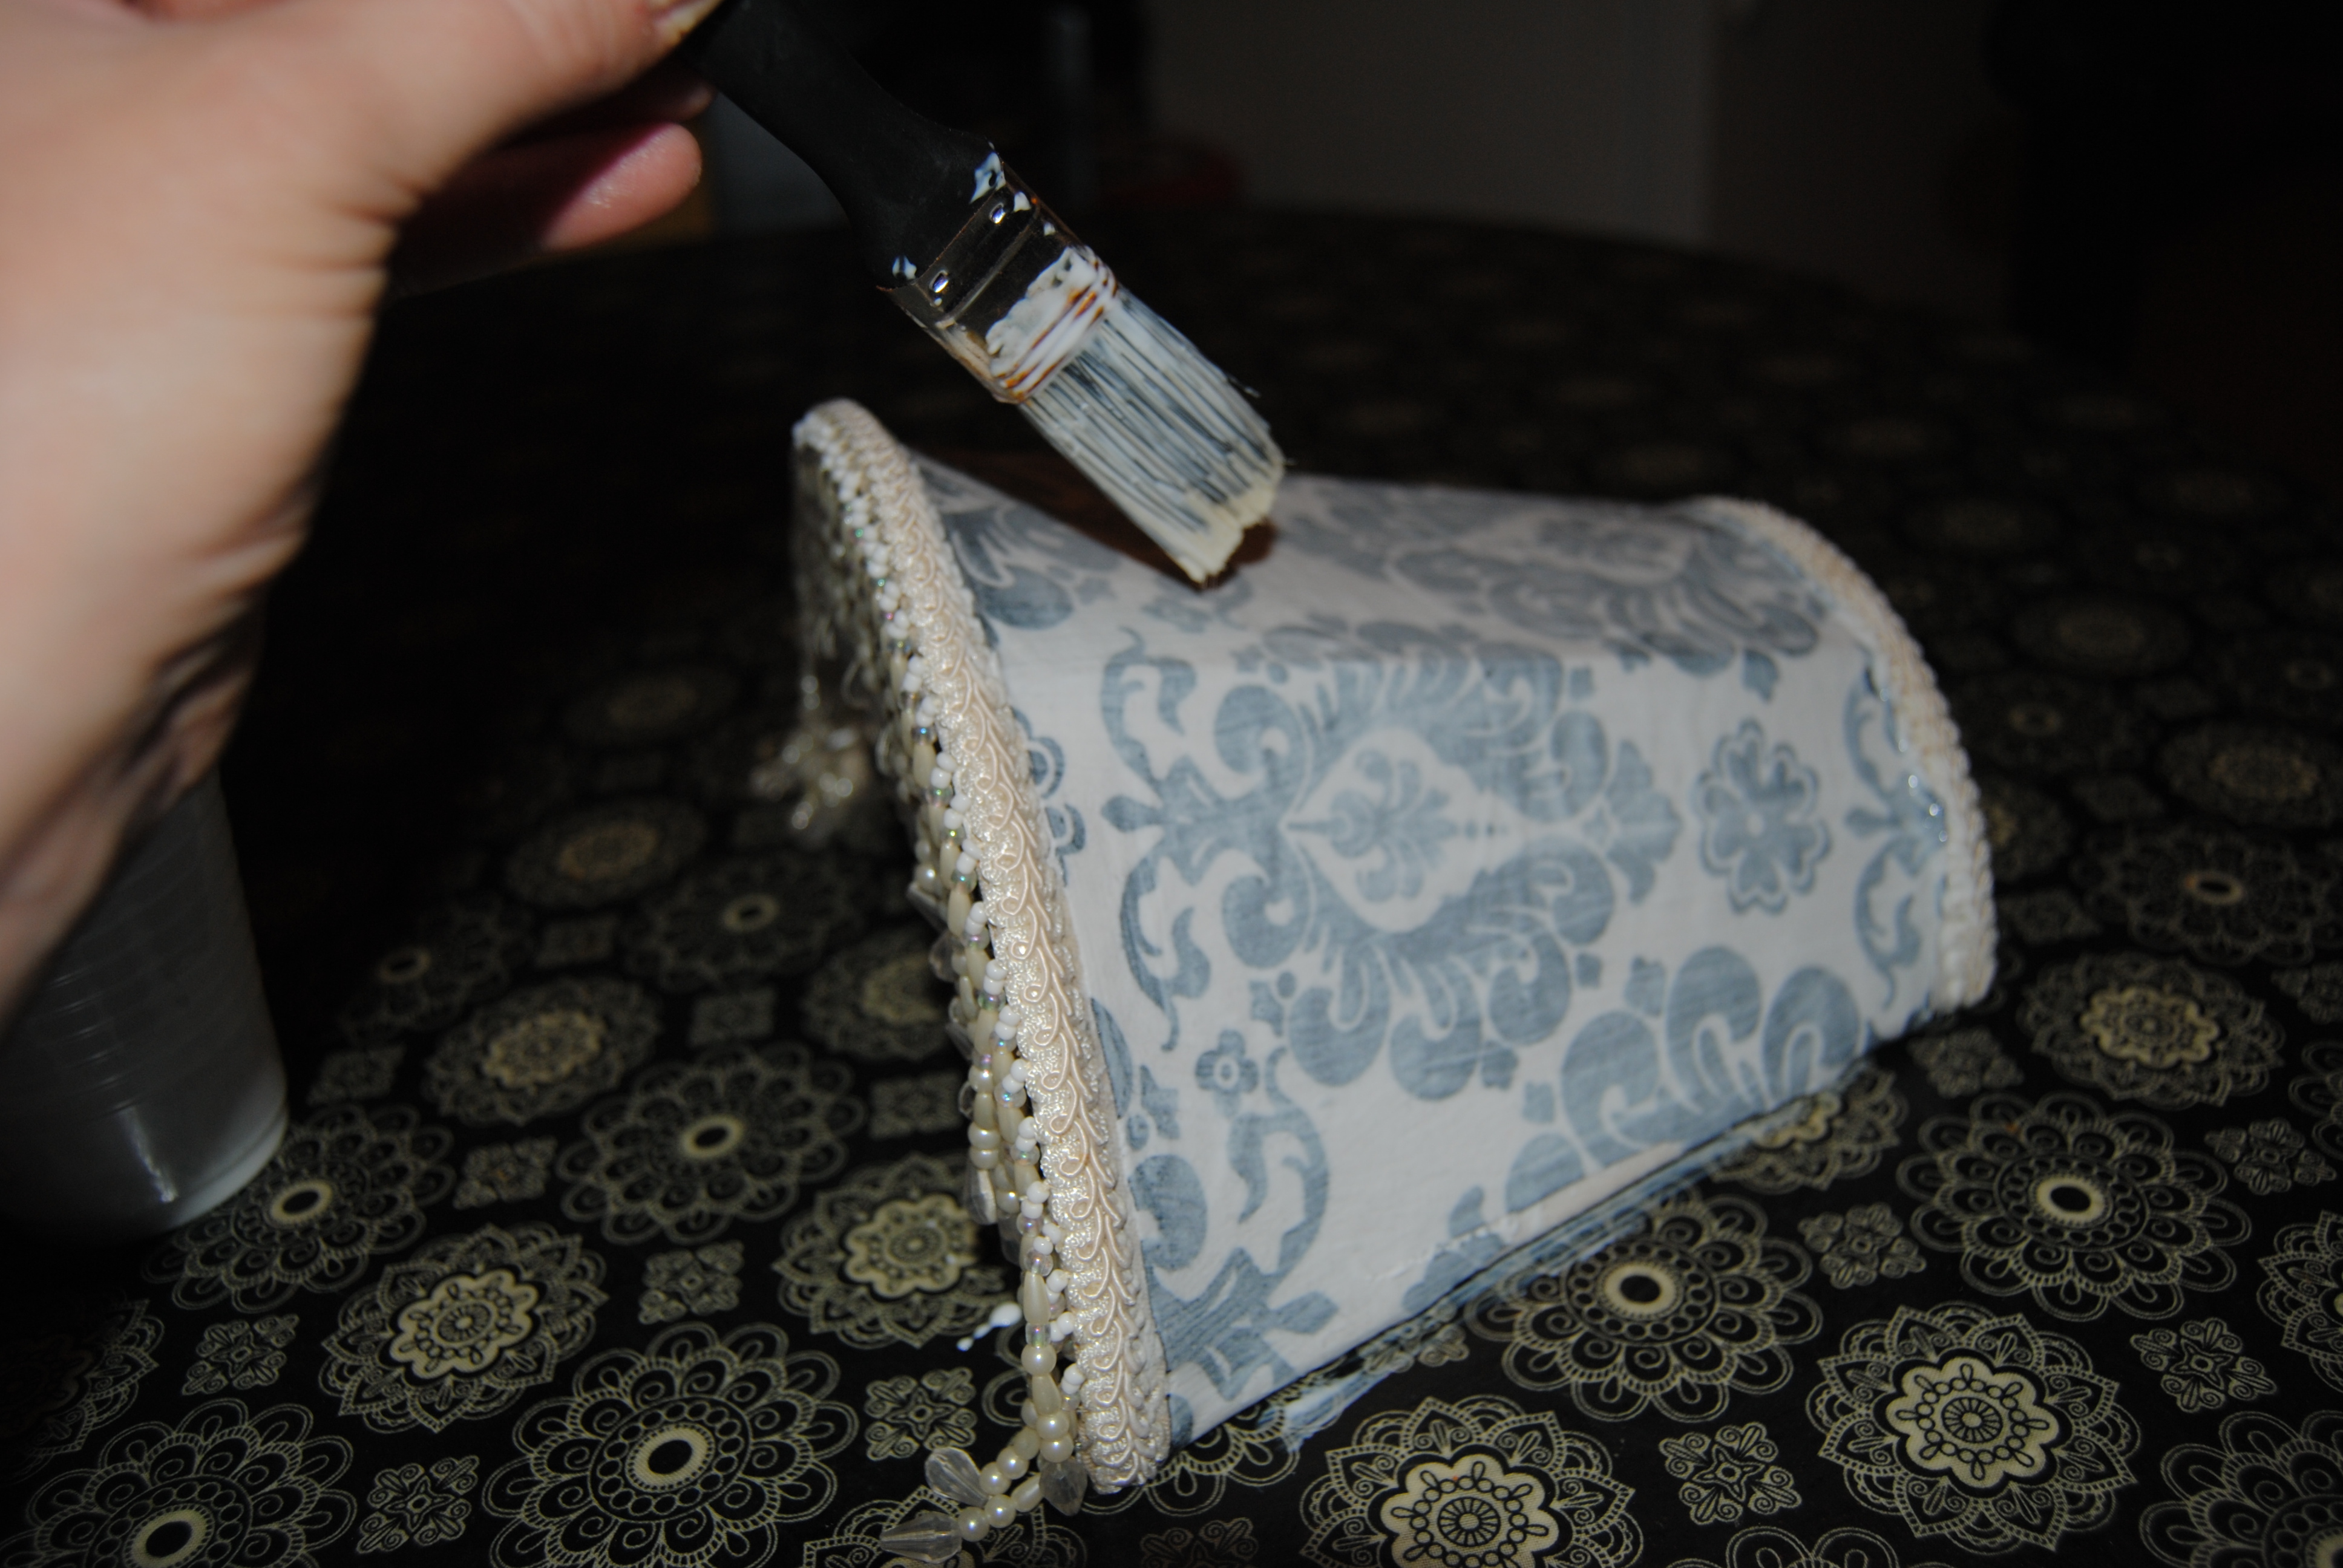
Before getting started, I removed the shade from the lamp and gently cleaned it with a damp cloth.  It is important to remove any dust and dirt from the shade before applying the Mod Podge.  Once this was complete and the shade was dry, I generously applied Mod Podge to the outside of the shade with a broad paint brush.


DSC_0721

I then placed a piece of the damask fabric over the lamp shade smoothing it out carefully with my hands to avoid wrinkles.  Since fabric is being applied to cloth, it is important to apply enough pressure so that the fabric adheres well to the shade.

DSC_0720

I placed the shade in front of the fan so that it would dry quickly.  Once this step was complete, I applied a generous amount of Mod Podge over top of the fabric.  I allowed it to dry thoroughly between coats, adding three coats of Mod Podge in total.

DSC_0726

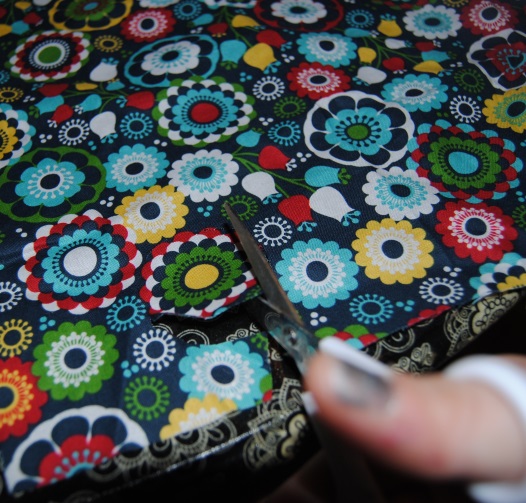
Once the shade was completely dry, I carefully trimmed away the excess fabric with a pair of scissors, and added additional Mod Podge along the edges of the fabric.

Restyled Fabric Decoupage Lamp Shade

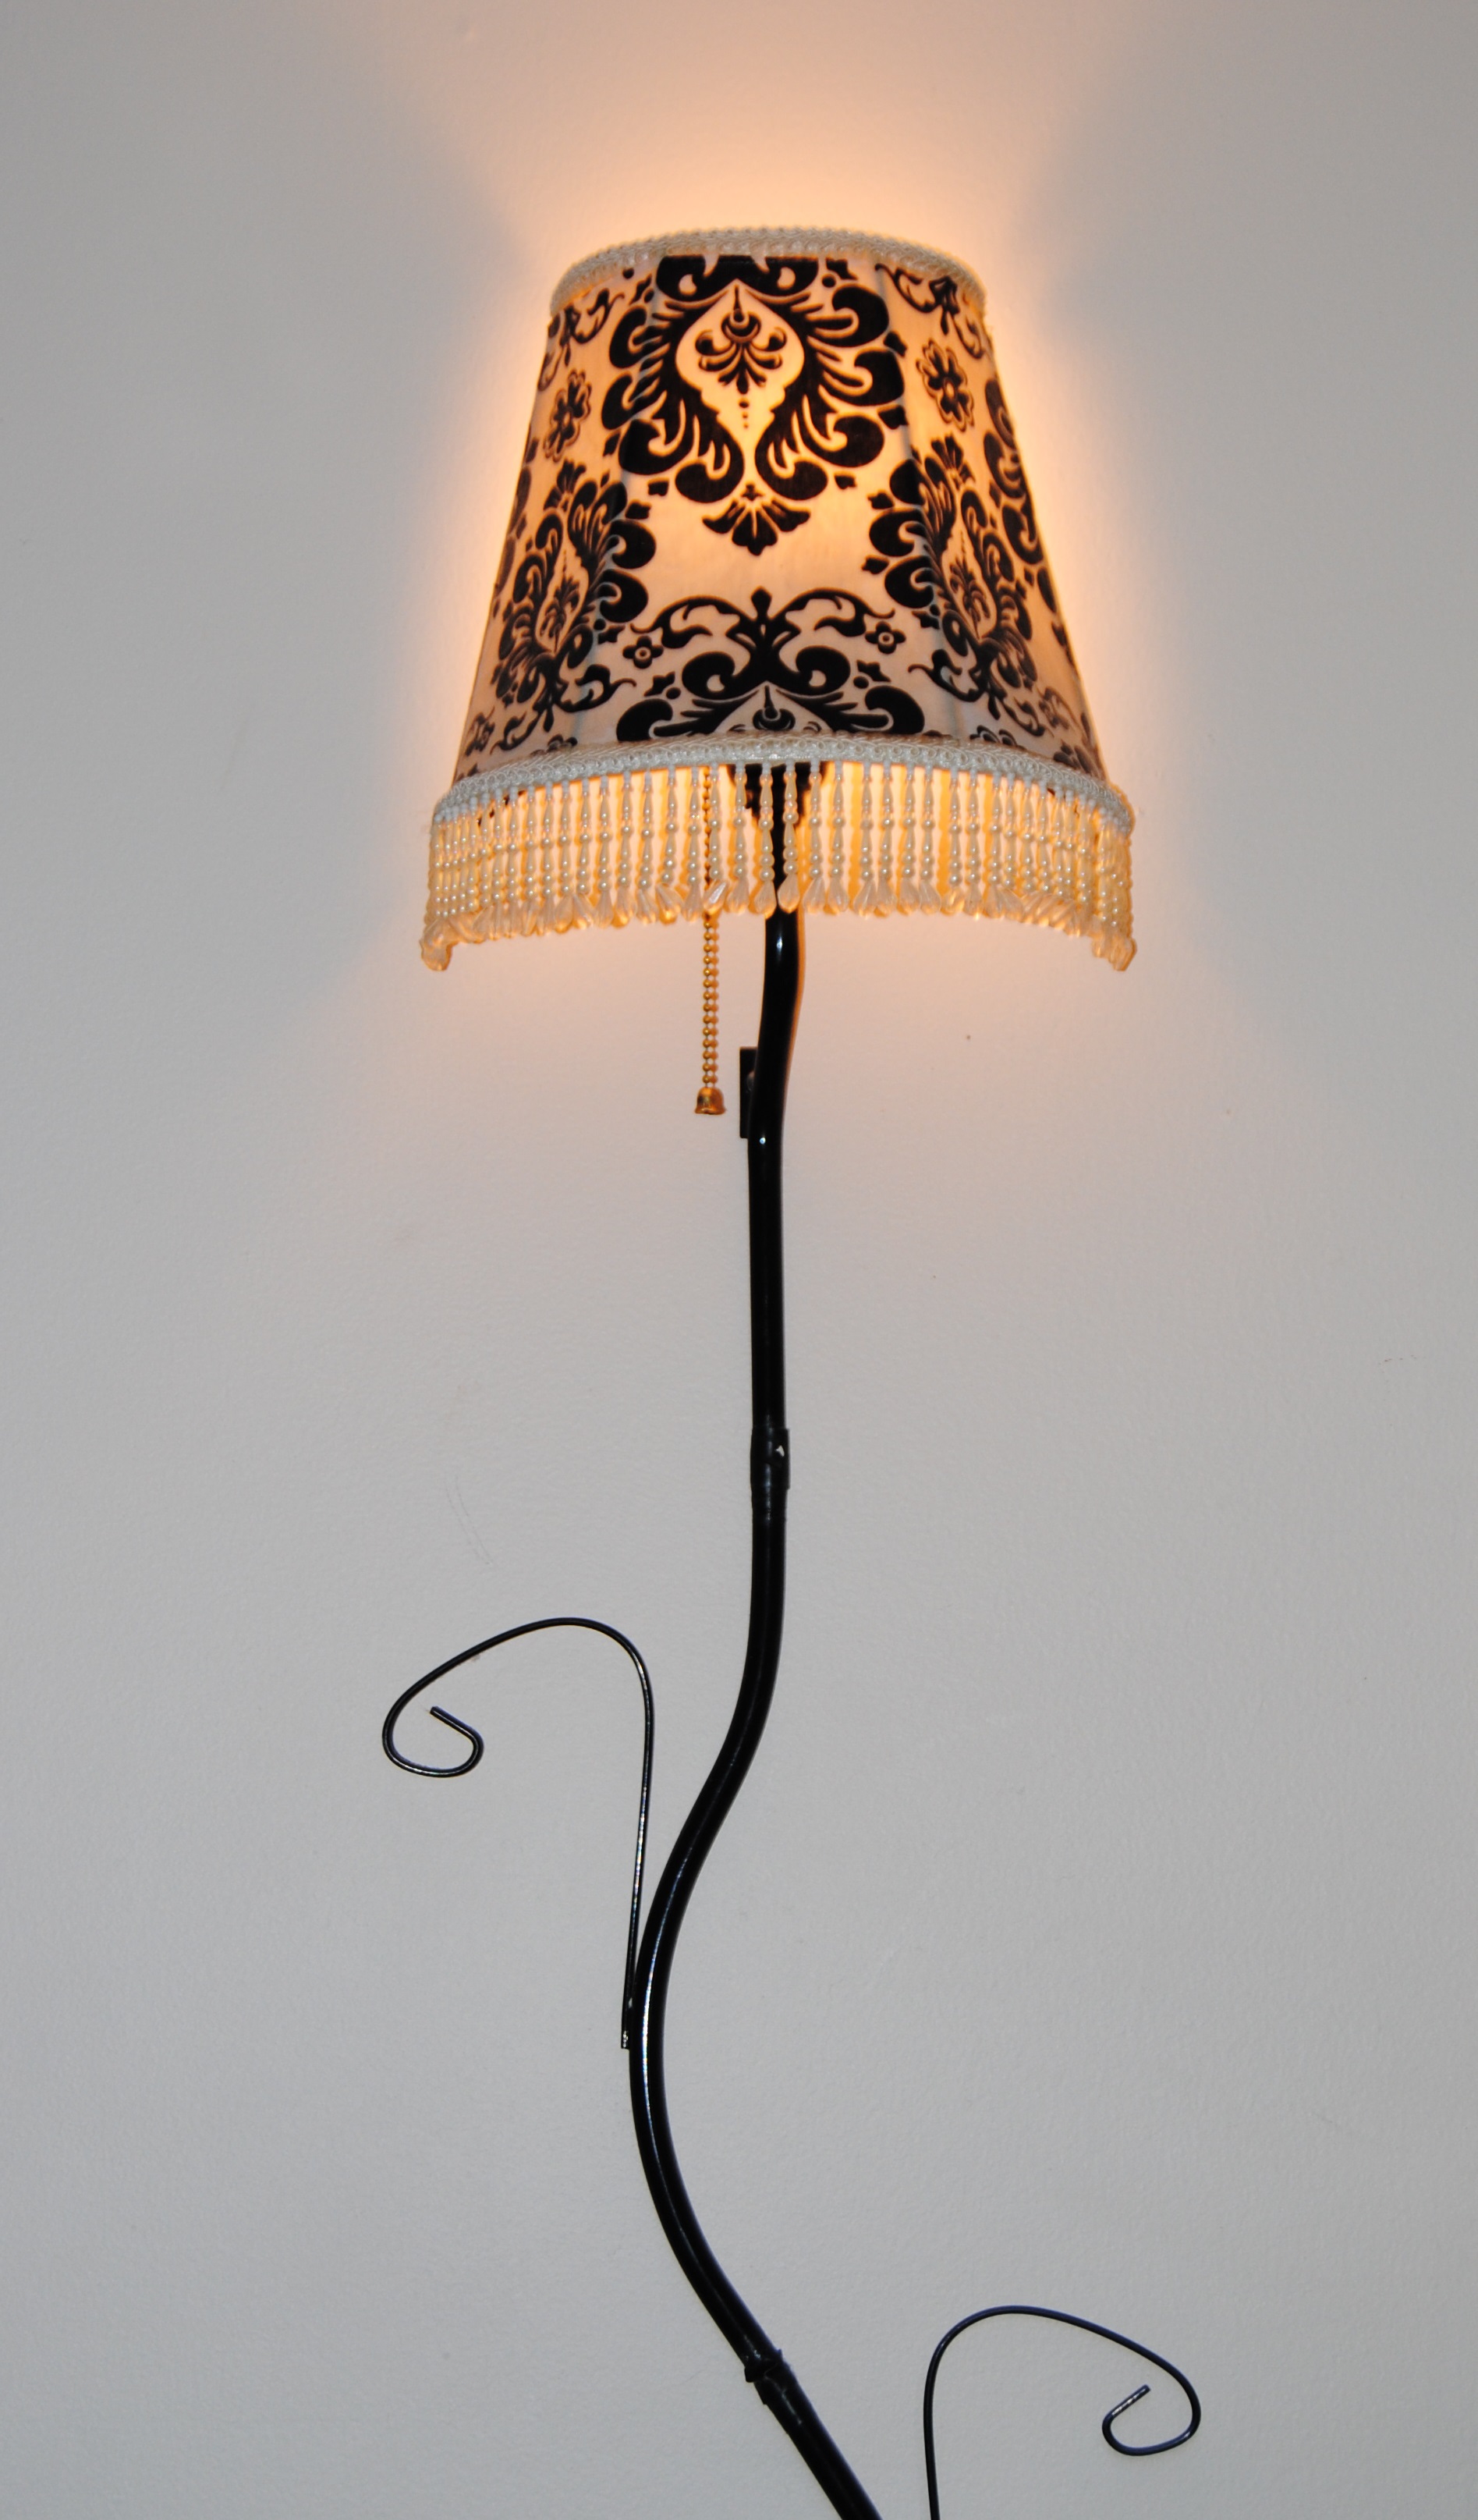
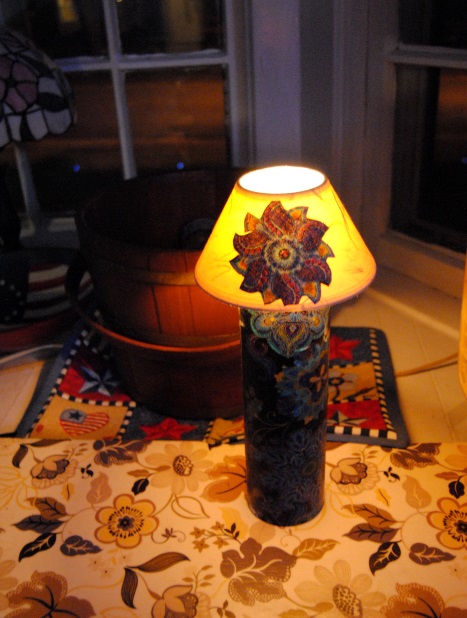
The lamp looks amazing, and now matches my current living room decor perfectly!  This entire project was a quick one too! Overall completion took about one hour!

Decorate a boring lampshade with fabric

Materials:

Light Colored Lamp Shade

Mod Podge

Paint Brush

Fabric Of Choice

Scissors

An Accident Waiting To Happen: Upcycled Pringles Can Lamp

              Decorative Decoupage Pringles Lamp

This project idea started out as a 99 cent purchase at Goodwill.  An adorable miniature ceramic lamp with a round base that would require a minor  fabric decoupage makeover to make the perfect table top night-light for our bedroom.   However; thanks to the toddler apprentice’s rather curious hands it was simply not to be.  She climbed up on the ottoman, reached out her arms, and knocked it off the shelf. It broke the ceramic base into a million pieces. More importantly, she was not hurt in the accident, just a bit startled and remorseful   Although I was initially upset,  my cross demeanor faded quickly as I thought of ways to reuse the unbroken pieces of the lamp and shade.  I searched the craft room for some recycled items I was saving for a crafting rainy day.   I searched and looked for what I thought would make great lamp bases. It then occurred to me…I had a fever for a Pringles can lamp!

Minimalist Pringles Lamp Upcycle

An Upcycled Pringles Can Lamp For The Minimalist

The Pringles can was a great choice because it didn’t require a glass cutter to feed the wire through like a glass bottle or jar would.  I used a box cutter knife to VERY carefully cut a cross through the plastic lid.  I popped the light in and it fit nicely.   Before I placed the lid back on the can I filled the bottom with a few decorative marbles I had lying around. This added some weight and stability to the lamp.  I cut a hole at the base of the can using the UPC on the can as a guide, so I could properly feed the wire through the bottom.  For those of you who are practical, and love Pringles, you may want to stop right here.  I call this the minimalist version.

How to Create An Upcycled Pringles Can Lamp That’s A Little More Decorative

Decorative Upcycled Pringles Lamp

For those who want to create a more decorative piece, You can use a little fabric decoupage to decorate the Pringles can and lamp shade.  I used some scrap Peacock inspired fabric I had lying around the craft room.  I used Mod Podge to apply the measured fabric to the can and cut out designs to place on either side of the lamp shade to add some symmetry.  Once dry, I applied more Mod Podge over the fabric to properly seal the lamp base.  I placed it in front of our fan to dry.   Now it was ready to be plugged in and illuminated.  The possibilities here are endless.  If you don’t have fabric handy you can also use scrapbook paper.  You can create seasonal cans and interchange them with the light and lid to transform the look of the lamp.

Upcycled Pringles Can Lamp

A lesson in life and living on the Upcycle, the greatest mistakes can have the greatest rewards!  That is how I feel about this project. If it wasn’t for my overly curious toddler, I would have never known the fun of this Pringles can craft.  Thank heaven for overly curious little girls!

Have you had any crafting disasters that turned into triumphs?  What was your favorite craft mishap?

Materials Used:

Broken miniature lamp

Pringles can with lid

Box Cutter Knife

Handful of marbles

Fabric or Scrapbook Paper Of Choice

Foam brush or Paint Brush

Scissors

Mod Podge

The Past Called… And It’s For You

There is nothing I love more than nostalgia!  As a child of the 1980’s I remember talking on the phone for hours with my best friend. Our phone was attached to the wall with a rather long cord that I could never seem to get untangled.   Answering machines were also becoming popular around this time, but not everyone had one.  If the phone rang (That loud distinct ring we all know and love) you had to answer it!  Oh and by the way you had to answer it without knowing who was on the other end,  no caller id yet either!  This is before cell phones, texting, Skype and the internet, when people actually had to pick up the phone when it rang, and..well actually talk to each other!

In a  recent post, I mentioned my quest to find the rather elusive vintage, rotary phone.  I had seen some really great examples of vintage phones restyled with decoupage on the web,  and I was eager to try a project myself. In my area, rotary phones are rare.  During many trips to thrift stores, it was always on my mental wish list, but I never seemed to come across one.  Then one day my luck started to change.  First, I was able to find a vintage  red, Trimline desk phone, with tone dialing.  It was not the rotary dialer I was looking for, but still a great find.  At least I was getting warmer! Then about two weeks later I wandered into the same Goodwill.  I quickly scanned the electronics aisle as I always do during my walk throughs.  As I was about to turn around and leave, my eyes dropped and their it was in all it’s splendor a black 1950’s Western Electric Rotary Phone in excellent condition.  I couldn’t hold back my excitement and squealed out loud.  The lady next to me smiled and we struck up a conversation.  I had been looking for this for a long time.  It was priced right too, only $5.99!  Now, I had two great vintage phones that would make great projects!

Western Electric  and Trimline Phones

Both phones function well, and are in excellent condition.   Although due to my digital line, my rotary phone rings and receives calls, but cannot dial out without a special filter attachment which costs about 50 dollars.  This apparatus converts rotary pulses into tones modern digital lines can recognize.  The black rotary phone works well and rings loudly; Unlike my current, modern cordless phone.  I have not yet decided what I am going to do with the rotary phone.  I did decide however; that the red phone would make a great first attempt at decoupage.  A phone of this type which has many more angles and curves to work with I anticipated, would be more difficult than a previous cell phone decoupage.  project I had tried.

I chose a 1960’s inspired fabric I had used in previous projects that I thought would go well with the red color and fit in nicely with the phone’s vintage flare. I decided to cut out the circular shapes with a pair of sharp scissors.

Groovy Fabric

I applied Mod Podge to the back of the fabric with a paint brush.

DSC_0571

One by one, I placed them on the surface of the phone receiver gently smoothing out any wrinkles with my fingers. I also applied them on various other parts of the phone such as the base, and phone cradle.

decoupage phone

DSC_0575

I then added a few coats of Mod Podge over top the fabric to seal it allowing it to dry between coats.

Decoupage Vintage Trimline Phone Made With Fabric

Now we have a groovy vintage landline phone popping with color!  Look for a  rotary re-do coming soon once I build up enough courage of course!

DSC_0591DSC_0587

Materials:

Fabric of choice

Scissors

Mod Podge

Paint brush with coarse bristles

Old Phone