Design On A Nickel: Bathroom Cabinet Decoupage Restyle

Of all the rooms in our home our bathroom I can say without a doubt is my least favorite.  Our house was built-in 1937 and most older homes provided basic accommodations when it came restroom facilities.  Adding to these difficulties is the fact that we have only one, small bathroom in our home and it is in desperate need of a re-model.  That of course financially is not in the cards for us now.  However; I am a firm believer in making the best out of a situation, and I have had plans for quite sometime to work on improving our bathroom.  Our biggest eye sore was our bathroom sink cabinet. Replacing it was not an option, so I thought I could use some paint and a fabric decoupage to improve the look of the cabinet and add some design qualities to a rather bland and uninspired bathroom.

DSC_0951

Generic bathroom cabinet

I hadn’t tried a project like this before and I knew it would require quite a bit of work.  I picked up a half yard of fabric from Joann Fabric and prepped the cabinet by cleaning it with a damp cloth.  I used a screwdriver to remove the doors from the hinges.  I then removed the knobs and placed them aside.  I used a white all in one latex paint and primer to paint the outside and inside shelf of the cabinet.   I used a paint roller on the larger areas and a smaller paint brush for the areas the roller couldn’t reach. I also painted the cabinet doors.  I allowed the cabinet to dry thoroughly overnight. It took about three coats to completely cover it.

DSC_1016

DSC_1013

The next morning, I traced the painted cabinet doors onto the back of the fabric.  Any access fabric, I would trim away later with a box-cutter knife.  I applied Mod Podge to the doors with a foam craft brush.

DSC_1019

I then applied the fabric to the surface and smoothed it out with my hands. I applied another coat of Mod Podge over the top of the fabric and I used my nail to work the fabric into the crevices.

DSC_1022

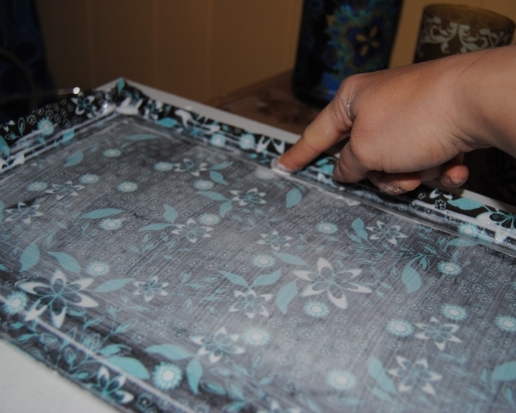
I repeated the same process for the second door and allowed them to dry in front of the fan. Once dry, I used a box cutter knife to carefully trim the excess fabric using the groove of the door as a guide.

DSC_1037

I reconnected the doors to the cabinet and reattached the knobs.  I applied an additional fabric swatch to the front of the cabinet, and repeated the same process of applying the Mod Podge and fabric and trimming away the access fabric.  I then touched up any areas of the cabinet with paint that needed it.

DSC_1039

DSC_1040

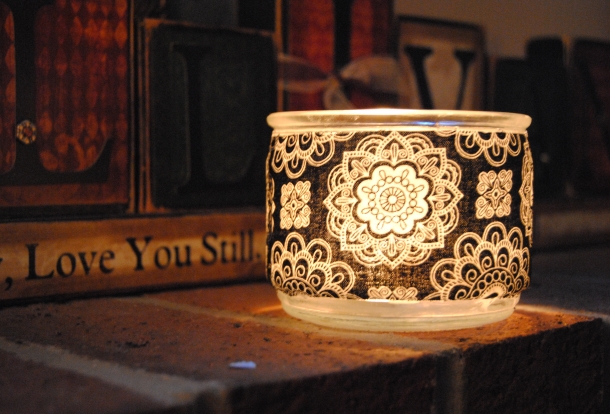
I really love the aqua and brown color scheme and hope to incorporate some more color in our bathroom.  I feel this may be a great start to improving our tiny neglected lavatory! I was surprised at how well this project turned out and the cabinet has gone from eyesore to accent!  It cost only about ten dollars worth of materials to make this project a reality, and I am really glad I gave it a try.  I have a feeling this is only the begining!

Fabric, Decoupage and Paint Bathroom Cabinet Makeover

Bathroom Cabinet Makeover Materials:

Mod Podge

All in one latex primer and paint in one

Fabric of choice

foam craft brush/paint roller

paint brush/fine tipped marker

Box cutter knife/scissors

Before and After:

Bathroom Cabinet Makeover Before and After

Scrap Fabric Upcycled Candle/Tea Light Holders

There is nothing I love more than decorative lighting and candles!  They help create a cozy, relaxing environment in any room and some candles are aromatic as well.  I especially enjoy the pumpkin and apple pie scented candles.  Once the candles burn down, you are left with the glass and some left over wax.  Sadly, these items often get discarded, but each of these can be restyled into decorative tea light holders using a bit of Mod Podge and fabric scraps.

First, I used a butter knife to carefully chip away at the leftover wax.  Once the wax was removed I used a damp paper towel to clean the inside.  I applied Mod Podge to the outside of the candle holder with a paint brush.  I cut a small piece of scrap fabric measured to fit the outside of the candle.    I wrapped the fabric around the outside of the glass and applied Mod Podge over top of the fabric to seal it.  These are simple to make and are a great way to recycle used candles and fabric scraps.

Recycled Candles made into decorative tea light holders

Upcycled Candle holders made with fabric and Mod Podge

Fredrika Fabric Corner Shelf Makeover: A Final Farewell

I was a bit sad when I realized I was running out of one of my favorite thrift store finds,  Fredrika Fabric from Ikea. It is amazing when I think of all the great projects restyled with this fabric, most of which currently reside in our daughter’s playroom.  Ahh the upcycling memories.  First it was a little wooden step stool, then many more followed, lost basement table, 1960’s Coffee Table, Repurposed Umbrella Holder/Toybox and even a Garden Pig Makeover!

We needed a shelf in the playroom out of our daughter’s reach.  We had a great baseball lamp my sister gave to us as a gift, and we needed a place to display it on. The playroom still has a sporty theme coupled with a girly mod look.  I found this great corner shelf at Goodwill for $2.99 and I snatched it up!

DSC_0649

I had just enough fabric to cover the surface with a few scrap pieces to spare. I traced the shelf on the fabric and cut the tracing with a pair of scissors.  I applied Mod Podge to the shelf surface and carefully placed the fabric on top.  Once dry, I applied Mod Podge over it to seal it.

DSC_0650

The most difficult part of this project was hanging the shelf!  It had 3 slots which required three screws hung on the wall precisely.

DSC_0653

I love how this turned out and so simple to make!  You can “jazz” up ordinary furniture and decor and make it a unique expression of your own personal home style!  This project was certainly bitter-sweet.  I will miss you.  Farewell Fredrika!

Bringing the Fall Indoors

Tonight, In the spirit of Fall, I share with you a wonderful blog called Embrace My Space. Sara has a genuine talent for home decorating and I love her autumn decorations both inside and out!

embrace my space

LAST WEEK I gave you a glimpse of the outside of our home as we transition into the cooler months.

Embrace My Space: Fall Front Porch

Halloween soon will take over our household so I wanted to give you a peek of the fall decor I incorporated inside before it’s too late!  Essentially all of my indoor fall decorating happened in the living room since it’s the space where we spend the most time and the space guests see when they come to visit. Here’s what I did, along with a few tips for transitioning your living room into fall with minimal clean up when it comes time to break out the skulls, jack o’ lanterns and spider webs.

Change up the mantel.  Typically I display a combination of shells, sea glass and other natural elements on our mantel, but for fall it’s all about wheat, acorns and pumpkins!

Embrace My Space: Fall Mantel

Since our TV is above the mantel I try to keep the…

View original post 491 more words