Two Years, One Sale- On The Upcycle

This April 27th 2015 marks the two-year anniversary of this blog and my creative mission to reuse, re-purpose and restyle.

2-years-old

For me, Upcycling is all about having fun and being creative with items that would otherwise be discarded.  The biggest challenge for me has been the writing. I love to craft, but I struggle with writer’s block from time to time.  The ideas for projects often come but the words to adequately describe them do not. Although I am not blogging with quite the same frequency as I once was, I am still happy that I was able to continue and complete a few larger and more challenging projects this past year, like my Lane Cedar Hope Chest. After two years of creating I am inevitably left with too many items and not enough room to keep them all. I was excited to hear that my daughter’s school is sponsoring a flea market in early May.  This seemed like a great oppurtunity to have my first “flea market experience.” I have never tried to sell my projects before, so this is a huge first step for me.  What better way to re-energize and make room for new projects?

It’s spring cleaning time for On The Upcycle. That being said, it’s also a fun time to squeeze in a few smaller projects in the days leading up to the sale.

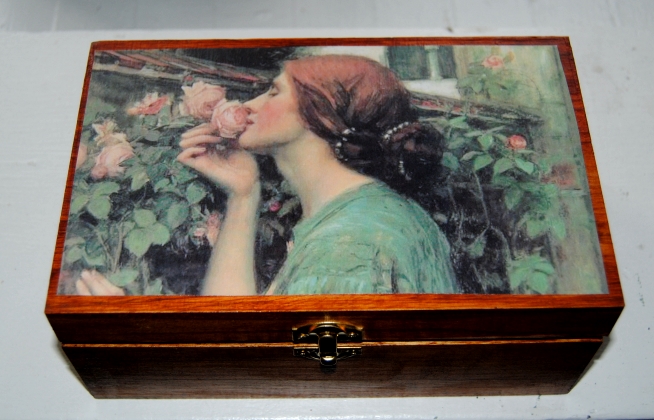
I love wooden boxes and picked this one up for 99 cents at Goodwill.  I didn’t care for the boxes original design, but the box itself was in great shape.

20150419_201455[1]

I used a spray on white primer to properly cover the previous design on the box.

20150419_212220[1]

I had a nice celestial print.  I have been in a colorful mood lately and wanted to utilize a design with a lot of color

20150419_212452[1]

I applied Mod Podge with a brush, and placed the print on the box top and front.

20150419_212639[1]

I painted the box blue and pink to match colors contained within the print

20150420_212842[1]

This whimsical celestial themed box is one of the items crafted specifically for the sale.

20150420_212650[1]

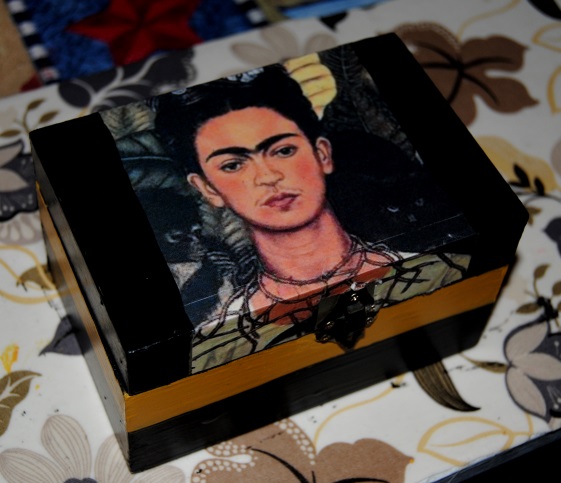
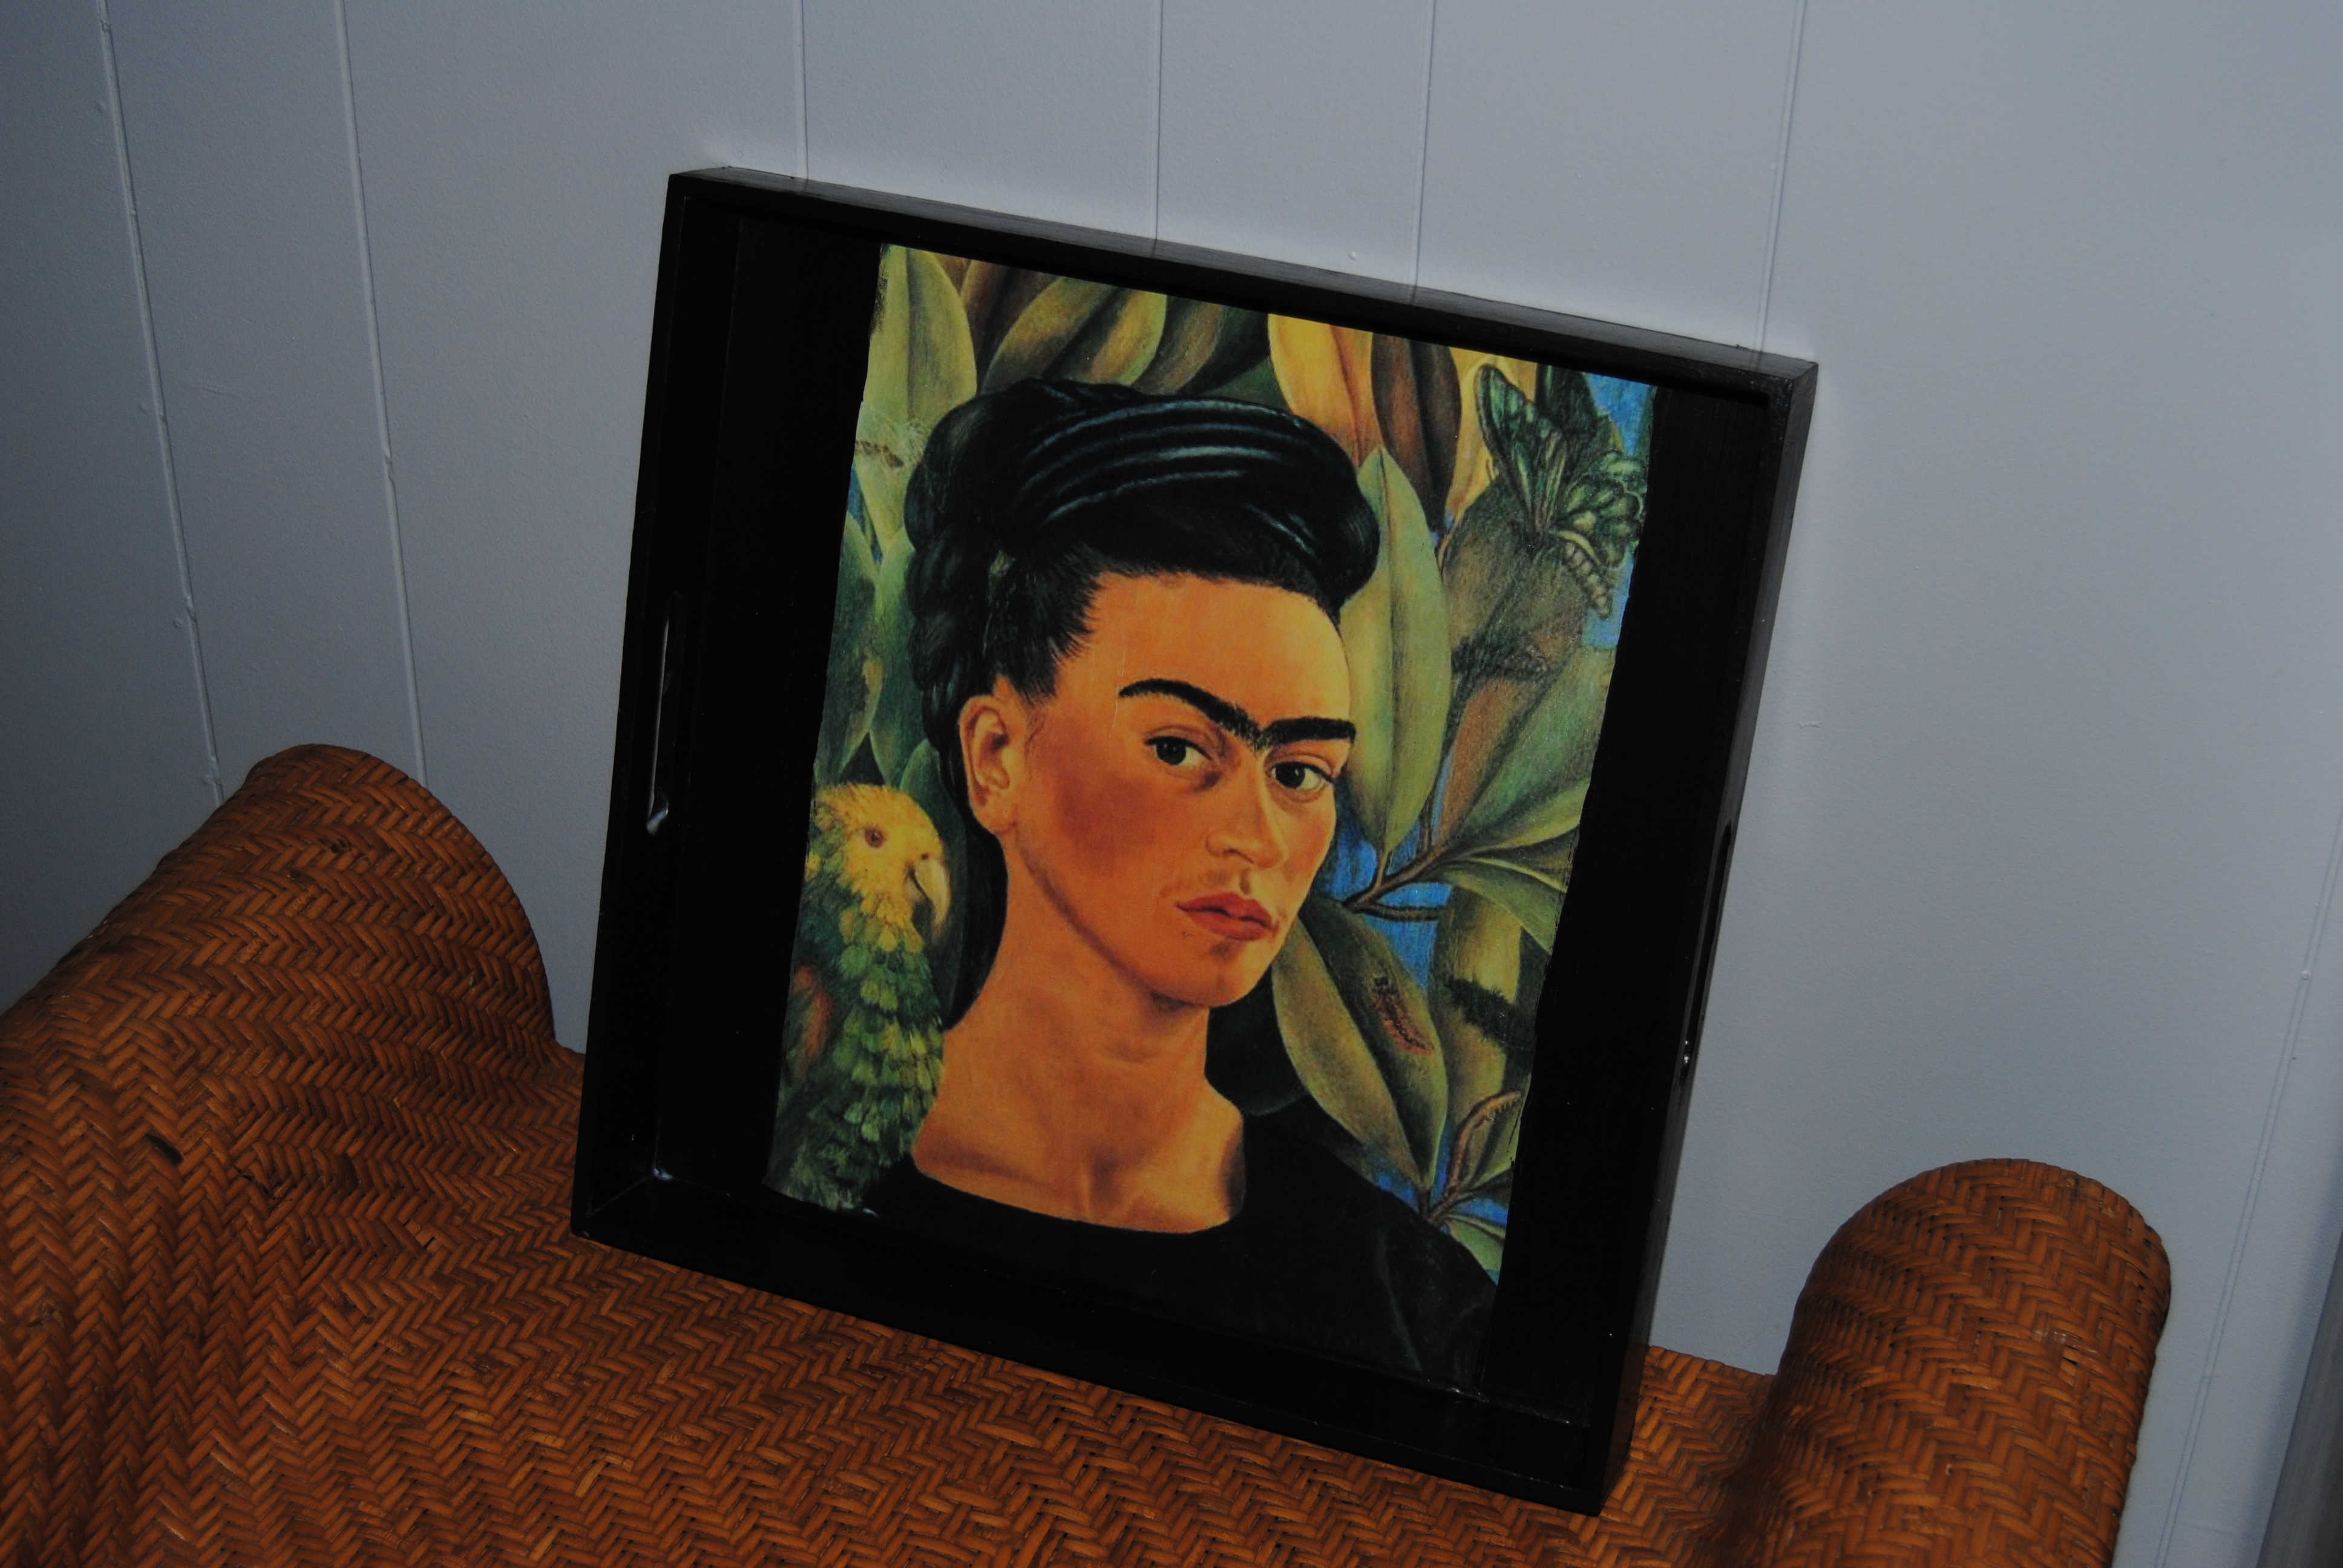
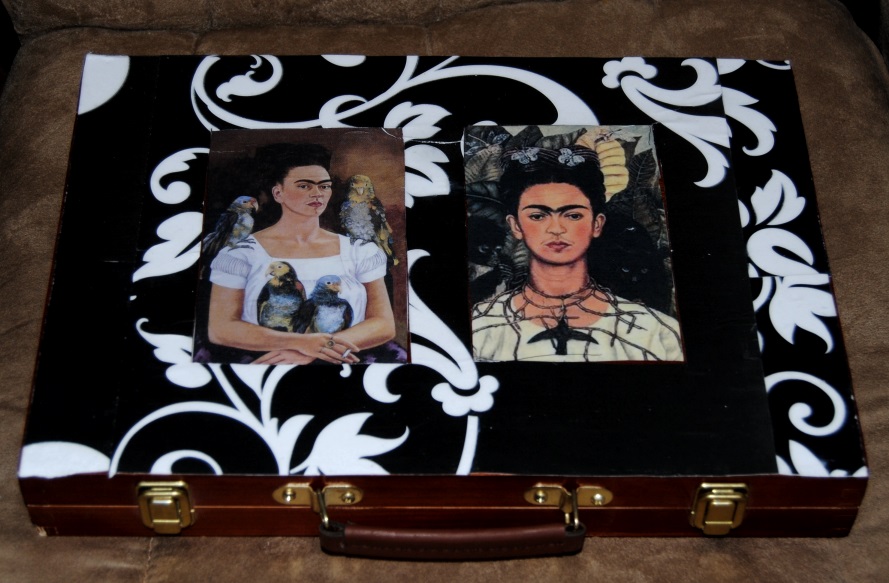
Here are a few photo’s of previous projects I have agreed to part with for the upcoming sale:

Peacock Table
peacock table before and after

Star Wars Kid Chair:

Star Wars Themed Fabric Decoupage Chair

Strawberry Shortcake Kids Chair:

Upcycled Strawberry Shortcake Kids Record Chair

Kids School Desk:
Upcycled Kids School Desk

Happy Earth day to all of my friends!! How are you celebrating today? Do any of you have experience with Flea Market sales? I would love to hear from you! Any tricks of the trade or friendly advice?

Fabulous Frida: Dollar Store Decoupage

Beauty can present itself in many forms.  That is why I find the works of Frida Kahlo so intriguing.  The subject matter of her paintings are often grotesque and painful, but one can’t help being drawn to it.  Despite the many adversities life had to offer her, Kahlo never let it defeat her. She was a modern woman, ahead of her time, and created artwork that remains relevant today. Born in Mexico City around the start of the Mexican revolution,  At age 6 she contracted Polio which caused her to walk with a limp. As a young women, she was involved in a nearly fatal bus accident that left her with severe lifelong and painful injuries including her inability to carry a child.  Her heart was broken and this was reflected in many of her paintings, most of which were self portraits.

Self-Portrait-1926

Frida Kahlo pictured below with her partner and muse, painter Diego Rivera in 1932.

Frida_Kahlo_Diego_Rivera_1932

My sister is also a fan of Frida.  She recently had a surgery that would take some time and perseverance to recover from.  I wanted to make her something special to lift her spirits and inspire her while she was convalescing. I thought something with a Frida Kahlo theme could do just that.  I had a small wooden box that was far from special, but would be perfect to store her medications in.

DSC_0762

First, I cleaned the box thoroughly removing dust and dirt that accumulated during storage.  I printed out a 4×6 Frida print, and applied Mod Podge to the box with a paint brush.  I then carefully applied the print to the box.

DSC_0763

I used black and golden rod acrylic paint to finish off the box redesign. Once the box dried, I used Mod Podge to seal the project.

DSC_0765

Make your own art inspired box Dollar Store Craft

Imagine the possibilities!

Materials:

Mod Podge

Print of choice for decoupage

Acrylic Paint

Scissors and paint brushes

Feeling the Frida Frenzy?  Check out these other On the Upcycle Frida Kahlo inspired projects

Frida Kahlo Decoupage TrayFrida Kahlo Decoupage Art Case

Think before you Toss: Upcycled Product Boxes

I have started to look at things differently.  Most of the change has been born out of necessity. People all over the world have been struggling to make ends meet more than ever before.   We are certainty included in this, and I have made it my mission from both an economical and environmental standpoint to think before I throw something out.  The questions I ask myself are:  Can I re-purpose this item and make it into something beautiful?  Can I use this item to better organize my home? Obviously, not everything can be saved and shouldn’t be.  No one wants to enter “hoarders territory.”  That being said, I have simply modified my way of thinking.  Why go out and spend money on storage items, when plenty of these items can be re-purposed from previously used boxes and storage bags?  That is the question I ask myself.  When I was cleaning out my closet, I came across the box that my tablet PC came in.  It was made from a heavy laminated cardboard, with a magnetic closure. A perfect little box to store items in, all it needed was a bit of decoupage to make it pretty. I had some left over scrap-book paper from Lively Computer Tablet Makeover that was fun and thought it would be great for this. Upcycled Boxes

Materials:

Box

Scrapbook paper

Mod Podge

Scissors

Black felt tip marker

Foam Craft Brush

First, Use a marker to trace all sides of the box on the scrapbook paper. Trace on the blank side.  Then cut them out with scissors.  Apply the Mod Podge to the sides and lid and carefully glue the paper to the box, smoothing out any air bubbles as you go.  Once dry, apply the Mod Podge to seal the outside of the box. Simple, Stylish, Money Saving, and one less piece of garbage in the landfill. A win, win in my book! Upcycled Product Boxes Great for keepsake storage Decoupage Product box

The Secrets Out: John Waterhouse Decoupage Wooden Box Craft

I was in Michael’s Craft Store picking up some scrapbook paper, when I took a small detour down the wood craft aisle.  They had every shape and sized bird house, jewelry box, and  storage crates just to name a few.  Normally, I would just walk down the aisle and keep going,  but today I was intrigued by the idea of creating a craft from new previously un-used material. Besides, I had already looked through my home, been out thrifting, and  spent work lunches at Goodwill, and was unable to come across a simple wooden box to decoupage.  I thought one of these wooden boxes would be perfect for my friend’s birthday which was still a few month’s out, so I had plenty of time to make it in between making other crafts.

Art Minds Wooden Box

Wooden Box at Michael’s.com

My friend is a fan of the arts and I had been searching for the perfect painting to decoupage for her.  I came across the artwork of John Waterhouse  and saw a print entitled “My Sweet Rose”  It reminded me of my friend instantly when I saw it, and I thought she would love the image. I traced the box lid  on to the print with a pencil, cut it out and placed it to the side.  I used a foam brush to apply the Mod Podge to the box lid.  Once applied I glued the image to the box, carefully smoothing out any air bubbles or wrinkles.  I allowed the piece to dry.  Once dry I applied another coat of Mod Podge to the top of the photo, sealing the photo to the box.

I decided to stain the box instead of painting it.  I used a wood walnut stain, but any wood stain, finish or color would work. It really depends on personal taste.  I didn’t want the box to appear too dark so I only applied two coats total. I allowed the box dry. While drying I measured out the floral wrapping paper I wanted to use to line the inside.  I applied the wrapping paper with Mod Podge. The biggest challenge was keeping the wrapping paper from bubbling up.  I find wrapping paper the few times I have used it, doesn’t work well (Keep in mind it is thinner paper and purchased from the dollar store) The floral print ; However matched perfectly and I decided despite the challenges to use it in this project. Once the entire piece was dry I used another coat of Mod Podge to seal the entire box. I allowed the entire piece to dry under a fan overnight.

DSC_0813

DSC_0814

My friend’s birthday was July 4th, and she received the box in the mail and loved it.  John Waterhouse it turns out is one of her favorite artists, and she loved the keepsake quality of the box.

That also means, now that the secrets out I can share this craft with all of my internet friends.  I hope you enjoy!

Materials:

Used or new wooden box

Wood stain color of choice

Image/or images e to decoupage

wrapping paper (inside liner)

Craft foam brush

Scissors

Paint brush to apply stain

The Gift Bag Makeover: Wooden Box Re-purposed and Restyled with decoupage

Utensil Holder Repurpose with Decoupage

Some time ago my husband purchased a box of silverware from JC Penney for me as a birthday gift.  We had just started hosting Christmas at our house and we realized we did not have enough place settings  for everyone when it came to eating utensils.  I was so happy to get these!  I finally had a matching set.  I love getting new things for the house.  They came is a wooden box with a felt/cardboard insert inside for storage,  I knew I would simply just store the spoons, forks and knives in my kitchen drawer for everyday use so I didn’t really need the box.  I didn’t want to throw it away so I did the thing I always do, put it up in the attic.  It then resurfaced on one of my “attic shopping trips”  I thought I could repurpose it to store things in.  Sewing supplies, stationery, arts and crafts, you name it.  You can never have enough storage boxes.  It was fairly easy to rip out the inside once this was done, I lined the inside with scrap-book paper and Mod Podge.  Any areas that were unpainted inside once I ripped out the utensil holder I painted black.  I then moved on to the outside.  I had this wonderful gift bag.  I held onto it for quite sometime I thought it would be perfect for this project.  I cut it measured it, and applied Mod Podge to the surface gluing down the gift bag.  I then sealed with three layers of Mod Podge Matte finish. Now I just have to decide what I will put in it!

Gift Bag

Wooden Box

Black Paint/Brushes

Scrapbook paper

Scissors

Mod Podge