Smells Like Team Spirit: Decoupage TV Trays

Writer’s block is a terrible thing!  I have been inflicted with a horrible case, which explains my lack of posts in the month of October. Despite my loss for words,  I have still managed to stay busy and continue crafting. It has been the healthiest and most productive stress reliever for me to date.  I am always searching the crevices of my brain for new ideas, and it keeps me going.   Quite surprisingly it is the familiar ideas that get revisited most often due to popular demand.  One such project is the decoupage TV Trays. The themes for these tables are endless.  I have posted various tutorials on how to make these TV tray tables more fun and decorative.    Various family members have expressed interest in having one, and I love to make others happy.    My two young nieces are involved in school sports and what better way to show team spirit than with something unique and functional at the same time?

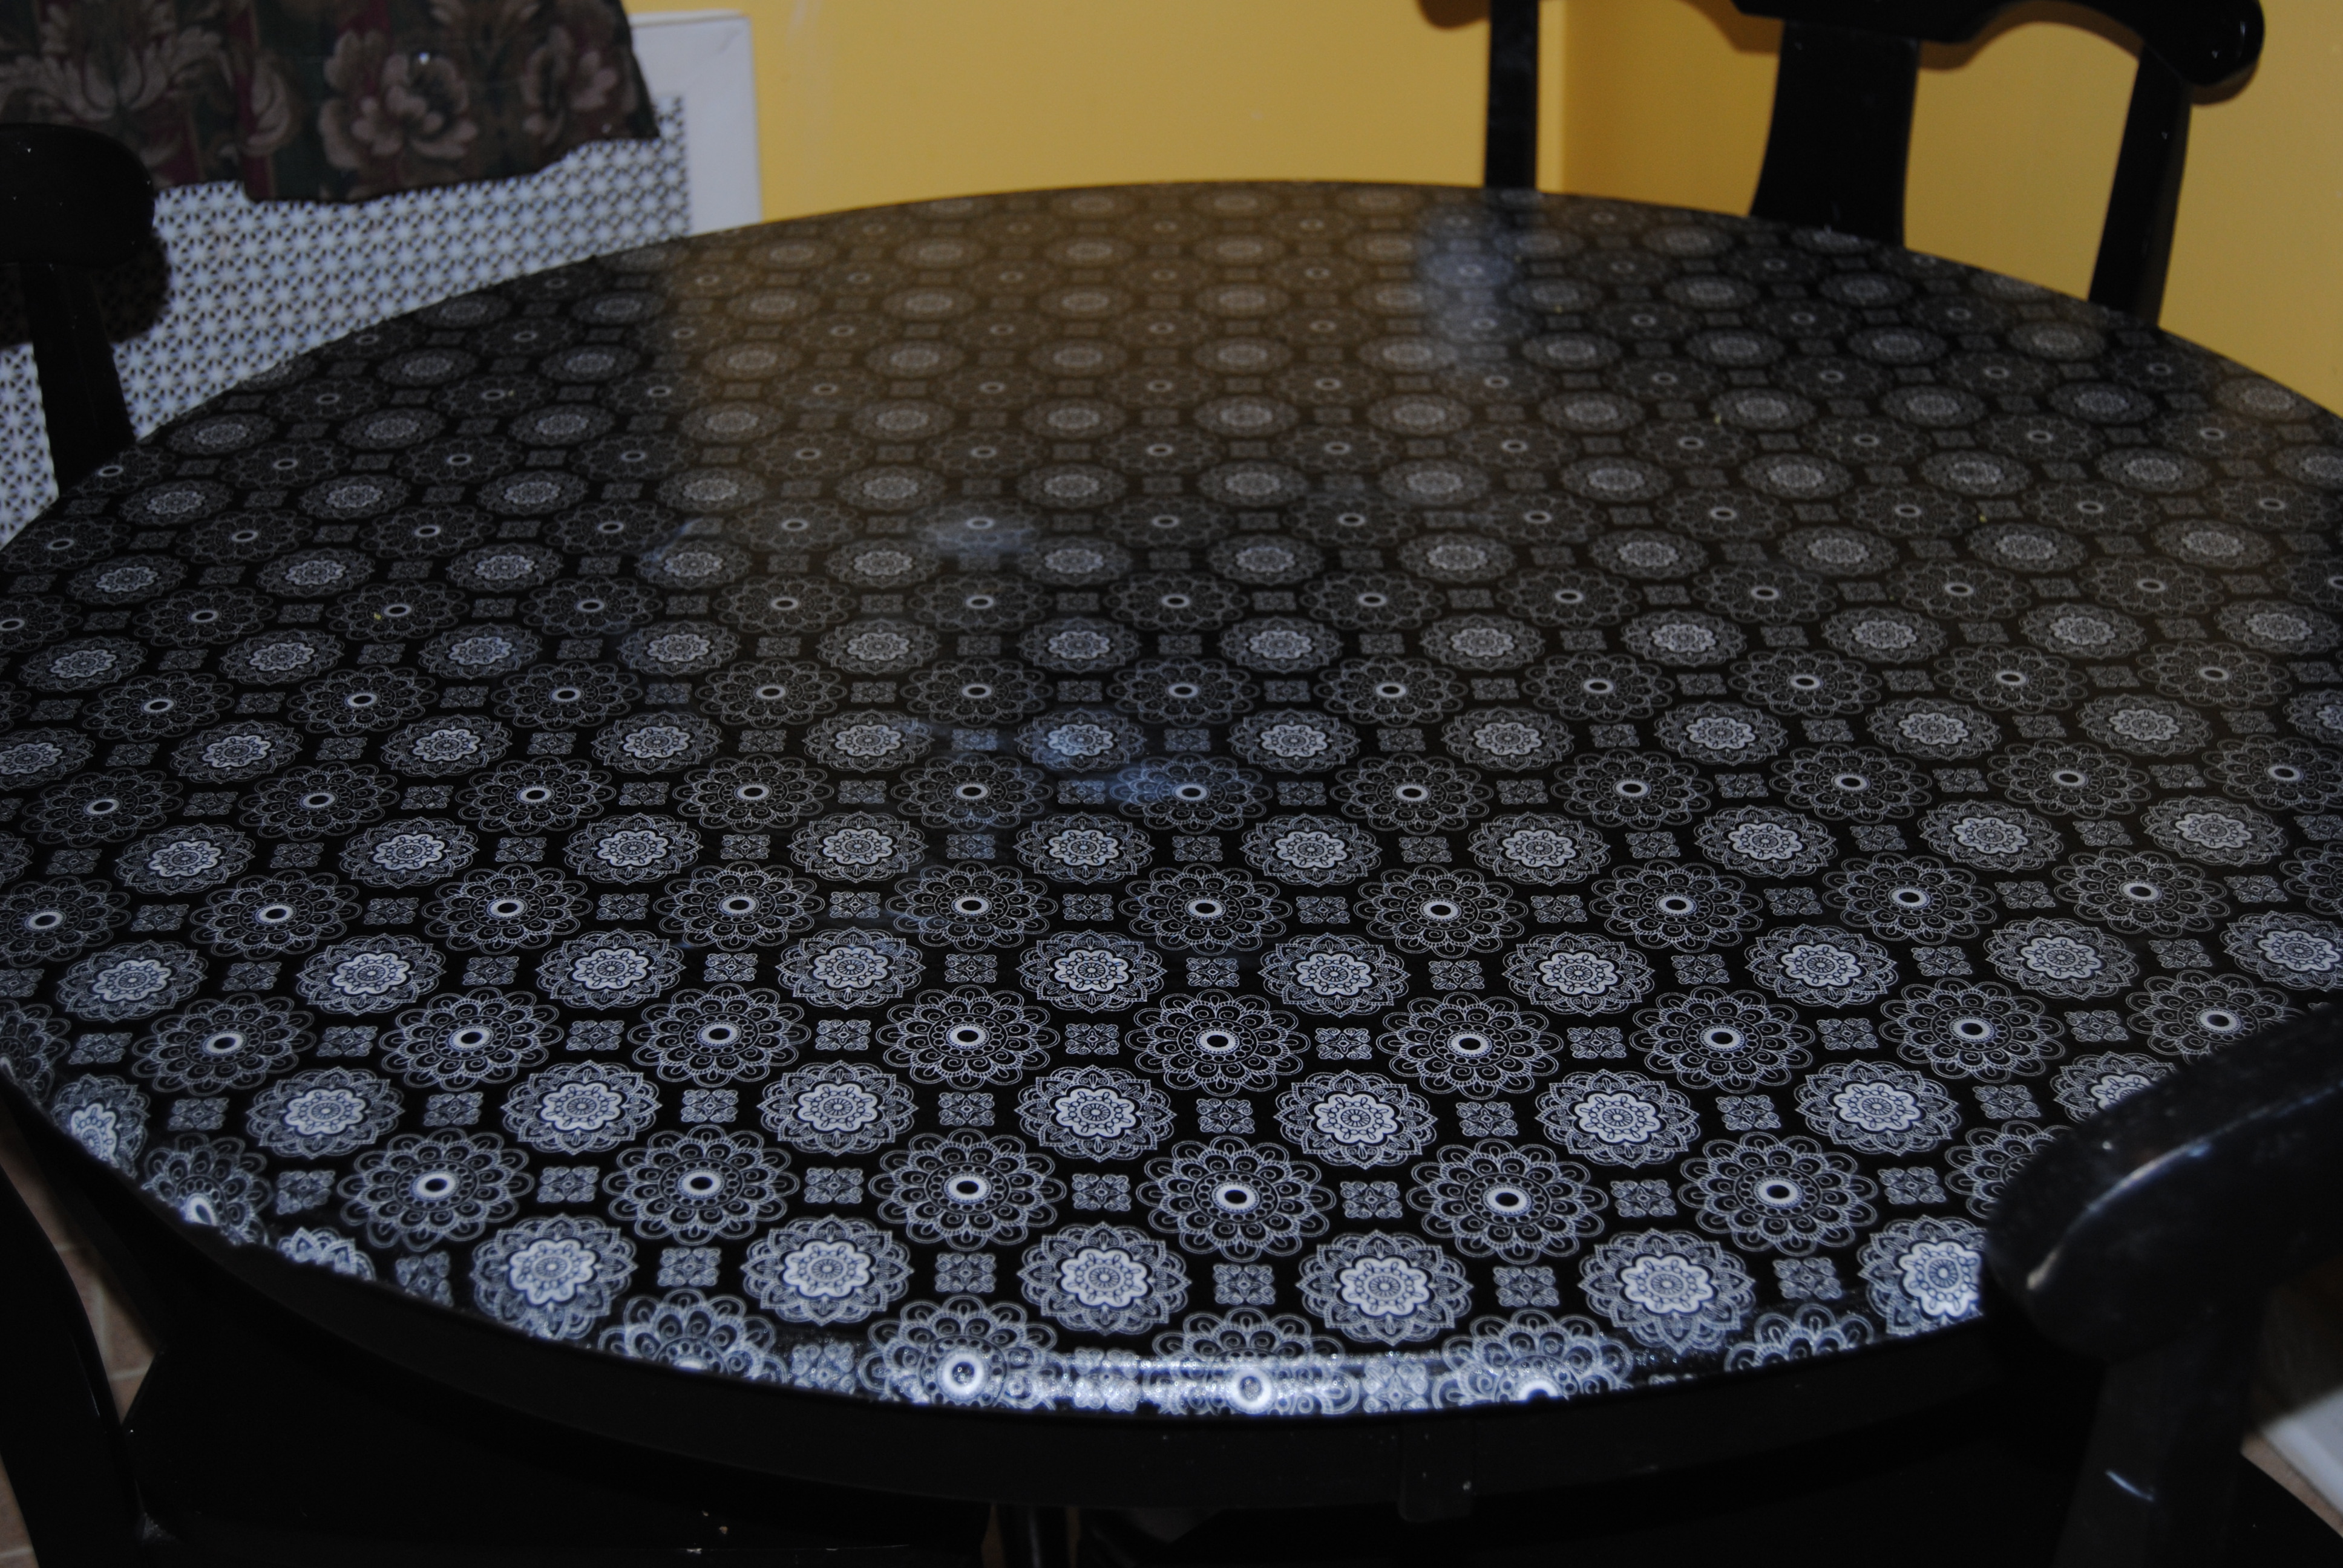
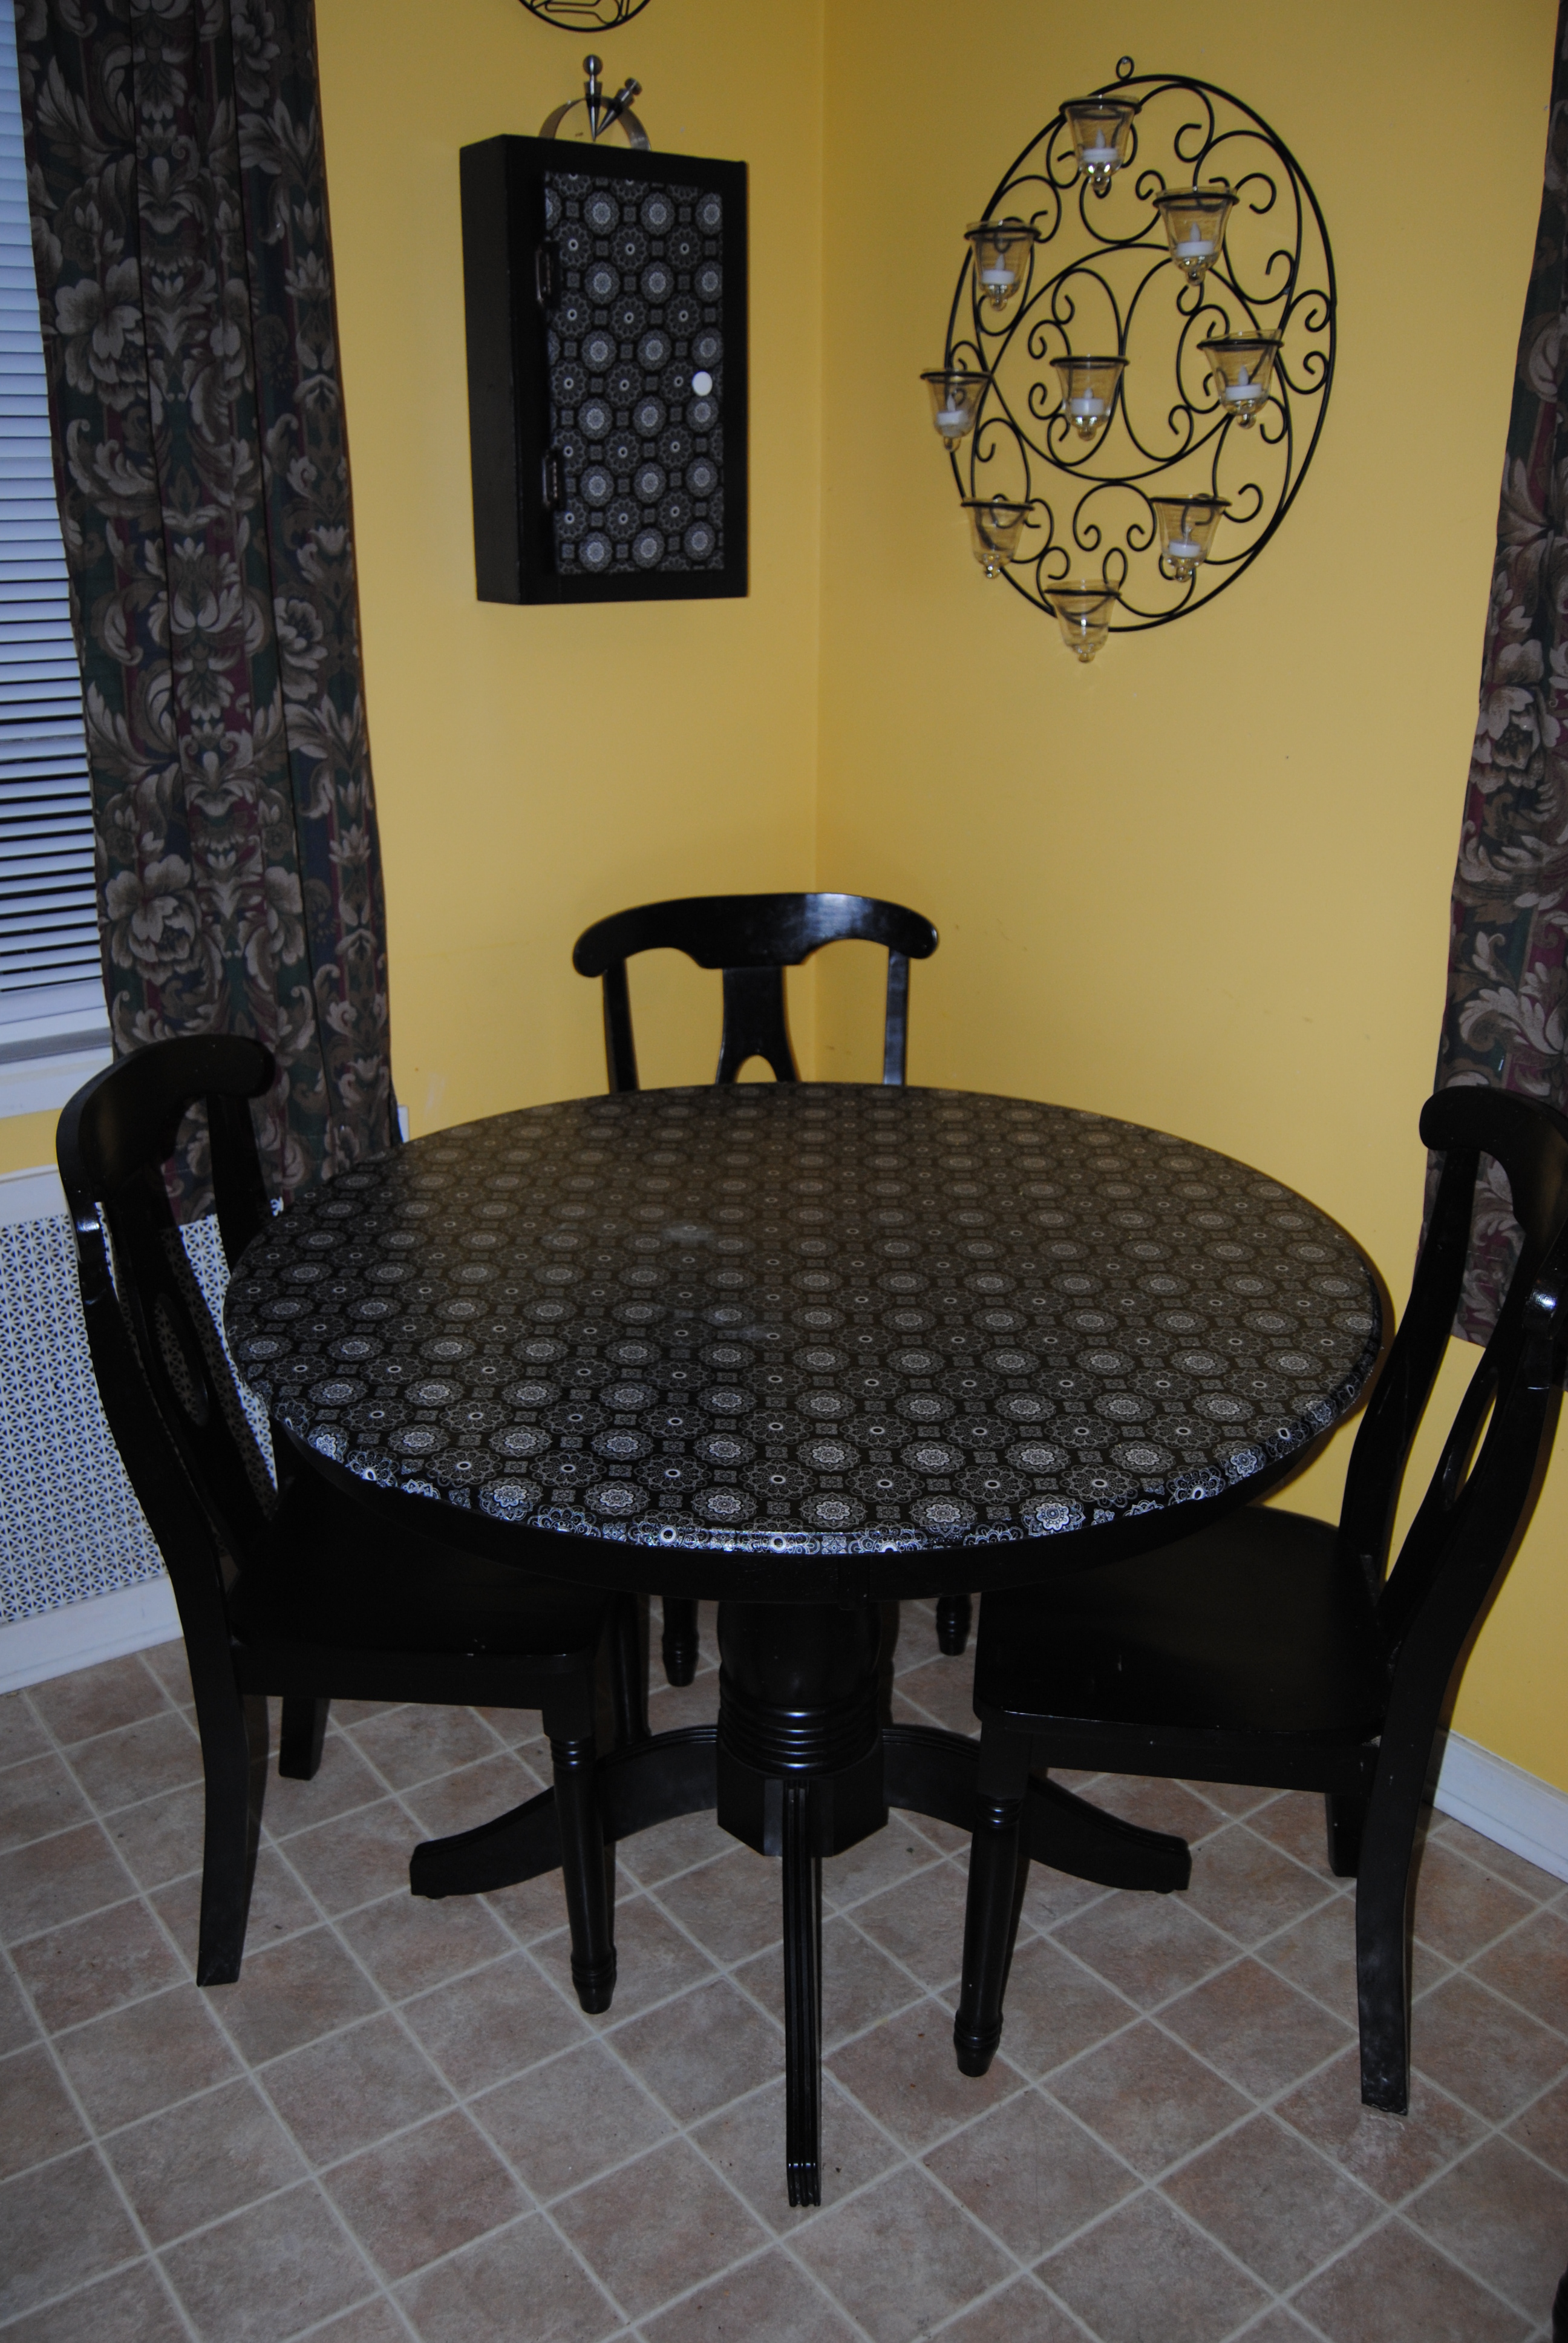
Look familiar?  Everyone has a set of these trays, and  they make frequent appearances in thrift stores for just a few dollars.   All you need is a graphic that can be enlarged without becoming distorted, and a printer.

TV Tray before

Add some paint, apply the Mod Podge and you can create unique, spirited gifts that the other kids at school will want to have!

20140601_191920 (1)

DSC_0841

Sports, Music, Art, Personalized the possibilities keep coming.  As long as there are boring TV trays left in the world, this project will live on.  How would you redesign your table?

Inexpensive Gift Ideas: Miniature Desk Radio Decoupage

I have seen many radios and stereos in my day.  Everything from The Giant Boom Boxes of the 1980’s, to little mp3 players that fit in the palm of your hand, music has been delivered via many forms. I am a bit of a collector when it comes to music and pretty much anywhere I set up shop, I need to have a radio nearby. That includes my desk at work although it is rare I turn it on, listening to music does help with work related stress at times.  I also enjoy listening to the afternoon baseball games in the summertime.

Many stores carry these small desk top radios.  The one below was purchased at one of my favorite stores  Christmas Tree Shops. These also make great gifts for the music, sports lover in your life. This particular radio takes three AA batteries making it easy to take with you while on the go.

Desk top am fm radio


To personalize the radio and add a little flair, I decoupaged some fabric on to the outer case.  Since the radio has a “retro” feel I chose a colorful Mod fabric. I simply applied Mod Podge to the outer case with a smaller paint brush, measured and cut the fabric, and applied it to the case.  Once dry I applied a few coats of Mod Podge over the top.

DSC_1233


These make great gifts, and choice of fabric can be tailored around ones own individual tastes such as with character fabrics, and various designs featured at such stores as Joann Fabrics.

Mod Mini Radio Decoupage


Decoupage Mini Desk Radio


This little radio now has a retro feel that I love!

Hope your holiday season so far is merry and bright!!

Sports Fan Inspired Upcycled Laundry Room Folding Table

My husband and I have been working on each room in the house, cleaning reorganizing and coming up with new ideas for old items.  One of the areas that needed attention was our basement/laundry area. Our basement is damp and unfinished and keeping it clean is quite a challenge. It also serves as our laundry area.  We have a table in our basement we used in our kitchen for many years. We now use the table for folding and basement storage.  When we moved into our home six years ago, our kitchen was too small for such a large table so it was delegated to the basement.

DSC_0909

I am blessed to have a husband that helps with the household chores, especially the chores I hate!  One of these chores is doing laundry and he graciously does the family laundry every Sunday evening.  He is also a huge Phillies fan through good times and bad. While we were grocery shopping, we came across a Philadelphia Phillies plastic table-cloth in a bargain bin. It was priced right at $1.69.

DSC_0912

I thought it would be great to redo the grungy basement table into a Phillies fan table, and a great way to thank the hubby for all of the laundry he does!  My only concern was that the table cover was plastic.  As stated in previous posts, Mod Podge doesn’t always adhere well to certain plastics.  I thought this would be a great experiment as I had never used a plastic table-cloth for decoupage.  First, I cleaned and painted the table surface with a white latex primer.  This was important because the table cloth was white and the brown surface could potentially bleed through the white table-cloth.

DSC_0911

Once the paint was dry, I generously applied Mod Podge to the table surface with a large paintbrush.  I carefully layed the table cloth on top of the Mod Podge table surface.  This was the most challenging aspect of the project as the table cloth material is thin and prone to wrinkles and air bubbles.  The table cover also is spread across a larger surface area.  I smoothed out the table cover as best I could and applied Mod Podge over the top of the cover and allowed it to dry. I used scissors to carefully trim away the excess table cover hanging over the edges.

DSC_0915I used two coats of a polyurethane clear coat to seal the table surface, I allowed the first coat to dry for 4 hours and the second was left to dry over night.  I applied additional Mod Podge to the edges to prevent any minor curling.  This project was certainly not without its challenges, but despite these I think it turned out great.  The hubby may have lost his sports room to a playroom, but his laundry room is on its way to becoming a surrogate man cave!

Phillies sports Fan Table decoupage table cover

A Much Needed Kitchen Table Makeover: “On The Upcycle” Style.

Our furniture sees it’s share of abuse in our home.  It would be easy to “blame it on the two-year old”, but the biggest offender in this household is me.   Before I began reorganizing what is now my crafting space, I had one place to craft on and that place was the kitchen table.  As much as I tried to be careful, with every new idea and craft came new damage to the table surface. I had to use a table cloth to cover the damage.

My husband and I originally purchased this set from Walmart before my daughter was born.   After years of living with some of the worst off the scrap heap kitchen tables.  The hubby and I decided we needed a more respectable table.  A table where a family could sit, eat and enjoy each other’s company, and not have to worry about the table collapsing while doing it!

We chose The Wood Casual Pedestal Dining Table in Black Finish sold by Walmart.  We liked the basic style and the table is very sturdy.  The table is about 3 years-old and the table itself is still in great shape.  I wish I could say the same for the table’s surface.  My fault totally!

DSC_0664

I had been putting off fixing it for quite sometime.  I was going to need a lot of Mod Podge and a clear sealer for this project!  This table would need protection against heavy use.

DSC_0662

Materials:

1 1/2 Yards of fabric (table measured 41×41)

High Gloss polyurethane sealer

Mod Podge

Scissors

Large Paint Brush

Small foam paint roller

First, I cleaned the table surface. I then covered the table surface generously with Mod Podge.

DSC_0665

I carefully, laid the fabric on the table surface allowing some fabric to drape over the sides.  You can use the Mod Podge roller tool, but now that I have been doing this for a bit, I actually prefer using my hands.

DSC_0666

I used my nail to feed the fabric into the table groove for a tight fit.  I applied a layer of Mod Podge over the top of the fabric, and on the sides. I allowed this to dry throughly.  I then used a pair of scissors, trimming off any additional fabric.

I applied additional Mod Podge to the edges shaping the fabric with my hands.  I applied three coats of High Gloss Polyurethane with a foam paint roller,  I waited about four hours between coats and the final coat was left to dry overnight,

DSC_0671

It matches Flea Market Bar Cabinet nicely and looks great in our yellow kitchen,  I was worried about the surface drying tacky, but it dried nicely.  If you want a smoother surface apply as many coats of the Polyurethane as needed until the desired effect is achieved. Since the table is shiny, I struggled to get a photo without any reflection in it!

Table Re Surface using fabric

Ruining the kitchen table never looked so good! No table cloth needed!

DSC_0676

DSC_0677

Fabric and Mod Podge Mania- Upcycled Kids Wooden School Desk

What to do? Yesterday, the hubby had to go off to work so it was just me and the daughter dear all day. I decided to take a trip up to the new Joann Fabric  mega store that just opened up down the street from my house (I now have a craft store practically within walking distance, this could be dangerous!)  Usually, as you all know, I am a “thrifty” shopper, but today I had a few crafting supplies I had to pick up and I figured why not give it a look?  They had a great coupon I found online,  30% off total purchase (except for sale items of course) Which was icing on the cake –if I decided to buy anything.  I walked into the store and it was HUGE!  The place was filled with aisles, upon aisles of fabric.  I am used to Goodwill prices, so I was shocked at how expensive fabric can be! One fabric in particular  was $49.99 per yard… yikes!  Thank goodness they had good sales and aisles filled with fabric at $4.99 a yard phew!

Image

I found this great school themed material. I had purchased a wooden school desk at an outdoor flea market some time ago, and had no idea how or with what material I was going to restyle it.  Now it was no question the winner was… fabric! I picked up a yard for about $5.89 on sale.  Once me and the giggle-goo got home, nap time was approaching so, I put the little one to bed and gathered my materials I would need to get started.

Image

First thing was to make sure the piece was clean and free of dust.  Then I used a black marker to trace the desk top and seat onto the fabric.  Once this was done, I carefully cut the cloth with a pair of scissors. I then generously applied the Mod Podge Matte finish on the desk top and on the seat using a larger paint brush to smooth it out.  Then I applied it to the fabric, using my hands to smooth out any air bubbles.  Messy you say?  Absolutely, but I feel with fabric it gives me more control, than using the Mod Podge tools.  Besides, I have never been afraid to get my hands dirty!  Once it was smoothed out, I then applied a layer of Mod Podge over top of the fabric. While that was dying, I painted the piece.  I used Red, Black, and Blue all colors featured in the fabric. The wood was ready to paint and not in need of priming, but it was very dry and soaked the paint in initially.  It took about 3 coats overall to get the desired result. I brought the piece back upstairs and allowed it to dry for several hours under a stand up fan.

Fast forward to later in the evening.,with the daughter asleep for the night and the hubby finally home, I worked on finishing the piece. I decided to cut out some swatches from the material and Mod Podge these onto the sides to add a little more life to that area.  I then covered the entire desk with 2 coats of Mod Podge.  I usually add more coats to the areas that will get more use and where the cloth was applied.  I used 4 coats on the seat and the desk top areas.  Pictured below is the wooden desk before and after:

Image

The hubby loved how it turned out and I can’t wait for the little one to use it!  She loves sitting at her little table and chair so I think she will enjoy this just as much and it will grow with her.  I also love the neutrality of the desk a boy or girl could use it!

Image

Stay calm and happy crafting my friends : 0 )