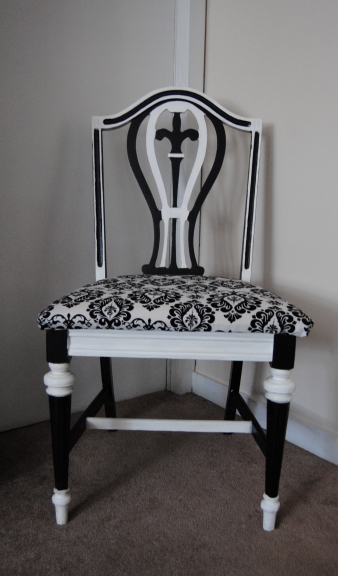
It has been a very hectic week in the “On The Upcycle” household. I have been working late into the night to prepare for my first flea market this Saturday. I am happy to report, that my crafting area is looking more like a usable work space, and less like a storage closet! My hope is clearing out some older items will make way for new projects.
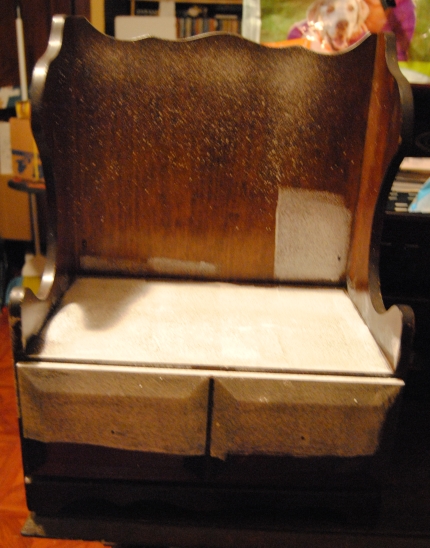
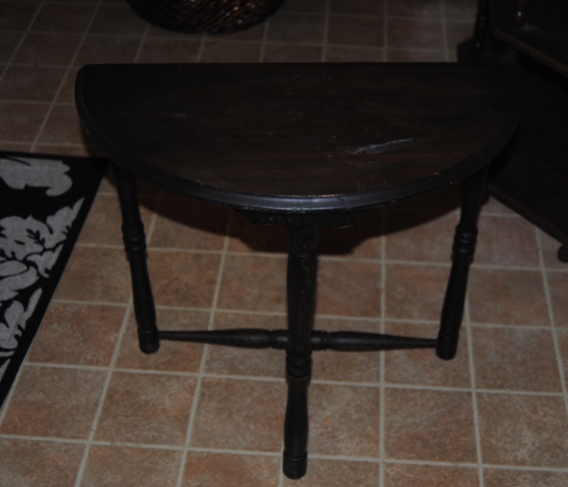
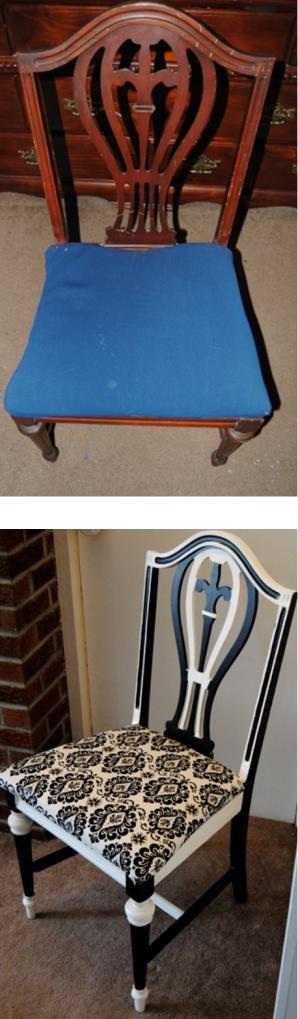
I have also been working on a few projects specifically to use in the sale. I picked up this nice, wooden side table at Goodwill for a couple of dollars.

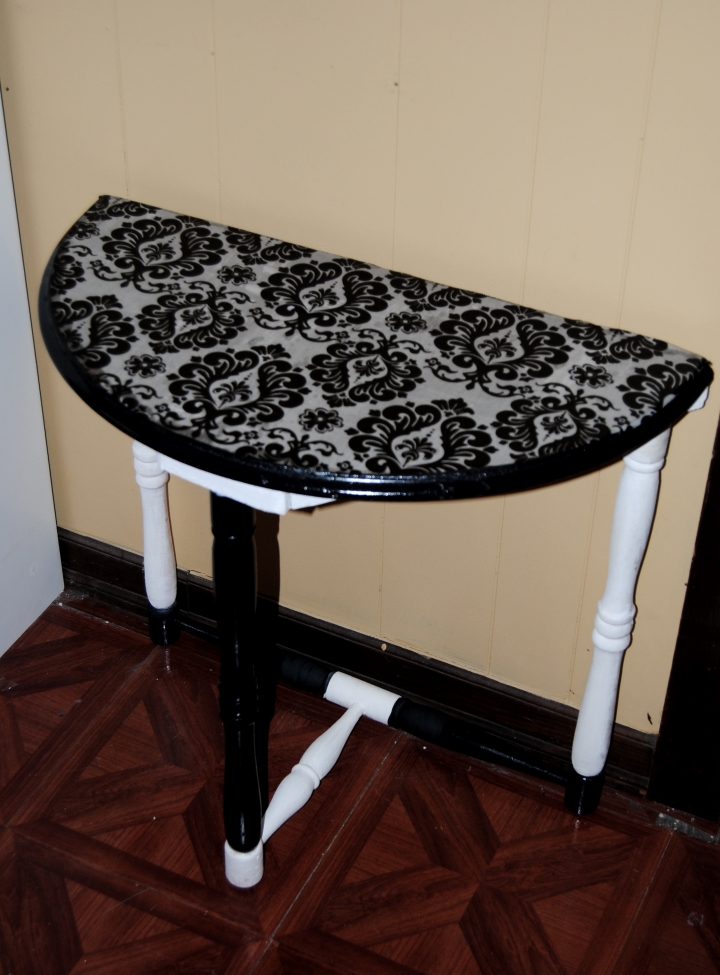
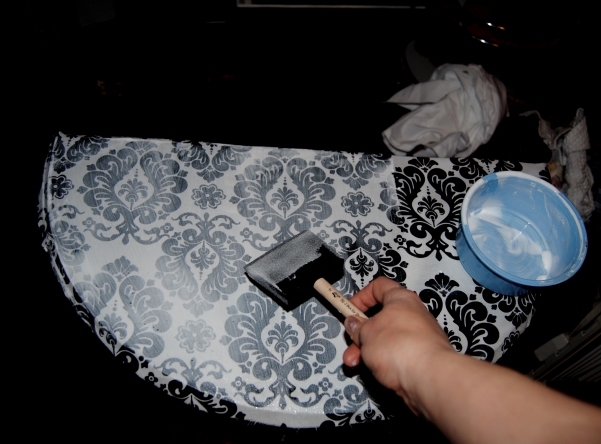
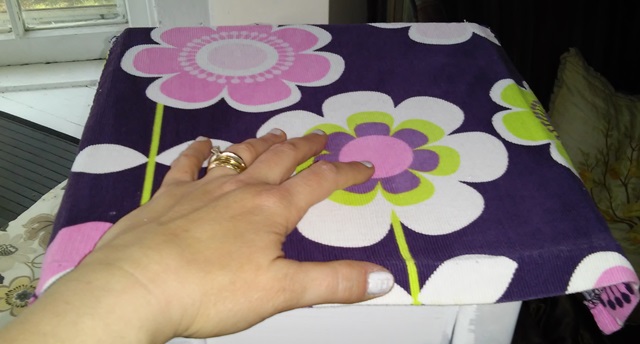
The original idea, was to use a black and white scarf I had for the decoupage and then paint the table with neutral colors. It is amazing how quickly a plan can change! I used a white, spray on primer to prepare the table. I applied the scarf and instantly was not all that impressed with the result. Scarves can be tricky because the fabric is very thin, and once it is glued to the table top, it has a tendency to show any imperfections on the wood underneath. That is exactly what happened in this case. Once the Mod Podge was dry, I removed the fabric and decided to start over. Then it hit me: I had this great flower power corduroy fabric from an old dress that looked very cute on my daughter but no longer fit her. I saved it in the hopes that I would find a use for it someday. That time was now!

I cut the fabric and measured out a large enough piece to cover the top of the table. I applied a generous amount of Mod Podge to the table surface. The general rule is the thicker the material the more Mod Podge you will need to use to achieve the desired effect.
Once the glue was dry, I hand painted the table with pink, purple and white acrylic paint. This was turning out to be a much different table then I had originally anticipated. After a few more coats of paint, I added generous amounts of Mod Podge to the table top to seal the fabric. I repeated this process three times allowing it to dry between coats. I also applied Mod Podge to the painted surfaces, to seal the entire piece.

Once dry, I trimmed off the excess fabric on the edges and applied more Mod Podge to seal those edges.

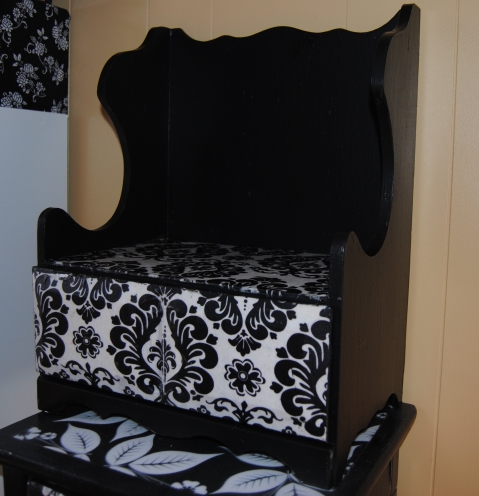
This is a side table with a lot of flower power and 1960’s appeal. I am hoping this table makes some little girl very happy! It will be just one of the items for sale this weekend. I also loved working with corduroy! Because of the thickness of the fabric, I was unsure as to how it would turn out and was more than pleased with the end result!
Before:
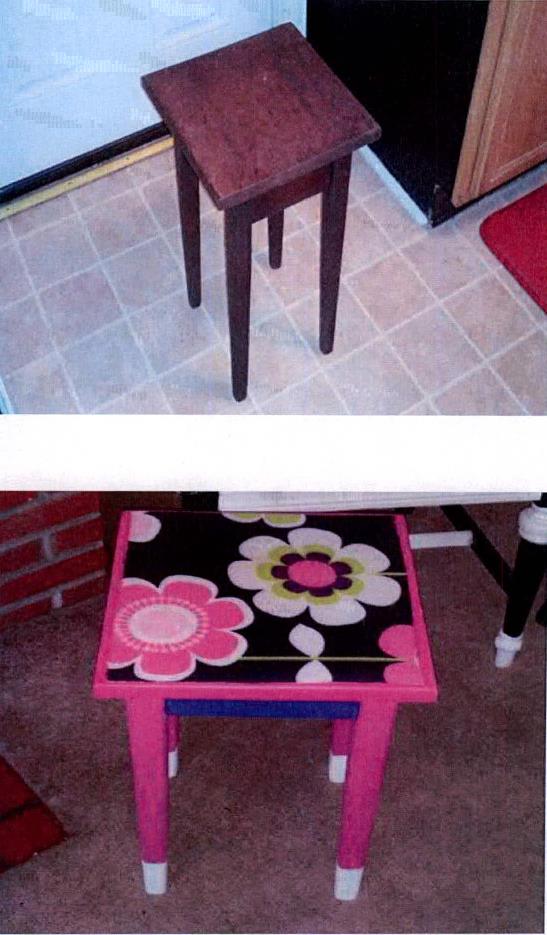
After:
Materials Used:
Old kids Garment
Mod Podge
Spray or brush on white primer
Acrylic Paint
Paint Brushes (Various sizes)
Scissors and Box Cutter knife (to trim edges)