Smells Like Team Spirit: Decoupage TV Trays

Writer’s block is a terrible thing!  I have been inflicted with a horrible case, which explains my lack of posts in the month of October. Despite my loss for words,  I have still managed to stay busy and continue crafting. It has been the healthiest and most productive stress reliever for me to date.  I am always searching the crevices of my brain for new ideas, and it keeps me going.   Quite surprisingly it is the familiar ideas that get revisited most often due to popular demand.  One such project is the decoupage TV Trays. The themes for these tables are endless.  I have posted various tutorials on how to make these TV tray tables more fun and decorative.    Various family members have expressed interest in having one, and I love to make others happy.    My two young nieces are involved in school sports and what better way to show team spirit than with something unique and functional at the same time?

Look familiar?  Everyone has a set of these trays, and  they make frequent appearances in thrift stores for just a few dollars.   All you need is a graphic that can be enlarged without becoming distorted, and a printer.

TV Tray before

Add some paint, apply the Mod Podge and you can create unique, spirited gifts that the other kids at school will want to have!

20140601_191920 (1)

DSC_0841

Sports, Music, Art, Personalized the possibilities keep coming.  As long as there are boring TV trays left in the world, this project will live on.  How would you redesign your table?

Ghosts of Furniture Past: Refinished Drop Leaf Table

My husband has very few mementos from his childhood, so for this project the pressure was on.   This round, drop leaf table was used for just about every purpose in my husband’s family home.  It had seen better days.  It survived over 30 years of wear,  dirty hands, spilled drinks and more.  If only a little table could talk!  I could only imagine the stories it would tell!

I wanted to restore this table to its original state before all its scratches, and dings, but it would prove to be my most time-consuming project to date, and also the most rewarding.

Cleaning over 30 years of dirt and grime is not easy, but a necessary step when preparing a table for restoration.  I cleaned it throughly with a damp cloth and used a scrubber sponge for tough to clean areas.  Once clean and dry, it was time to sand it and I did so by hand with sandpaper!  This was very messy and time-consuming.  I suggest wearing a mask, and doing this in an area you don’t mind getting dirty. Completing this part of the project outside would be preferable.  All the more reason to invest in an electric sander having one would have accelerated this process.  In between other projects I worked tirelessly to get the table completely sanded and ready for staining.

Round Drop Leaf Table

I chose Minwax  Jacobean 2750 for the stain.  I wanted a dark rich color, which would contrast nicely with the sandstone colored walls.  While working with oil based paint be sure to have a proper solvent nearby for clean-up.  I use Safer Paint Thinner which is more environmentally friendly than traditional cleaners.  I applied the Minwax stain with a brush, following along with the wood grain.  Unfortunately, for me,  I applied too much stain and due to the humid summer weather, the table took over a week to dry!  At this point, I was in no rush, and it rested quietly in the craft room locked away and out of reach from curious toddler hands.

Once the table was completely dry, I sealed it with quick drying Minwax Semi-Gloss Polyurethane.  I applied two coats, for a smooth finish.

Restored Family table

Finally!  After many weeks and many more pieces of sandpaper, the family table was complete and ready for its permanent place of honor in our family home.

Before and After Drop Leaf Table:

Before and After Refinished Drop Leaf Table

On The Upcycle Restyle

on-the-upcycle.jpg

This weekend I decided to give “On The Upcycle” a much-needed reboot.  I felt the old blog layout was getting a bit stale. Last night I experienced an evening of insomnia, and decided it was the perfect time to explore new ideas. I hope you all like the new look!  Happy 4th of July weekend everyone!


Thrift Store Surprise: Vintage Wood Sewing Box Upcycle

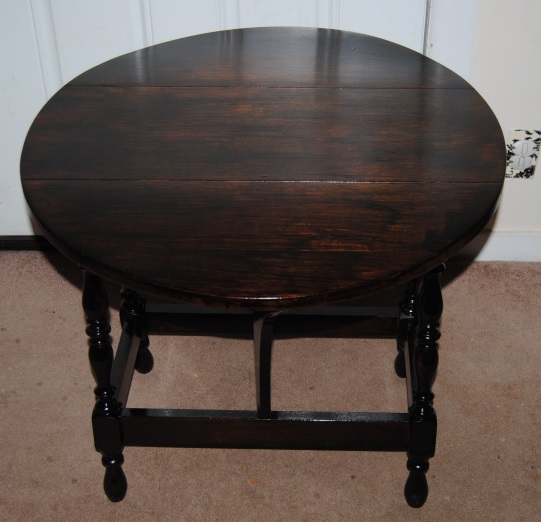
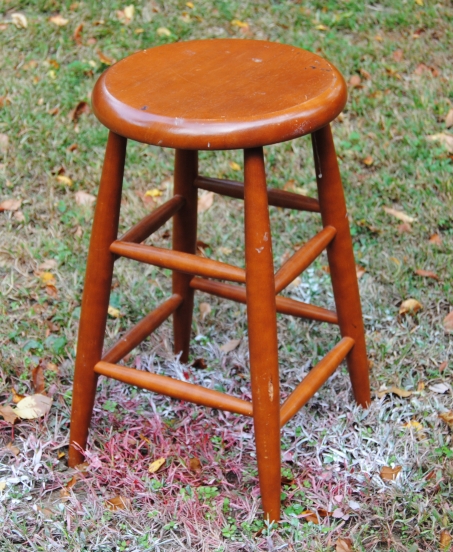
When I see something at a thrift shop that is unique and catches my attention, I will often purchase it even when I am unsure of what it is.  As was with the case of this little wooden box with legs. I imagined what it could have been used for. Perhaps it was intended to hold hats, gloves and scarves, or it simply sat by the door and was used to sort daily mail.  To me it didn’t matter, it was intriguing and best of all, priced right at $3.99!

DSC_0485

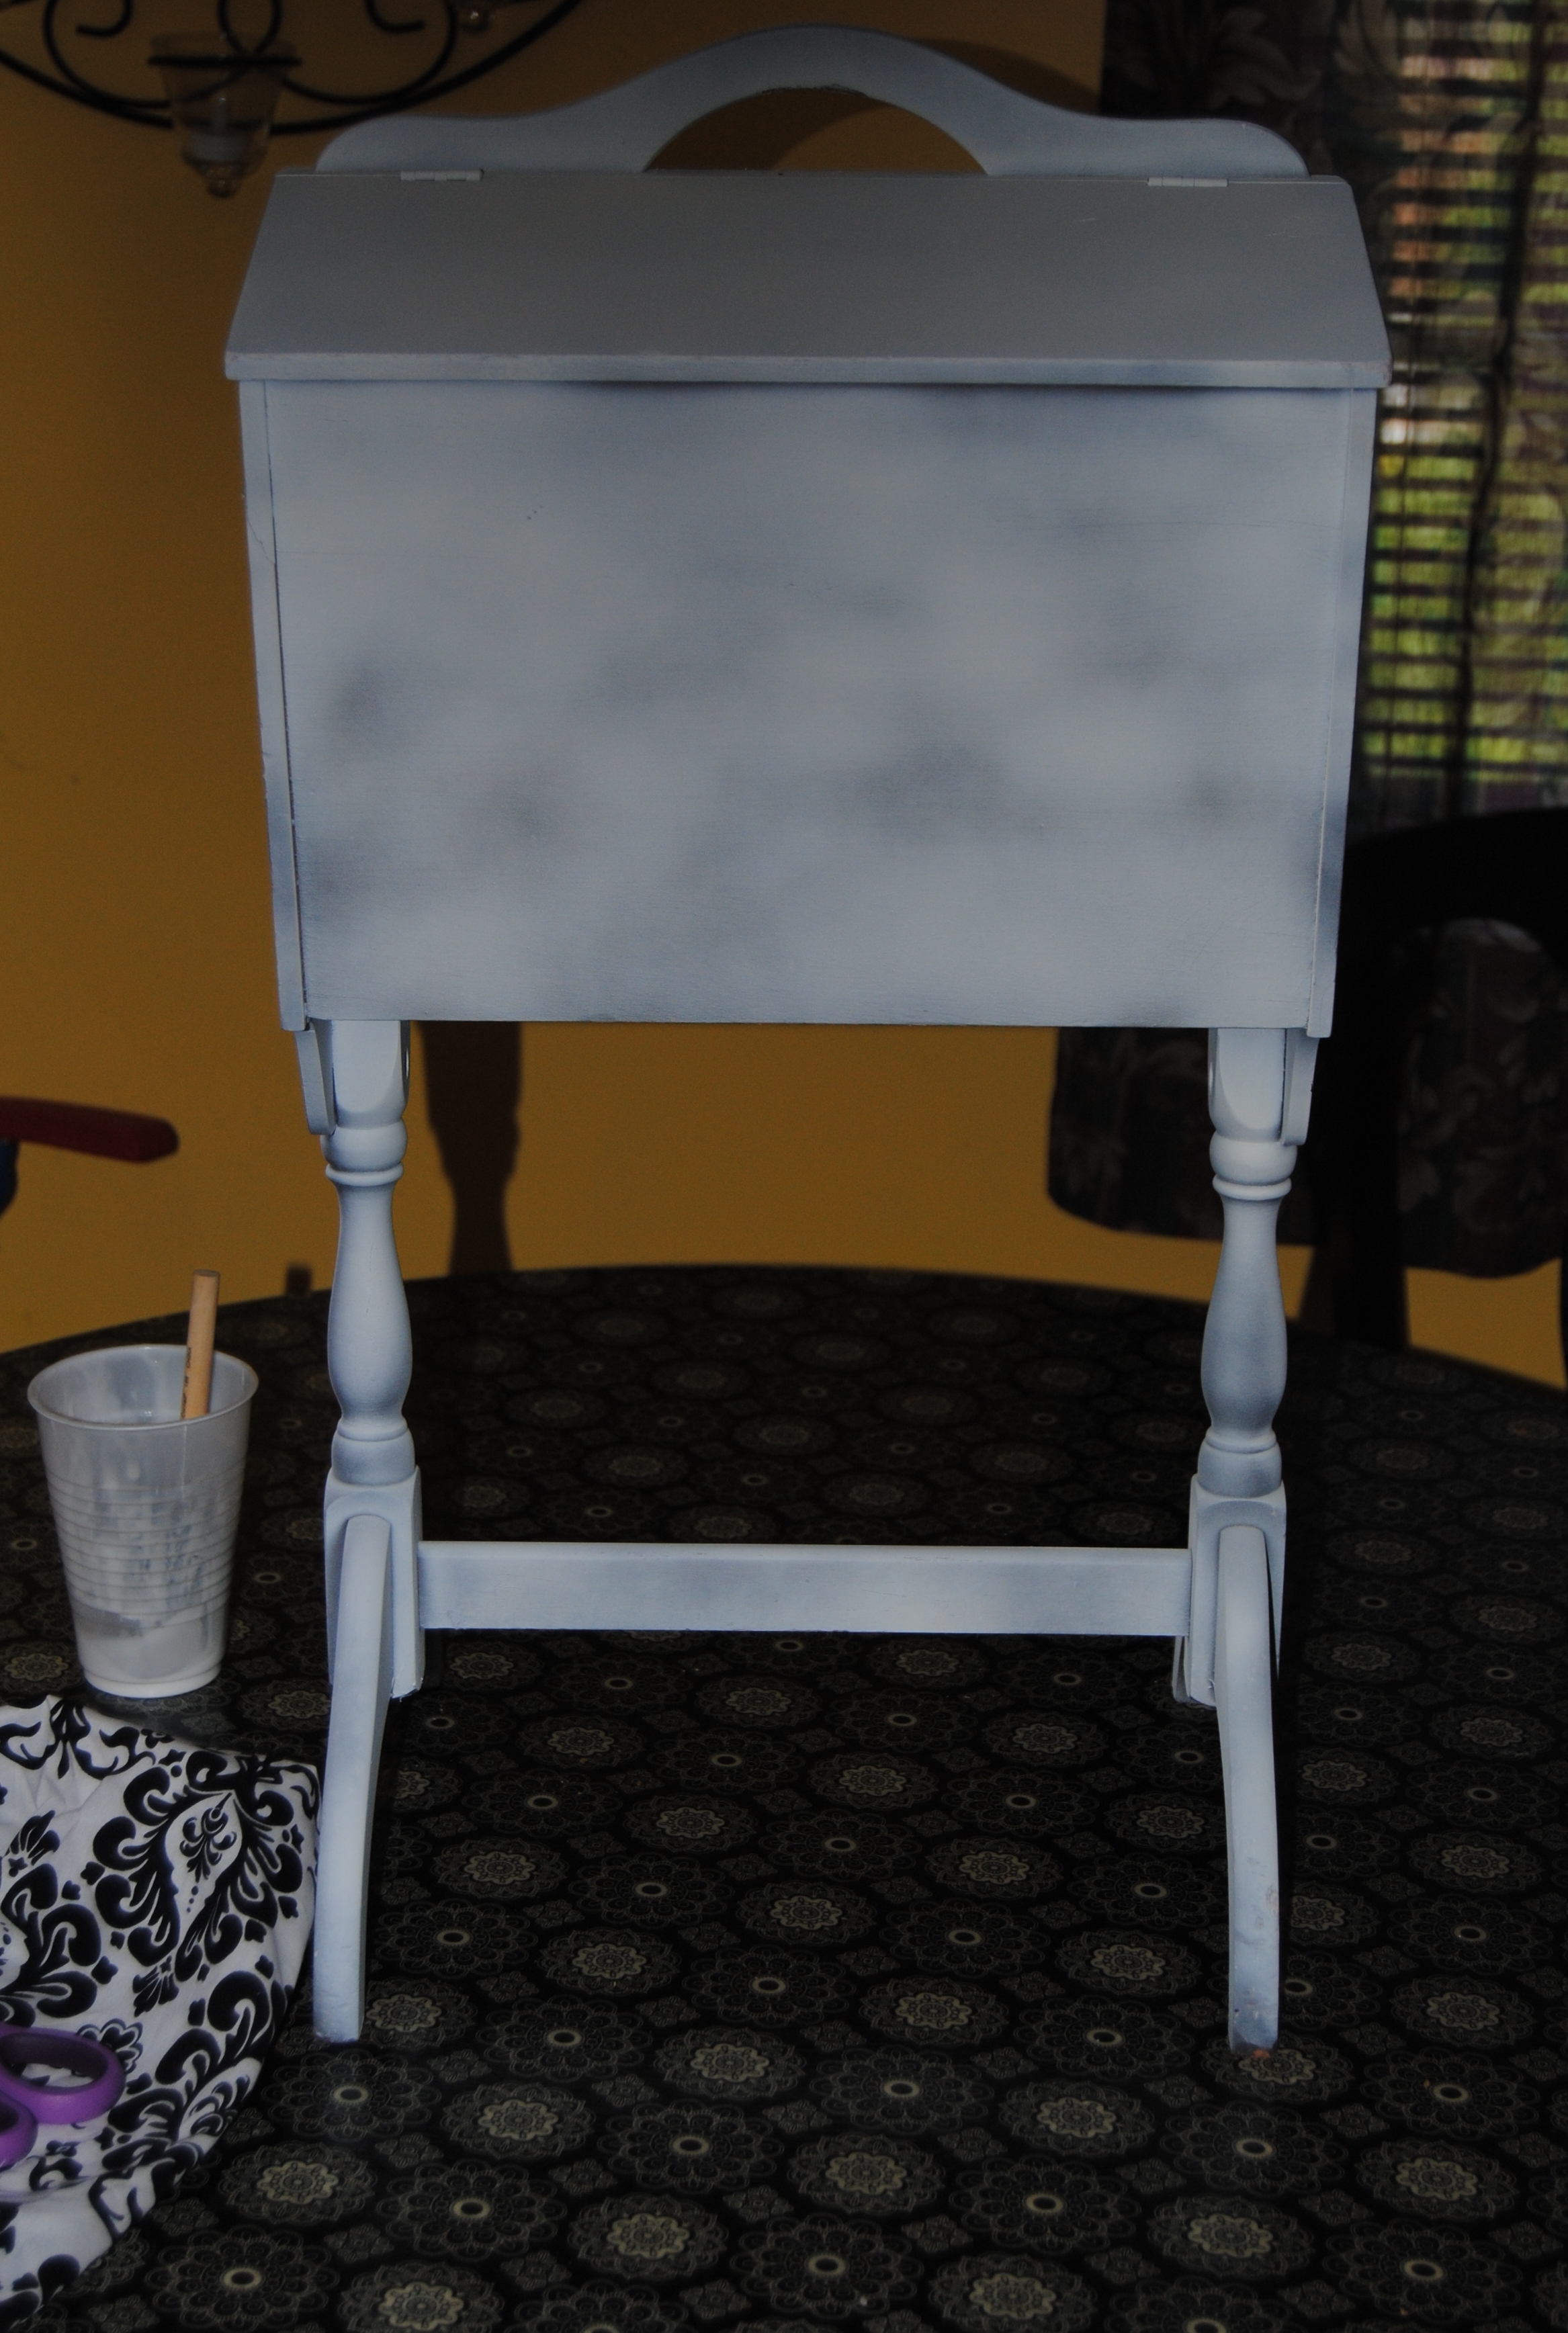
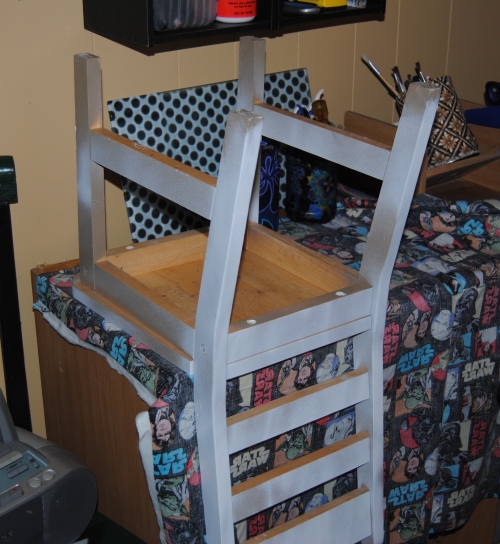
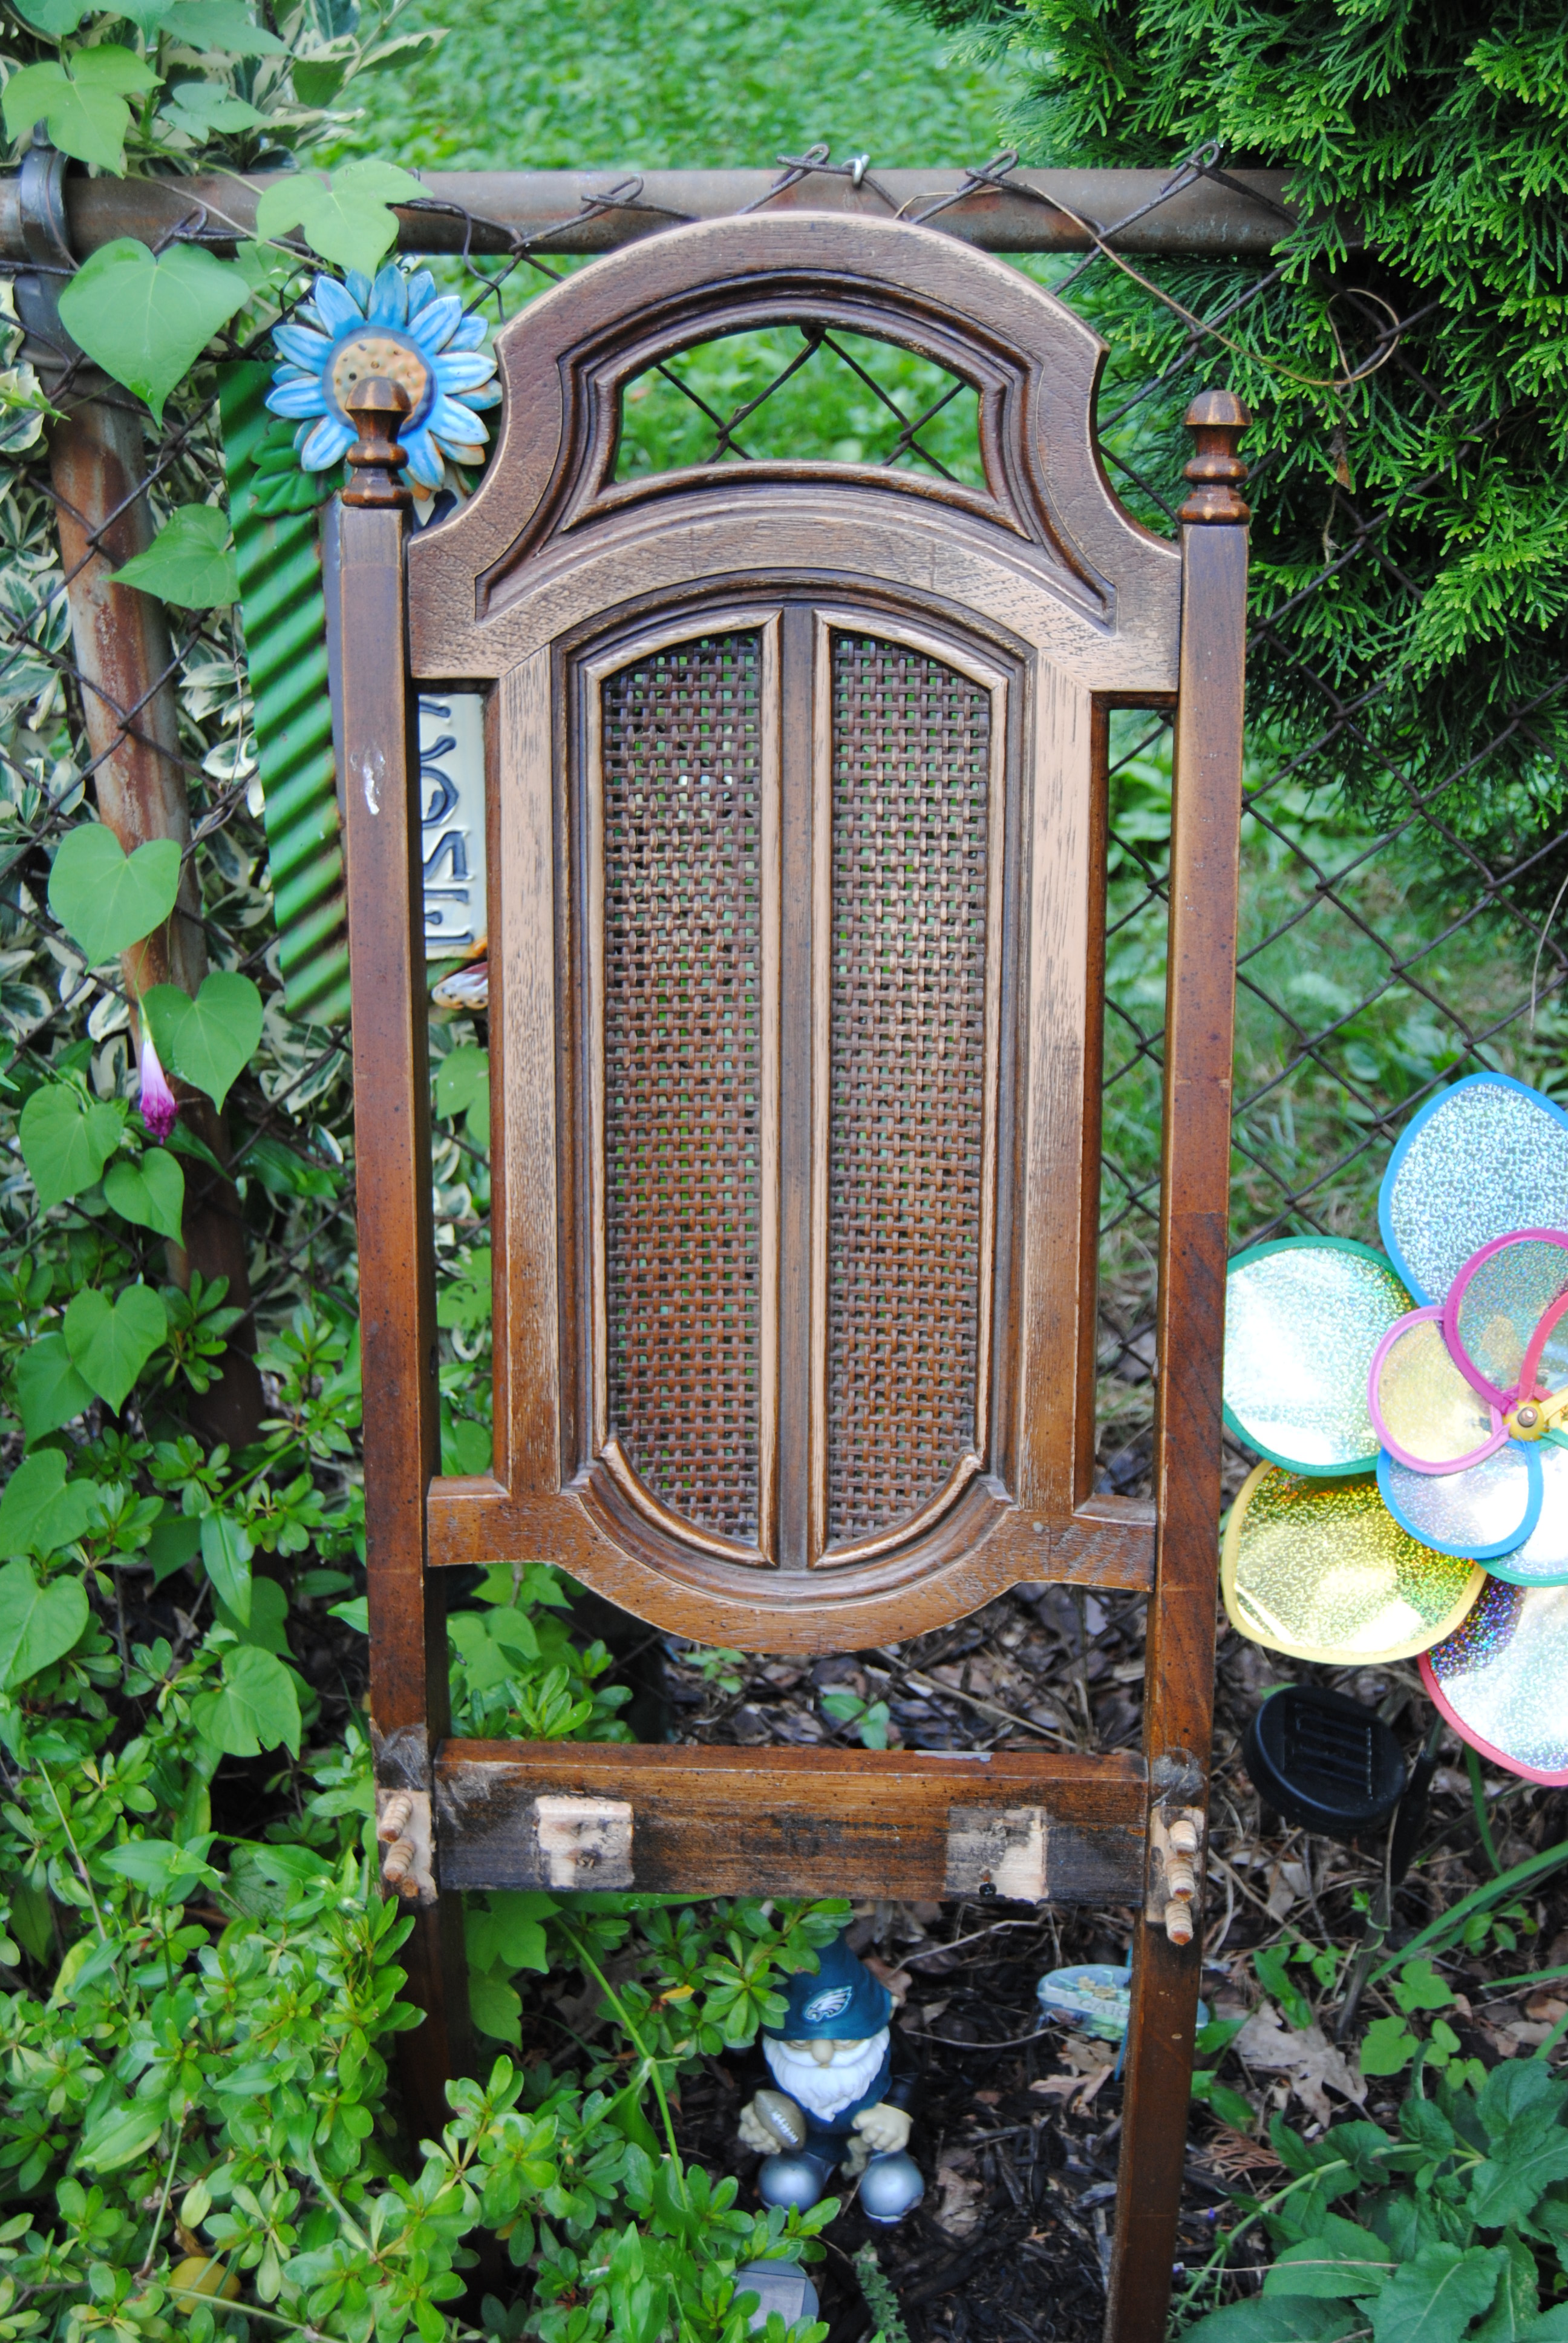
Sure, I had my smart phone handy, I could have googled the item and had my answer right away, but for some strange reason,  I didn’t.  I simply brought it home and stored it in my craft room.  It patiently waited its turn to learn its crafting fate until this weekend, I blew the dust off and decided to come up with a plan of attack.  I like to utilize materials I have handy as much as can. I tend to accumulate unused fabric scraps from previous projects and I prefer to use this fabric to the last thread.  One of my favorite designs was the black and white damask fabric I purchased at Joann Fabric.  I used this fabric on previous projects including The Broken Chair Challenge, and You had me at “Half Table” Yard Sale Rescue. I still had a rather large scrap piece left and decided to use it to upcycle this item.  I began by cleaning the item thoroughly.  Once the dust and dirt had been removed, I used a latex spray on primer and spray painted it white.

DSC_0496

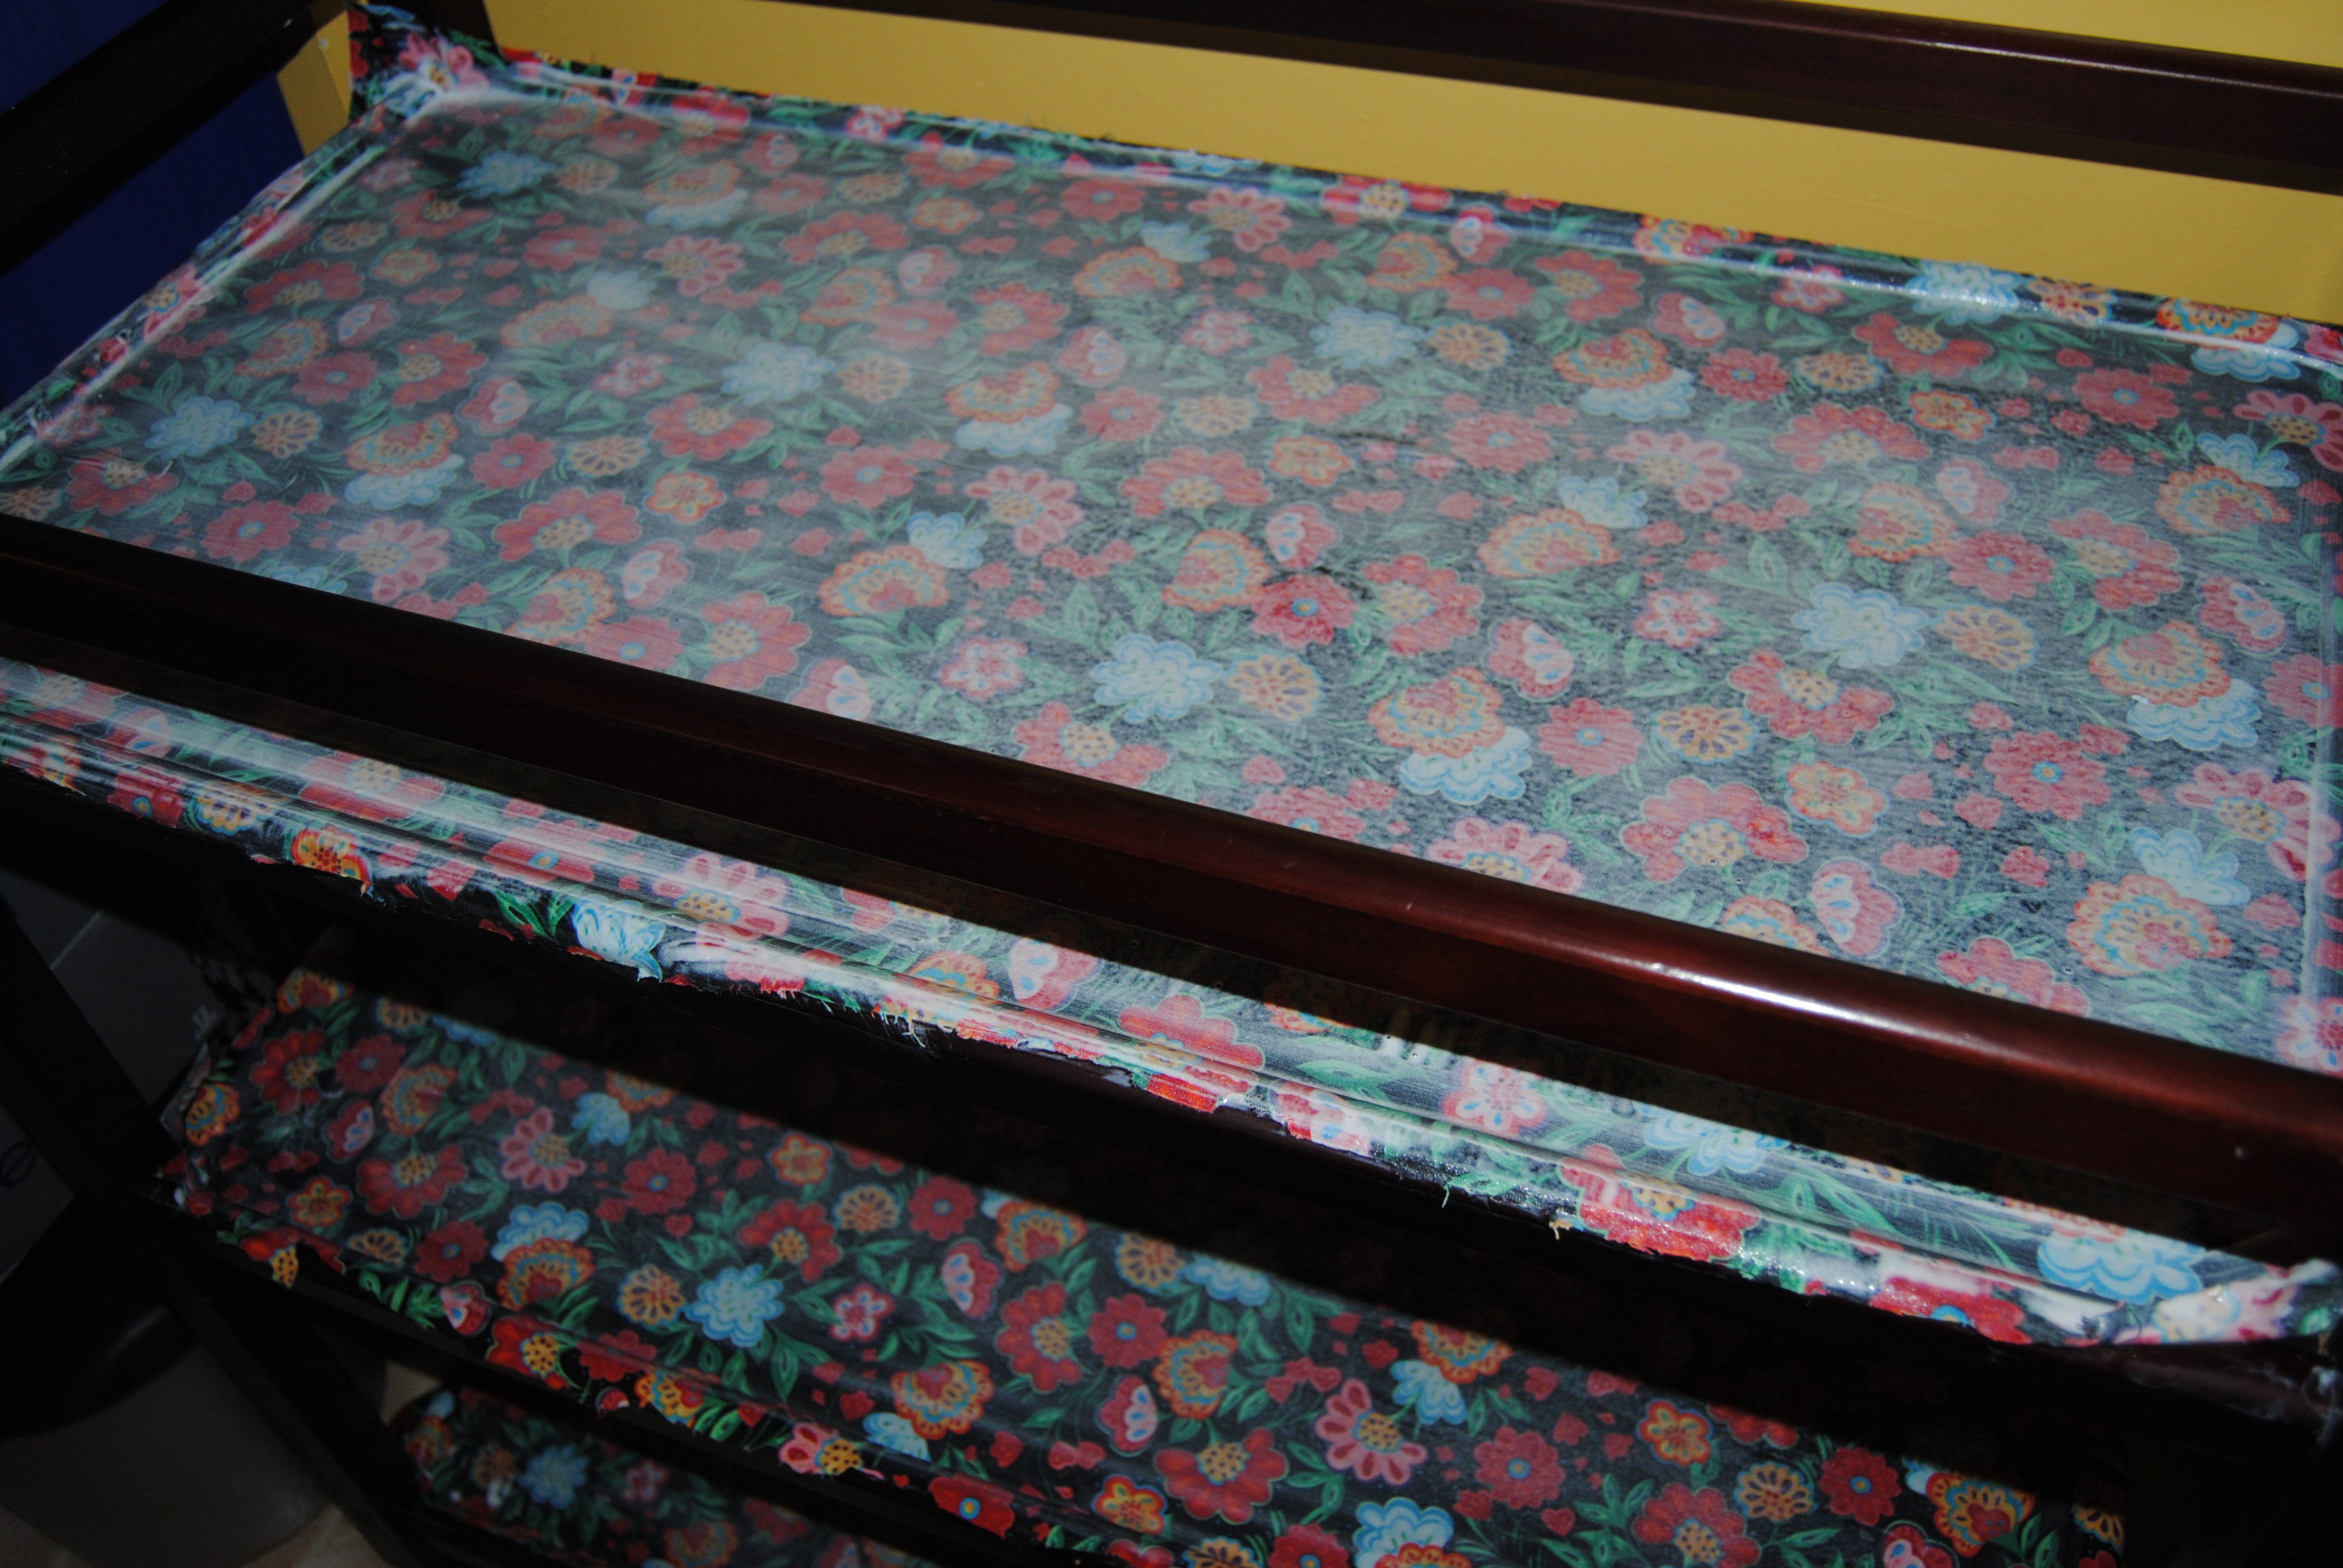
I cut the fabric to fit both sides of the piece. I generously applied Mod Podge to the area with a foam craft brush.

DSC_0497

I then applied the fabric and repeated this step for both sides of the box.

DSC_0498

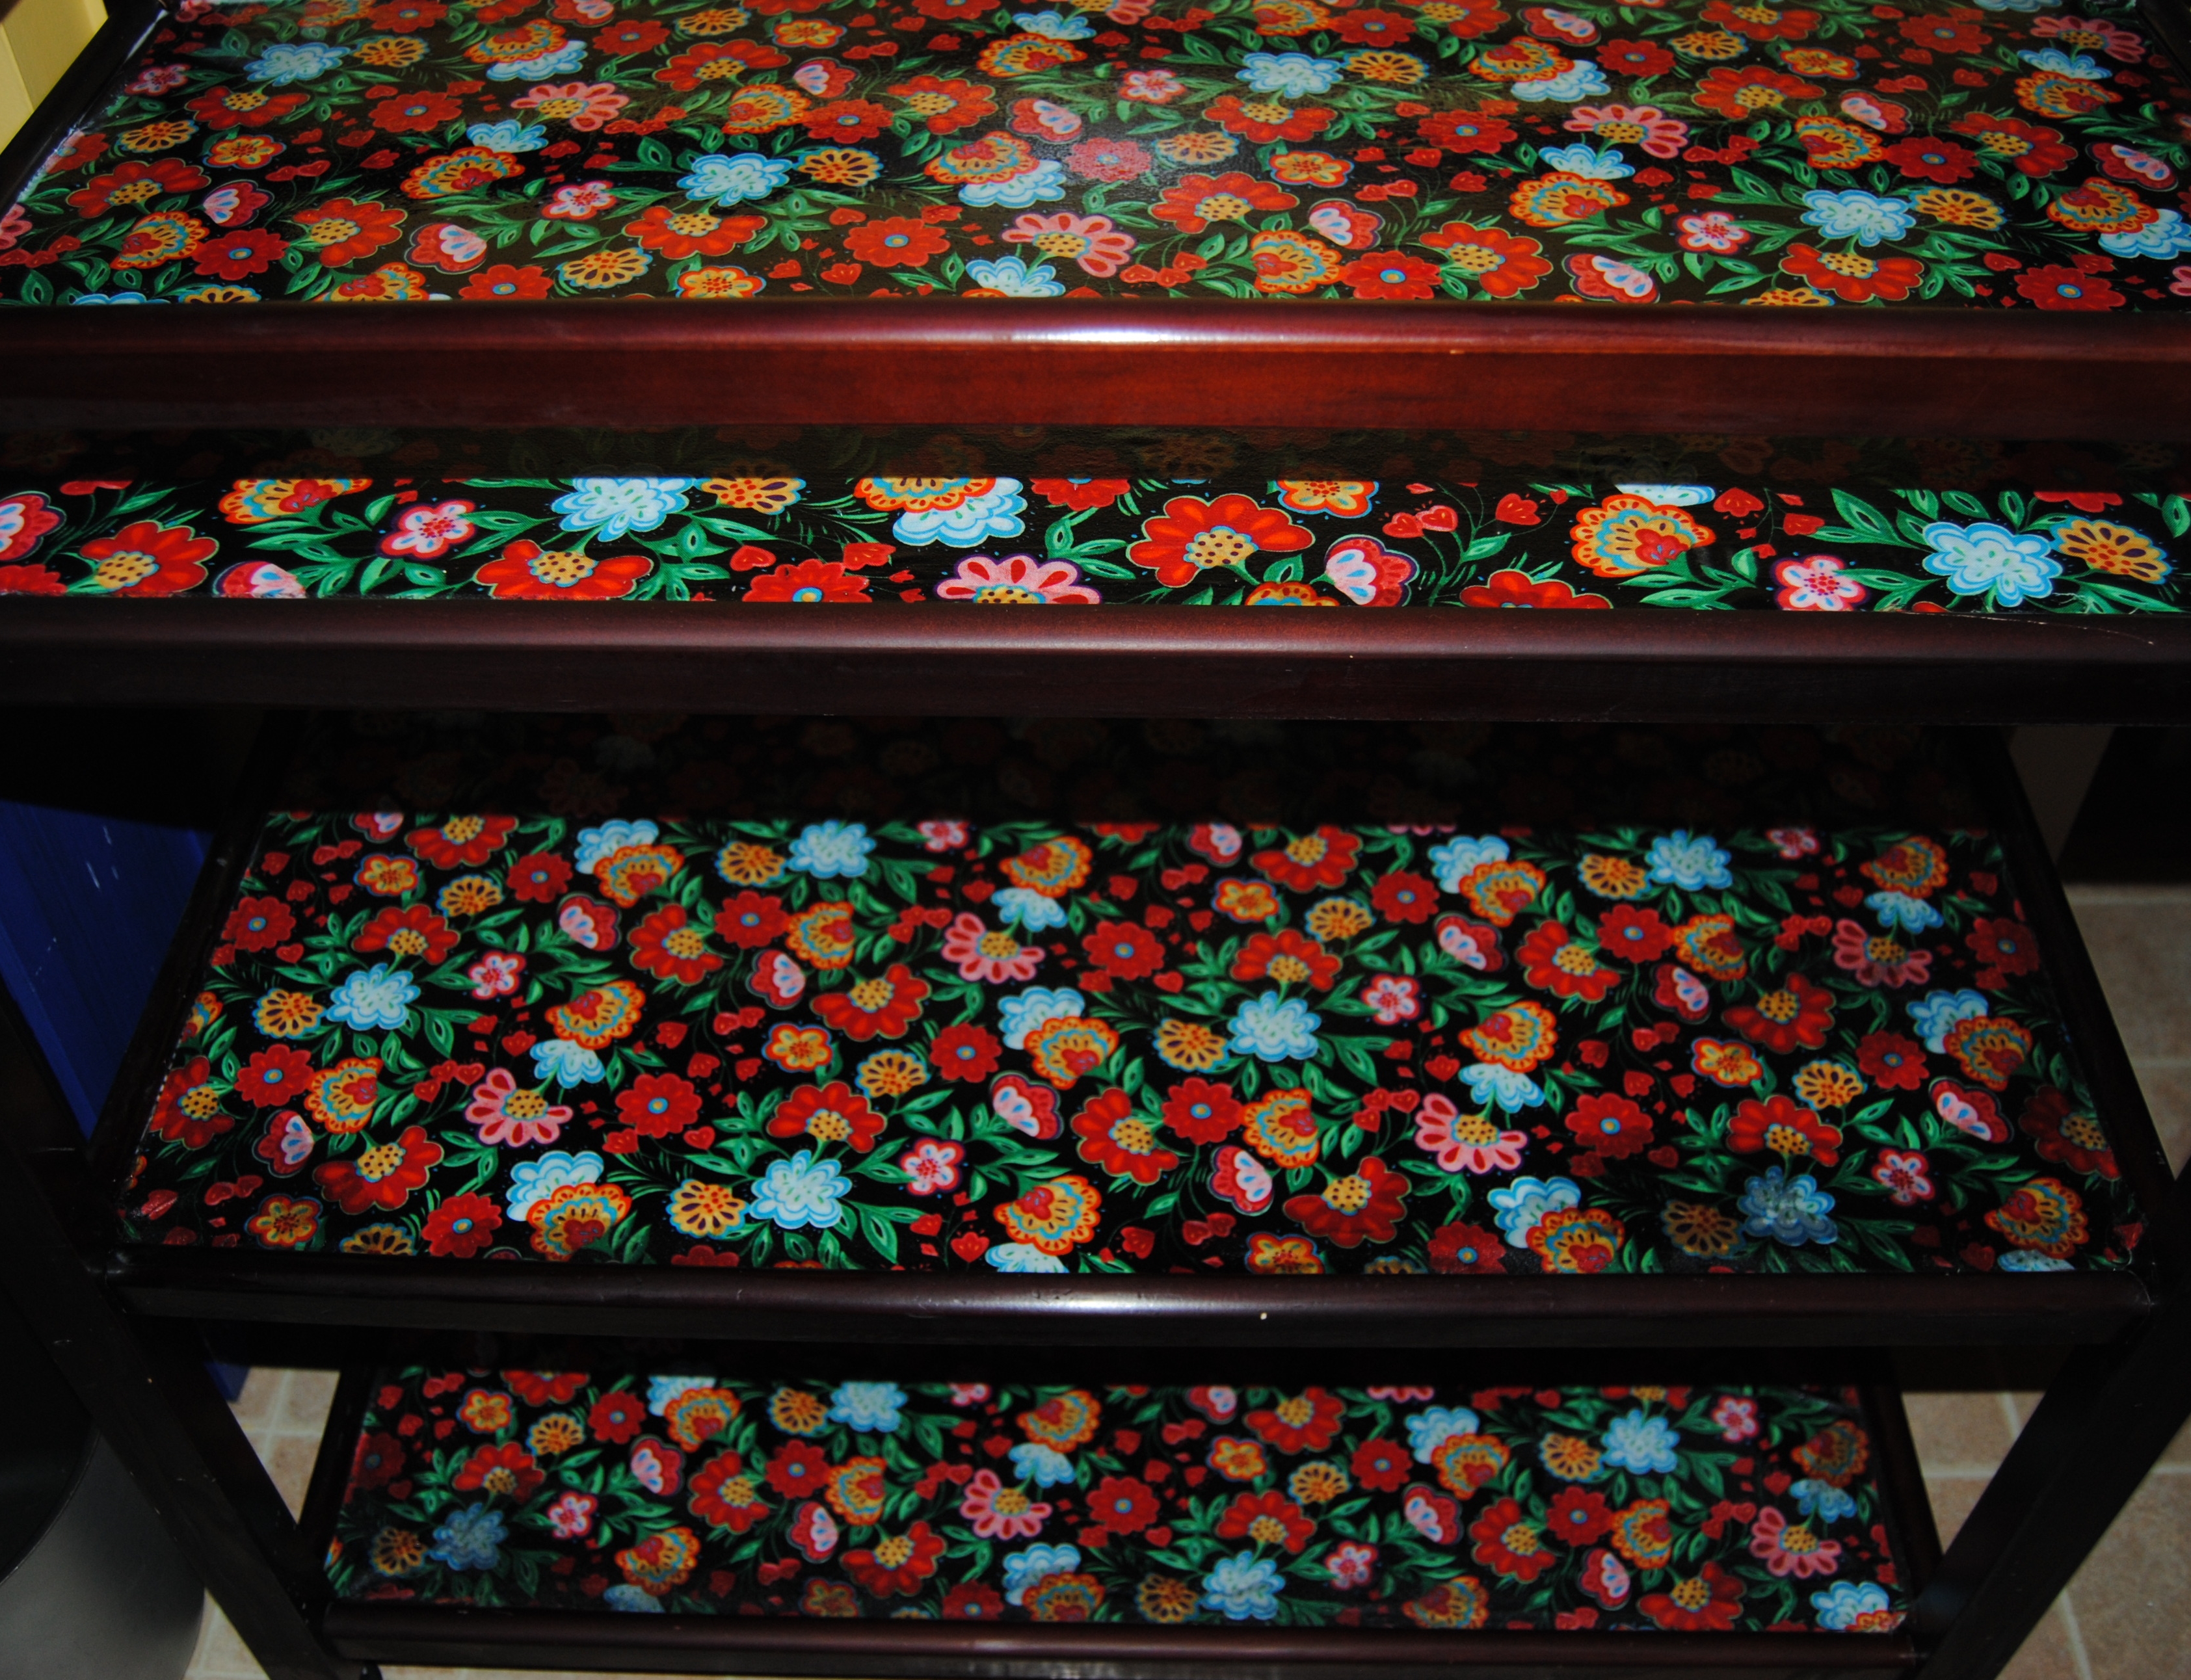
Once this dried, I applied three total coats of Mod Podge over top allowing each side to dry thoroughly between coats.

DSC_0499

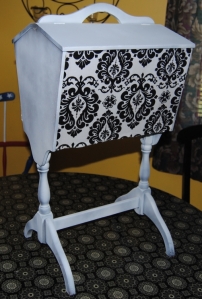
I then painted the entire piece in a black and white scheme using acrylic paint.  The piece took about three coats of paint. I allowed the piece to dry over night and applied a final layer of Mod Podge to the entire piece to seal it.

DSC_0502

I am very happy with the final result;  However, I also want to share with you my mistake during this process.  Halfway through the project, I finally did what I should have done in the very beginning, research the piece online before you upcycle!  What you discover may alter your plans.  Granted in this case, I do not believe I would have done anything differently, but it really got me thinking about these pieces and how research plays an important, but often unspoken role in crafting.  A few pieces along the way, I decided to keep in their natural state, and some purists may have done the same in the case of this vintage box.  Turns out this little box with legs is a Priscilla style sewing box most likely from the depression era 1930’s to 1940’s. I saw a few online in various states, some painted and upcycled and others in their original condition range in price between $35 and $80 dollars on Etsy. My antique radar must have been working that day!  Despite having no clue about what this items’ purpose was I sensed it was something special.

What would you have done with this piece?  Have you ever had something special, but didn’t know it? Do you have crafting regrets? I would love to hear from you!

DSC_0509

Materials:

Vintage Sewing Box Stand

Fabric Of Choice

Mod Podge

Acrylic Paint/White Latex Primer

Scissors, Paint Brushes, Foam Craft Brush


Times They Are A Changing: Repurposed Kids Changing Table

Our diaper changing table was a very useful piece of furniture while it served it’s purpose.  Once my daughter outgrew it however, I wondered how I would reuse it. For a while it took up space in the craft room as I contemplated what to do with it.  It just so happened that I was looking for additional storage in our kitchen and I thought that the changing table could easily double as an extra set of shelves.

DSC_0161

The family and I took a trip to Joann Fabric and I purchased a colorful floral fabric for the project.  Since I had quite a bit of area to cover I purchased 1  1/2 yards of material.  I decided to leave the areas free of material in its original dark wood color, or if desired it can be painted the color of choice.  Just be sure and use a primer first especially if it is dark wood.

I cleaned the piece thoroughly before getting started.  Once dry I used a small foam roller to apply Mod Podge generously to the table surfaces.

DSC_0162

I cut the material with scissors allowing some extra fabric to hang over the sides.  I then carefully laid it on top of the Mod Podge smoothing out any air bubbles or wrinkles.  I generously applied Mod Podge over top of the fabric.  I repeated this for each individual shelf, and used two coats of Mod Podge for each shelf.

DSC_0163

Once the Mod Podge was dry and clear, I used a box cutter knife to carefully trim away any excess fabric from around the edges.  I utilized the table groove as a guide while slicing the fabric.  I then used two coats of clear polyurethane to seal and protect the table from moisture.

Repurposed Changing table

Now I have a bright and cheery shelf for the kitchen and desperately needed additional storage.  The colorful fabric really pops against our bright yellow walls, and am happy to be able to continue to use what was once a very important and sentimental piece of furniture.


Decoupage Diaper Changing Table


Materials:

Old Wooden Changing Table

Mod Podge

Foam Roller

Box Cutter Knife

Scissors

1 1/2 yard of Fabric of Choice

(Primer and Paint Optional)

Polyurethane clear sealer

The Craft Must Go On: Upcycled Rock N’ Roll Bar Stool

A few months back, I came across a wooden bar stool at Goodwill for $5.99. I liked the size and design of the stool, and thought it would make a great decoupage piece.

DSC_0884

I decided to upcycle the stool with a Rock N’ Roll theme,  and since it was to be a gift for my husband, I chose the Irish Rock band Thin Lizzy as a subject. The band is one of our favorites and have a vast catalog of great music.  This initial vision took a back seat to the holidays, and various other projects. The idea seemed doomed afer one mishap after another involving this project.  I abused this stool, and used it to allow smaller painted projects to dry.  When I attempted to prime it, the spray can malfunctioned splattering the primer.  (I believe the can may have been too cold) After the bar stool was dry, I sanded off the “lumpy” paint by hand.  Creating yet more work for myself, while attempting to smooth out an air bubble on the initial decoupage print, I tore a hole in it and had to scrape it off only to start all over again.  Despite all of these blunders,  the project managed to come together.  Turns out I found a much nicer print, based on the album cover for “Nightlife” The print featured a black panther on the prowl like the one featured on the cover below.

Thin Lizzy Night Life

I painted the entire chair in black and red alternating the colors.  It took several coats to obtain good coverage.  Once dry I applied Mod Podge to the seat with a foam brush.  I carefully applied the printed logo and smoothed it out carefully with my hands doing my best to avoid tearing or wrinkling.  I painted the area not covered by the print red, creating a bull’s eye effect on the seat.  Once all the paint was dry, I used Mod Podge to cover the entire bar stool.

DSC_1581

Finally, my crafting nightmare showed some “Nightlife” after much adversity.  More importantly my husband seems happy with the result. Now we just need the bar..

Wanna see more chair restyles from “On The Upcycle?  Click Here

DSC_1583

Creative Blast Off: Star Wars Fabric Decoupage Kids Chair

I was in Joann Fabric recently and came across some great Star Wars themed fabric.  They were in the midst of having a huge fabric sale and I jumped at the chance to purchase something unique and fun at a discounted price.  When I brought the fabric to the counter to have it measured and cut, the clerk informed me that their was a larger scrap piece she could sell me for an additional half off!  It was my lucky day as I really only needed a half yard.  This piece was large enough to use for additional projects, and I jumped at the chance to buy it.  Two other fabrics I purchased also had discounted scrap pieces.  It was my lucky day!  Over a yard of fabric Star Wars fabric cost a mere $5.30!

Thrift Store Kids Chair

I had picked up two kids chairs during a furniture sale (shown above) at a local Goodwill store.   My first project to utilize one of these chairs was for a Strawberry Shortcake themed guest blogger project celebrating Geek Month on Cheeky Geeks Blog. I primed both chairs with a spray on white latex primer, and this chair sat for quite sometime unfinished.  It seemed a perfect fit for the Star Wars fabric.  My husband and I are like many our age, huge fan “geeks” when it comes to Star Wars. I was more than happy to base a kids chair on such a fun topic from our youth.

Trace chair seat on to fabric

I flipped the chair over on to a table and laid the chair seat upon the flip side of the fabric, tracing carefully with a black marker.  I carefully cut out the piece of fabric, along with a smaller sized piece I would use for the chair back. I applied Mod Podge to the chair seat surface with a large foam craft brush.  I then carefully laid the cut fabric on the chair with my hands smoothing it out to prevent wrinkles.  I trimmed the back of the fabric carefully where the seat back and chair back met. This enabled me to cover the seat with as much fabric as possible.  I repeated the same steps to apply the smaller piece of fabric to the chair back.  Once dry, I covered the fabric over top with Mod Podge, and allowed it to dry.

Decoupage Kids Chair

I then hand-painted the chair with red and black acrylic paint.  Like the first chair, it required quite a few coats of paint. Once dry, I painted on a coat of Mod Podge to seal it.

Star Wars Fabric Decoupage Kids Chair

Materials Used:

Old Kids Chair

Mod Podge

Star Wars Themed Fabric

Foam Craft Brush/Paint Brushes/Scissors

Black and Red Acrylic Paint

White Latex Primer

Star Wars Themed Fabric Decoupage Chair

Check out all the great licensed character themed fabrics Joann Fabric has to offer here

Fabric Decoupage Chair Seat

Sports Fan Inspired Upcycled Laundry Room Folding Table

My husband and I have been working on each room in the house, cleaning reorganizing and coming up with new ideas for old items.  One of the areas that needed attention was our basement/laundry area. Our basement is damp and unfinished and keeping it clean is quite a challenge. It also serves as our laundry area.  We have a table in our basement we used in our kitchen for many years. We now use the table for folding and basement storage.  When we moved into our home six years ago, our kitchen was too small for such a large table so it was delegated to the basement.

DSC_0909

I am blessed to have a husband that helps with the household chores, especially the chores I hate!  One of these chores is doing laundry and he graciously does the family laundry every Sunday evening.  He is also a huge Phillies fan through good times and bad. While we were grocery shopping, we came across a Philadelphia Phillies plastic table-cloth in a bargain bin. It was priced right at $1.69.

DSC_0912

I thought it would be great to redo the grungy basement table into a Phillies fan table, and a great way to thank the hubby for all of the laundry he does!  My only concern was that the table cover was plastic.  As stated in previous posts, Mod Podge doesn’t always adhere well to certain plastics.  I thought this would be a great experiment as I had never used a plastic table-cloth for decoupage.  First, I cleaned and painted the table surface with a white latex primer.  This was important because the table cloth was white and the brown surface could potentially bleed through the white table-cloth.

DSC_0911

Once the paint was dry, I generously applied Mod Podge to the table surface with a large paintbrush.  I carefully layed the table cloth on top of the Mod Podge table surface.  This was the most challenging aspect of the project as the table cloth material is thin and prone to wrinkles and air bubbles.  The table cover also is spread across a larger surface area.  I smoothed out the table cover as best I could and applied Mod Podge over the top of the cover and allowed it to dry. I used scissors to carefully trim away the excess table cover hanging over the edges.

DSC_0915I used two coats of a polyurethane clear coat to seal the table surface, I allowed the first coat to dry for 4 hours and the second was left to dry over night.  I applied additional Mod Podge to the edges to prevent any minor curling.  This project was certainly not without its challenges, but despite these I think it turned out great.  The hubby may have lost his sports room to a playroom, but his laundry room is on its way to becoming a surrogate man cave!

Phillies sports Fan Table decoupage table cover

For The Kid In All Of Us: Upcycled Justice League Of America Adult Fan Chair

Poor abused dinner table chair!  I managed to spill paint on it,  drip hot glue on it, and just made a general mess out of it.  It became a place to craft on with the intention that one day, I would give it a new life.  I have a set of four that belonged to the kitchen table we owned previously.  The table was broken, but we kept the chairs.  They are about as basic as it gets, similar to the one picture below.

Windsor ChairWhen I finished the Kids Justice League Of America Chair a few people including the hubby, suggested I create an adult version for all the “grown up” Justice League fans out there. This chair seemed like a good candidate for a super hero makeover.  The chair was heavily lacquered so a white latex primer was a must! Once primed, I trimmed and applied the print to the seat surface.  I found a great image featuring The Justice League Of America characters.  These characters had a more adult feel.  I used Mod Podge to adhere the image to the seat with a coat of Mod Podge applied over top to seal.  I then painted the entire chair with Red, White and Blue acrylic paint. This was the most labor intensive part of this project and required multiple applications of paint, but proved therapeutic after another stressful week.   I applied Mod Podge to the entire painted area of the chair to seal it.

Decoupage Justice League Chair

Super Hero Fan Chair

Upcycled Super Hero Chair

To make a “Super” Chair you will need:

Old chair

Comic book pages or printed image

Acrylic paint

White latex primer spray or brush on

brushes, scissors

Mod Podge

The Broken Chair Challenge Part 2: Chair Back Photo Frame

It all started when I purchased a lovely (but very abused) chair from Goodwill for $3.99.  I loved the design qualities of this chair and thought it would make a lovely restyle. I especially loved the is.  Which means “ Lily flower” in French.  I removed the chair seat, only to discover it broken beyond repair. I was not willing to let this chair go, and  I was determined to find a replacement seat.  My husband and I kept our eyes open for any broken chairs on the side of the road that we could use to salvage a seat.

For months, this chair sat and I resisted the temptation of buying a chair to salvage.  Then one day, my patience paid off.  My sister and I went thrift shopping one weekend and in front of the store they had free furniture.  I was ecstatic!  Their it was the perfect candidate, a chair missing the arms, but with a perfectly usable seat.  I confirmed with the store manager that this chair was indeed “free” and loaded it into the car with the biggest smile planted on my face. I immediately removed the seat when I got the chair home and it was a perfect fit.

Upcycled Black and White Damask Chair

To read more about this project see The Broken Chair Challenge: Upcycled Black and White Damask Chair.

Now, I was left with the remnants of another chair, and did not want the all the parts of this chair to end up in the trash.  It had a lovely seat back, and I had seen some lovely upcycling of chair backs into picture frames on Pinterest. I decided to give it a try.  One great example of this can be found at All Things Thrifty.com

Old Chair Back

The finish on this was extremely worn. If it had not been in such poor shape, I don’t think I would have opted to paint it. By far,  the most difficult and challenging aspect of this project was sawing the legs off the chair back.  I used a hacksaw, but it was quite tough to do!  An electric or battery operated hand saw would have worked better, but on the bright side it was at least a 500 calorie burner! Rarely can you say you burn calories crafting!  Once this was completed, I sanded the area that was cut.  I took the chair back outside and spray painted it black, using about two coats.  I allowed the piece to dry overnight.

The next day, I chose a large photo from one of my daughter’s previous Picture People photo sessions.  I measured the area and trimmed the photograph to sit inside the middle of the chair back.  I used a hot glue gun to adhere the photo to the wood.  I had a few craft jewels and roses that I added to the chair back to make it “pop”  I originally glued a large rose to the bottom of the chair back, but decided to remove it later as you will see in the photos below.  One of the smaller roses, I carefully glued to her hand in the photo, It creates an illusion that she is actually holding a rose in the photo.  I think it gives the photo a bit of an extra dimension.  A nice little “touch” to the project.

Hand Holding Rose

I decided to hang this in our bedroom which is black, white with grey wall.  It was very difficult to snap an adequate photo as the flash kept reflecting off the shiny surface , but it is lovely and I am so glad I tried this!

DSC_0343

Think of all the possibilities before you toss that old chair!

Materials:

Hot Glue Gun

Spray Paint (If you choose to paint)

Old Chair Back

Scissors

Saw (If needed)

Screw driver (if needed)

Sandpaper

An old chair back re-purposed into a Picture frame