I can assure you this will not be the last chair upcycle you will see on this blog. I have really grown fond of Upcycling old chairs. Not only do they look great when finished, They are a manageable pieces of furniture that fit easily in my smaller car. (I dream of someday having a truck or van to go for the bigger pieces) They also tend to be priced right. Many of them are chair orphans separated from their original set. On this day of thrifty shopping I came across two chairs priced very reasonably at $5.99 each. My husband had suggested since the Sports Team TV Trays turned out great, to do a matching sports themed chair. Of course me being me I said sure! I had picked up a perfect X back chair that would work well for this latest project.
First, I cleaned the chair removing any dust or dirt. I then painted the entire chair with a white latex primer. I applied two coats of primer total. This was important since I did not sand the chair and it had a bit of a lacquer finish. The Latex primer helps the paint to adhere to the chair better. While the chair dried I prepared The Philadelphia Eagles logo I had printed. I cut out the image. Once the seat was dry I used Mod Podge Matte to glue the decal to the seat carefully smoothing out any air bubbles. I then added a few layers of Mod Podge over top of the decal. When you hand paint using brushes sometimes the paint will splatter. Protect your decal by covering it with Mod Podge (Once dry any paint can be wiped away with a wet cloth.) Or cover it with a plastic shopping bag.

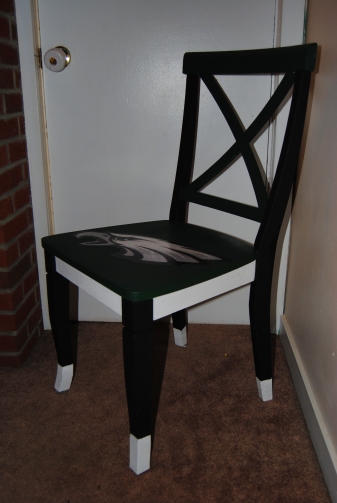
Now it was time to paint the chair. The Philadelphia Eagles colors are Hunter Green, Black and White and those are the colors I wanted to use for this chair. I used about 2 coats of Acrylic paint allowing to dry thoroughly between coats in front of a stand up fan.
The next day, I used the Mod Podge Matte to completely cover the chair to seal it to prevent chipping. I covered the chair in 2 coats of Mod Podge and the seat received 4 coats. I always add a bit of extra protection in areas I know will get the most use.
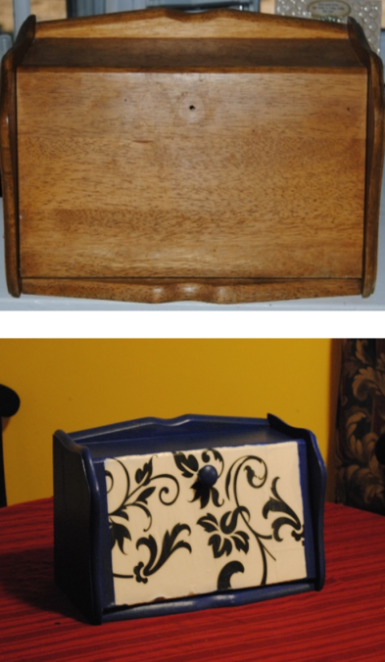
Before and After:

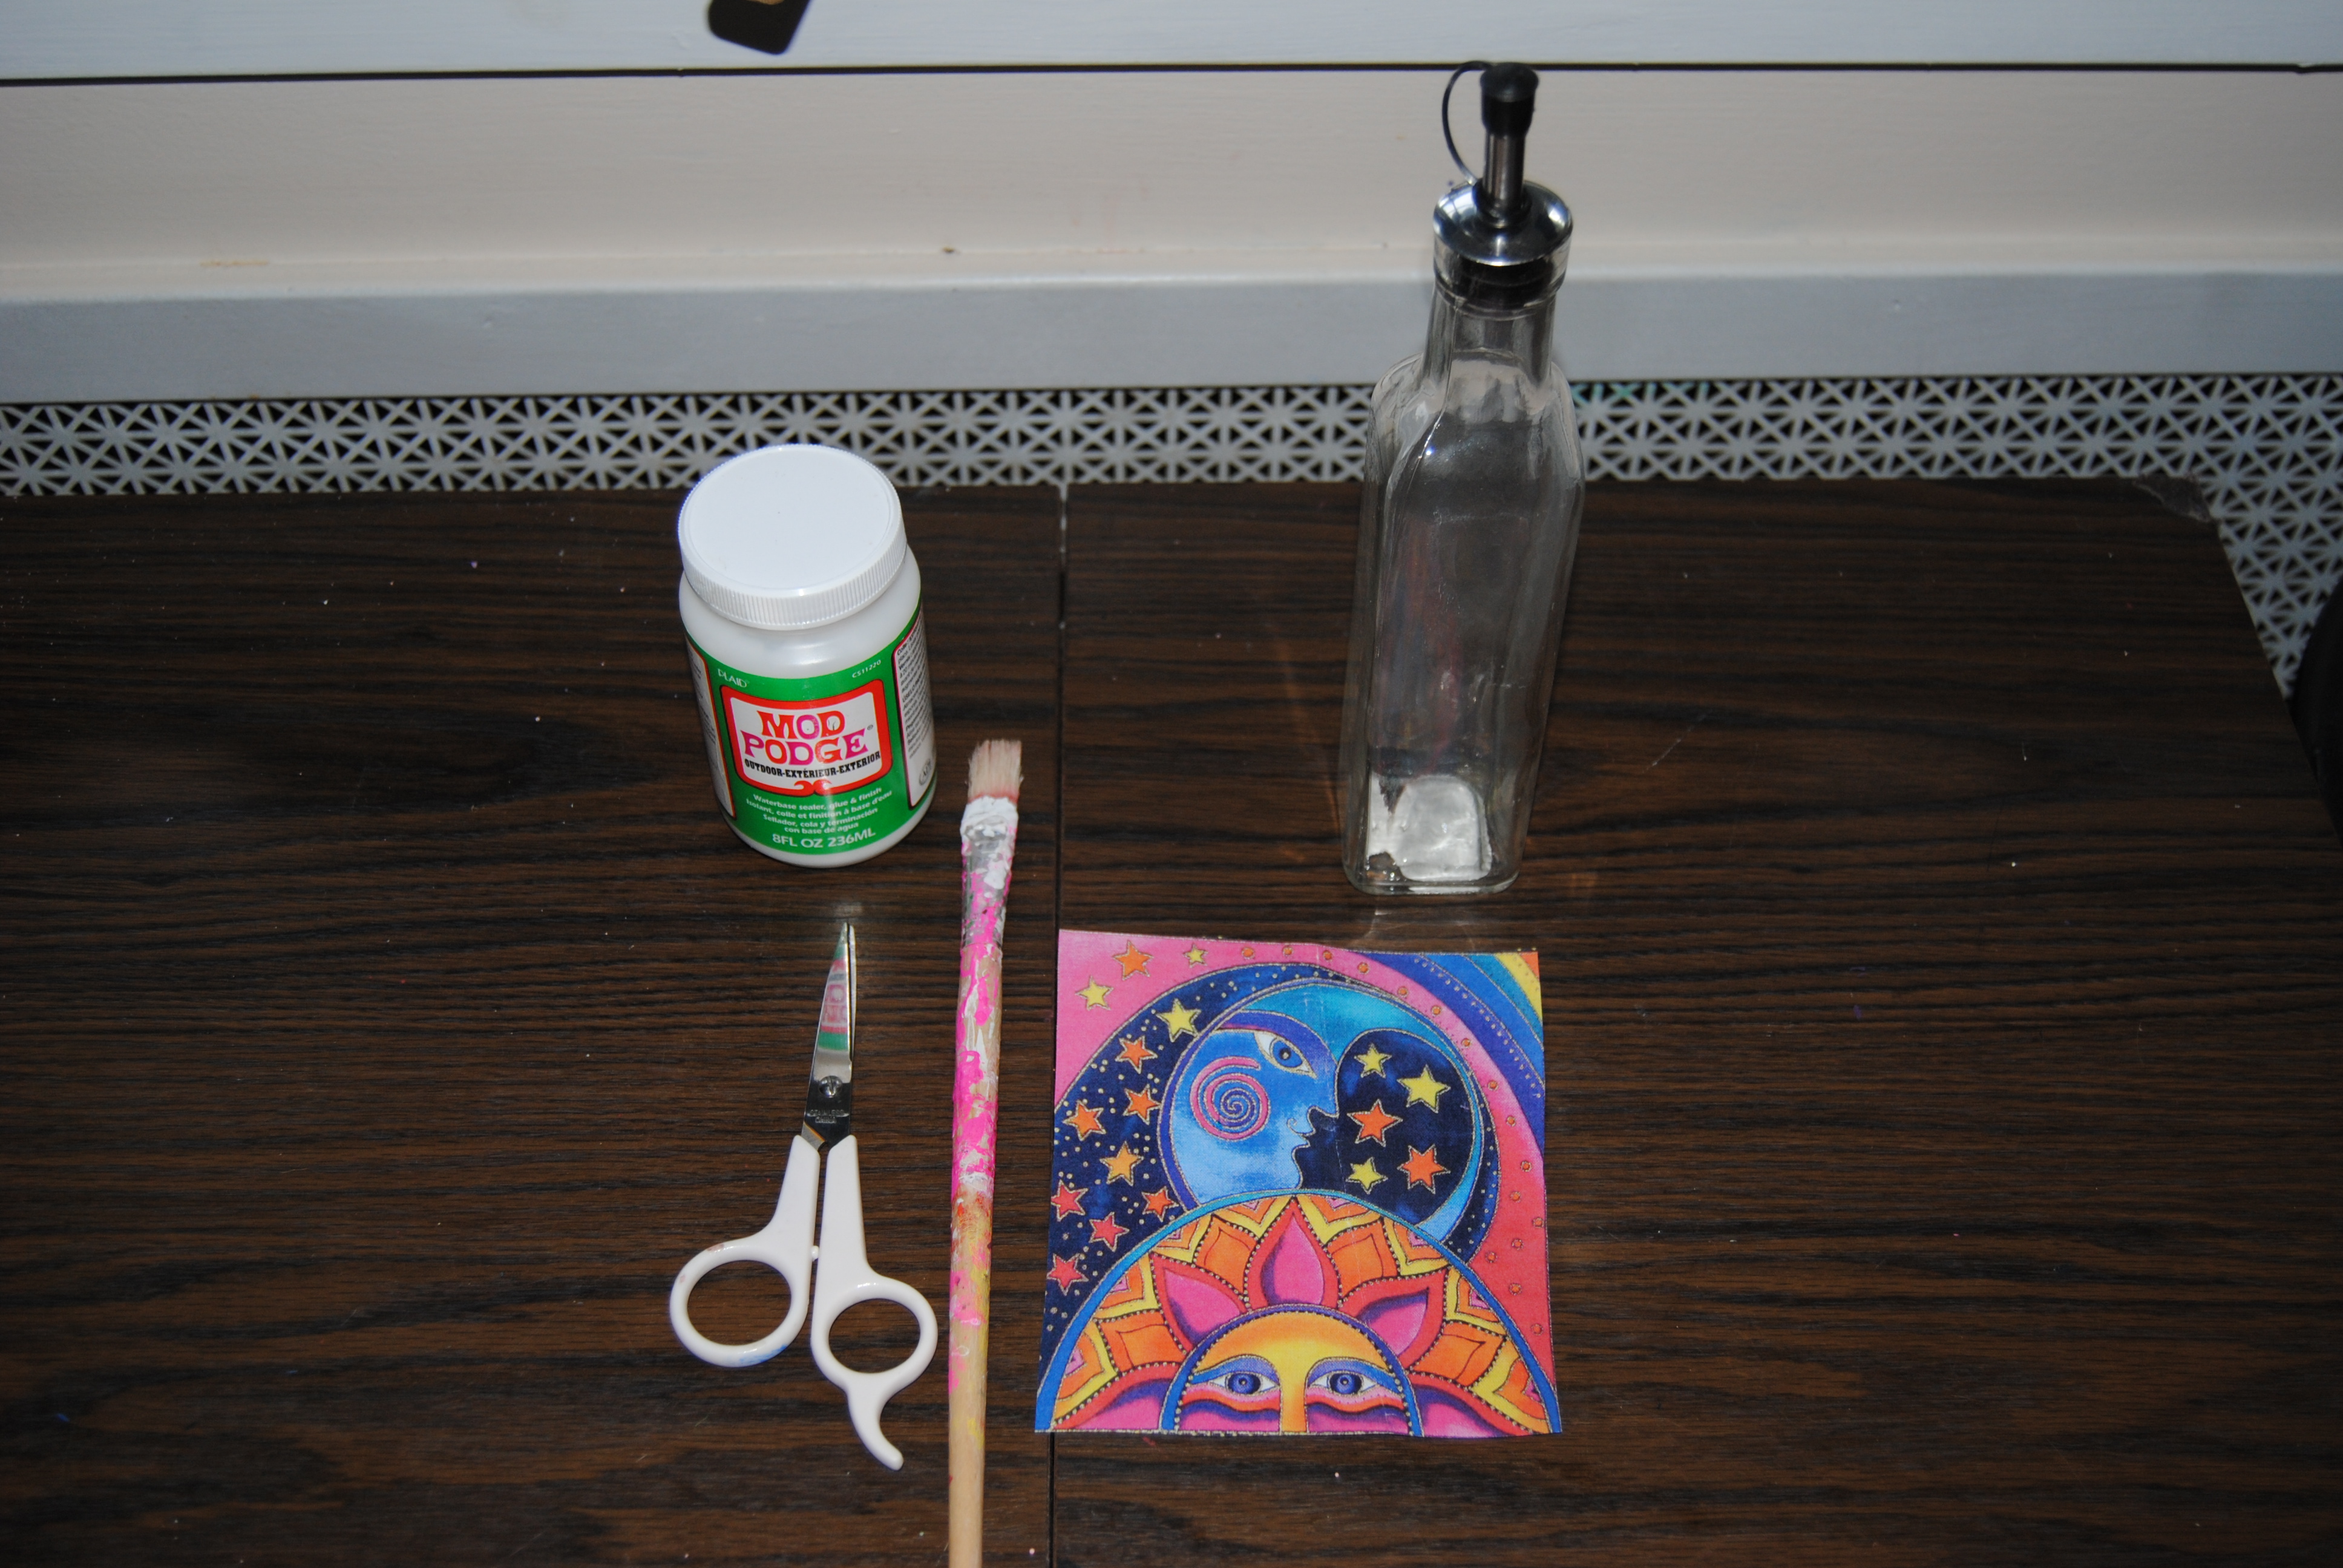
Recap of Materials Used:
Chair
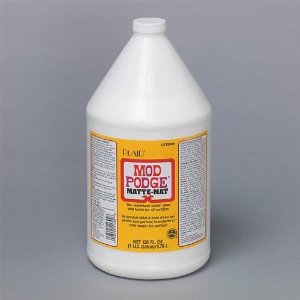
Mod Podge Matte
Sponge Brush to apply Mod Podge
Print Sports Team Decal of your choice
Scissors
Acrylic Paint/Various sized brushes