Happy New Year from On The Upcycle!

Happy New Year

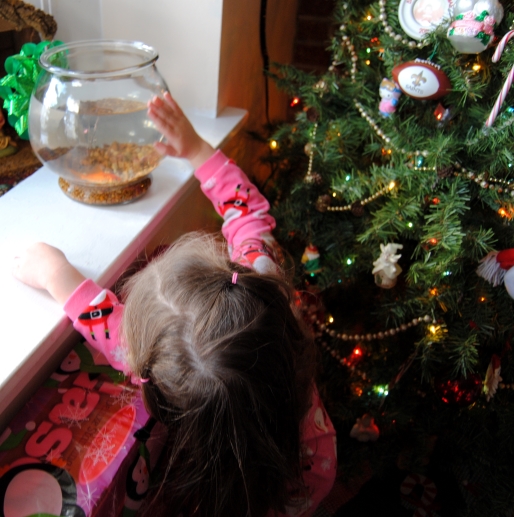
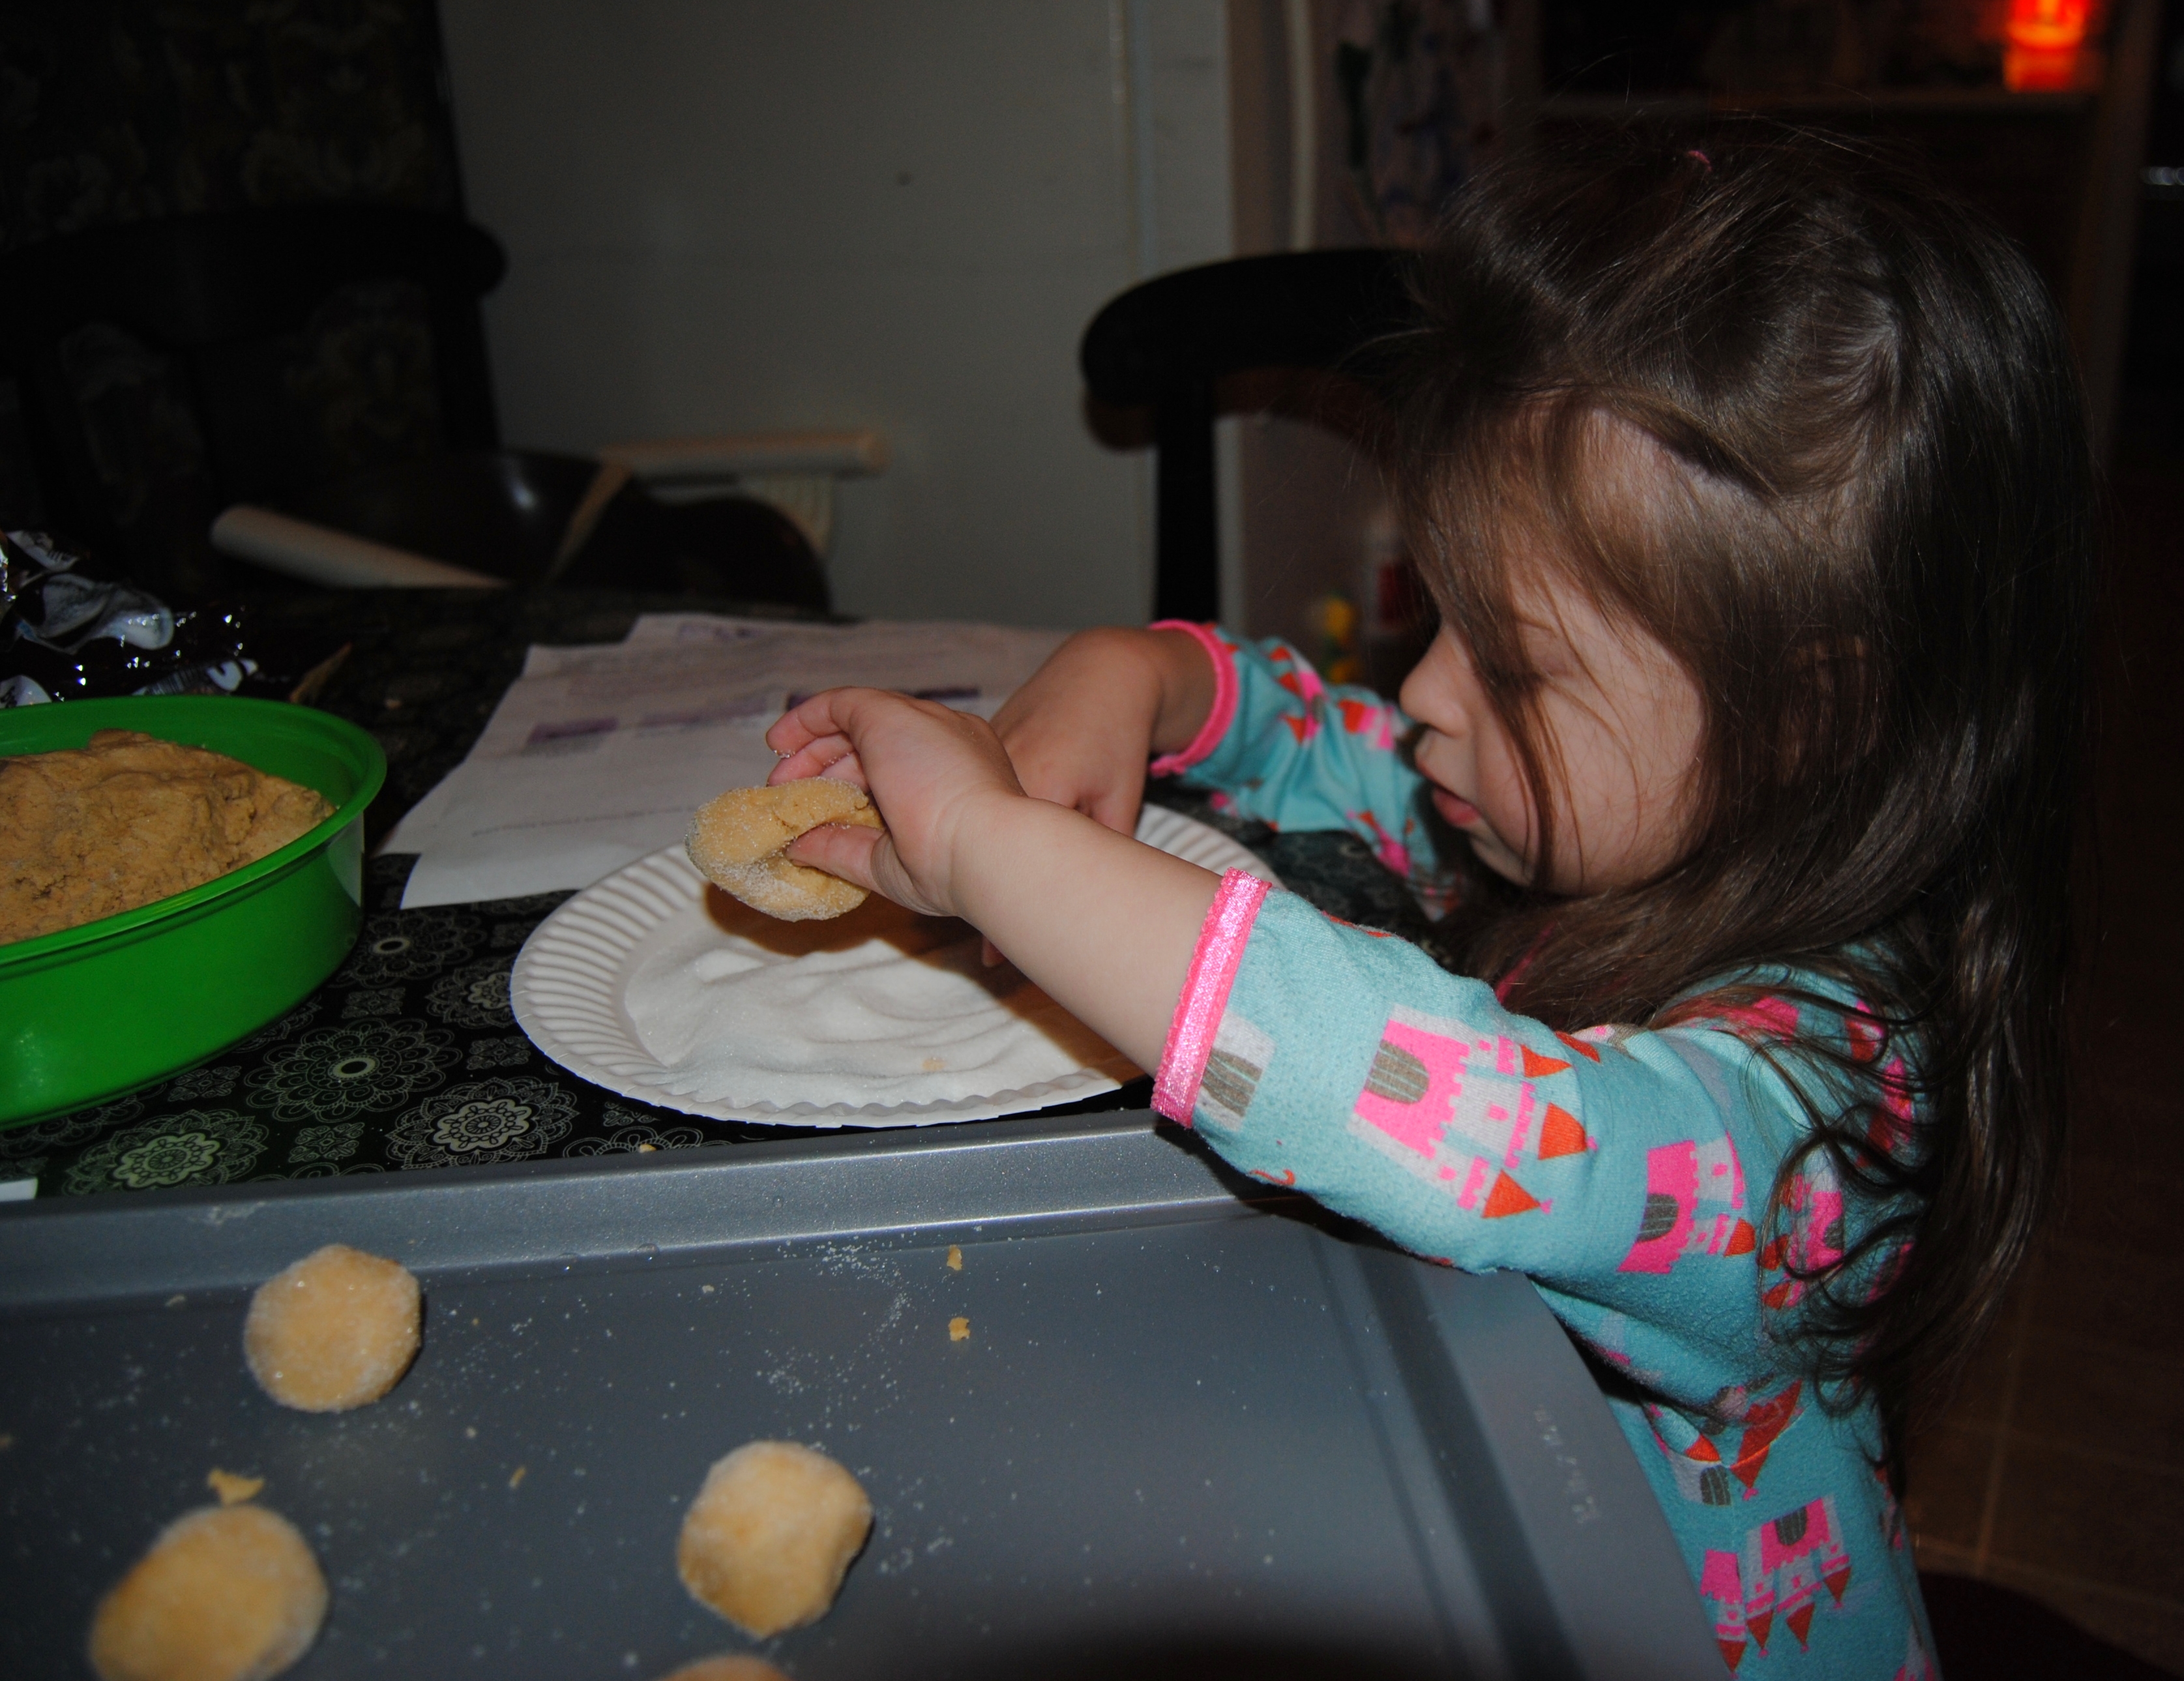
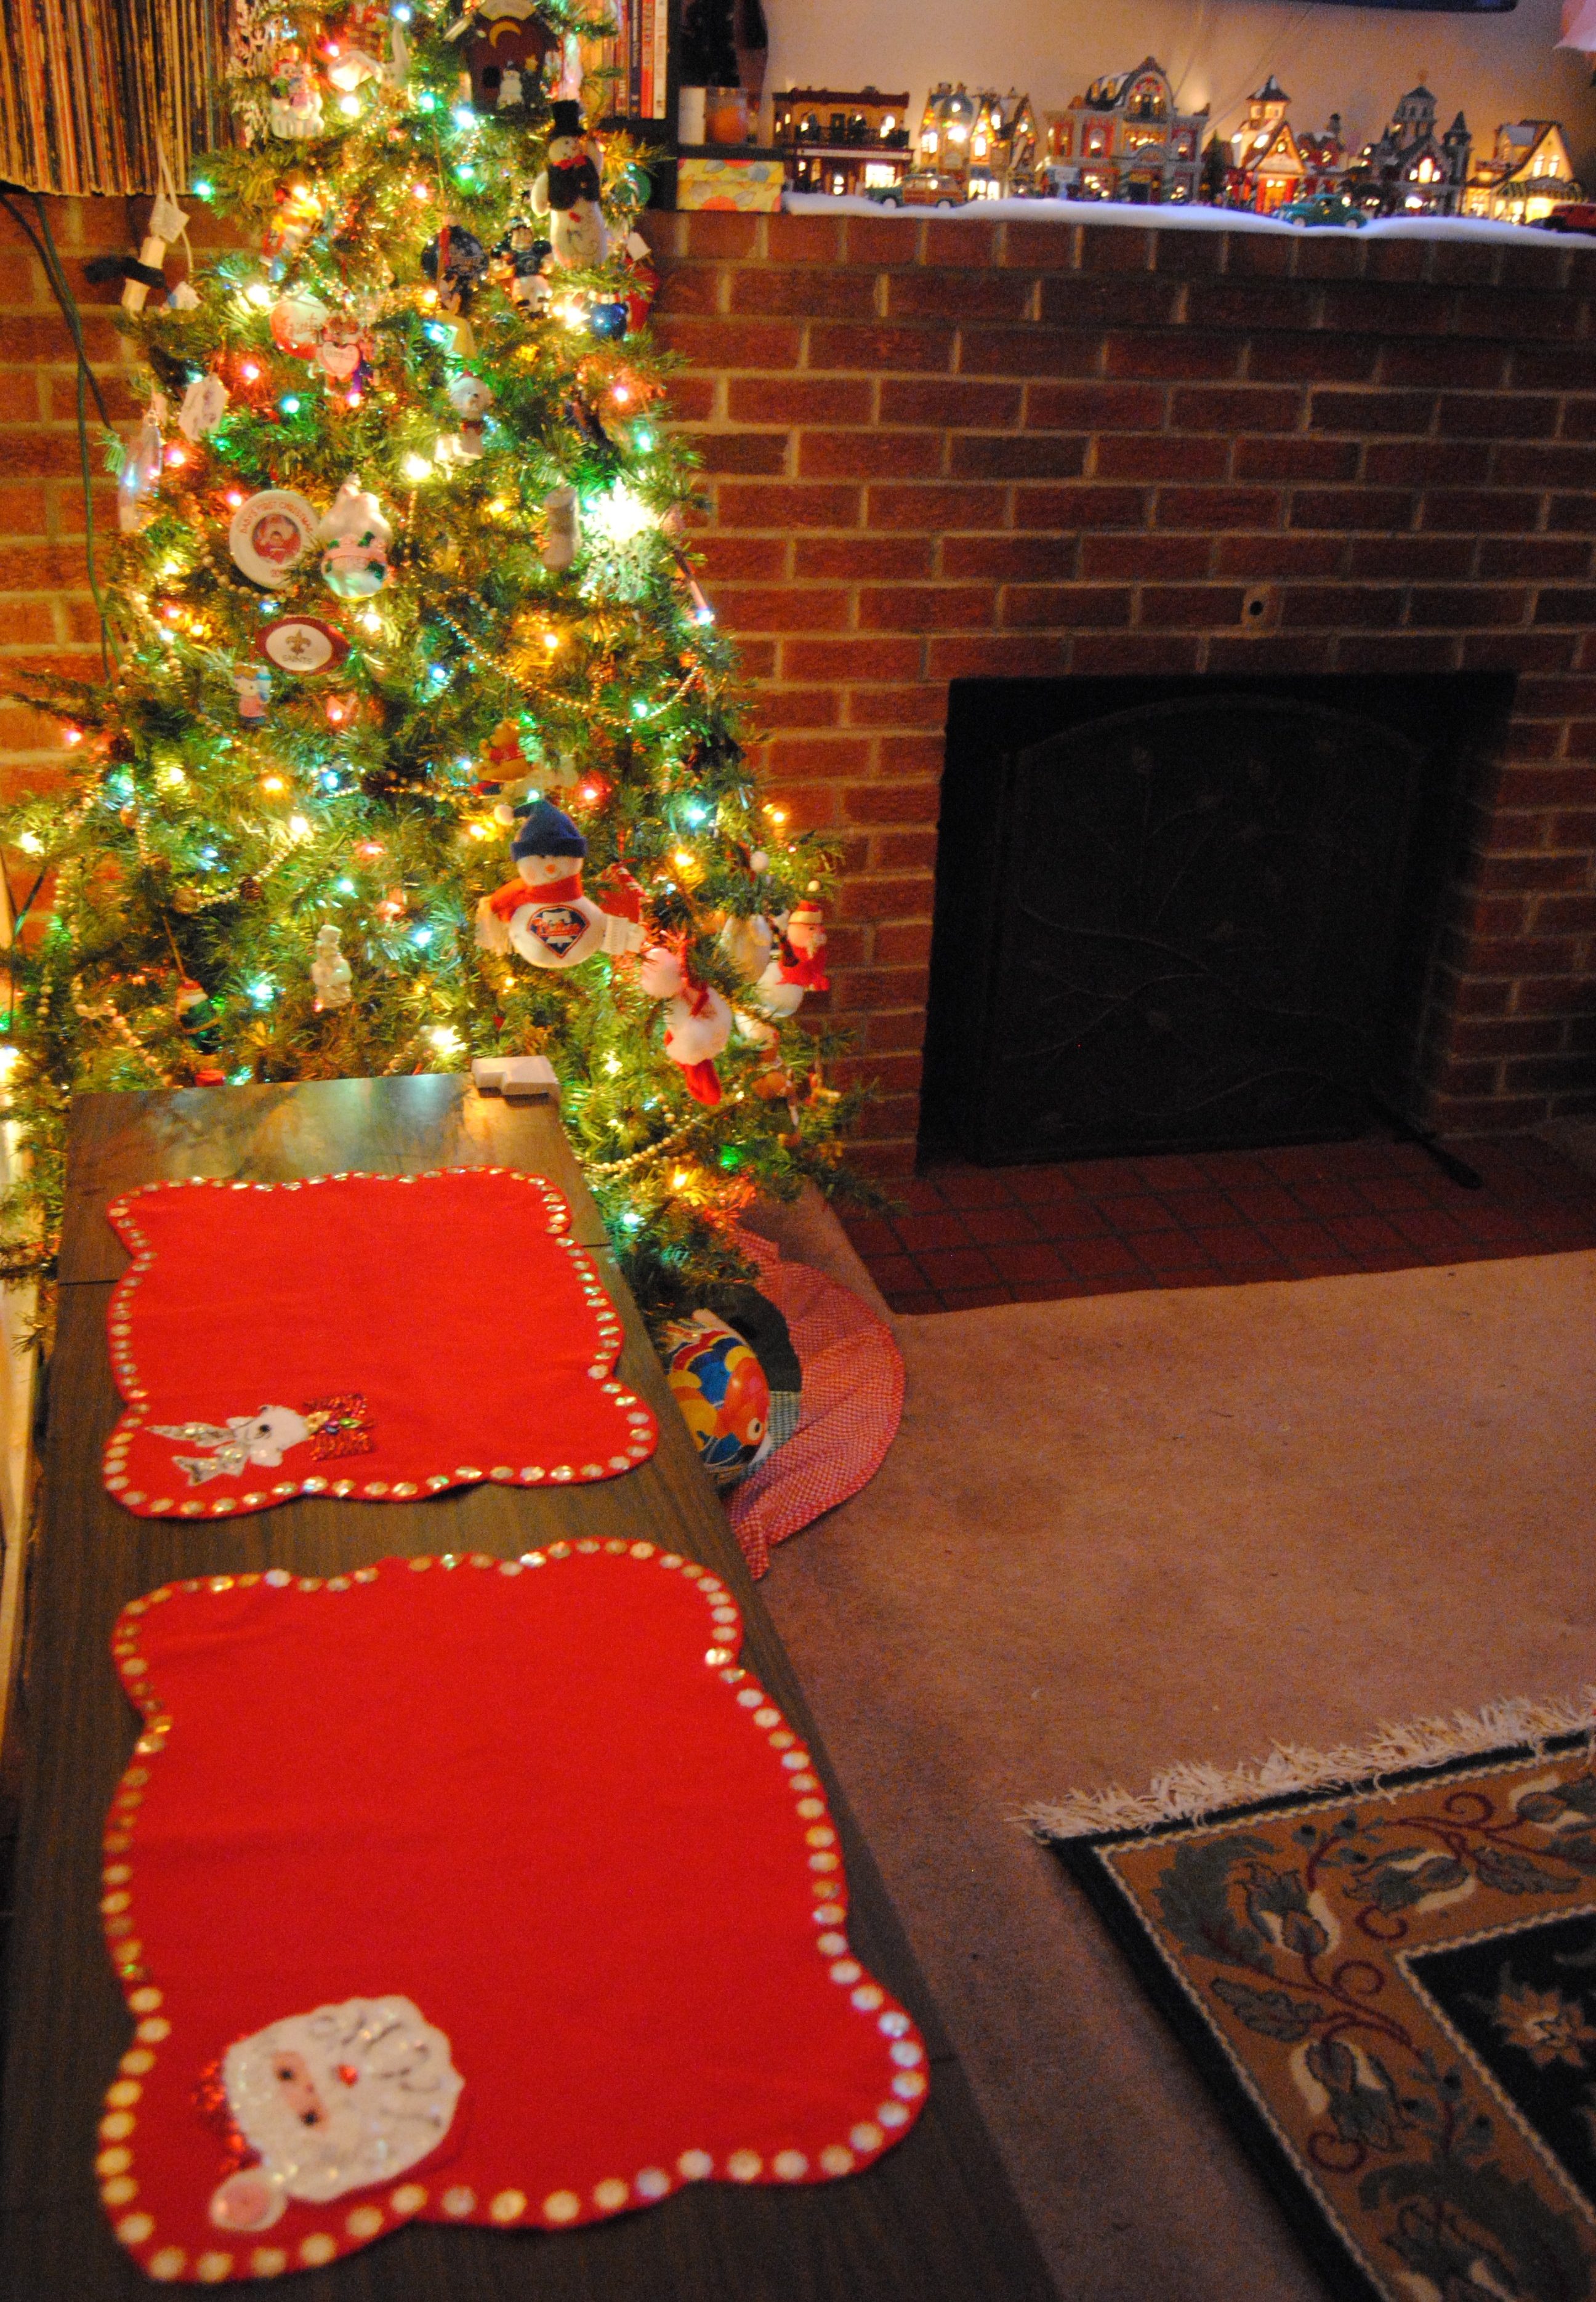
I want to take the opportunity to wish all of my readers a very safe and prosperous New Year!  As with most years of my life 2013 has been filled with many good times and some “not so good” times.  In April 2013, I began this humble little blog with zero expectations, and since then I have received over 25, 600 total page views, (and counting) and in December, 2013 On The Upcycle reached a milestone of over 200 followers.  I had the opportunity of being featured in two digital craft books on Amazon, The Green Crafts Lifestyle, and The Green Crafts Lifestyle Christmas edition.  I was also a guest blogger for the first time this year, contributing a project for Geek Week, On Elise’s Cheeky Geeks Blog.   As crazy as it sounds, I was also contacted regarding a crafting reality show!  Don’t expect to see yours truly on TV anytime soon, but it was all still very flattering.   Also, a special thank you to those who became involved with the “Upcycle” and brought me items to restyle from attics, trash bins , yard sales and thrift shops.

On the Upcycle was also very lucky this year and won two prize drawings.  I would like to send out a BIG THANK YOU to Diana at  Ray’s So Crafty Blog and Kathy and Deb over at Second Hand Roses  for their generosity and appreciation of their readers by sponsoring these giveaways.  I would also like to send ”Congratulations” to Daniella Joe’s Blog who won On The Upcycle’s very first prize giveaway.   A  very special “Thank you” to Katherine at Pillows Ala Mode, who welcomed me to the Word Press community by sharing my blog with her readers, and nominating On The Upcycle for the good neighbor award. I wish I could thank everyone who helped me along the way. Thanks to all my readers who took the time to comment and “like” my posts.  Everyone here has kept me inspired even when I felt I did not have much to give.

As with any New Year, 2014 is filled with mystery.  I am hoping to continue the Upcycling mission in 2014, and be the best mother and wife I can.  My resolution this year, is to treat myself better both physically and emotionally.  This will be my greatest challenge.  As with many of you out there, it is easiest to neglect yourself, when making sure everyone else’s needs are met.  This will be my goal  for 2014 and beyond.  Let’s hope I can make it happen!

May all your wishes and dreams come true in 2014!

easter2013m

DIY Decoupage Novelty Candles and Tea Light Holder

Looking for a great “personalized” gift that will keep you within your shopping budget? The holiday’s, and birthday’s can be tough, and it is more important than ever to get the most out of every penny. At the same time, It is also important to let those close to you know that they are appreciated throughout the year. I try to keep my ears and eyes open as to what matters to friends and family, by soaking in all of their interests and hobbies. I file these ideas away, and when I am trying to come up with gift ideas, I refer back to them.

As our extended families and circle of friends continue to grow, and the holiday’s become more and more about the children (As it should be, of course) It has become at times, a challenge to come up with gifts for friends and the adults in the family. This year, I decided to make personalized candles for some of those on my Christmas list. You can purchase candles anywhere, and they are reasonably priced. This year, I had many music lovers on my list, so I decided to decoupage some candles featuring the recipients favorite musical artists.   The possibilities are truly endless.  You can personalize and create any type of candle that you want.  For the non-music lovers on my list, I refashioned the candles with fabric, or with a family photo.  Making these is a simple process. I applied Mod Podge to the outside of the candle with a foam craft brush. I searched the internet for the images I planned to use and printed them out on my printer (the size of the images I used was 4×6) I trimmed the images to fit, and carefully applied them to the candles, smoothing any wrinkles. You can add Mod Podge over top of the image, but it is not needed. If you are looking for a shinier finish, you will need to complete this step. Once dry they are ready to be gifted!

Decoupage Candles

Rock N’ Roll Inspired Candles

\Grateful Dead tea light holder

Repurposed Candle made into a Tea Light Holder

Decoupage Sports Fan TV Trays Revisited

This holiday season,  I decided to craft some gifts not only to save money, but simply for the sake of doing something different.  When people stop by our house for a visit, they notice all the upcycled furniture and home decor items.  One of those items in particular, our Decoupaged  Philadelphia Phillies TV tray gets a good deal of attention. For this reason, I thought tables such as these would make great gifts.  Most folks have a set of these boring wooden TV trays at home.

TV Tray before

Despite the lack of design qualities these trays are very functional and often times serve an important purpose.  Who hasn’t sat in front of the TV, and used one of these little trays to devour a late night snack, or simply use as a laptop computer table?

I was in the thrift store and happened across four for sale.  I snatched them up and was glad that I did!  For three of these tables, I decided to use sports team themes, (the recipients are all sports fans, I will save what I did to the fourth table for a future post.)  I found sports images online and printed them out on my printer. If you do not have an available printer, you can use decals, fabric, baseball cards, you name it!

First, be sure and clean the table thoroughly.  Once the table is clean and dry apply a white latex primer.  To speed up this process, I purchased a spray on primer.  I took the tables outside and applied two coats to each table, allowing each table to dry thoroughly between coats.  Table number one was for a Washington Redskins fan.  I painted the table with acrylic paint in the Washington Redskins colors, gold and a deep dark red, almost burgundy color.  Once dry, I used Mod Podge to carefully apply the printed image to the table surface.   I then applied Mod Podge over top of the print and covered all the painted areas with Mod Podge to seal the table.  The Mod Podge on its own is enough to seal the table, but since I was giving these as gifts, I added a coat of a polyurethane clear coat sealer for added protection against moisture and heavy use.  Be sure to be mindful of the parts of the table that fold up. (“On the Upcycle” mistake alert!)  If any Mod Podge or Polyurethane drip into these areas and dry it can be problematic if you try to open the table and it “sticks”  This happened a little with the Washington Redskins table and caused the paint to “chip” a bit in the area that the legs were slightly “stuck” together.  Despite this minor flaw, the table turned out well!

Washington Redskins Decoupage TV Tray

sports tv tray

I repeated the same steps for table number two (New York Yankees Sports fan table)

Yankees Decoupage Sports TV Tray

and table number three (Philadelphia Eagles Sports fan table)

philadelphia eagles tv tray

Before giving the gifts, I inspected the tables carefully, touching up any areas that needed it.  They seemed to be a big hit with those who received one.  It also marked the first time I attempted to work on multiple projects at the same time.

TV Trays Before and After:

Decoupage Sports Themed TV Trays made with Mod Podge


Holiday Wrap Up And Crowd Pleasing Recipies

I hope everyone had a lovely Christmas yesterday. We sure did! The highlight of the day for my husband and I, was witnessing our daughter’s reaction as she came downstairs and realized she had been a good girl this year and Santa brought her gifts.  Mr. Claus also brought a special gift for our daughter this year.  Her very own pet goldfish named “Dorothy” just like Elmo’s pet goldfish!

DSC_1444

My daughter meeting Dorothy for the first time

Now it is the day after Christmas, all the preparation and hard work leading up to the holiday and in the blink of an eye it is over and the “clean up” begins.  I spent the good part of today cleaning, organizing and trying to assemble my daughter’s new Art Eisel which will be going in the craft room, so she and I can work on projects together. In the meantime, I thought I would share with you two holiday recipes that were crowd pleasers this year.

Peanut Butter Blossom Cookies.

These tasty cookies are my husbands favorite.  In 1957 Freda F. Smith of Gibsonburg, Ohio, developed Peanut Blossoms for the ninth Grand National Pillsbury Bake-Off competition.  She failed to win the competition, but the cookie took off and landed on many tables throughout America. There are many variations of this cookie online but a great tasty version can be found here.  I normally do not make cookies except during the holidays.  I have a vintage Sunbeam Mix Master stand-up mixer that I picked up at a yard sale about 15 years ago. With the outrageous price of mixers, I will continue to use this 1970’s classic.  I chuckled because while watching an episode of “The Brady Bunch” I spotted my mixer in the background! Despite its advanced age it still works and it whipped up multiple batches of tasty cookie dough.

1970s vintage sunbeam mixmaster

A yummy peanut butter cookie with a Hershey kiss in the middle.

peanut butter blossum cookies

These cookies are easy to make and my daughter enjoyed dipping the dough balls into the granulated sugar.  She is such a great helper!

DSC_1296

Christmas Breakfast Casserole

So much is focused on Christmas dinner, it is easy to forget about the most important meal of the day breakfast.  This year I woke before everyone, brewed some coffee and whipped up a mean breakfast casserole inspired by a recipe I saw on Pinterest courtesy of The Wholesome D.  I had to improvise a bit, I used cubed hash browns with pepper and onion seasoning and bacon instead of ham.  It took less than 5 minutes to prepare and cooked in the oven while we opened our presents. You can find the full recipe here.

Breakfast Casserole

A great way to start your Christmas day or any day for that matter!

A Little Bit Of Luck: Second Hand Roses Christmas Placemats Giveaway.

I was so pleased to learn that “On the Upcycle” was the lucky winner of two lovely vintage looking felt holiday placemats, courtesy of Deb and Kathy at “Second Hand Roses”

cropped-2nd-hand-roses3

Second Hand Roses is a blog that features the shopping adventures and sometimes misadventures of Kathy and Deb. Their wonderful sense of humor comes across in every post and the blog is an enjoyable read, so be sure and stop by and visit them! I was quite excited to receive a package with the placemats and this lovely vintage greeting card.

Vintage Christmas Card

The placemats are made of felt and are adorned with glittery decorations.  They feature Santa Clause and a reindeer. They are absolutely adorable and I am so grateful to have won their christmas giveaway!  I placed them on our vintage stereo cabinet and snapped this picture of our living room.

DSC_1331

Thanks again to Kathy and Deb for bringing some holiday cheer into our home this holiday season!

DSC_1317

If only we could live here….A Close Up Snapshot of our Christmas village on our mantle.

DSC_1330

Happy Holidays from “On The Upcycle” and Many Thanks to Kathy and Deb!

DSC_1346

It’s Christmas Time: The Crocheted Snow People Family

For those who know me, it will be of no surprise that I consider myself a very sentimental person.  My husband and I have collected a lot of snowmen through the years for sentimental reasons.  When we started living together, a shelf decorated with most of the decorations we owned toppled to the ground.  Nothing on the shelf survived and everything lay on the floor in a broken mess.  I was feeling emotional having been through a rough patch in my life and this just sent me over the edge.  My boyfriend at the time  (my wonderful husband now) told me not to worry he would work on rebuilding the collection. Most of the items were from a previous life before we began our lives together and he wanted to turn something bad that happened into something good.  He calmed me down and started a new Christmas tradition that day forward. Every year he would gift me a new Christmas decoration and has kept his word every holiday since then. That night we went to Hallmark near our apartment at that time, and he bought me a ceramic snowman, I still treasure to this day.

Hallmark Snowman

For that reason I have a particular fondness for snowmen.  My husband and I always loved the snow people couples and after our daughter was born the snow people families. You can imagine my surprise when a friend, and an amazing crochet artist handed me the red and white Santa bag and I pulled this out!

DSC_1306

It was us! It was our family!  I love it so much, I squealed and when I wasn’t squealing, I was smiling.  As someone who crafts and loves to create things, I simply adore handmade gifts.  I love the idea of someone giving the most precious thing in life to someone else: The gift of their time! Not to mention as I stated earlier, I am beyond sentimental, and this little snow people family proves those crocheted together are meant to stay together!

I have always loved crochet art, but don’t crochet or knit myself, and I am hoping one day my friend might be able to teach me.  It’s been years since I have tried, back then I just couldn’t seem to figure it out, but I am thinking I should give it another try.

Crocheted Snow People Family

What are some of your family holiday traditions?

I got a fever for Pringles Can Crafts!

I saw on Pinterest  recently many uses for all those left over Pringles Chips cans. Through the magic of decoupage, these cans can be transformed from downright ugly to lovely!  They can be used to store various items and are a great way to gift Christmas cookies for the holidays.

Pringles-Gift-Box-Fun-Holiday-Crafts

Like these cookie containers from Cheap Crafting.Com

Today, I share with you a Pringle can kid’s craft.  My daughter loves to listen to music, but loves to make music even more!  I love to get her involved in the process and creating music together has been a wonderful Mother and Daughter bonding experience.  I cleaned out the can first.  You can fill the cans with dry pasta or dried beans.   I would fill the can up about half way.  To secure the lid, use a hot glue gun to adhere the lid permanently to the can.  Once the lid is secure, you can use either scrapbook paper or fabric and decoupage the outside of the can.  (This is necessary only if you want it to look “pretty”)  Apply the Mod Podge with a foam craft brush and wrap the fabric or scrapbook paper around the outside of the can.  This is also a great way to get use out of those old pieces of scrap fabric, that may be a bit small for other projects.  My daughter loves “shaking” her new percussion instruments. These “instruments” are a great way to encourage sensory development while at the same time encouraging fun!

DSC_1147

Kids instrument made from the smaller Pringles can.

Deck The Halls: The Joyfully Tacky and Downright Different.

Wow!  I have not blogged in 5 days! “Sigh”  It has been such a busy time for your truly as I prepare for the Christmas Holiday. You certainly wouldn’t know it looking at my extreme blogging inactivity, but some things must remain a secret until after Christmas.  On this day, I will be making my favorite holiday cookies and I am hoping to get my daughter involved in the fun. Stay tuned!

For now, I want to have a little fun “On The Upcycle” and share with you some of our most “interesting” and in some cases downright strange family Christmas decorations.  My husband and I  have been known to embrace the different, retro,  and at times downright tacky, as long as it is in the name of good fun.

DSC_1280

1. Bichon Blitz!

My husband got this for me about 10 years ago after we adopted our Bichon Frise Casper. The tree is made by the Danbury Mint, (you know those collectable order forms you receive in the mail especially around the holidays?)  Even though this looks like a Christmas animal horde nightmare, I love it!

DSC_1282

2. Is Santa sleeping?

I admit, this one always creeped me out, but at the same time who doesn’t love a Santa Claus tissue box cover!  I think if you didn’t have to extract a tissue from Santa’s abdomen, coupled with the fact that Santa looks like he is either in deep sleep or deceased, this decoration would not disturb me so much.

DSC_1288

3. Every Girls Crazy bout a sharp dressed Santa!

What is better than Santa Claus Rocking out in sunglasses and a guitar? (Ok don’t answer but….) This decoration reminds me of what the members of ZZ Top would look like dressed as Chris Kringle. If the sled is rockin don’t come knockin!

DSC_1287

4. Kitchen Santa: pass me the Twinkies, man

This little light up, plastic Santa has either had too much eggnog or has been hanging out with Cheech and Chong for too long.  Whoever painted his face, looks like they were modeling him after the late and great Jerry Garcia! I have to admit I love this jolly old elf on the shelf even if he looks a little too “jolly”!

DSC_1281

5. There’s a Snowman in your shower

Some would consider this snowman shower curtain as a “bit much”  but compared to some bathroom Christmas decorations I have seen this pattern is mild, and forces the loo to have a bit of holiday spirit.

Yikes

See the above photo found on Ebay and I rest my case.  Poor Santa.

6. Deck the halls with Gene Simmons?

DSC_1284

It is no secret that the hubby and I are Rock and Rollers.  My husband has quite a collection of off beat Christmas ornaments.  What could be more rock and roll than a decked out Gene Simmons Kiss ornament dangling from your tree?

DSC_1286

7. Better left unsaid

I save the best for last.  I will allow you as the reader to come up with your own reasons as to why this Santa Clause candle decoration takes the cake.  It lights up, it is retro, and it is oddly shaped.  Enough said!

Don’t worry, I will attempt to redeem my holiday decorating reputation in a future post.  It’s not all fun and games, but it is eclectic, and I wouldn’t have it any other way!

What are some of your most interesting Christmas decorations?  Do you display yours proudly?

Inexpensive Gift Ideas: Miniature Desk Radio Decoupage

I have seen many radios and stereos in my day.  Everything from The Giant Boom Boxes of the 1980’s, to little mp3 players that fit in the palm of your hand, music has been delivered via many forms. I am a bit of a collector when it comes to music and pretty much anywhere I set up shop, I need to have a radio nearby. That includes my desk at work although it is rare I turn it on, listening to music does help with work related stress at times.  I also enjoy listening to the afternoon baseball games in the summertime.

Many stores carry these small desk top radios.  The one below was purchased at one of my favorite stores  Christmas Tree Shops. These also make great gifts for the music, sports lover in your life. This particular radio takes three AA batteries making it easy to take with you while on the go.

Desk top am fm radio


To personalize the radio and add a little flair, I decoupaged some fabric on to the outer case.  Since the radio has a “retro” feel I chose a colorful Mod fabric. I simply applied Mod Podge to the outer case with a smaller paint brush, measured and cut the fabric, and applied it to the case.  Once dry I applied a few coats of Mod Podge over the top.

DSC_1233


These make great gifts, and choice of fabric can be tailored around ones own individual tastes such as with character fabrics, and various designs featured at such stores as Joann Fabrics.

Mod Mini Radio Decoupage


Decoupage Mini Desk Radio


This little radio now has a retro feel that I love!

Hope your holiday season so far is merry and bright!!

Simple Fabric Decoupage Snowman Hand Soap Dispenser

As much as I love the holiday season, It has been a hectic few weeks decorating, attempting to make Christmas gifts and getting caught up in the everyday hustle and bustle of life.  Today, I experienced disappointment, after a mistake by yours truly turned into an epic craft fail. I now have to rethink an idea for an intended Christmas gift.  Not to mention most of the items I make between now and December 25th, I cannot share yet as it would ruin the surprise for those intended recipients.

I did manage to complete a simple craft today, I have been wanting to do for the upcoming Christmas holiday.  We like to decorate every room in our home including our bathroom.  I had an ordinary plastic soap dispenser that cost $.99 that is easily refilled.  I decided to decoupage some scrap snowman fabric left over from a previous project .

Image

I used outdoor Mod Podge previously used for a few summer projects.  The finish is a bit more durable when used in watery conditions. I carefully removed the label and I applied the Mod Podge with a foam craft brush to the outside if the bottle.  I wrapped the fabric around it, and smoothed out any wrinkles.  I trimmed any excess fabric and applied more Mod Podge over the fabric. I allowed it to dry for a few hours.  Once dry, it was ready to take its place along side the other decorative items and function as an inexpensive alternative to a fancy store-bought holiday soap dispenser.

Image

Holiday Decoupage Soap Disp

This idea can also be applied to hand lotion, and other gift basket items to add a holiday flare and personalize.  Choose a fabric suited to your holiday decor at Joann Fabrics.  Everything is better with decoupage!