Happy 1st Birthday On The Upcycle!

On the Upcycle 1st Anniversary

On April 27th 2013, “On The Upcycle” Blog debuted with its first official project, Wooden Rocking Horse Re-do.  In celebration of our first birthday, below are the top 5 most viewed posts “On The Upcycle”

anniversary-1x

HAPPY ONE YEAR ANNIVERSAY FROM WORD PRESS

Top 5 most viewed On The Upcycle Posts:

1. Upcycled Spaghetti Jar Lamp

Spaghetti Jar Lamp Made with fabric and Mod Podge

Recycle glass jars into decorative lights using fabric and Mod Podge. 

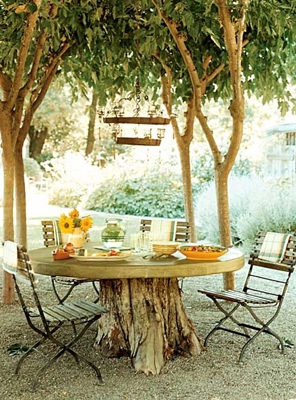
2. On The Upcycle Style Kitchen Table Makeover

Table Re Surface using fabric

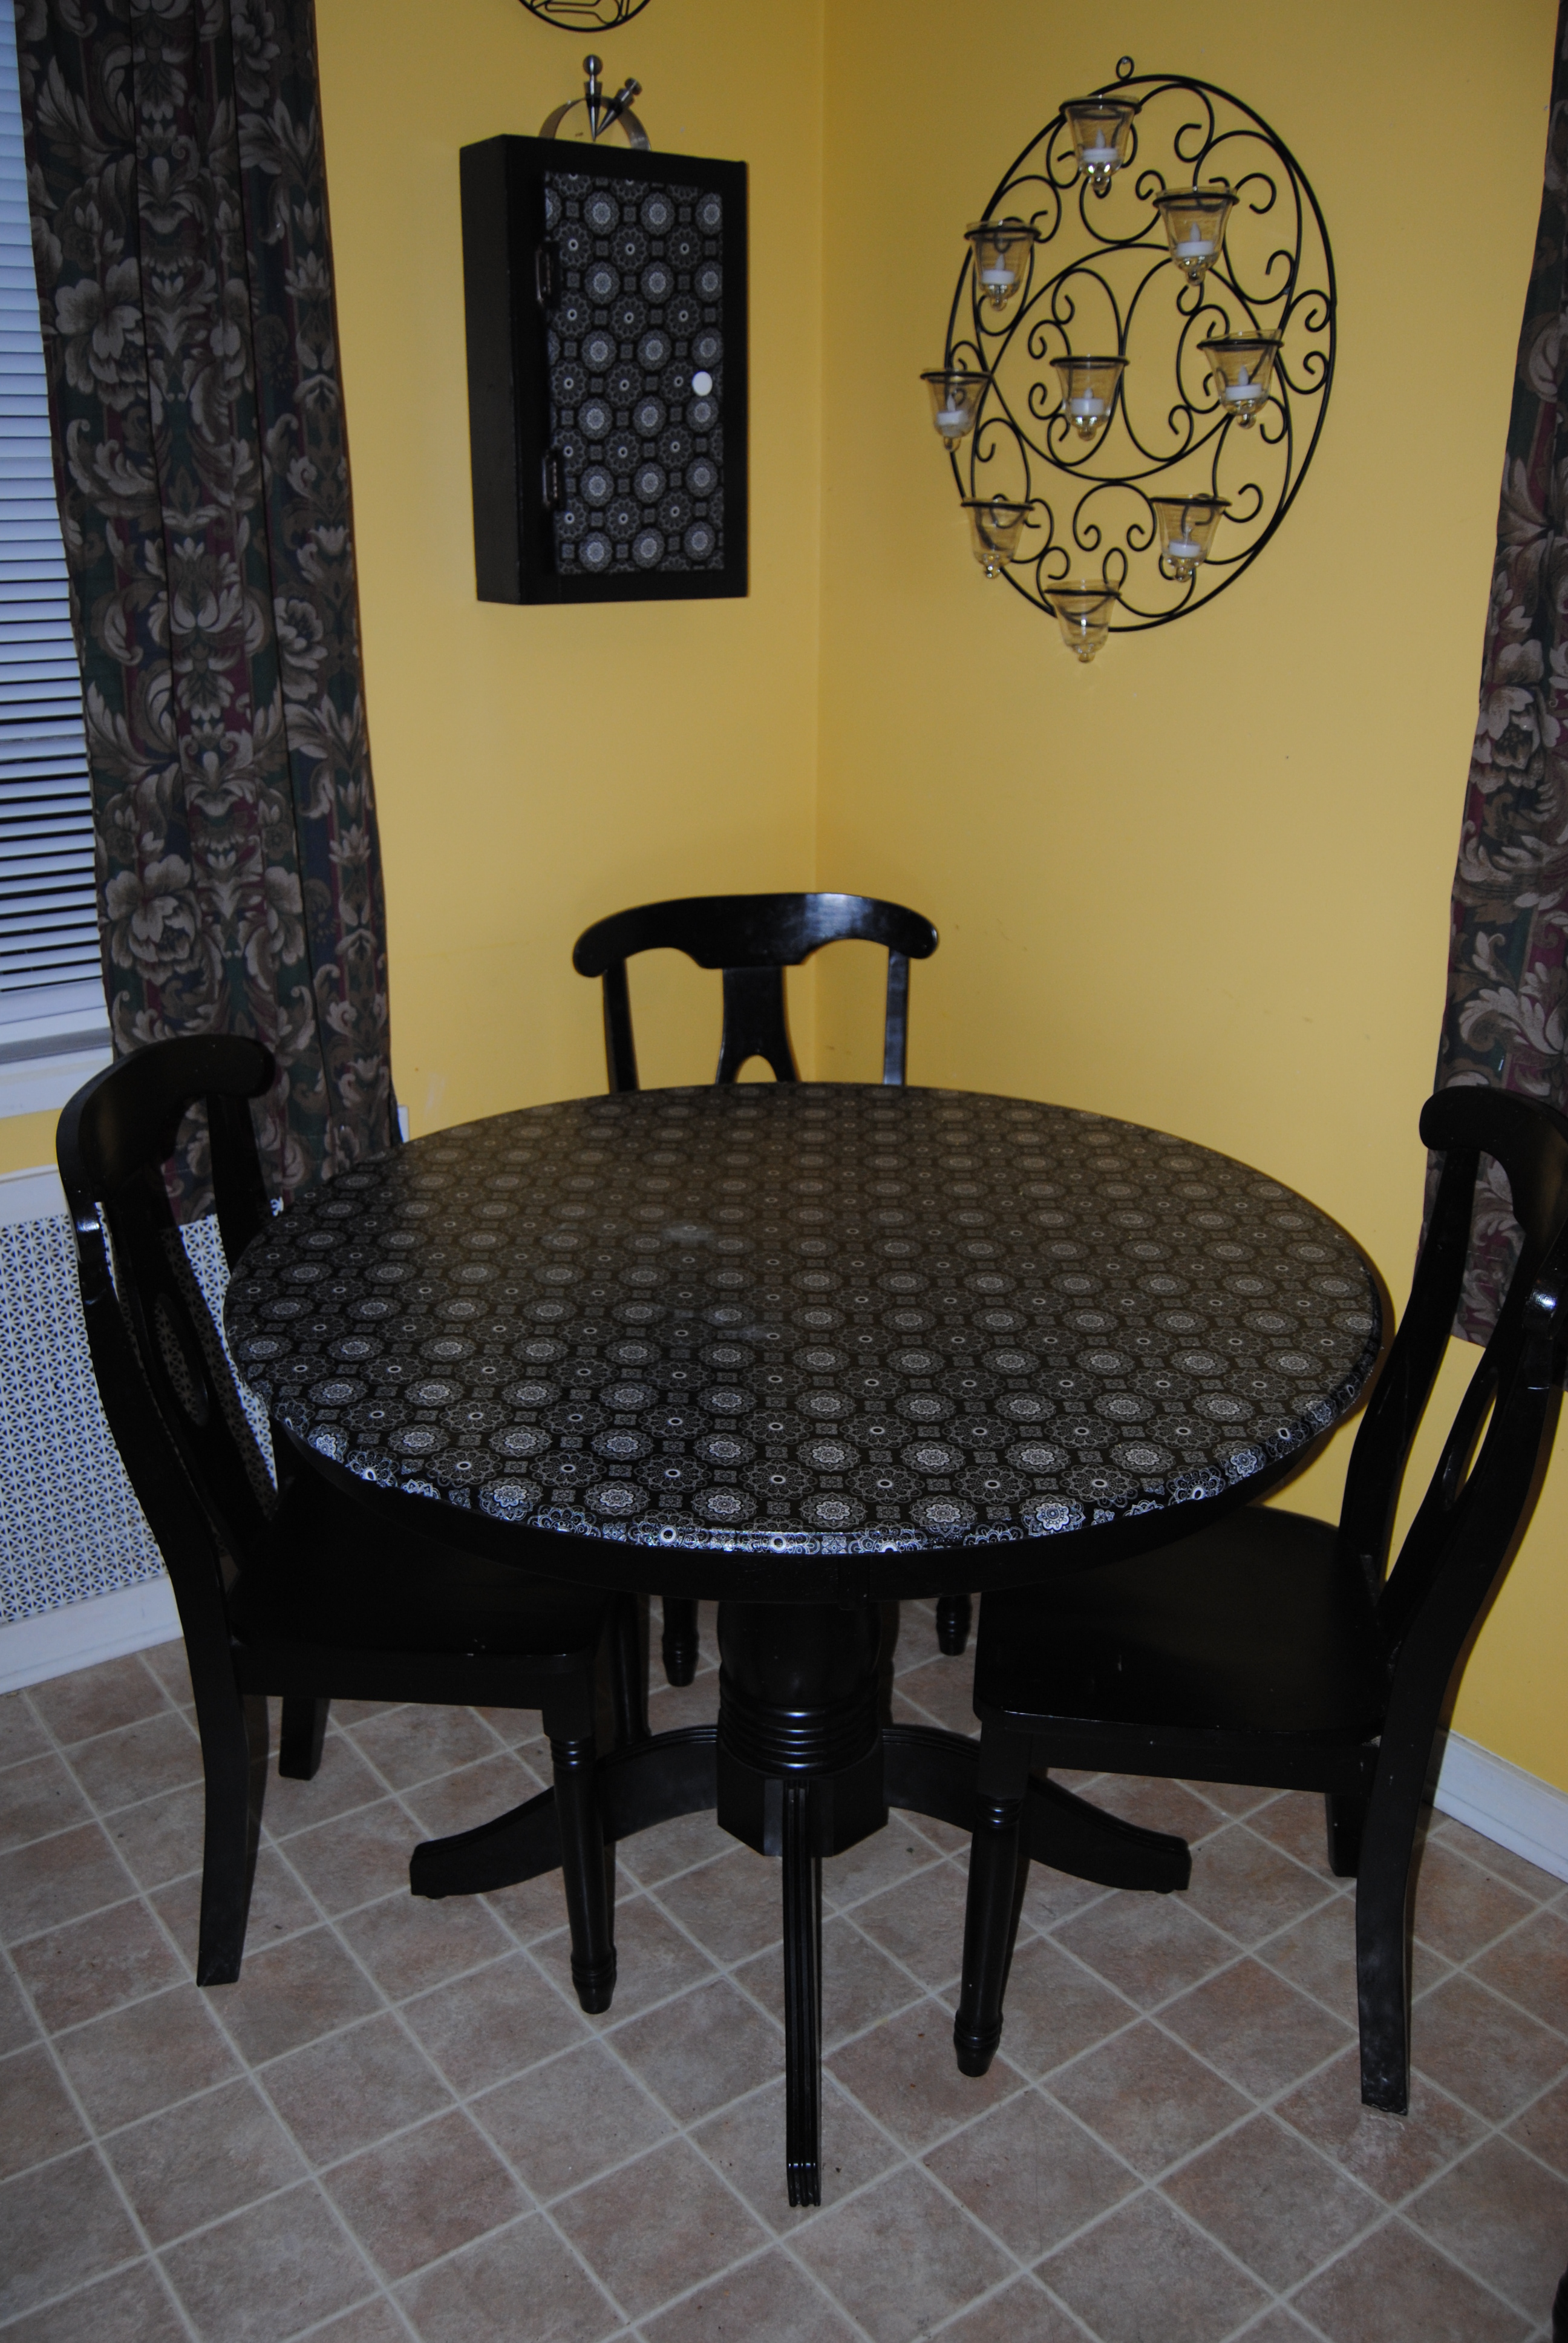
Need to resurface your old table top?  Never fear, you can do wonders with fabric, Mod Podge and Polyurethane.

3. Novelty TV Trays Revisited

Decoupage Sports Team TV Trays

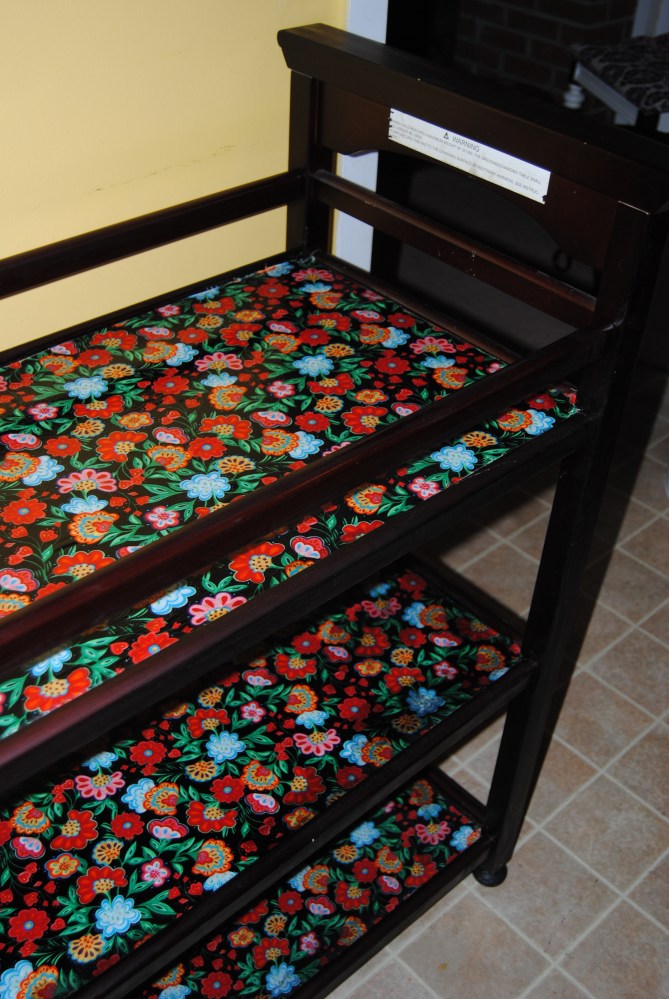
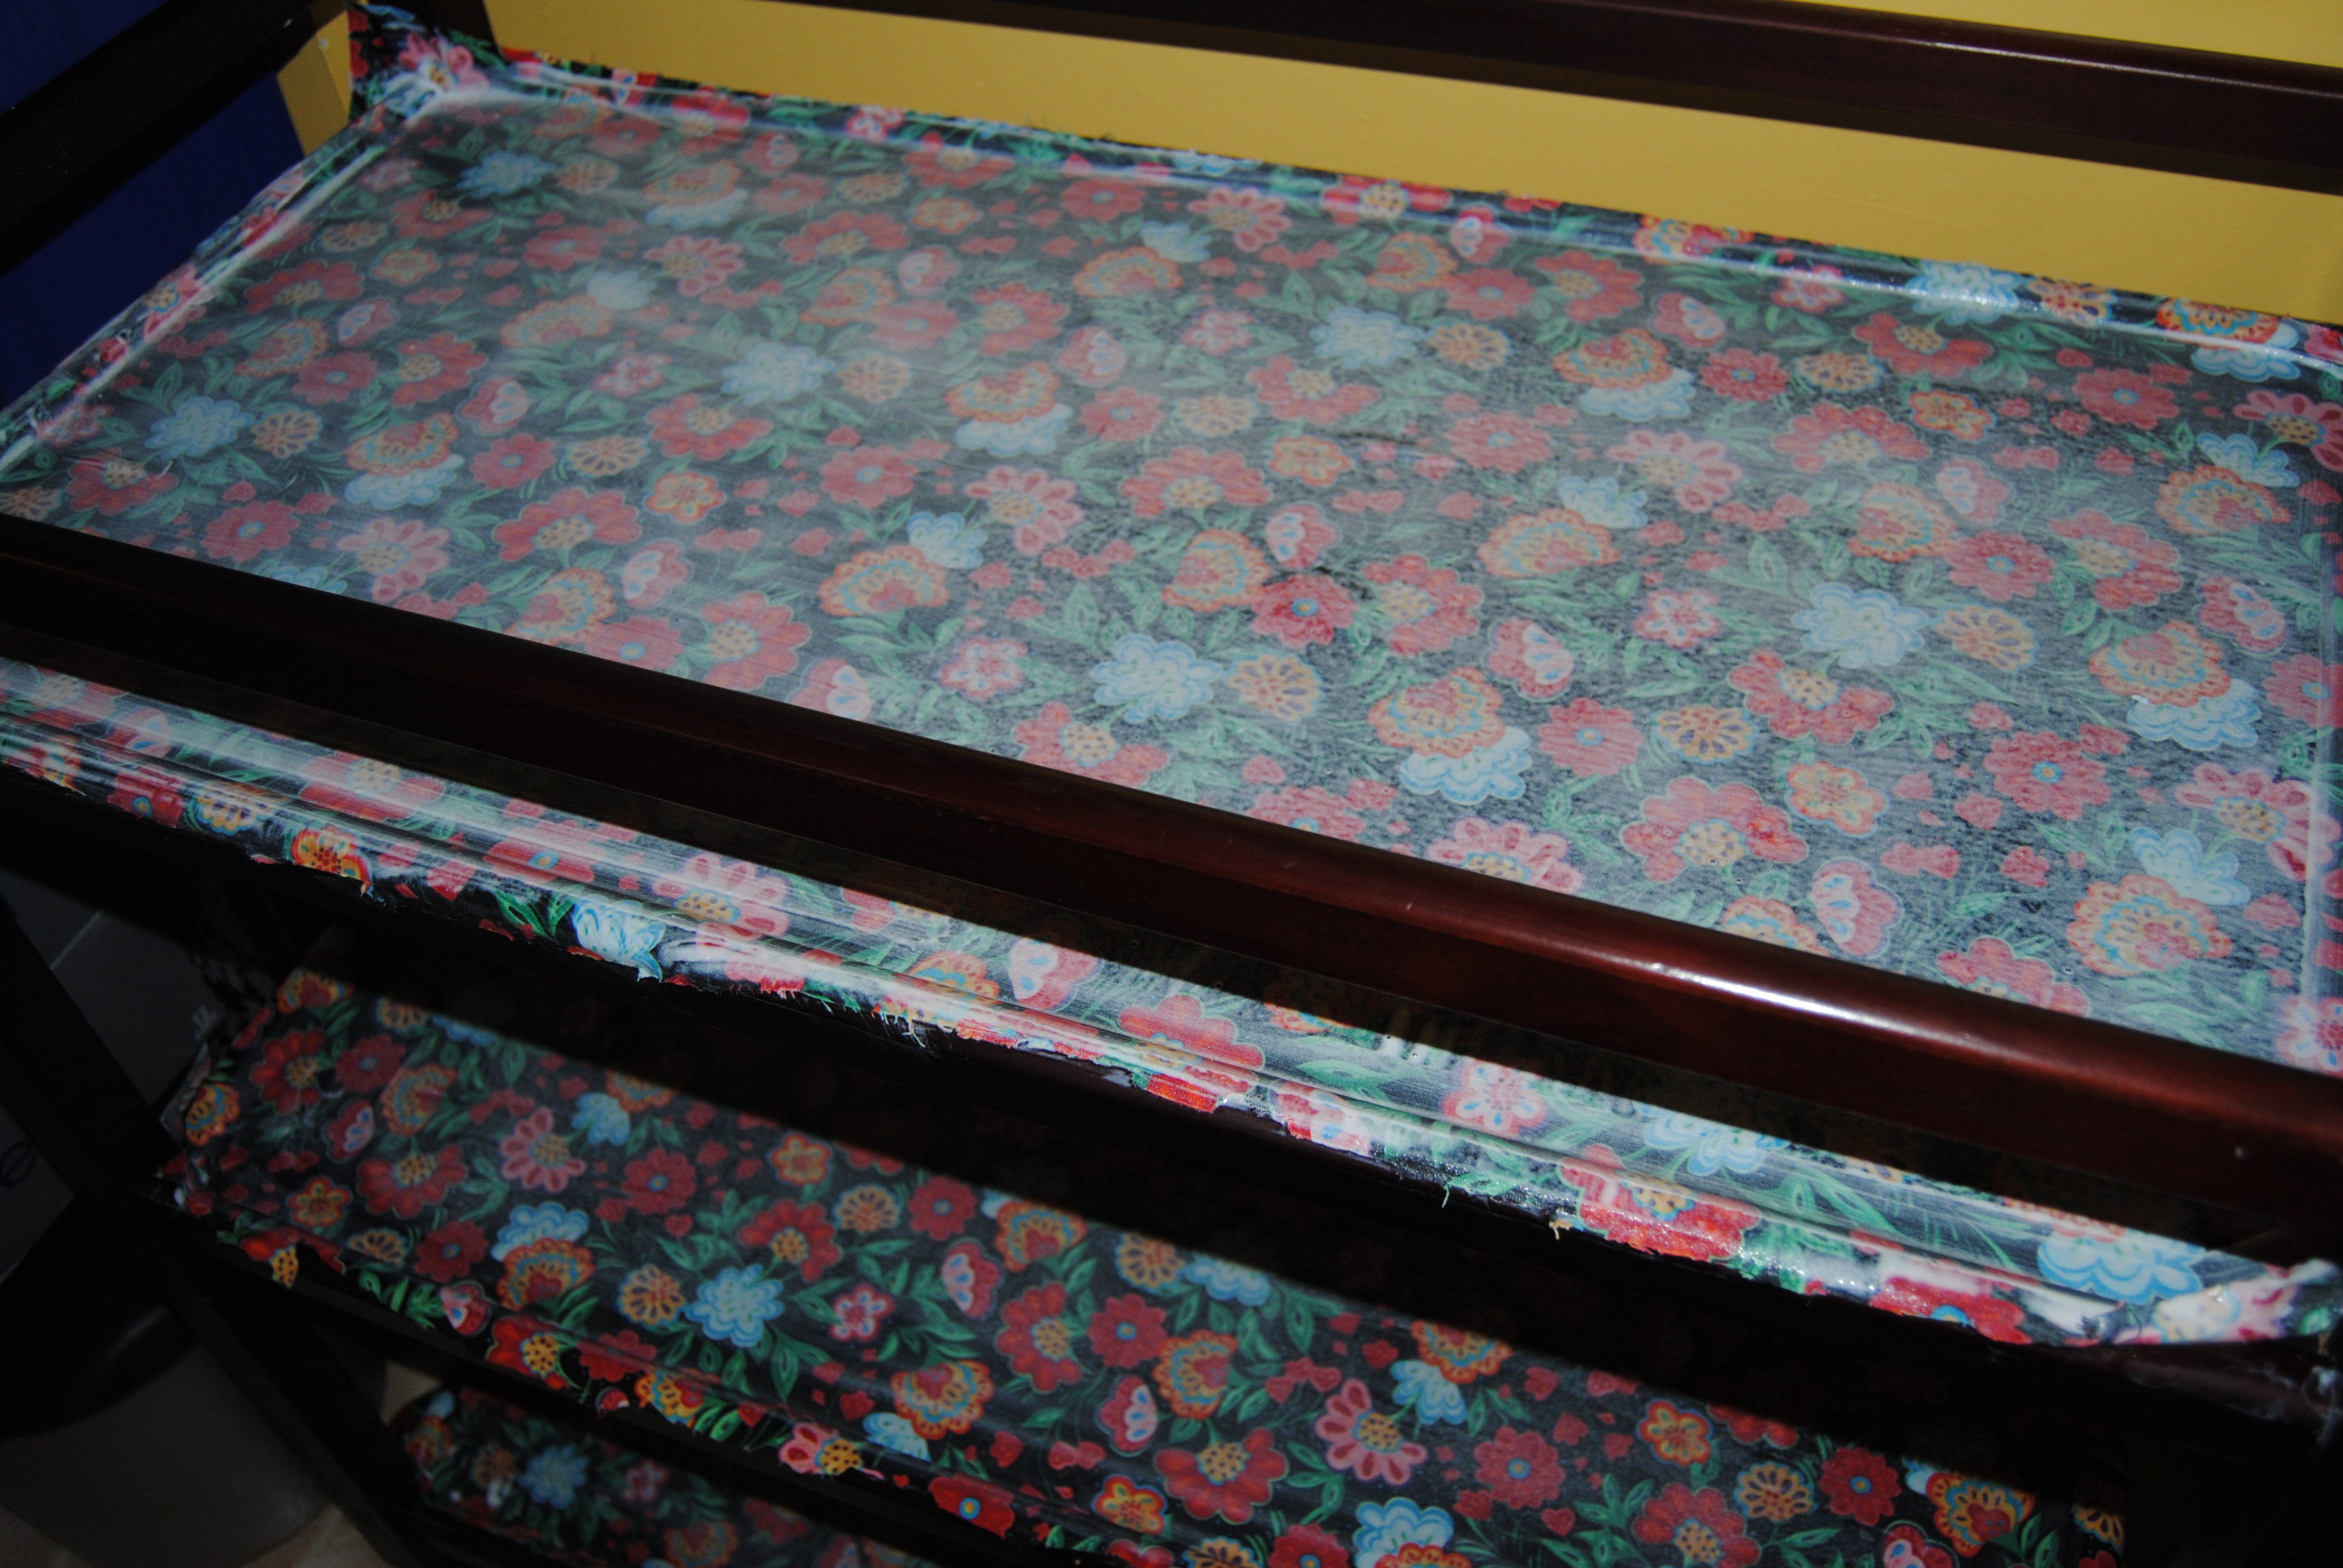
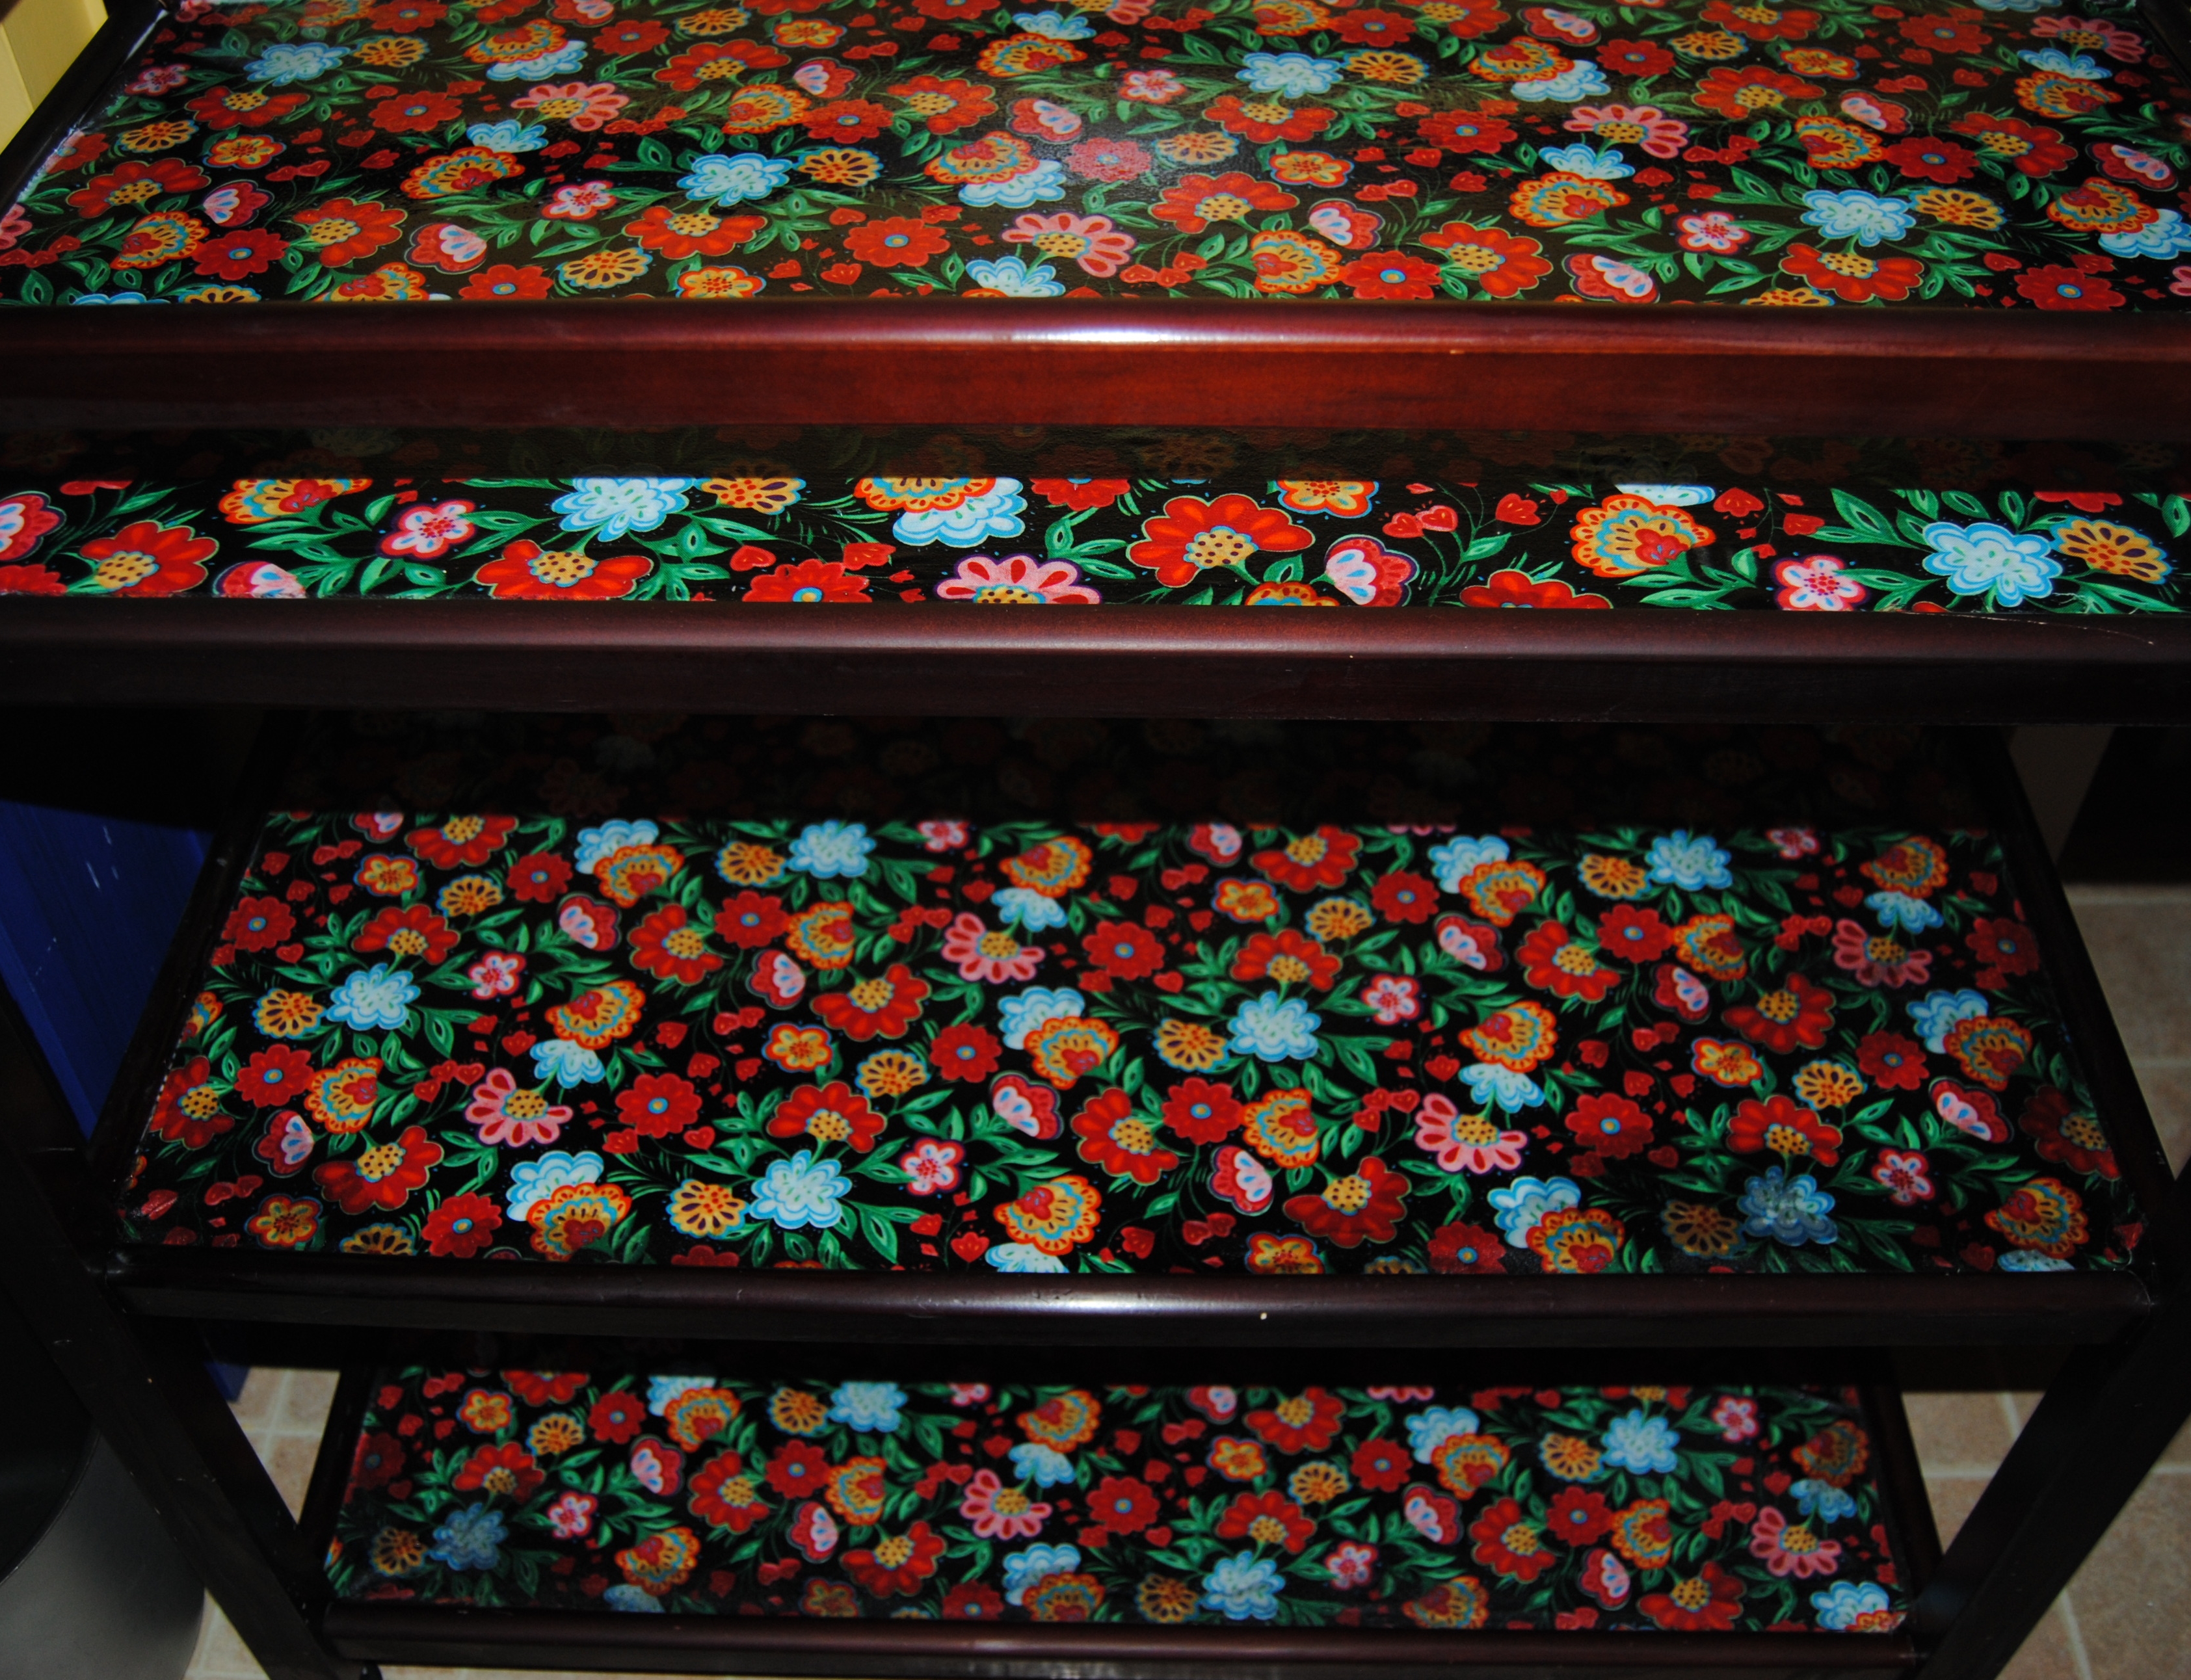
Have an old boring TV tray?  Transform it using the novelty print of your choice, Mod Podge and paint.

4. Design On A Nickel: Bathroom Cabinet Decoupage Makeover

Fabric, Decoupage and Paint Bathroom Cabinet Makeover

Want to change the look of your bathroom cabinet on a strict budget? Learn the magic of redesign using fabric and Mod Podge.

5. DIY Photo Canvas Made With Mod Podge

Family Photo Canvas

Learn how to recreate those expensive photo canvas’s with this easy DIY photo project.

A special “Thank You” to everyone who viewed, commented and liked On The Upcycle posts throughout year one.  I couldn’t have kept it going without you!

Keep on Upcycling!

Fun with Chalkboard Paint: Kitchen Cabinet Memo Board

One day I was standing in my kitchen staring at my boring cabinets when the idea came to me! My daughter loves playing with chalk and drawing.  The hubby and I often have the need to communicate through various “notes” left around the house.  We could really use a better way to communicate.  What better way then to create a family chalkboard?  I had often thought about modifying our kitchen cabinets in some way and this was a fun first step.   I was eager to try one of the most talked about craft items on the web, chalkboard paint.   My idea was to use the paint to create a chalkboard on the side of the kitchen sink cabinet, but the ideas for its use don’t end there.  Be sure and check out Brit and Co  40 Creative uses for Chalkboard paint and you will be amazed at all the fun possibilities.

I went to Joann Fabric and picked up some black chalkboard paint.  It was regular priced at around 6 dollars, but I used a 50% off one regular priced item coupon which knocked the price down to below 3 dollars!

DSC_0166

When I got home I cleaned and prepped the area of cabinet I planned to paint.  The bottle recommends 2 coats, but I used 4 total as I was attempting to paint over laminate.

DSC_0165

The project was relatively easy.  I used a brush to apply the paint allowing it  to dry thoroughly between coats.  The top side of the sink was damaged so I used a strip of fabric across the top to cover the area and add a little “pop” to the chalkboard.  I applied the fabric strip using Mod Podge and covered it in Polyurethane since it could be exposed to water being in such close proximity with the faucet.

DSC_0174

I waited about 24 hours for the final coat to dry before using the chalk. It worked beautifully!

DSC_0196

Now we can leave each other messages, post  holiday greetings, and our daughter can use her imagination and draw!

DSC_0198

And yes if you are wondering those are Peeps on a stick my daughter is holding.  Happy Easter Everyone!


Times They Are A Changing: Repurposed Kids Changing Table

Our diaper changing table was a very useful piece of furniture while it served it’s purpose.  Once my daughter outgrew it however, I wondered how I would reuse it. For a while it took up space in the craft room as I contemplated what to do with it.  It just so happened that I was looking for additional storage in our kitchen and I thought that the changing table could easily double as an extra set of shelves.

DSC_0161

The family and I took a trip to Joann Fabric and I purchased a colorful floral fabric for the project.  Since I had quite a bit of area to cover I purchased 1  1/2 yards of material.  I decided to leave the areas free of material in its original dark wood color, or if desired it can be painted the color of choice.  Just be sure and use a primer first especially if it is dark wood.

I cleaned the piece thoroughly before getting started.  Once dry I used a small foam roller to apply Mod Podge generously to the table surfaces.

DSC_0162

I cut the material with scissors allowing some extra fabric to hang over the sides.  I then carefully laid it on top of the Mod Podge smoothing out any air bubbles or wrinkles.  I generously applied Mod Podge over top of the fabric.  I repeated this for each individual shelf, and used two coats of Mod Podge for each shelf.

DSC_0163

Once the Mod Podge was dry and clear, I used a box cutter knife to carefully trim away any excess fabric from around the edges.  I utilized the table groove as a guide while slicing the fabric.  I then used two coats of clear polyurethane to seal and protect the table from moisture.

Repurposed Changing table

Now I have a bright and cheery shelf for the kitchen and desperately needed additional storage.  The colorful fabric really pops against our bright yellow walls, and am happy to be able to continue to use what was once a very important and sentimental piece of furniture.


Decoupage Diaper Changing Table


Materials:

Old Wooden Changing Table

Mod Podge

Foam Roller

Box Cutter Knife

Scissors

1 1/2 yard of Fabric of Choice

(Primer and Paint Optional)

Polyurethane clear sealer

Completely Stumped: Upcycled Tree Stump Ideas

Recently, my backyard neighbor approached me about cutting one of our trees down.  I have wonderful neighbors, and since it was her idea to remove the tree she also offered to pay for it.  She has a huge vegetable garden in the summer and the tree was a bit of a nuisance to her garden.  The tree was leaning and didn’t seem particularly healthy. Not to mention,  little saplings would appear everywhere in our yards and grew like weeds. Due to such factors, it seemed like a good idea to have it removed.  Unfortunately, we are now left with a bit of an ugly tree stump, and the guilt of removing a tree from nature, but the truth is our yards are too small and too close for such forestry.  I began doing research on ideas when it comes to upcycling tree stumps. I am still unsure as to what I am going to do with ours, but found some inventive ideas online I wanted to share.  After a long winter, it seems appropriate to welcome spring in such a way!

1. Interior Holic 

old-tree-stumps-in-garden

Who wouldn’t love a tree table!  Just one of many ideas on this site!  Tree stump natural flower planters, Tree stump side tables covered in polyurethane you name it this site has it!

2.  A Cultivated Nest

A DIY site dedicated to crafts is home to the unique idea of a tree stump chair!  I love this idea!  It not only recycles an old broken chair, but saves the old tree stump creating a unique piece of furniture in the process!

3. And… there is always HGTV ! Lets not forget our other backyard neighbors, birds!  This link will show you all the ways to greet and care for birds in a natural garden setting. This lovely idea uses a tree stump with a basin resting on top for a natural looking bird bath.

Bird Bath Tree Stump

Do you have any creative ways of  recycling tree stumps?  Are you as excited as I am to get outside and do a little spring cleanup?