Hot Summer Nights: Paradise By The Back Porch Light

This past memorial day weekend, my husband and I were determined to get the yard ready for summer.  My daughter received an Easy Set Intex Pool from her Uncle and Aunt for Christmas and we could not wait to get the pool setup and operational.  My daughter’s 4th birthday this year will have a pool party theme, and the date for the party is quickly approaching.  My husband and I leveled out the ground in the area the pool would be placed.  We laid down a tarp and spread the pool out.  These inflatable Easy Set’s are great starter pools, and in our case the simpler the better since this is our first attempt at putting up a pool.

20150523_141004

We inflated the ring with a pump, and from the inside smoothed out the lining.  It took all day to fill.  The next day, we hooked up the filter, placed chlorine tabs in the floater, and assembled the ladder.  The water was very cold, so I hopped in to the pool for a test run.  For the most part everything went great and the set up was easy.  I was disappointed to find some parts in the lining that were not as smooth as we had wanted.  I can’t stress enough the importance of making sure the ground is clear of any debris and level.  Even after all our careful work, what seemed smooth at the surface was not always the case.  Once the weight of the water pressed the ground flat, some rocks and roots underground seemed to appear out of nowhere through the lining.  That being said the only way to remedy this would be to drain the pool and remove the debris from the area to smooth it out.  Until it is necessary to do so, we are going to take our chances.  I would feel guilty wasting all that water!  Luckily the pool came with plenty of patches if needed.

20150524_131400[1]

We purchased a few fun summer signs from Dollar Tree and lined the fence with them for added decoration.

I  also accomplished a few smaller projects.  I had a decorative metal star that I picked up at Christmas Tree Shop.  It was on clearance and I was never happy with the tan color.  I surmised that this was most likely the reason why it was on clearance.

20141108_172420[1]

Since it was Memorial day and the house was decorated in Americana….

20150509_132943-1[1]

I had some extra Rust-Oleum red spray paint, and I sprayed on a quick coat.  I like the star better now that it is red and I purchased it for half the price!

20141108_201050[1]

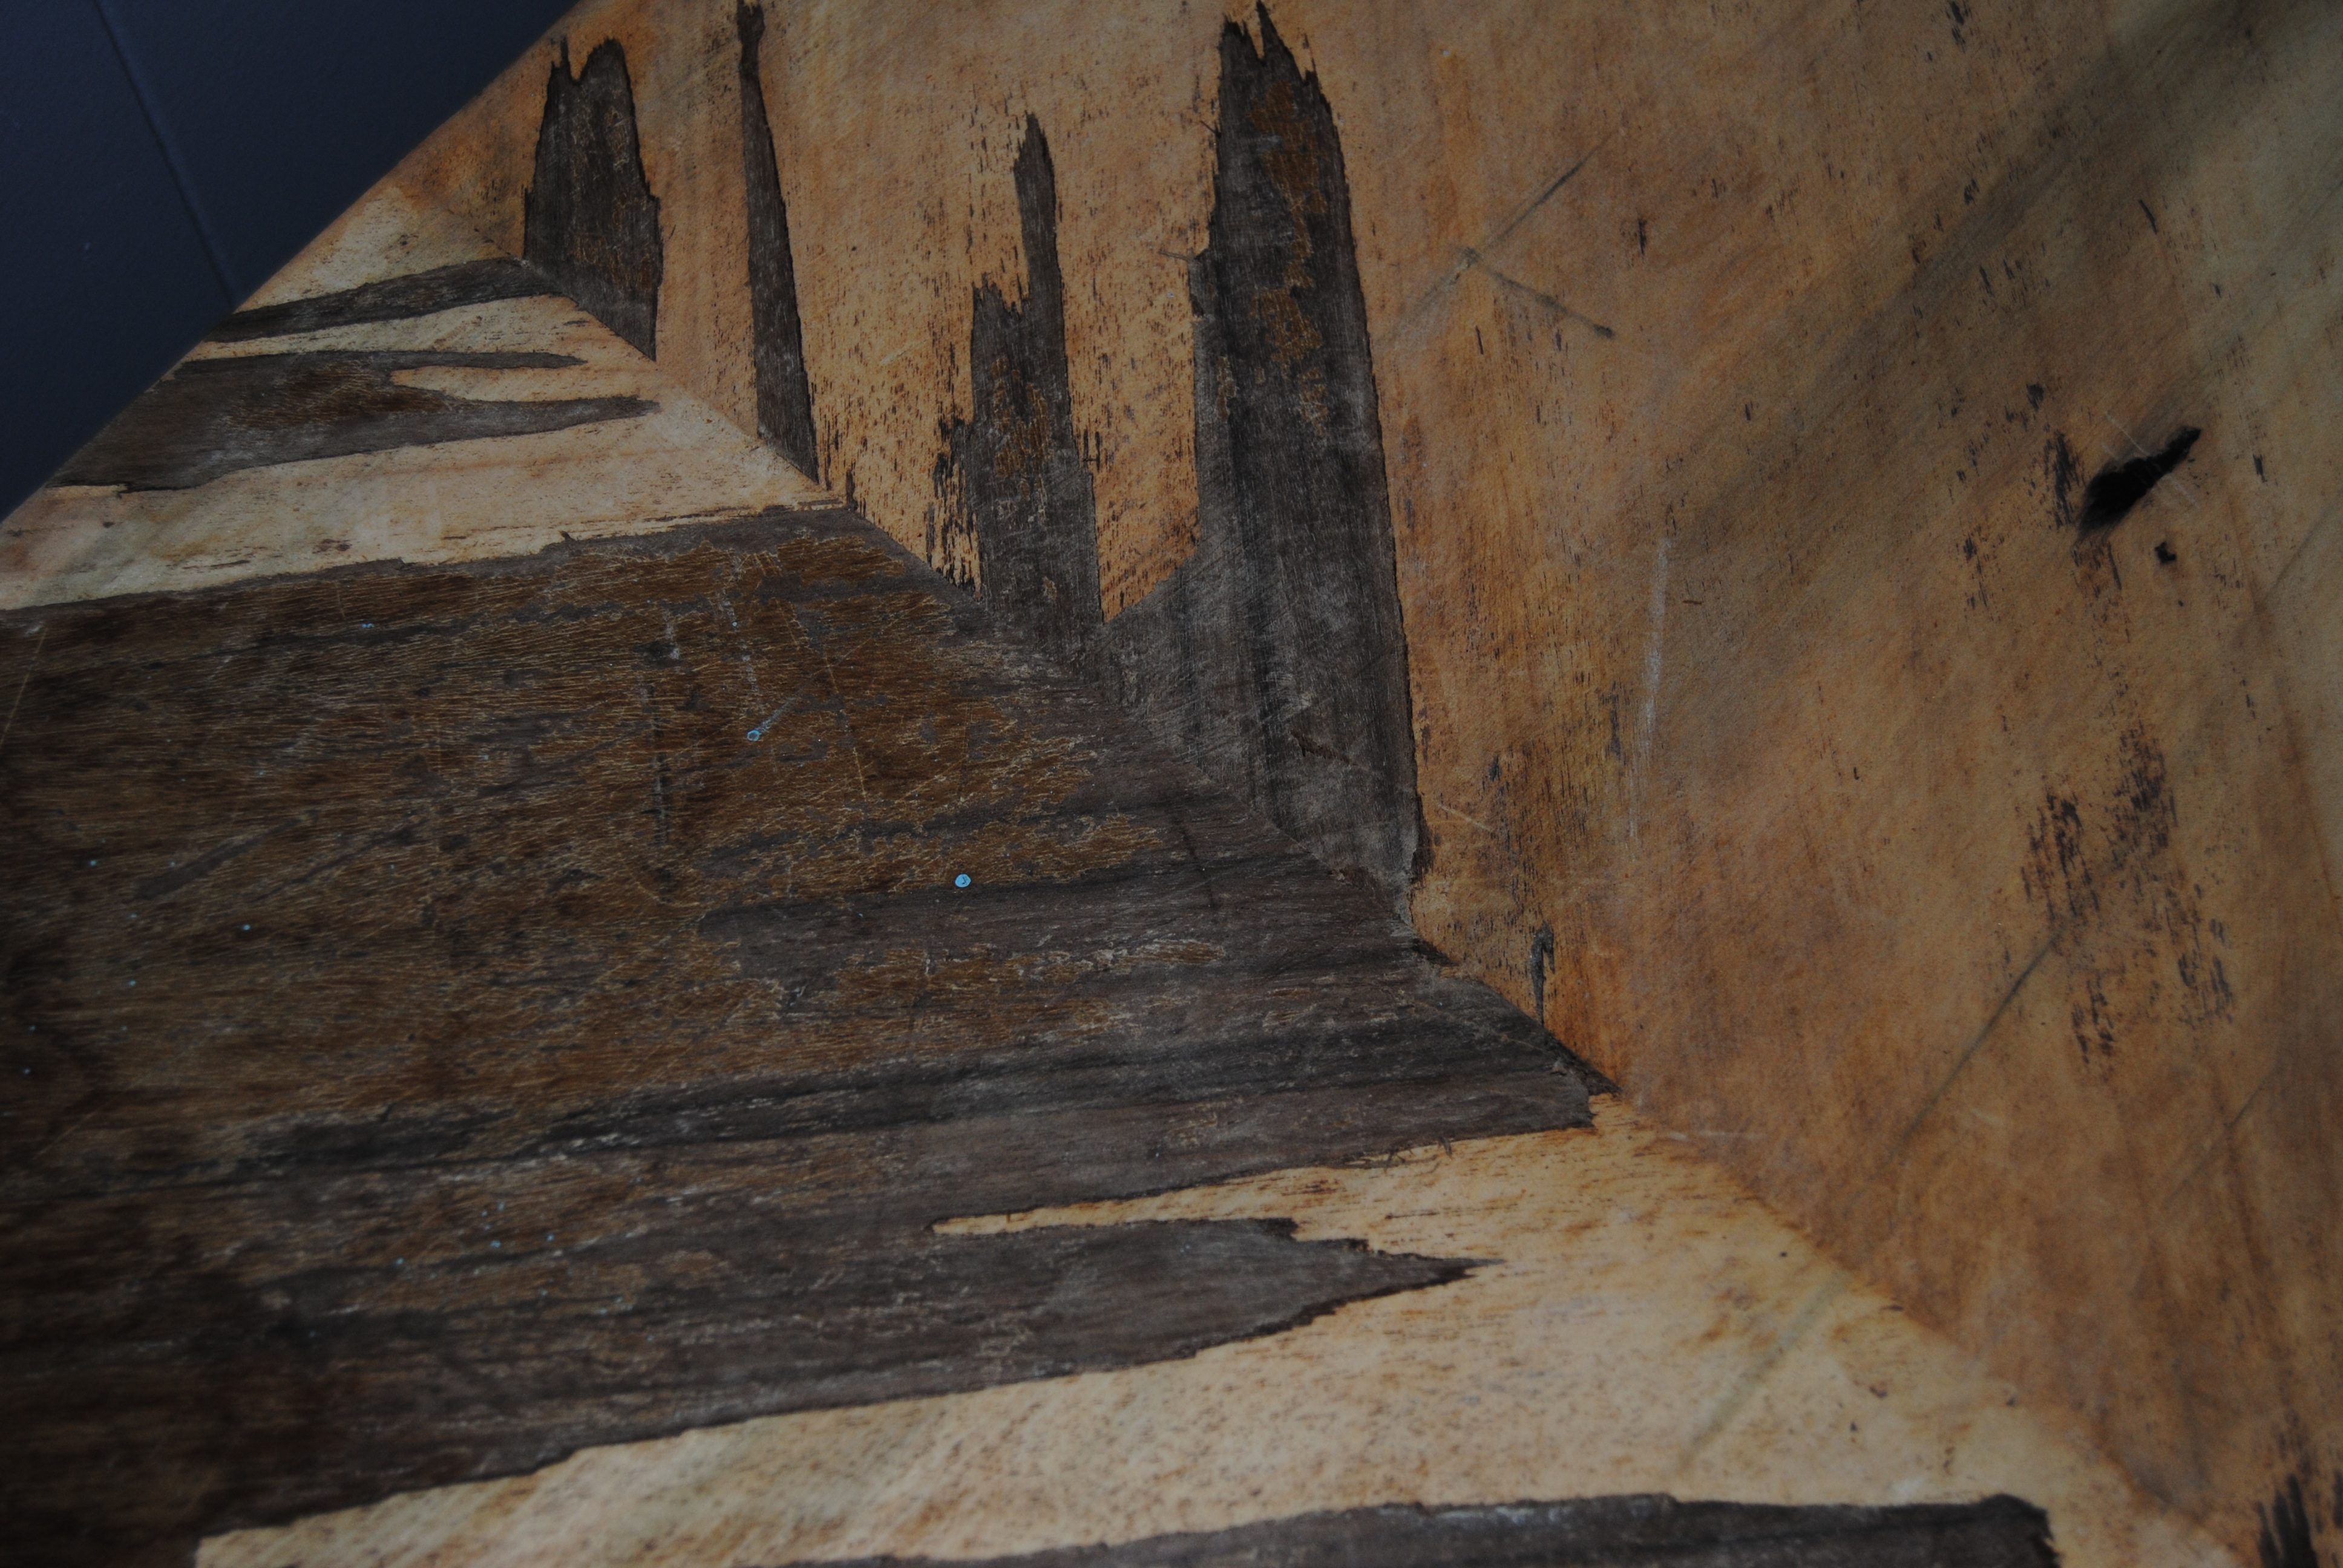
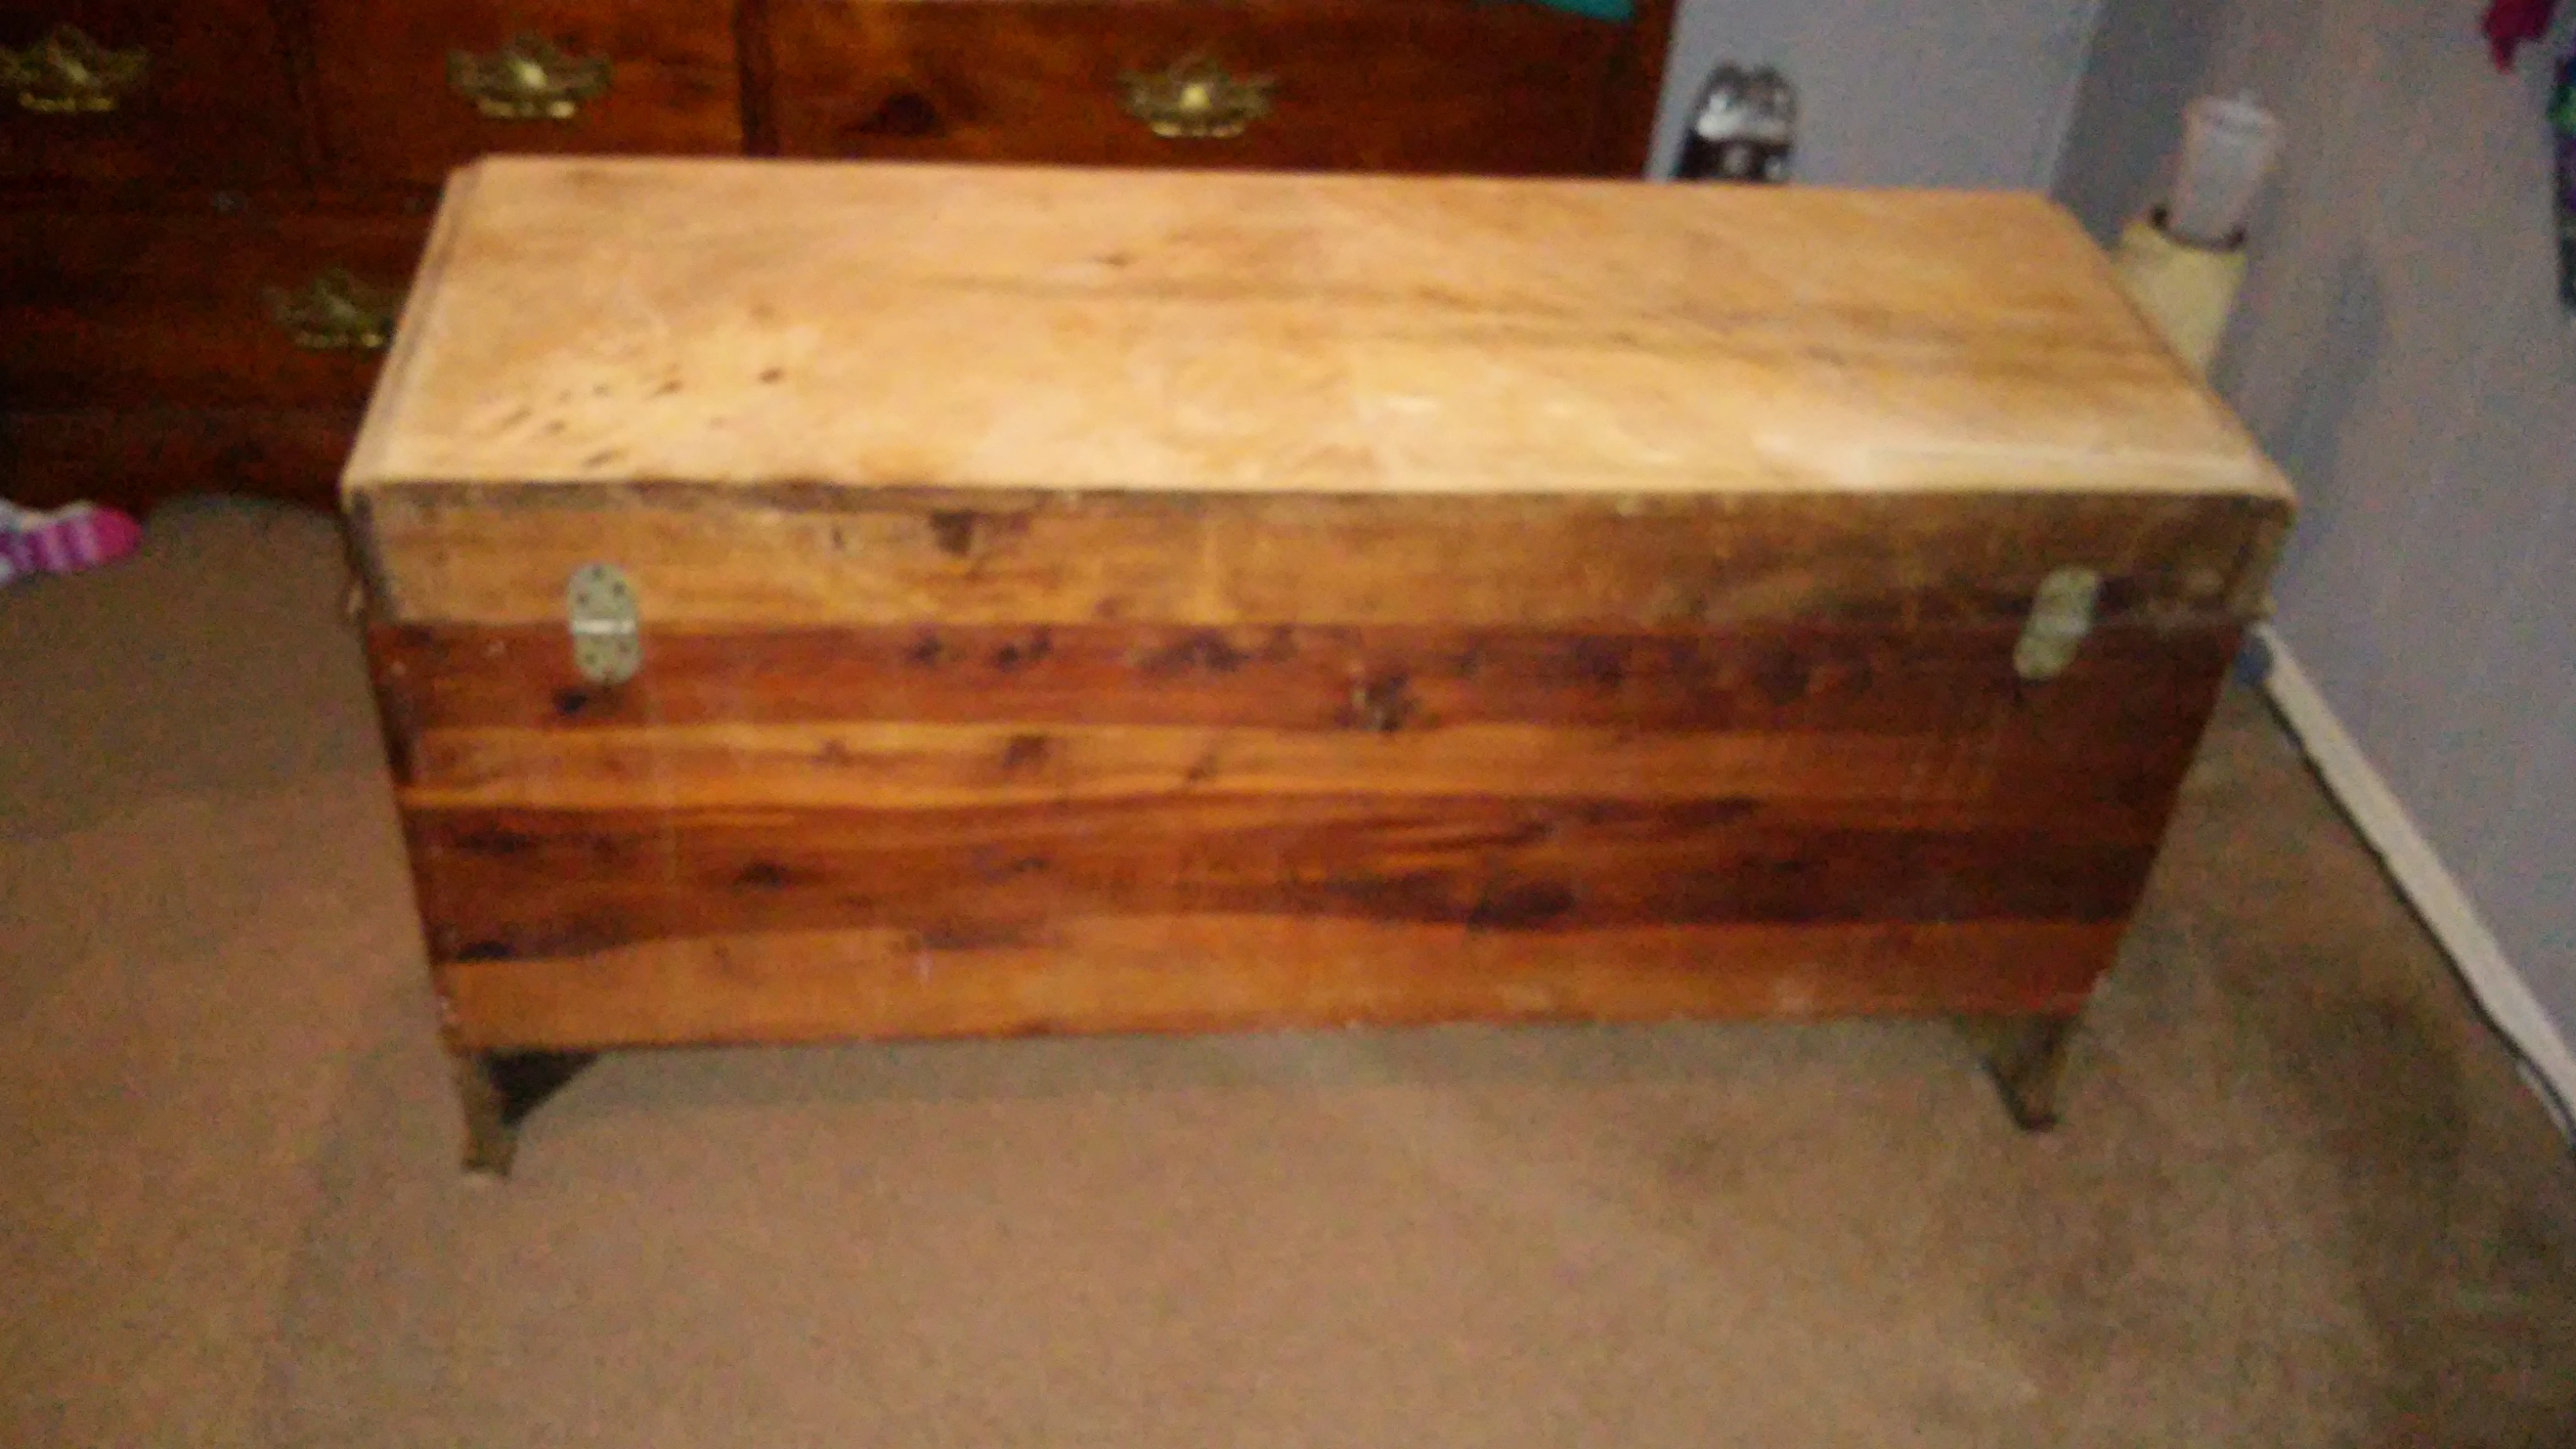
The other area I wanted to address was the corner of the yard by the pool. There is a rather large tree stump in this area.  Some time ago, I blogged about ideas here.

I struggled with what to do with this stump for some time.  This weekend that changed.  I decided to make it a fun project for my daughter and I to do together.  I had an old broken wooden TV tray.  I removed the table top from the legs and screwed it on to the tree stump surface.  My neighbor had given me some decorative, shells, glass pebbles and decorative rock. I thought it would be fun for us to create a mosaic table top for it.  I used some old tile grout and glue in one and spread it onto the table surface evenly.  The toddler apprentice and I then applied the rocks and glass pebbles.  We wiped off any excess grout and allowed it to dry overnight.  I used the unused legs of the TV tray as a garden trellis, another great re-purpose!  My goal was to use as much of the table as possible. Mission accomplished!

20150525_172623[1]

I placed the shells around for decoration.   Now Mommy has a place to put “her” sippy cup and relax by the pool, while my daughter has fun exploring and playing with the various sea shells.

20150525_173659[1]

20150525_172714[1]

Since this spring has been a bit sparse in the rain department, our grass took a hit and much of it died.  Once all the yard work was done, we raked the yard and spread out grass seed in the hopes of bringing our lawn back to life!  Once the grass grows under our feet, our little backyard oasis will be complete!

What do you have planned for your backyard oasis?  Do you have any summer projects you are eager to complete?  How do you like to kick off summer?

Sultans of Swap: Flea Market Fun In The Sun

This past Saturday, I had the opportunity to participate in my first ever Flea Market.  The sale of spaces benefited my daughter’s school, so of course I jumped at the chance to get involved.  I was a bit nervous.  It was the first time I have attempted to sell my projects.  I also had some additional spring cleaning items to sell as well and anything I can do to create additional space in my overloaded craft room is a definite plus.

Let me start off by saying, I have been to a lot of swap meets, yard sales and flea markets as a buyer, but never as a seller.  It is hard work preparing, pricing and hauling your goods to the sale location.  I have a new respect for those who can make a living at it and participate in sales on a regular basis.

I am in no way an expert at this, but I thought I would share with you all what I learned from this experience.

So, How did the modern flea market get its name?

The first flea markets were in Paris and they were called marché aux puces which translates to ‘market with fleas’. Flea market first appeared in English in 1922 as a translation of the French market’s name.

When Preparing, Take Care of as much as you can the night before

Since most flea markets start bright and early, and I am a night owl by nature,  I loaded the car and any other items needed for my sale the previous night.  This allowed me to get a good night sleep and wake up and leave the next day without scrambling at the last-minute.

Show up on time or early for set up

This was the fun part.  Setting it all up so it is pleasing to the eye.  Leave yourself enough time so as to not feel rushed.

20150502_080200

Mark all prices clearly and have a backup plan

I devised a color coding system.  Also when marking your prices, keep a mental note of how low you are willing to go with price.  I marked my prices a little higher so that I had some “wiggle” room.

Plan for a long day in the hot sun

If you have a canopy or beach umbrella, it is a good idea to bring it.  Make sure to bring plenty of sun block, dress accordingly (avoid dark colors that attract the sun) Wear a hat and sunglasses and bring plenty of fluids and a snack.

Bring tables or other items to properly display your merchandise

I found that items more visible, and that didn’t require a lot of effort to look through sold better.  A clothes rack, table or even a sheet or mat placed on the ground is essential when displaying your items.  If people have too put a lot of effort in they will move on quickly to a competitor’s table.

20150502_080152

Don’t Just Sit There… Get up and Sell!!

I found I gained more interest in my items when I talked to people and said “Hi”  Sitting their idle watching people come and go doesn’t sell stuff, but being a social butterfly DOES even when the turn out is low.

Talk about what you do and PROMOTE

I created plenty of business cards, and even sign explaining what Upcycling is.  People’s curiosity would get the better of them and they would stop to read the sign.  It was a great conversation starter!

20150502_075927

Bring Singles and 5 dollar bills to make change and wear a fanny pack!

I brought about $40 dollars in cash.  I used 25 singles and four 5 dollar bills and found this to be enough to make change.  It is better to wear a fanny pack or apron to keep change, pens and tape in.  Leaving money unsupervised in a box even for a minute, creates a potential for theft.

Make Friends and Connections!

Even though the turn out was less than spectacular, I still managed to socialize with other vendors and make personal connections.  I met a really nice woman who runs a local consignment shop, and my flea market neighbor and I helped each other when the other had to take a bathroom break.  The nice lady next to me even helped complete a sale while I walked away for a moment!

20150502_081633

Oh and Don’t Forget to take a Flea Market Selfie!

What are you doing to prepare for this Flea Market Season? Do you have any tips for sellers not mentioned here?  Do you have willpower when it comes to buying things at a flea market when you are there to sell?

Crazy for Corduroy: Girls Flower Power Decoupage Side Table

It has been a very hectic week in the “On The Upcycle” household.  I have been working late into the night to prepare for my first flea market this Saturday.  I am happy to report, that my crafting area is looking more like a usable work space, and less like a storage closet!  My hope is clearing out some older items will make way for new projects.

I have also been working on a few projects specifically to use in the sale.  I picked up this nice, wooden side table at Goodwill for a couple of dollars.

20150419_200300

The original idea, was to use a black and white scarf I had for the decoupage and then paint the table with neutral colors.  It is amazing how quickly a plan can change!  I used a white, spray on primer to prepare the table.  I applied the scarf and instantly was not all that impressed with the result.  Scarves can be tricky because the fabric is very thin, and once it is glued to the table top, it has a tendency to show any imperfections on the wood underneath.  That is exactly what happened in this case.  Once the Mod Podge was dry, I removed the fabric and decided to start over.  Then it hit me:  I had this great flower power corduroy fabric from an old dress that looked very cute on my daughter but no longer fit her.  I saved it in the hopes that I would find a use for it someday.  That time was now!

20150421_175548

I cut the fabric and measured out a large enough piece to cover the top of the table.  I applied a generous amount of Mod Podge to the table surface.  The general rule is the thicker the material the more Mod Podge you will need to use to achieve the desired effect.

20150421_180715

Once the glue was dry, I hand painted the table with pink, purple and white acrylic paint.  This was turning out to be a much different table then I had originally anticipated.  After a few more coats of paint,  I added generous amounts of Mod Podge to the table top to seal the fabric.  I repeated this process three times allowing it to dry between coats. I also applied Mod Podge to the painted surfaces, to seal the entire piece.

20150421_195011

Once dry, I trimmed off the excess fabric on the edges and applied more Mod Podge to seal those edges.

20150422_074658

This is a side table with a lot of flower power and 1960’s appeal.  I am hoping this table makes some little girl very happy!  It will be just one of the items for sale this weekend.  I also loved working with corduroy!  Because of the thickness of the fabric, I was unsure as to how it would turn out and was more than pleased with the end result!

Before:

2015-04-28 (1)

After:

Materials Used:

Old kids Garment

Mod Podge

Spray or brush on white primer

Acrylic Paint

Paint Brushes (Various sizes)

Scissors and Box Cutter knife (to trim edges)

Two Years, One Sale- On The Upcycle

This April 27th 2015 marks the two-year anniversary of this blog and my creative mission to reuse, re-purpose and restyle.

2-years-old

For me, Upcycling is all about having fun and being creative with items that would otherwise be discarded.  The biggest challenge for me has been the writing. I love to craft, but I struggle with writer’s block from time to time.  The ideas for projects often come but the words to adequately describe them do not. Although I am not blogging with quite the same frequency as I once was, I am still happy that I was able to continue and complete a few larger and more challenging projects this past year, like my Lane Cedar Hope Chest. After two years of creating I am inevitably left with too many items and not enough room to keep them all. I was excited to hear that my daughter’s school is sponsoring a flea market in early May.  This seemed like a great oppurtunity to have my first “flea market experience.” I have never tried to sell my projects before, so this is a huge first step for me.  What better way to re-energize and make room for new projects?

It’s spring cleaning time for On The Upcycle. That being said, it’s also a fun time to squeeze in a few smaller projects in the days leading up to the sale.

I love wooden boxes and picked this one up for 99 cents at Goodwill.  I didn’t care for the boxes original design, but the box itself was in great shape.

20150419_201455[1]

I used a spray on white primer to properly cover the previous design on the box.

20150419_212220[1]

I had a nice celestial print.  I have been in a colorful mood lately and wanted to utilize a design with a lot of color

20150419_212452[1]

I applied Mod Podge with a brush, and placed the print on the box top and front.

20150419_212639[1]

I painted the box blue and pink to match colors contained within the print

20150420_212842[1]

This whimsical celestial themed box is one of the items crafted specifically for the sale.

20150420_212650[1]

Here are a few photo’s of previous projects I have agreed to part with for the upcoming sale:

Peacock Table
peacock table before and after

Star Wars Kid Chair:

Star Wars Themed Fabric Decoupage Chair

Strawberry Shortcake Kids Chair:

Upcycled Strawberry Shortcake Kids Record Chair

Kids School Desk:
Upcycled Kids School Desk

Happy Earth day to all of my friends!! How are you celebrating today? Do any of you have experience with Flea Market sales? I would love to hear from you! Any tricks of the trade or friendly advice?

My Neighbor Let it Go: Disney’s Frozen Wooden Toy Chest and Bench

My neighbor approached me one Saturday morning last spring. He was cleaning out his garage and asked if I wanted to look at a few items before he put them out on the curb. One of these items was an unfinished toy chest/bench that had been sitting in the back of his garage taking up precious space.  It had been purchased with good intentions, but he had never gotten around to finishing it. I immediately jumped at the chance to own such a wonderful piece of furniture.  It was unfinished wood, so this meant no scraping, stripping or priming.  My kind of project!

20150329_132009

I am always amazed at the generosity of people.  When it comes to neighbors, I am truly blessed.  I thanked him profusely and happily took in the unfinished item. It immediately filled a dire need. My daughter had accumulated many toys, and this was a great way to store and organize them.  So, there it sat unfinished and full of toys for almost a year in our daughters playroom.  I had no idea how I would finish it. I entertained various ideas that went nowhere.  Sports themes, traditional refinishing, Disney Princesses, just to name a few.  Then it hit me one day after my daughter had viewed the movie Frozen for the 50th time!  Why didn’t I think about it until now?  I emptied her toys out and placed them in bags.  I went online and looked up a Frozen color palate.  I chose 4 colors from Joann Fabric and Craft Stores Craft Essentials acrylic paint collection. I ended up using three bottles of each color, except for the pink (I only used 2) I went online and printed out some Frozen graphics that I wanted to use.  I set my printer to the largest setting possible.

20150329_145754

20150329_151745

The toy box needed about 2 coats with some minor touch ups after drying. Once the final coat was applied, I allowed the piece to dry thoroughly overnight.

20150329_144245

The next day, I applied Mod Podge to the front and lid with a foam brush, and carefully applied the prints.

20150329_150645

20150329_194011

The piece needed some “pop” so I decided to purchase some wall decals from Babies R Us to use as accents.  If you do not have access to a printer some of these images would also work great for decoupage.  I decided to apply the left over decals to my daughters bedroom wall.

pTRU1-19067669enh-z6

I then applied Mod Podge to the entire piece to seal it. For the majority of the toy box I used a foam brush to apply the Mod Podge, on the lid I used a “fluffy” mini paint roller which gave a snowy effect when the Mod Podge dried.

DSC_1095

I was happy how the piece turned out, and it looks great in the playroom!  When my daughter saw it finished the smile on her face said it all!

DSC_1086

DSC_1096

Materials:

Wooden toy box

Mod Podge

Paint/Brushes large and small

Foam craft brush, scissors

Frozen Prints Or Decals

(Colors used from Craft Essentials sold by Joann Fabric)

Mediterranean Blue

Panic Pink

Caribbean Coast

Sailing Sky

Length of project: 2 days (total)

The Happy Card Project: Put A Little Love In Your Art

I wanted to once again bring attention to a great organization dedicated to bringing happiness to others through greeting cards. Be sure and check out Corrine and her friends as they try and change the world one “Happy Card” at a time. You can read more by visiting their website at: http://www.thehappycardproject.com/

On The Upcycle~

We all know how wonderful it feels when you have a chance to brighten someone’s day.  Sometimes, it is a simple gesture, lending a hand to someone in need, or a few words of encouragement when someone around us is feeling down.  Although many of us would like to contribute to those in need financially, there are times when this is not possible.  That doesn’t mean it is impossible to give.  One of the most precious gifts you can give is time.  This past July 4th weekend, the toddler apprentice and I put aside some time between bbq’s, fireworks and swimming, to sit down and make cards together.  I recently reconnected with an old friend on Facebook who brought a positive movement to my attention.   It was started by her daughter Corinne Mattia.  Corrinne is a psychology student and describes herself as an animal lover, and eternal optimist. …

View original post 573 more words

On The Upcycle Revival: Vintage 1934 Lane Waterfall Art Deco Hope Chest

Every once in a while that special piece of furniture falls into your lap unexpectedly and without warning.  Now that the word is out and friends and family are aware of my blog, I have had interesting items rescued and brought to me to experiment on.  That was the case with this next project which also proved to be my most challenging yet. The same friend and co-worker who brought me my “You had me at half table” project approached me about a cedar chest she had sitting in her garage.  She needed to make room and could no longer keep it, and wanted to know if I would be interested in giving it a good home, and taking it off her hands. The outside of the chest was in rough shape, but the inside was still perfect.  After all these years, it managed to maintain its trademark cedar smell.  She inherited the hope chest from a neighbor who was about to place it out on the curbside. My friend rescued it, recognizing this diamond in the rough deserved a second chance at life. Adding to the excitement was the fact that I had always wanted a hope chest of my own.  I didn’t mind having to put some work into restoring one, and I graciously accepted the offer.  I was really excited and looking forward to working on a special piece like this.   Initially I was concerned about transport, but I was relieved when it fit in the backseat of my car.  I already had a spot for it in my bedroom. It seemed like it was fate.  For a while,  it sat untouched and the veneer began to peel, and I peeled it off little by little, while I figured out a plan to bring it back to life.

DSC_1002

I began researching the piece online. I opened the trunk and inside I found a card outlining the moth insurance policy.  The card also encouraged it’s customers to “buy victory war bonds.”  I knew from that moment on this was a vintage piece.

lane 2Lane Card

The tag also listed the maker of the piece.  The Lane Company Altavista, VA.  The name was also burned into the inside of the lid.

DSC_1058

Founded in 1912 by John and Ed Lane, The Lane Company of Virginia, became one of the leading makers of Hope chests in the United States during World War I and World War II.  During that time, it was tradition for young girls to have a hope chest to bring with them into a marriage.  The company launched a massive ad campaign which even included child star Shirley Temple  as a popular spokesperson for the company.

20c67b90a939d58165359ab106c7e366

Every piece was stamped with a unique serial number and style number. Reversing the serial numbers is what helped me determine its age. This one was manufactured on 8/18/1934.  The chest was waterfall design done in an art deco style which was also popular during this time.

The chest itself was in good shape, but the veneer was not.  It was stored in a damp place for a long time,  and much of it was peeling or bubbling up. I knew removing this would take a lot of work.  I also discovered that the original lock had been recalled. Sadly there have been cases of children suffocating inside after becoming trapped as recently as 2014. The good news is Lane still has replacement locks available on their website.  Due to safety concerns, I went online to order one here.  The lock ships in 4-6 weeks.  It is important when purchasing vintage furniture to pay attention to recalls.  I was glad to have stumbled upon this fact during my research by pure accident.

With minor cracks in veneer, it is possible to buy wood filler/puddy and “patch” and sand the areas, but in this case the veneer would have to be removed entirely in some areas. I read a few articles online, and I tried various techniques for easily removing veneer.  Let me start off by saying there is no easy way to remove veneer. I found it to be a long, risky and tedious task.  The one technique  that worked best was using a hot iron and a damp towel. I soaked the towel in warm water and placed it on the area of veneer I wanted to remove.

DSC_1004

I then heated up the iron and placed it on the area allowing it to sit for several minutes.  This softened the glue enough to allow me to use a scraper to remove large pieces of the veneer.  unfortunately, smaller pieces broke off and I ended up repeating this process many times.  The biggest challenge was scraping and removing the veneer without damaging the wood underneath.

DSC_1000

Please also note that once you use your iron for this task, it becomes designated only for this task.  The glue from the veneer burns the iron permanently and it can never be used to iron clothing again. This process was completed during the course of a few days.  I would work on a small area nightly.  The veneer removal seemed to be taking forever until it was boosted by a snow day and some unexpected free time.

20150305_222555

I used a belt sander to even out the larger areas and hand sanded the more delicate and smaller areas. The areas on the piece that still had veneer I carefully hand sanded.  Using a belt sander can cause damage to the veneer.  Once the sanding was completed, The piece was ready to stain and seal.

20150305_225309-1

20150305_175139

I trudged up to Home Depot in the snowy slush and shopped for a suitable stain and polyurethane seal for the exterior.  The colors that I initially wanted they did not seem to have in stock.  This did not make the aisle look any less intimidating to me.

20150306_093046

I decided on a color called “Cognac” and a clear semi-gloss polyurethane sealer.  I already had a small can of Minwax Jacobean at home that I was planning on using for some of the trim.

20150306_112823

I began applying the stain and it was a little darker than I expected, but it closely matched our bedroom furniture like I had hoped.

20150306_113835

I then painted the entire piece.  I was happy with the Varathane brand stains as it dried quickly and had less odor compared to other stains I have used in the past.

20150306_124502-1

I  used the Jacobean colored stain to paint the trim and highlight the grooves and detail in the lighter wood trim.  To me adding the darker color helped bring out some of the unique design qualities of the piece.  It took about two coats of stain to cover all the areas.  Once the stain was dry (It took about 24 hrs) I applied two coats of the clear semi gloss polyurethane to seal the chest.

DSC_1061

Although I could not restore the chest to its original state, I am pleased with how elegant the piece looks now.  It fits in beautifully in our bedroom and I look forward to storing special items inside it and treasuring it for years to come.

DSC_1060

Before and After

1934 Lane Hope Chest Before and After

Materials used:

Old Iron

Old Towel

Paint Scraper

Paint Brush Large and Small (for detail)

Wood Stain (color of choice) and Polyurethane Sealer

Sand Paper

Belt Sander (Optional)

Fabulous Frida: Dollar Store Decoupage

Beauty can present itself in many forms.  That is why I find the works of Frida Kahlo so intriguing.  The subject matter of her paintings are often grotesque and painful, but one can’t help being drawn to it.  Despite the many adversities life had to offer her, Kahlo never let it defeat her. She was a modern woman, ahead of her time, and created artwork that remains relevant today. Born in Mexico City around the start of the Mexican revolution,  At age 6 she contracted Polio which caused her to walk with a limp. As a young women, she was involved in a nearly fatal bus accident that left her with severe lifelong and painful injuries including her inability to carry a child.  Her heart was broken and this was reflected in many of her paintings, most of which were self portraits.

Self-Portrait-1926

Frida Kahlo pictured below with her partner and muse, painter Diego Rivera in 1932.

Frida_Kahlo_Diego_Rivera_1932

My sister is also a fan of Frida.  She recently had a surgery that would take some time and perseverance to recover from.  I wanted to make her something special to lift her spirits and inspire her while she was convalescing. I thought something with a Frida Kahlo theme could do just that.  I had a small wooden box that was far from special, but would be perfect to store her medications in.

DSC_0762

First, I cleaned the box thoroughly removing dust and dirt that accumulated during storage.  I printed out a 4×6 Frida print, and applied Mod Podge to the box with a paint brush.  I then carefully applied the print to the box.

DSC_0763

I used black and golden rod acrylic paint to finish off the box redesign. Once the box dried, I used Mod Podge to seal the project.

DSC_0765

Make your own art inspired box Dollar Store Craft

Imagine the possibilities!

Materials:

Mod Podge

Print of choice for decoupage

Acrylic Paint

Scissors and paint brushes

Feeling the Frida Frenzy?  Check out these other On the Upcycle Frida Kahlo inspired projects

Frida Kahlo Decoupage TrayFrida Kahlo Decoupage Art Case

A Pre-Christmas Miracle: Altered Upcycling’s Holiday Giveaway!

I couldn’t wait to share the news with all of you! The very talented Mahe Zehra Husain (MZ) from Altered Upcycling fame is at it again!  This year she is organizing the biggest holiday giveaway EVER! From the 15th of November to the 25th of December.  Altered Upcycling is giving away different e-books and products weekly.  All you have to do is visit: http://www.alteredupcycling.com/christmas-giveaway join Altered Upcycling’s Facebook Page and sign up on the right to have the links sent to your inbox.  It’s that simple!

1451464_674360959264580_1206827235_n

The Green Craft Lifestyle Christmas Addition available November 15th through the 21st of November features an “On The Upcycle” Project Pickled Lamp: “On The Upcycle” Christmas Craft

DSC_1088

Other Freebies include:

ALICE IN WONDERLAND DIGITAL DIORAMA KIT
THE MIXED MEDIA COOKBOOK
PAPER DOLL BONANZA
PLANNERS

Be sure and check it out!  I can’t think of a better way to treat yourself for the holidays!

Smells Like Team Spirit: Decoupage TV Trays

Writer’s block is a terrible thing!  I have been inflicted with a horrible case, which explains my lack of posts in the month of October. Despite my loss for words,  I have still managed to stay busy and continue crafting. It has been the healthiest and most productive stress reliever for me to date.  I am always searching the crevices of my brain for new ideas, and it keeps me going.   Quite surprisingly it is the familiar ideas that get revisited most often due to popular demand.  One such project is the decoupage TV Trays. The themes for these tables are endless.  I have posted various tutorials on how to make these TV tray tables more fun and decorative.    Various family members have expressed interest in having one, and I love to make others happy.    My two young nieces are involved in school sports and what better way to show team spirit than with something unique and functional at the same time?

Look familiar?  Everyone has a set of these trays, and  they make frequent appearances in thrift stores for just a few dollars.   All you need is a graphic that can be enlarged without becoming distorted, and a printer.

TV Tray before

Add some paint, apply the Mod Podge and you can create unique, spirited gifts that the other kids at school will want to have!

20140601_191920 (1)

DSC_0841

Sports, Music, Art, Personalized the possibilities keep coming.  As long as there are boring TV trays left in the world, this project will live on.  How would you redesign your table?