Bed Skirt Craft Table Makeover

May is turning out to be a rather hectic month.  My daughter’s 3rd birthday is just around the corner, not to mention she is about to start pre-school for the first time next week.  At the risk of sounding cliché, time is flying by and filled with things to do, forms to sign, and errand filled lunch breaks.   Despite this, I have been busy working in the background on a few projects though at a slower pace than usual.  One of these projects was resurfacing my craft table and organizing the space. Despite my best efforts, my craft room has become a cluttered nightmare of various holiday decorations, toys and kids clothes which never made their way up to the attic.  I was once again determined to clean it up and work on the craft table.

Craft table has seen better days


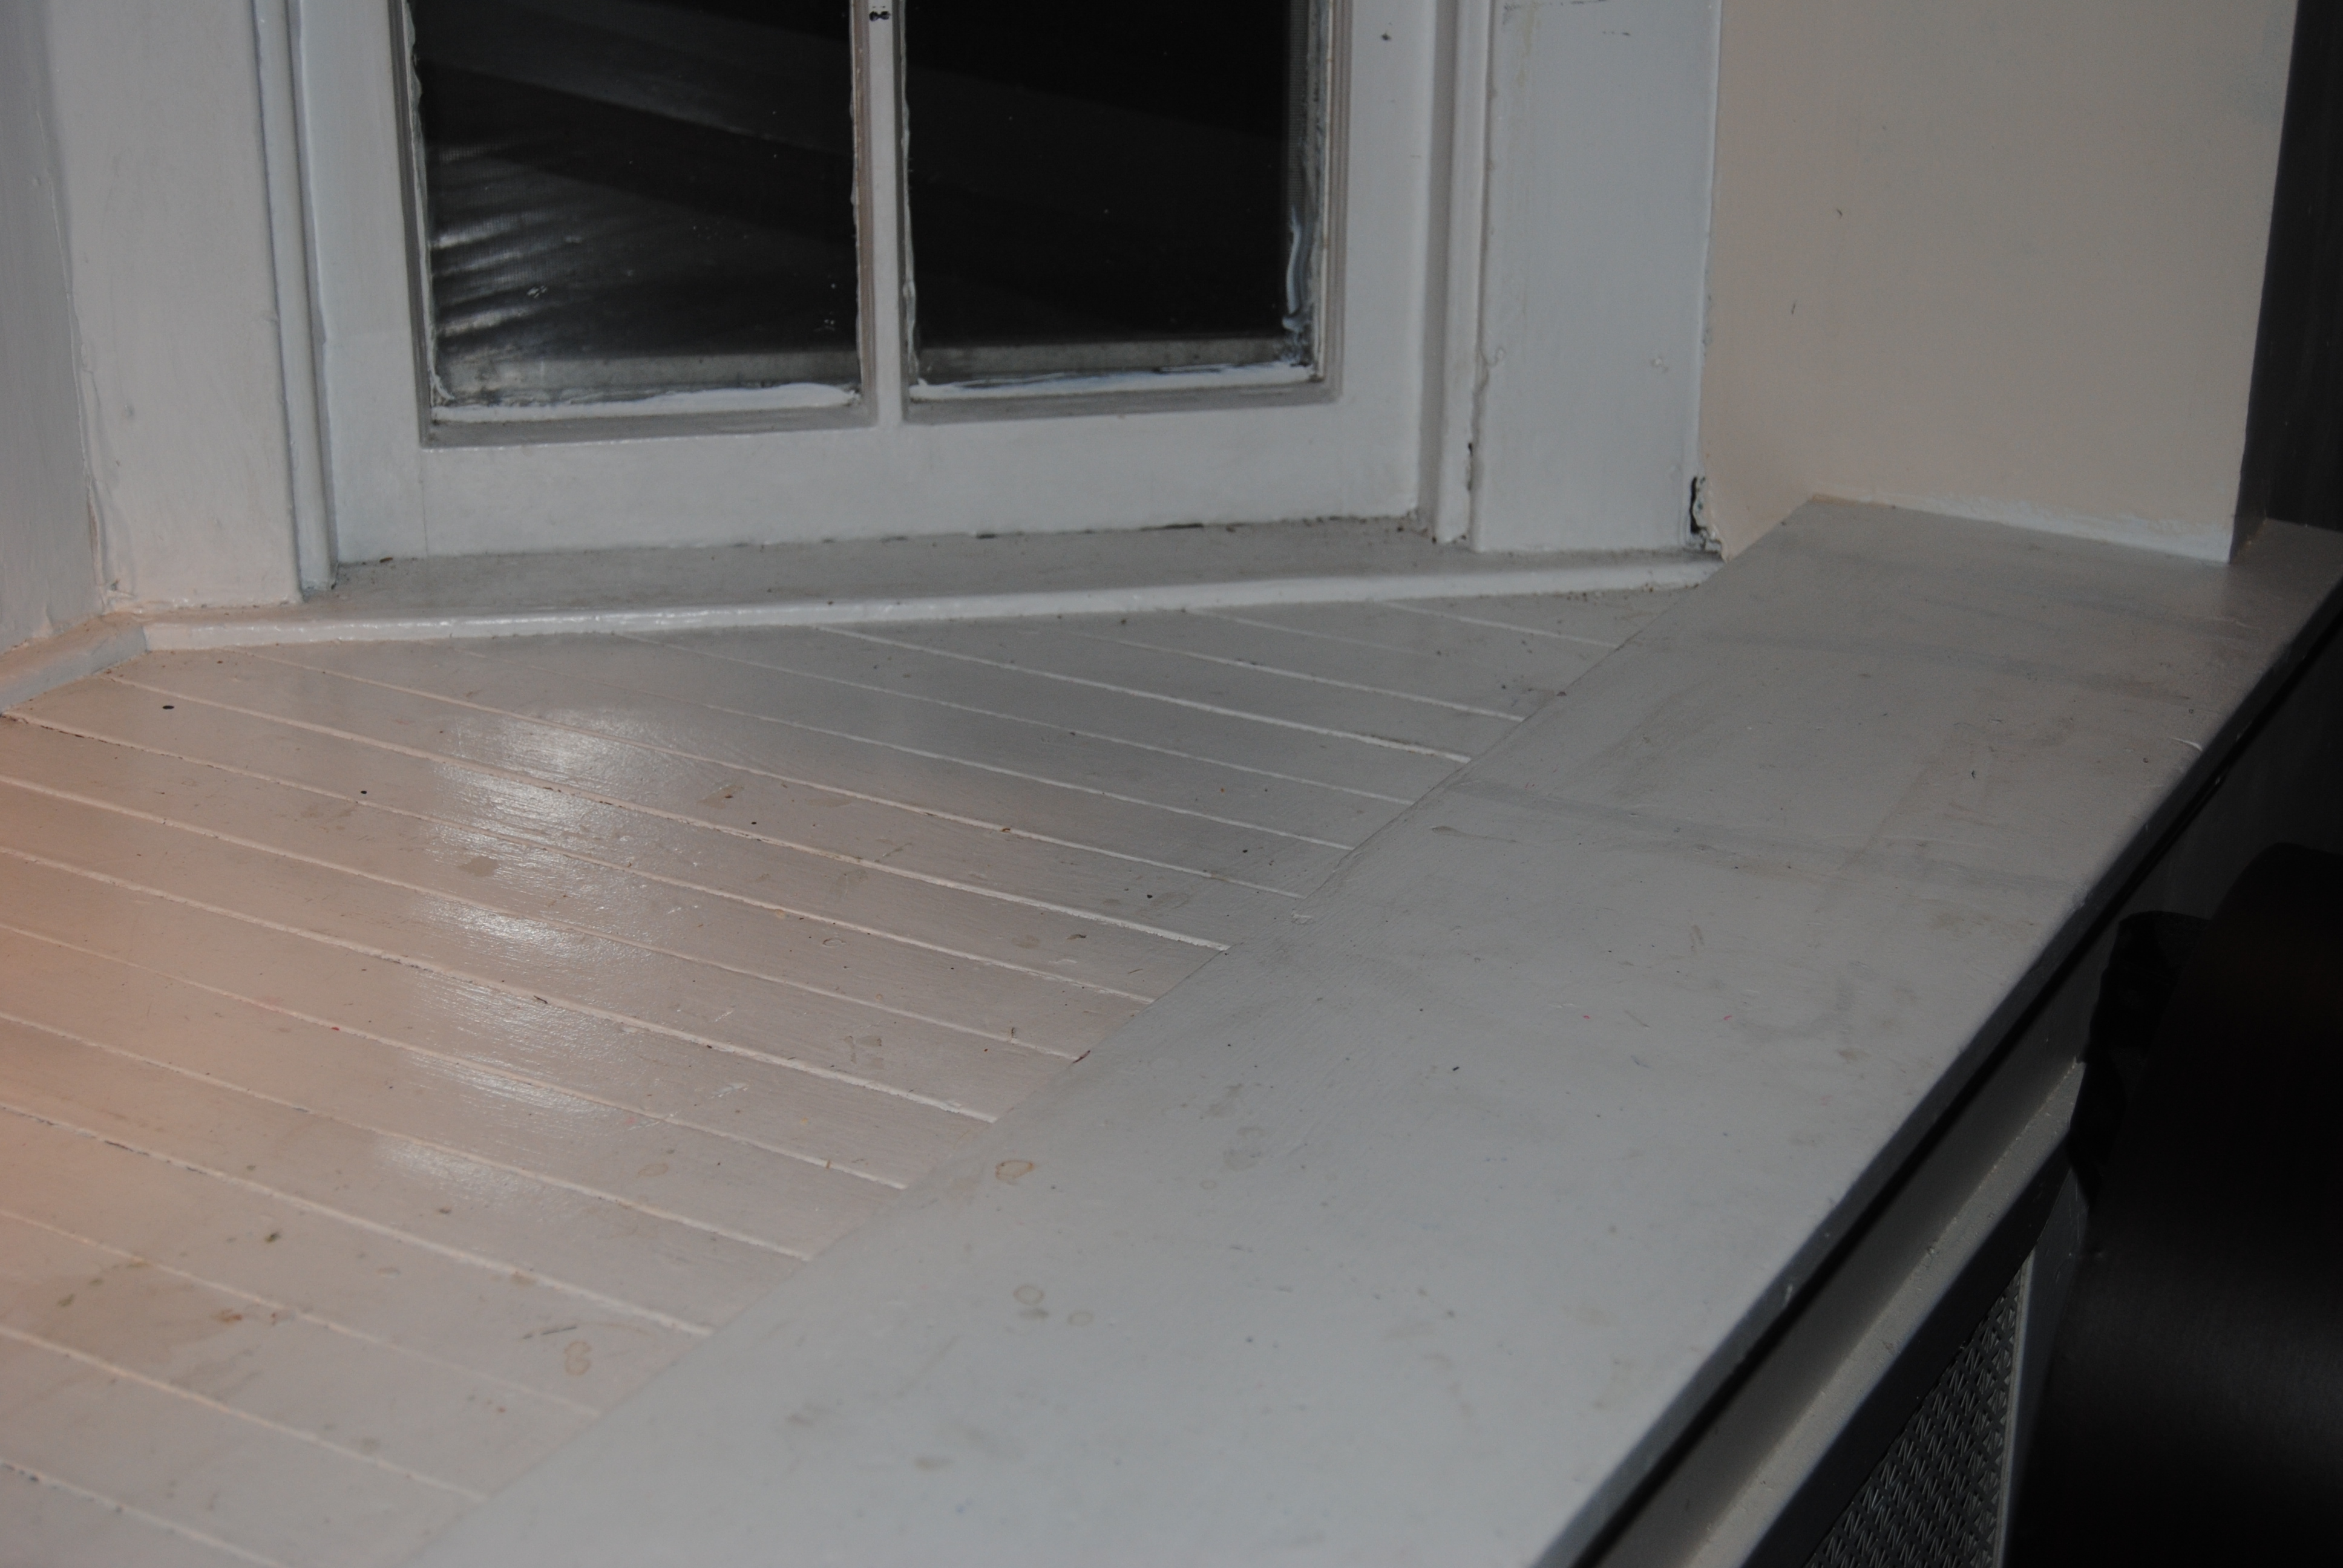
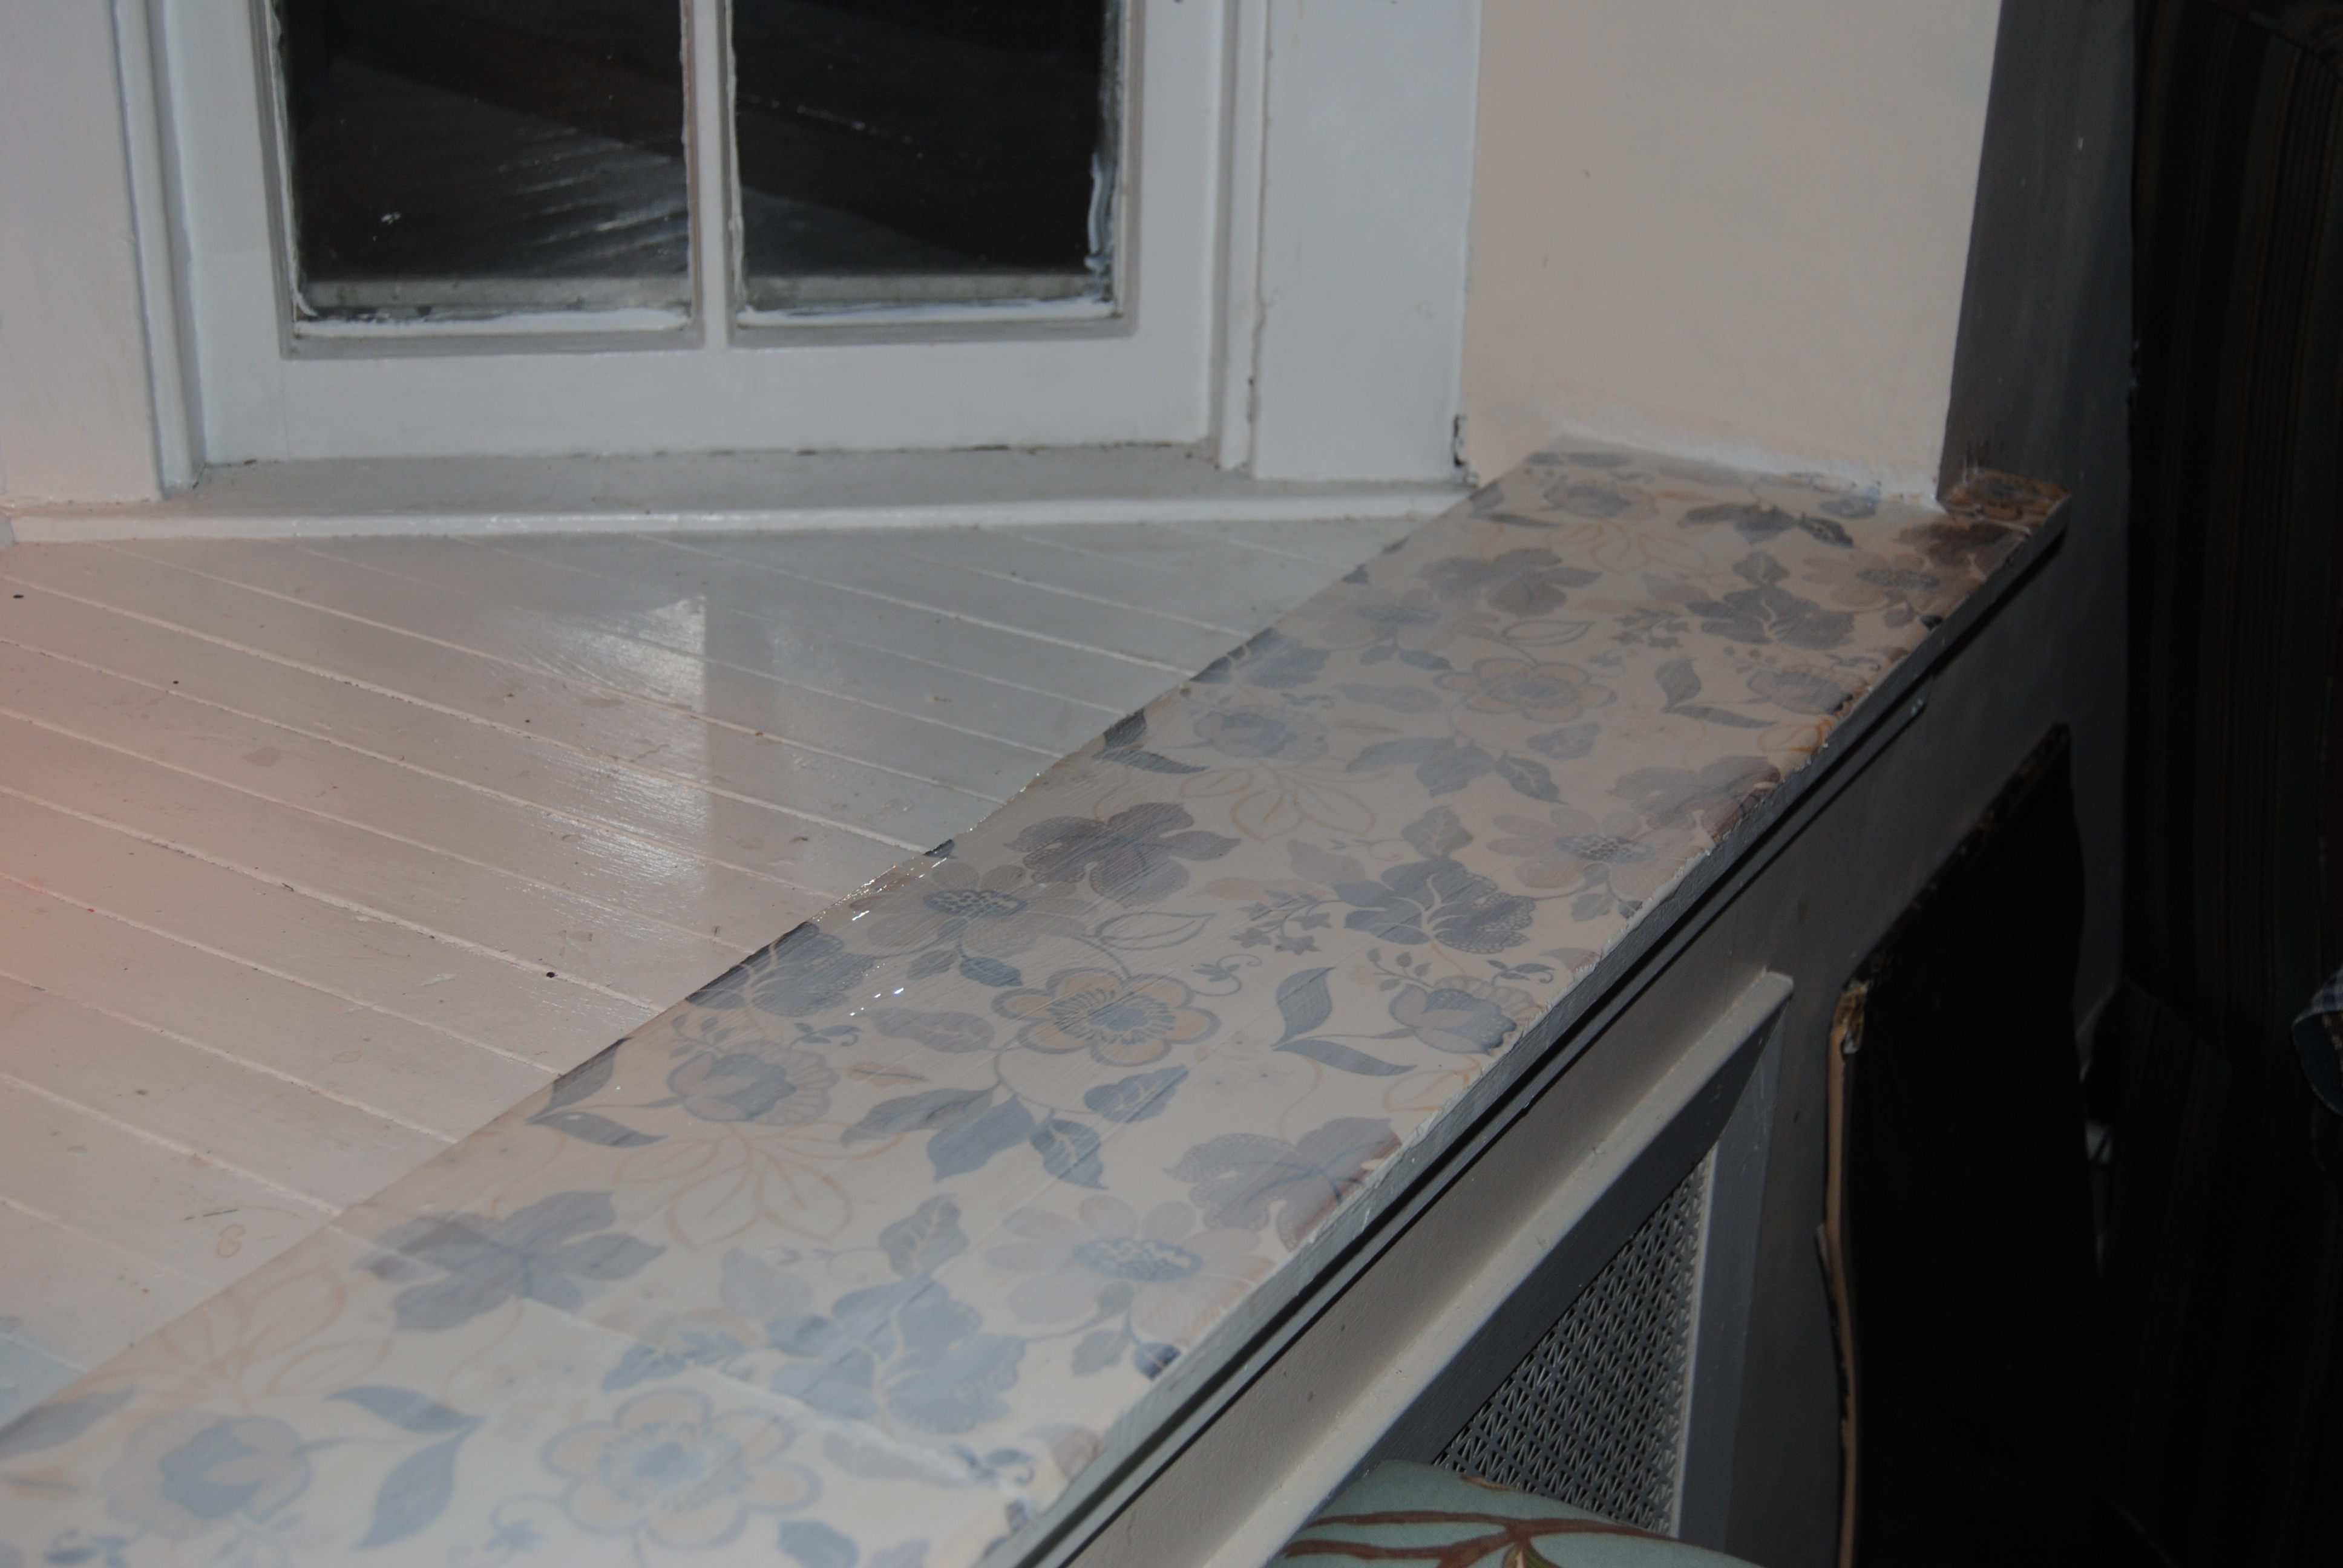
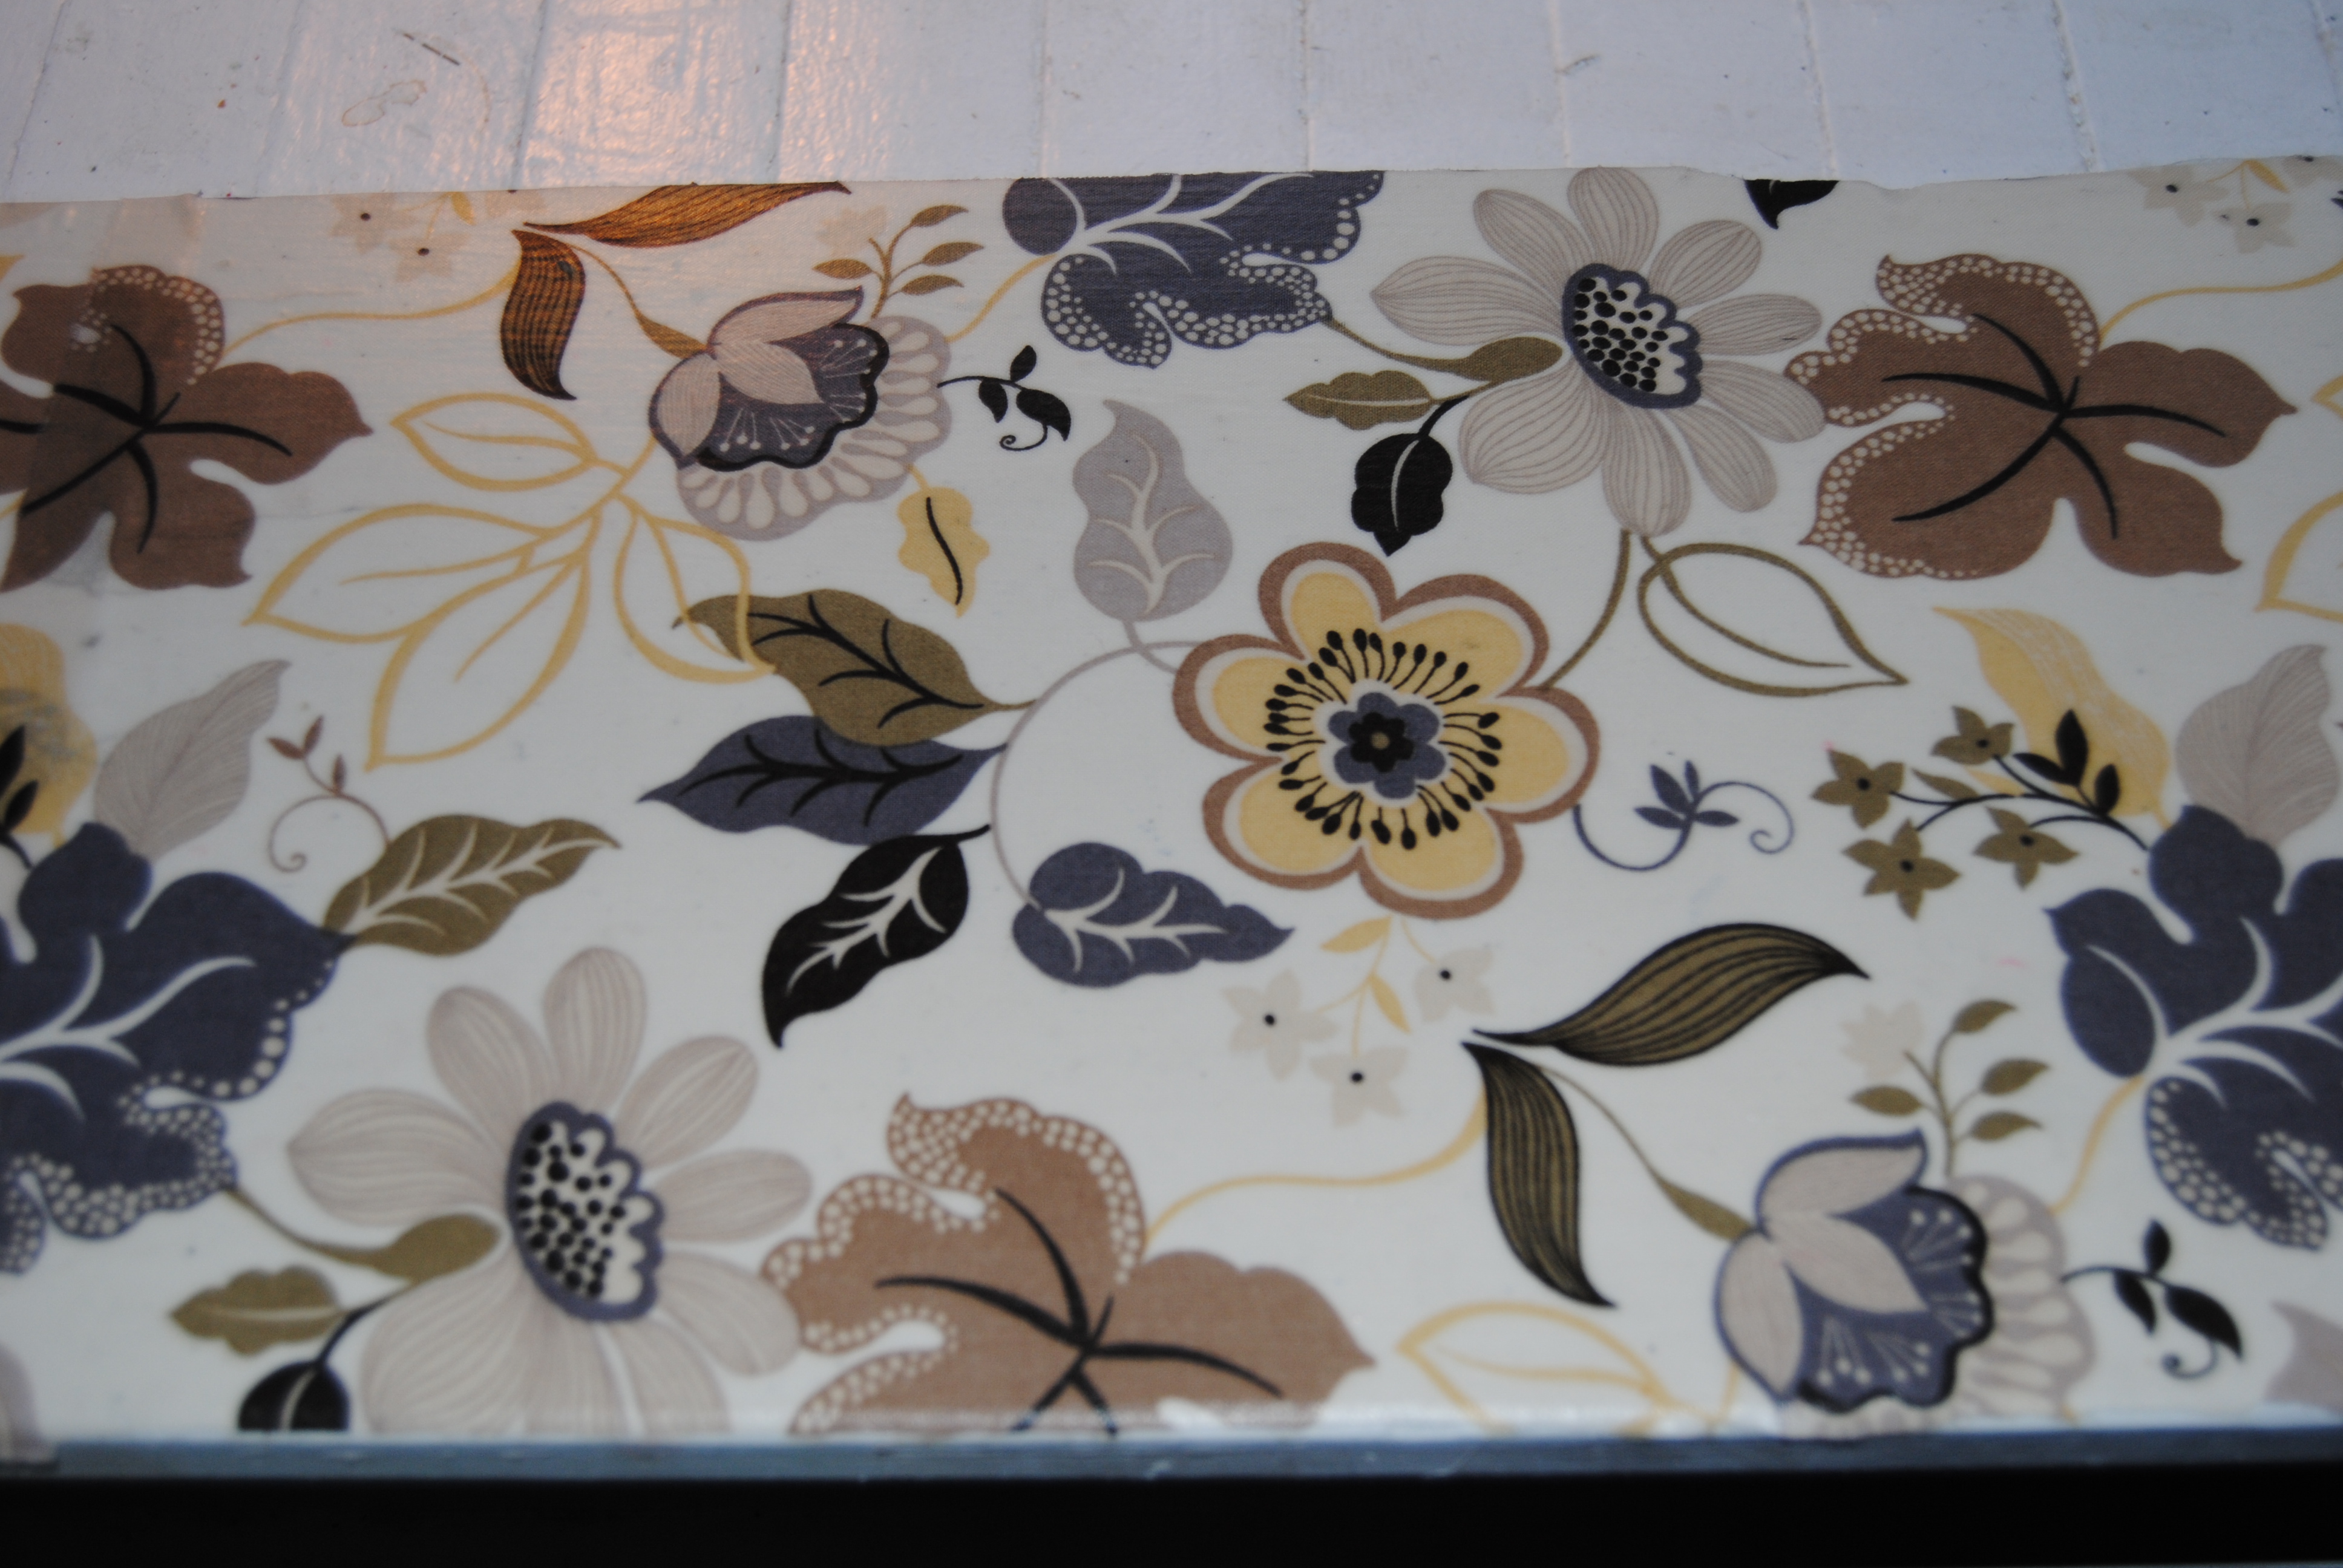
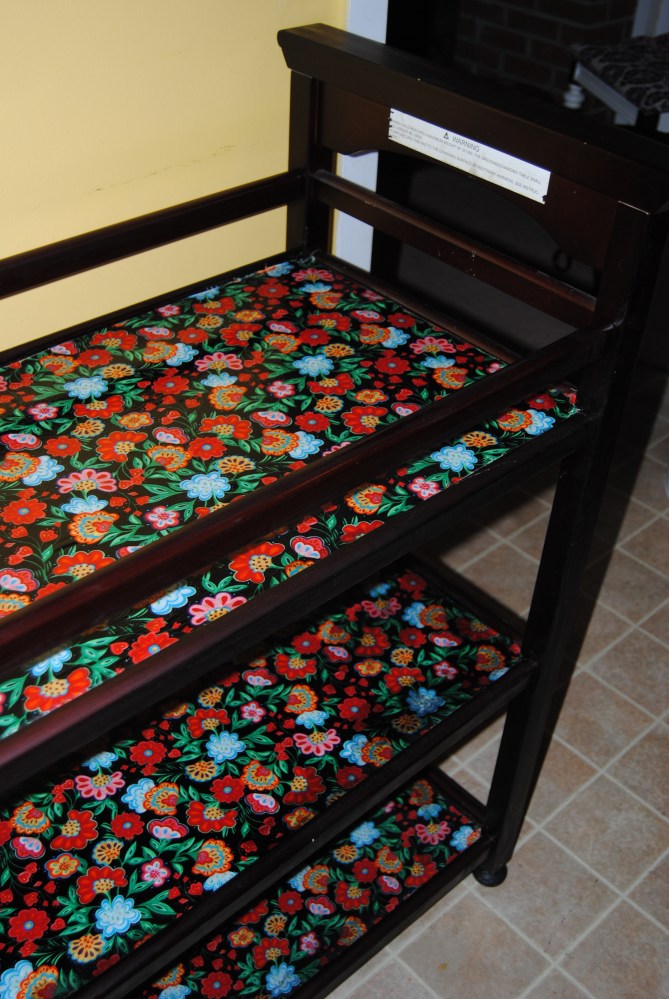
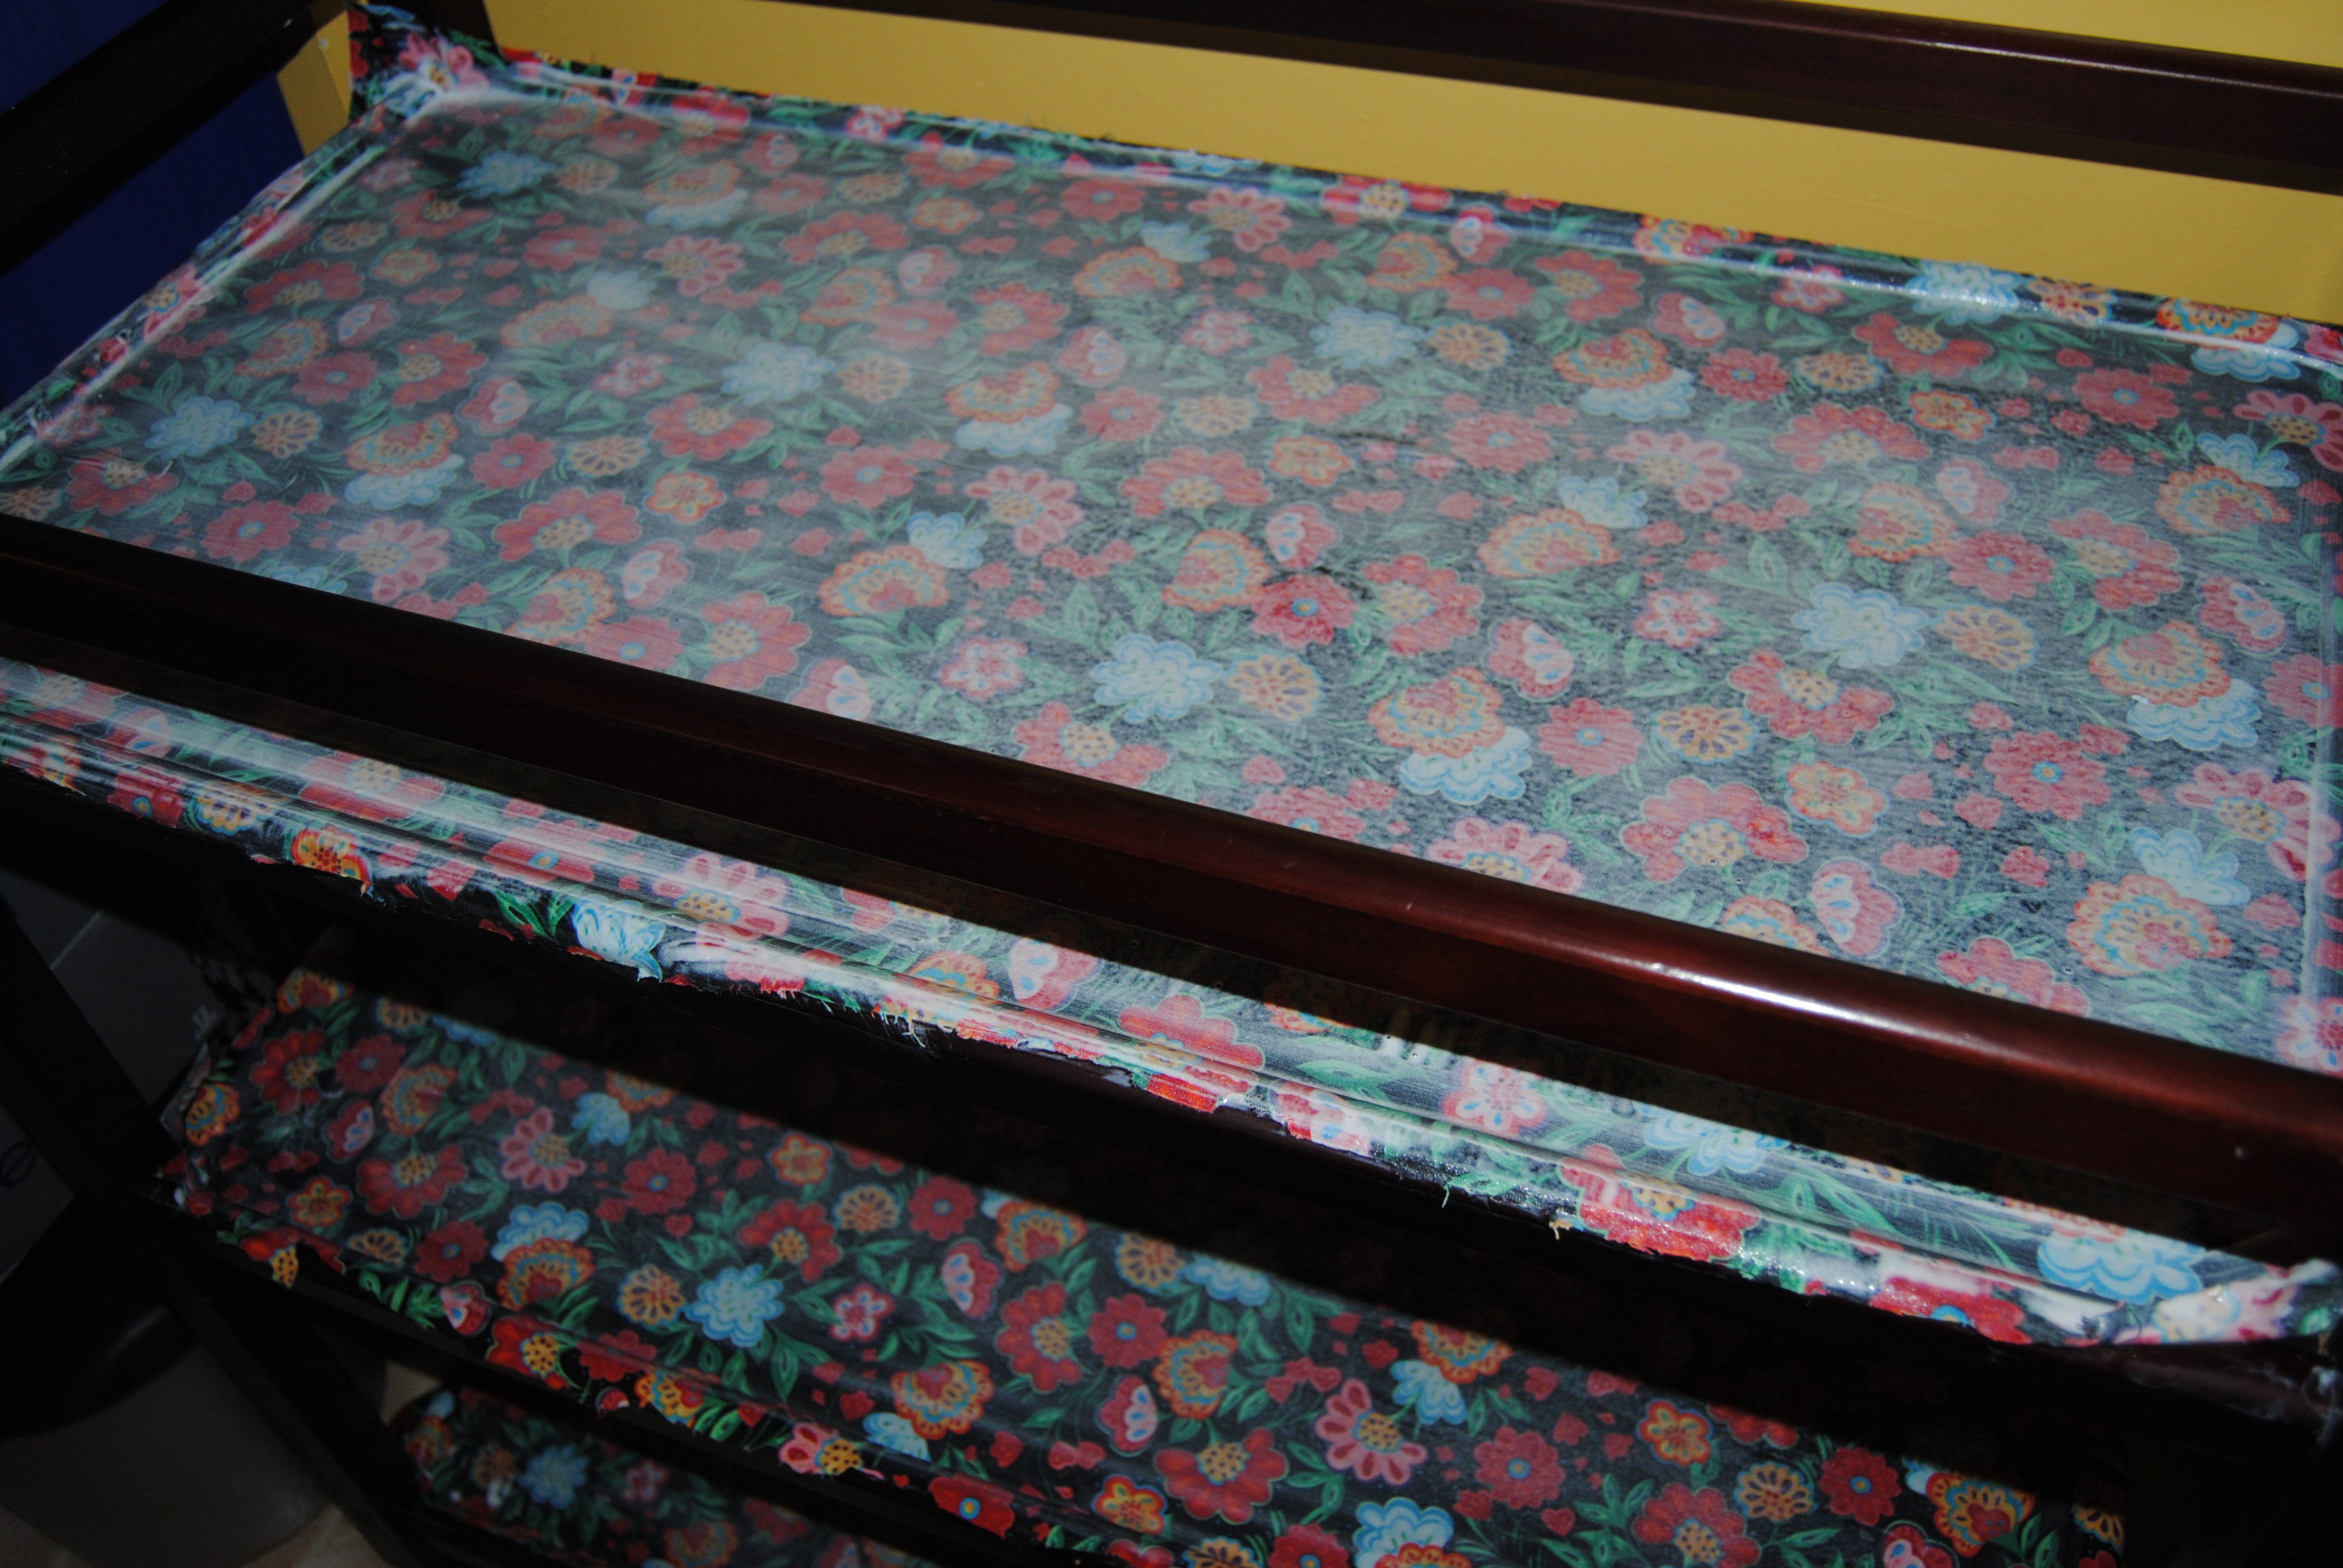
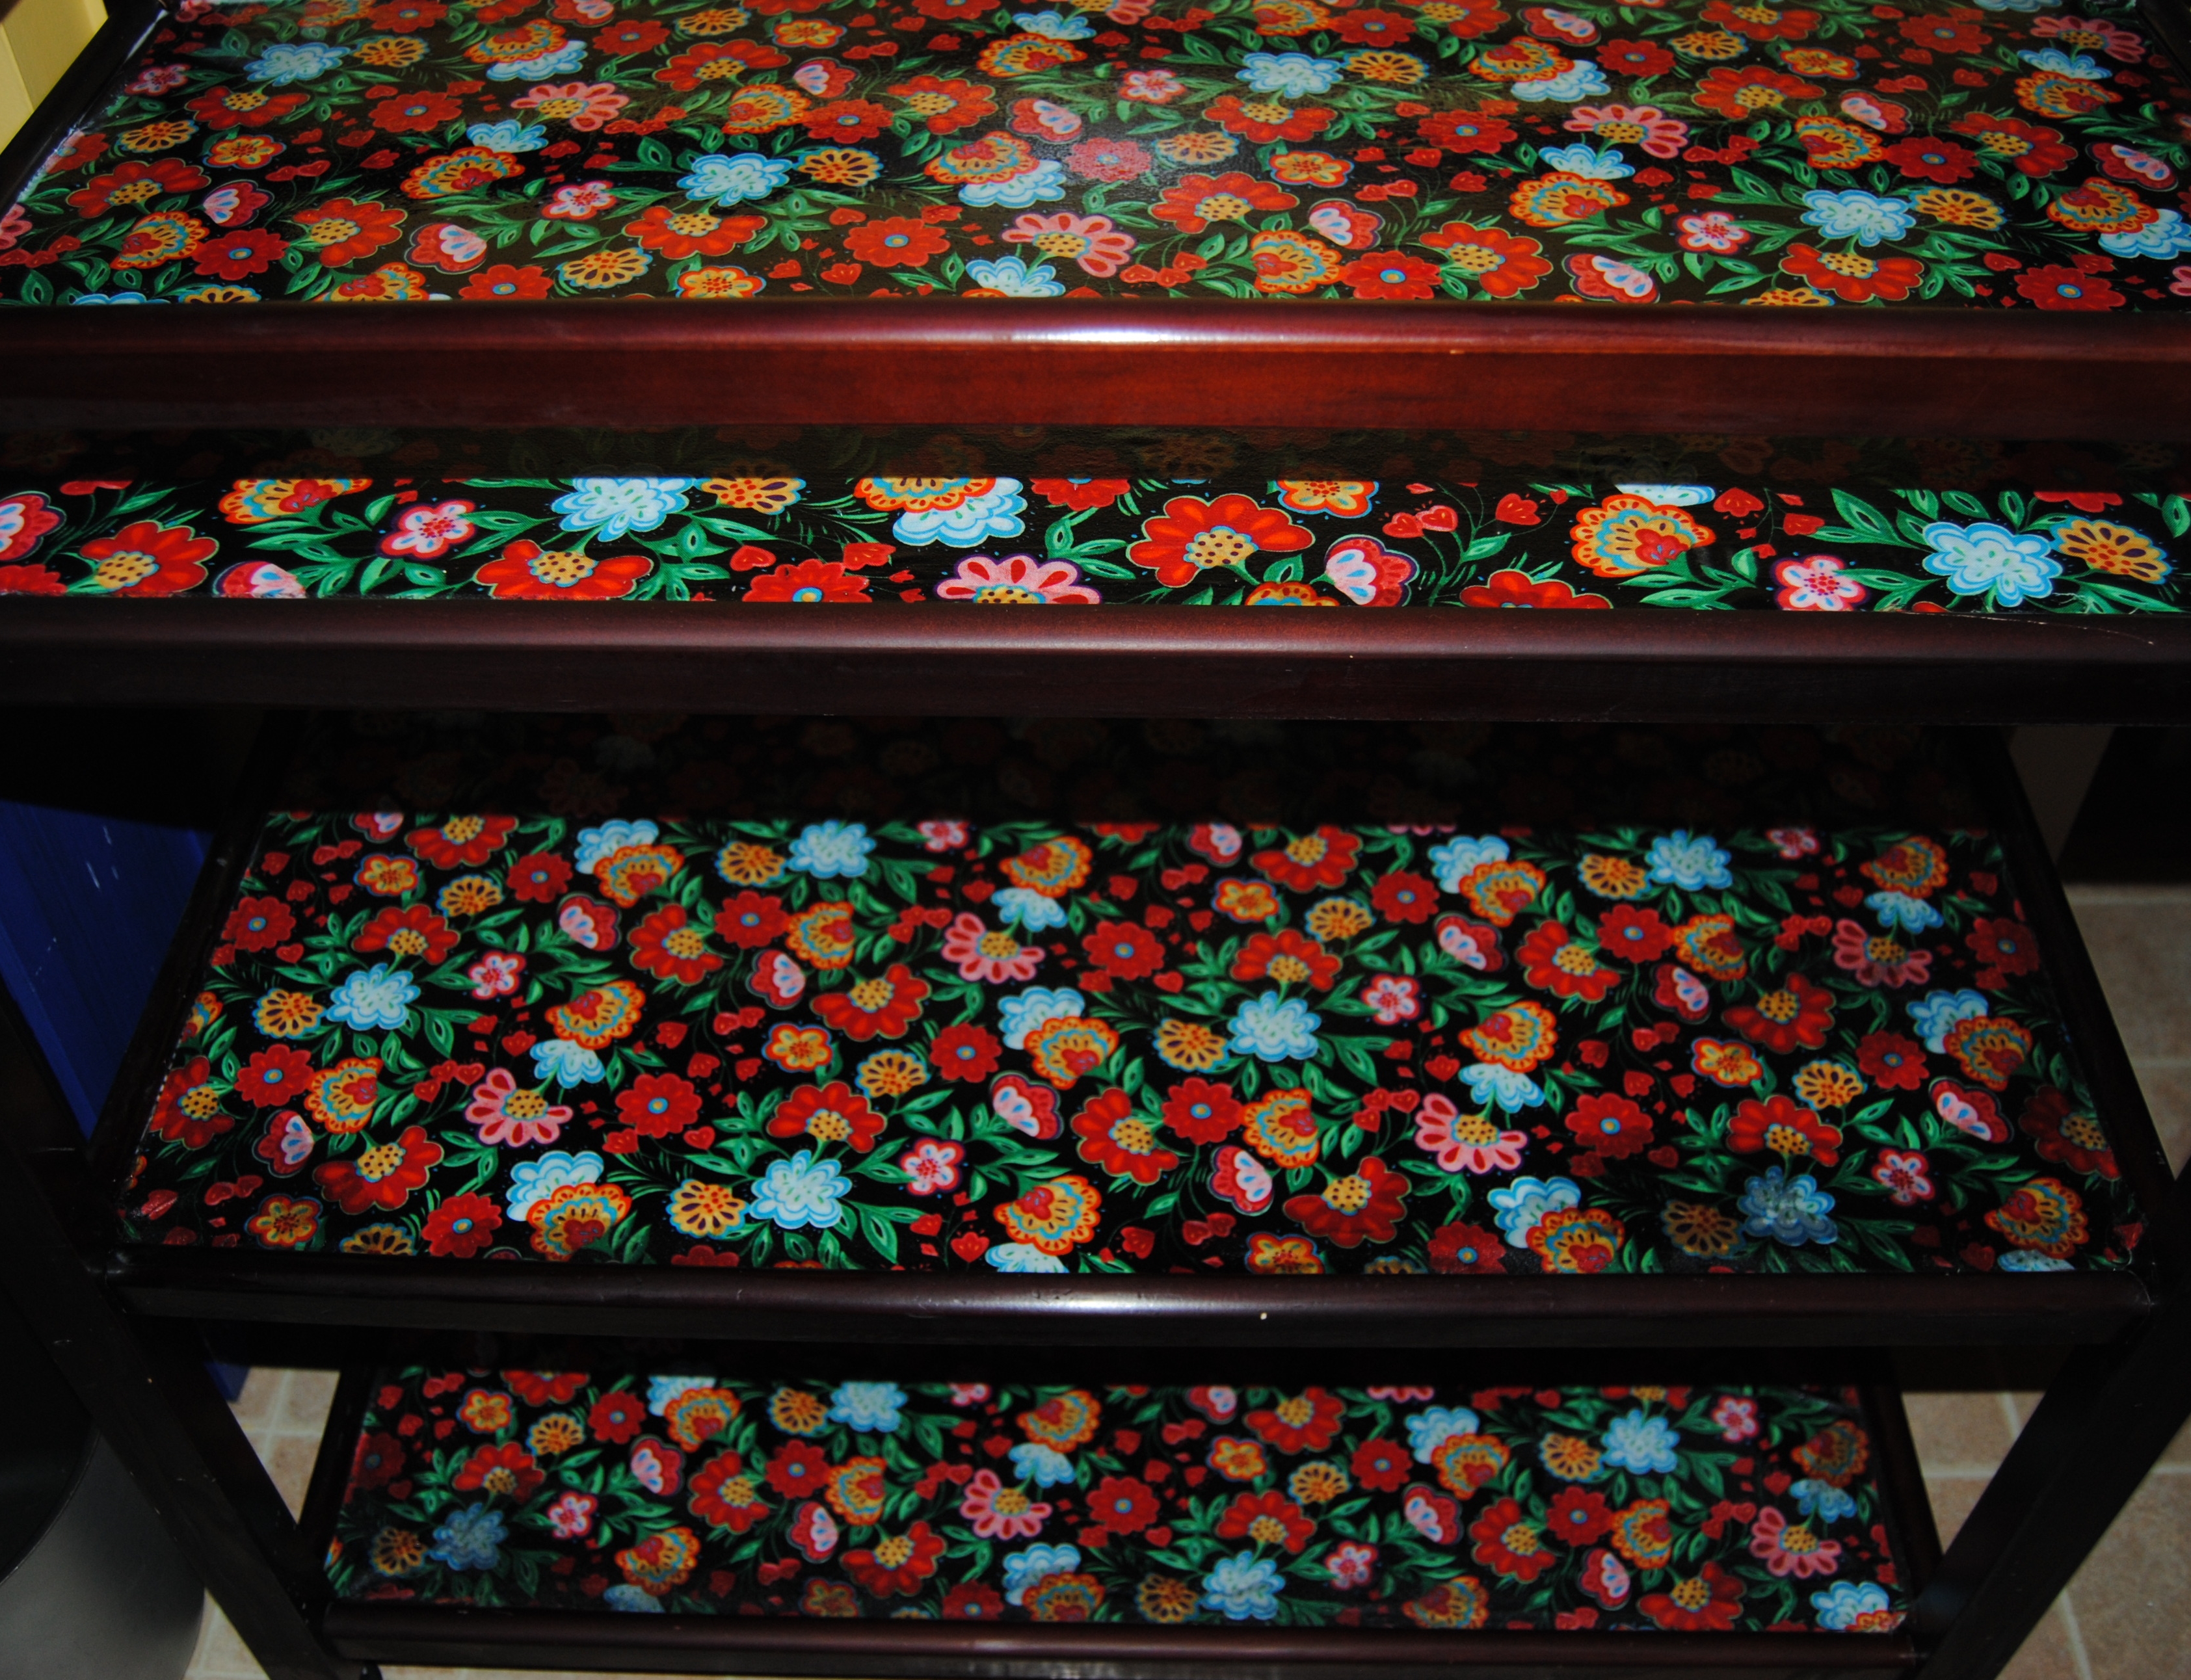
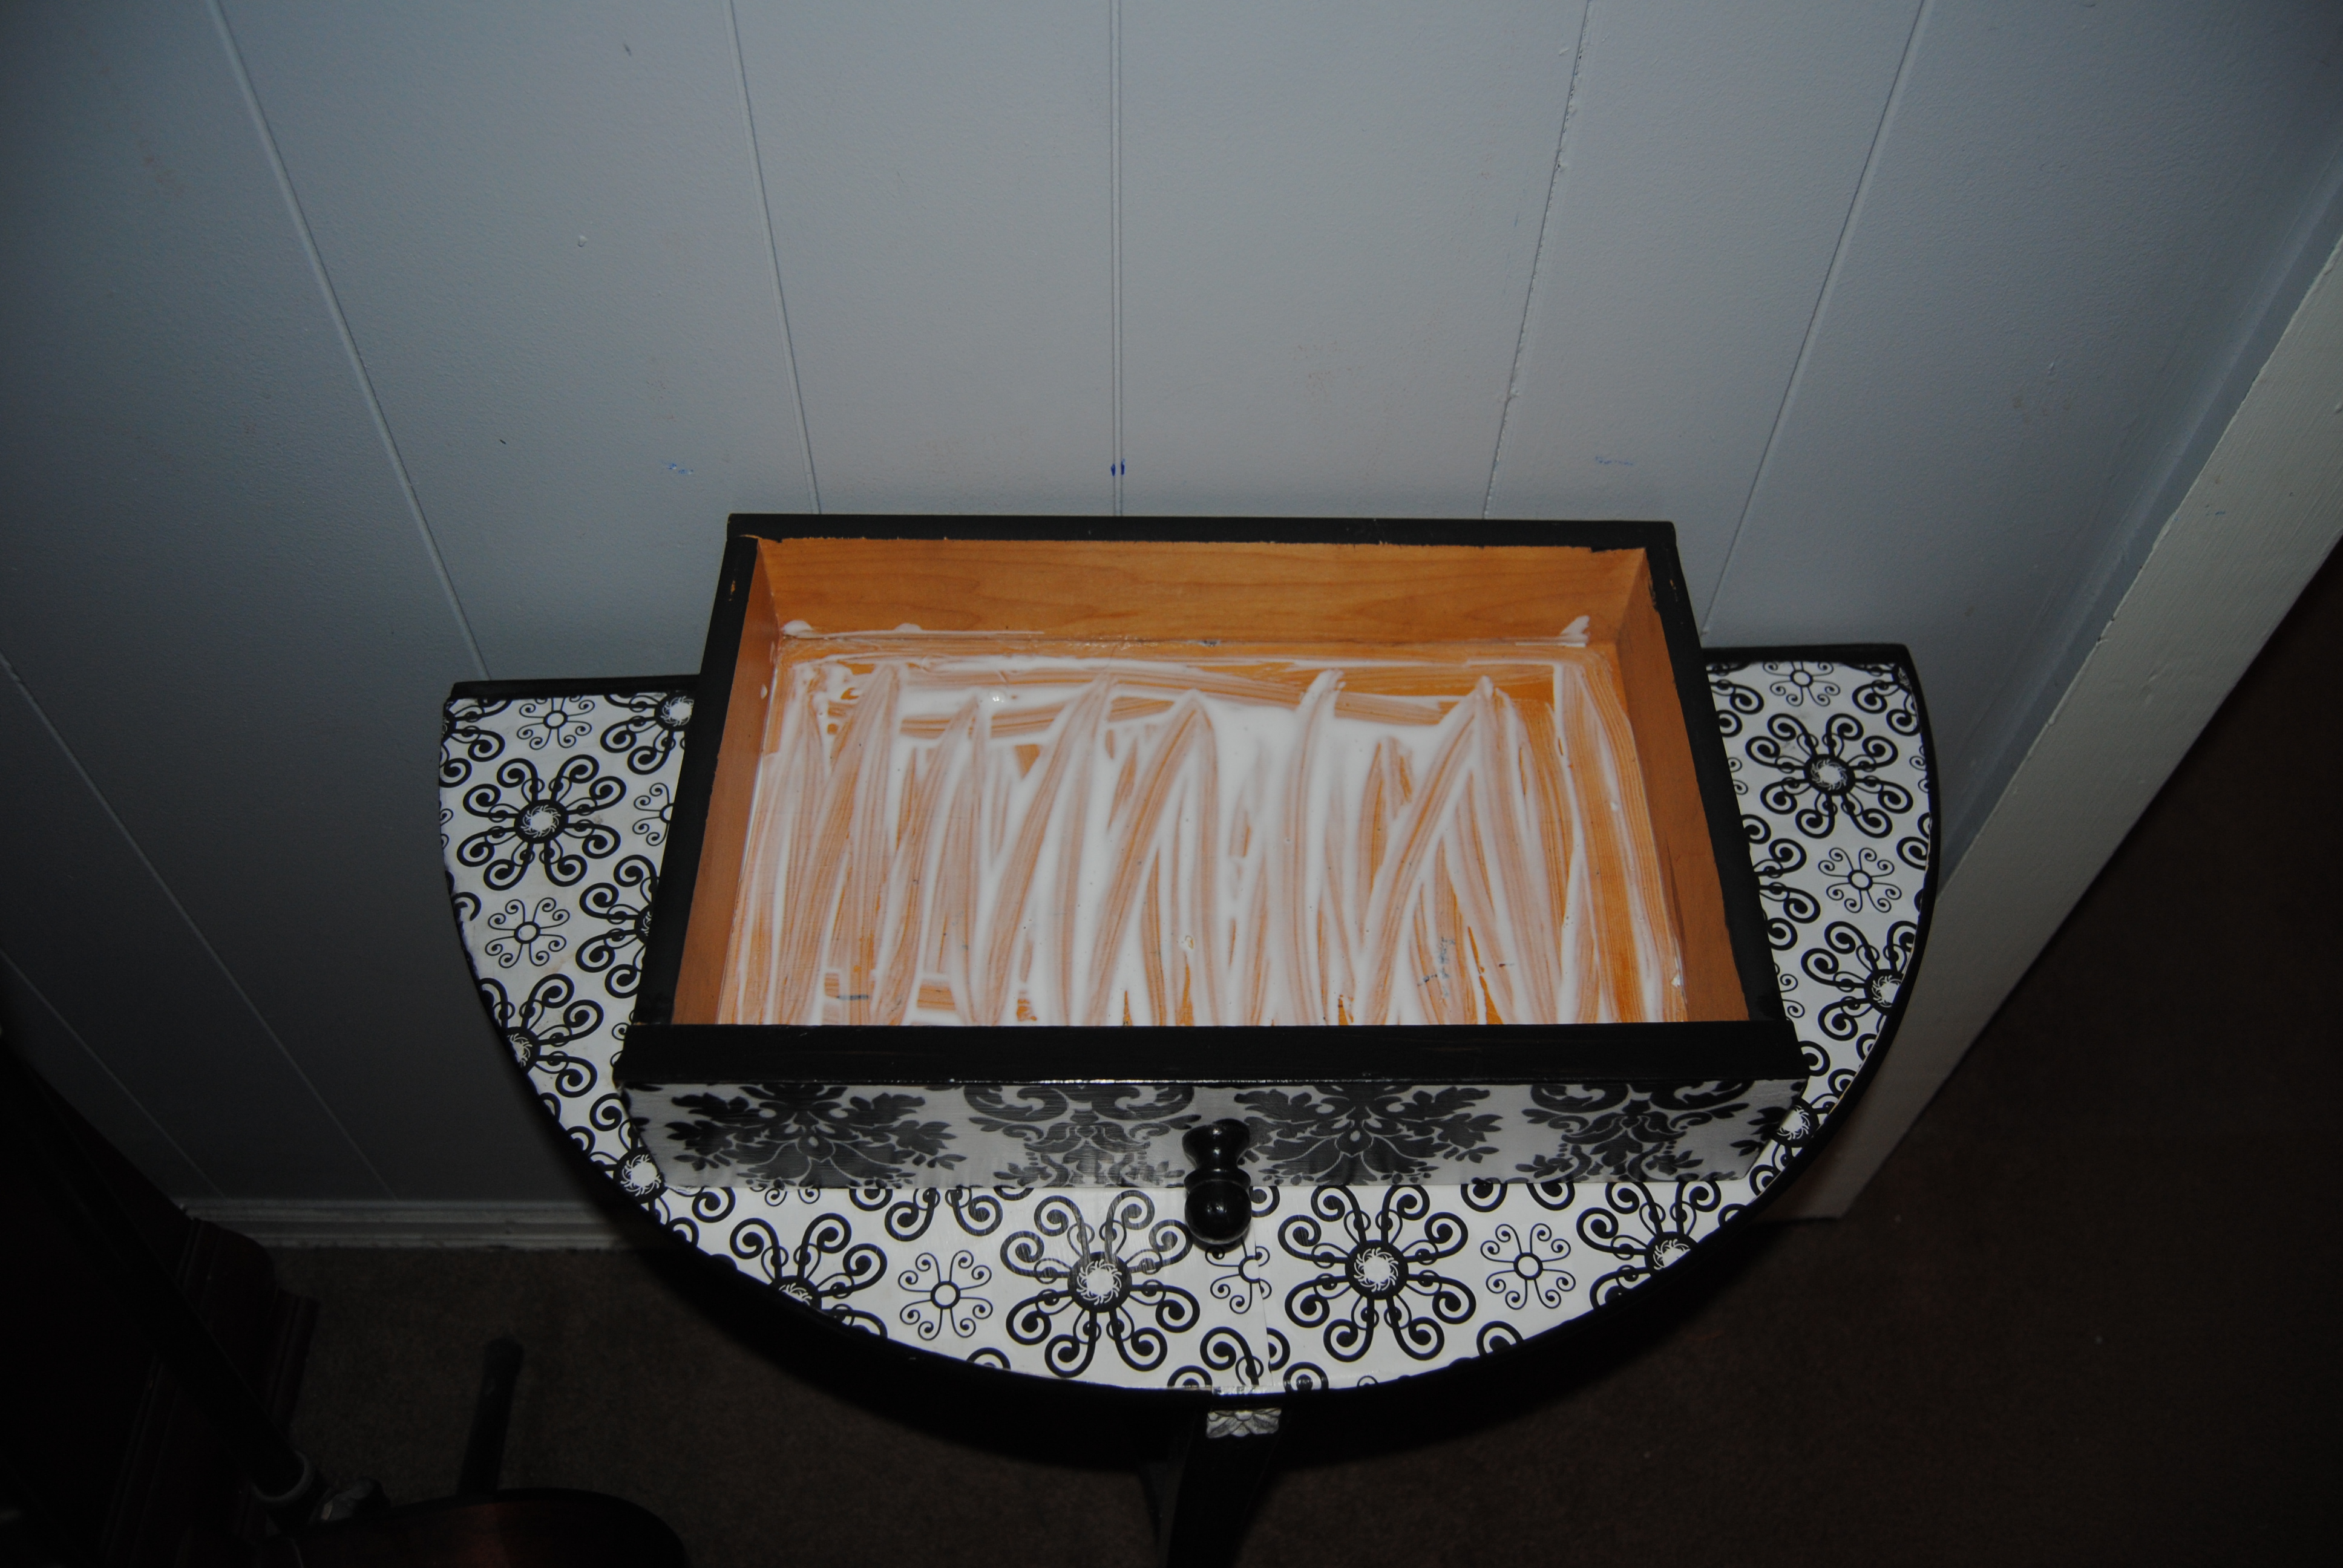
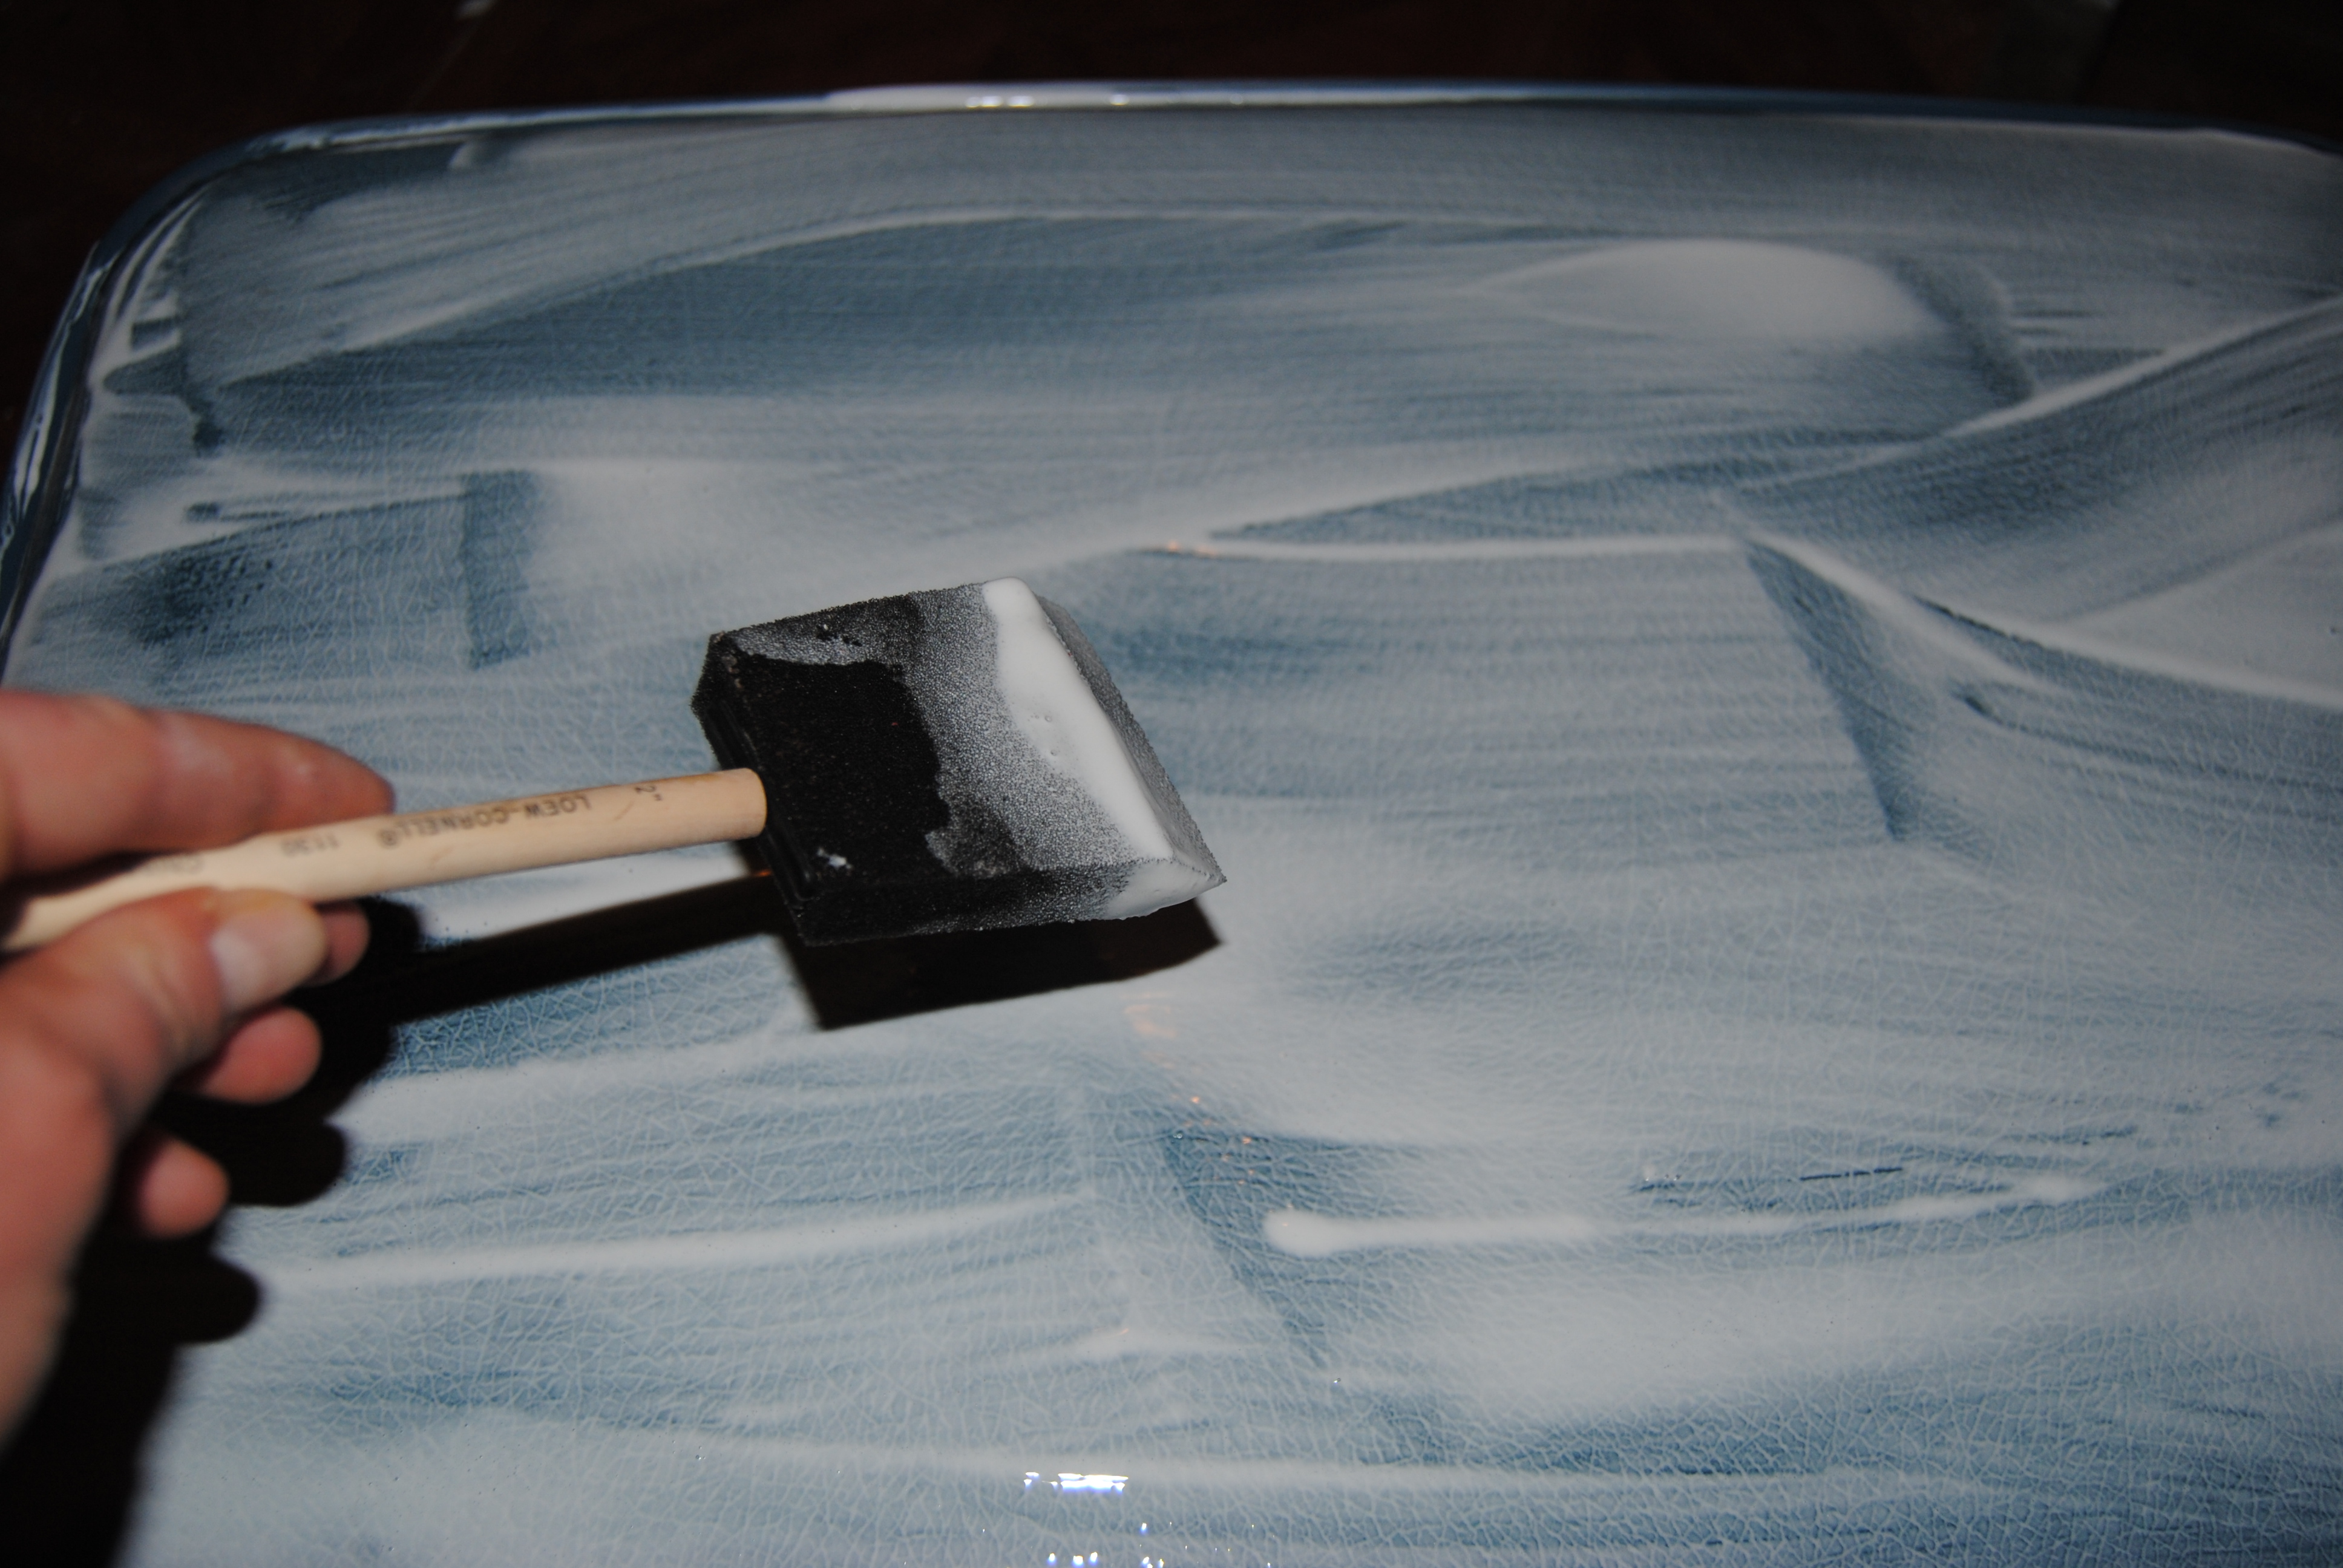
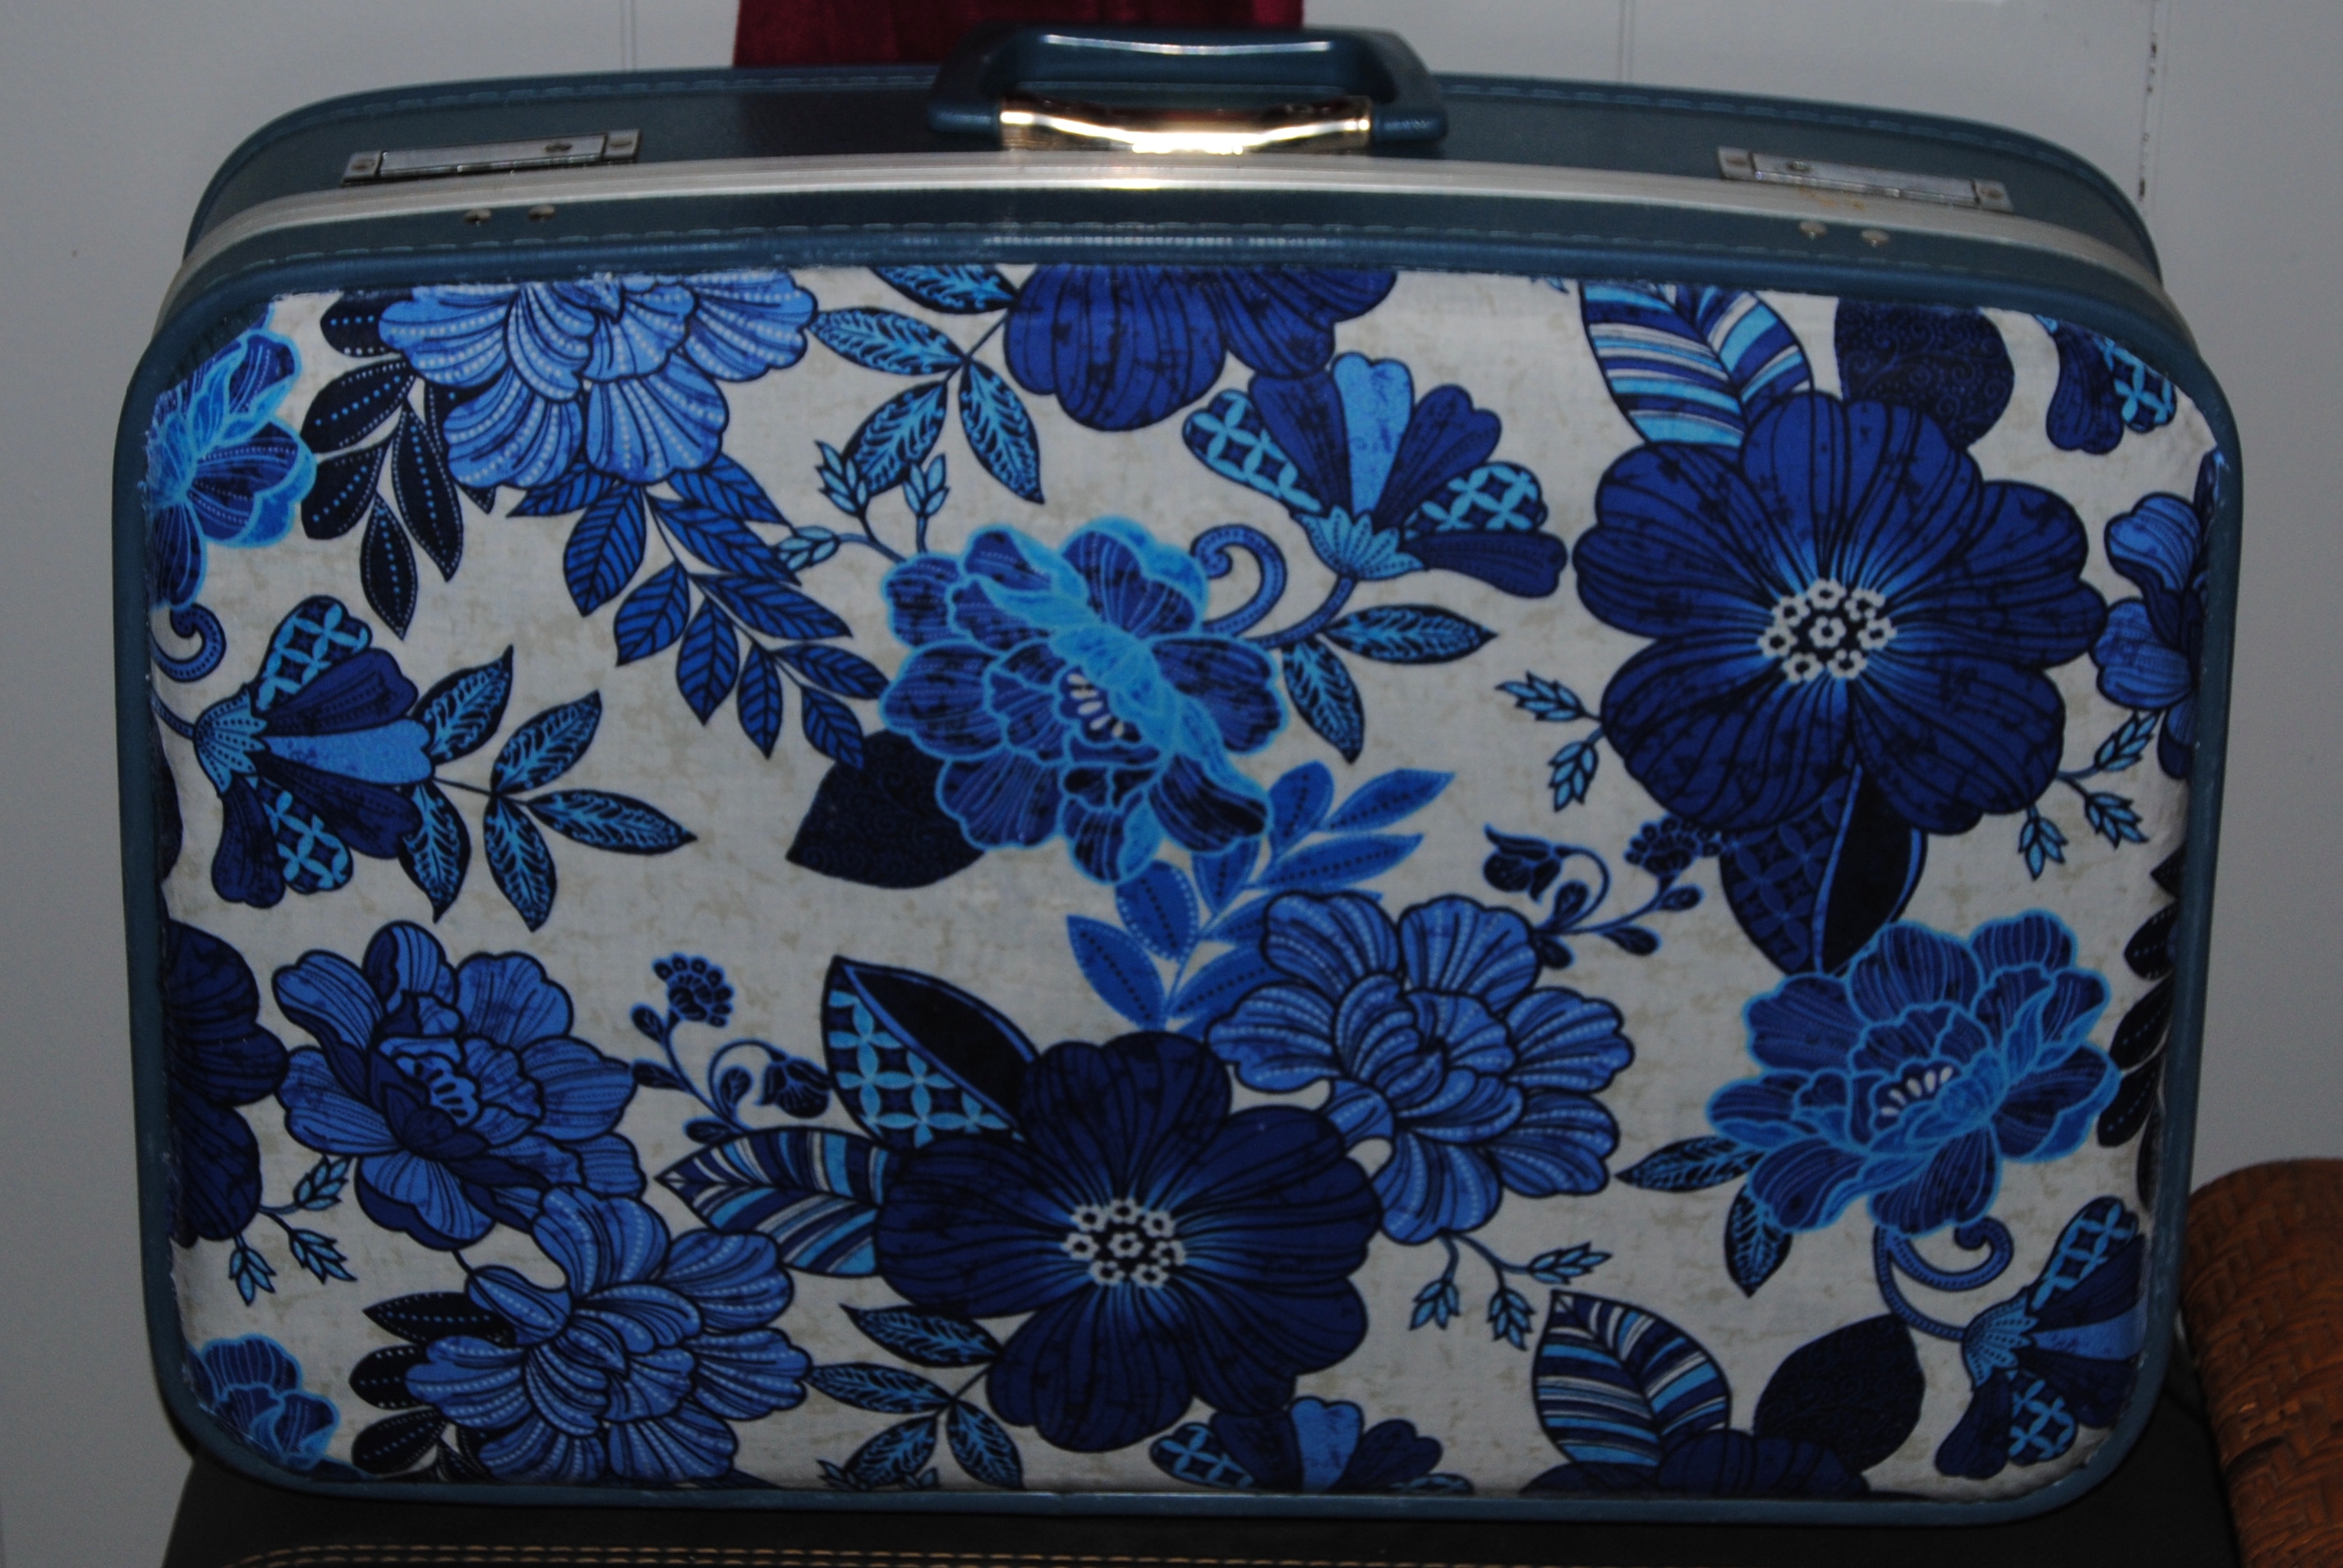
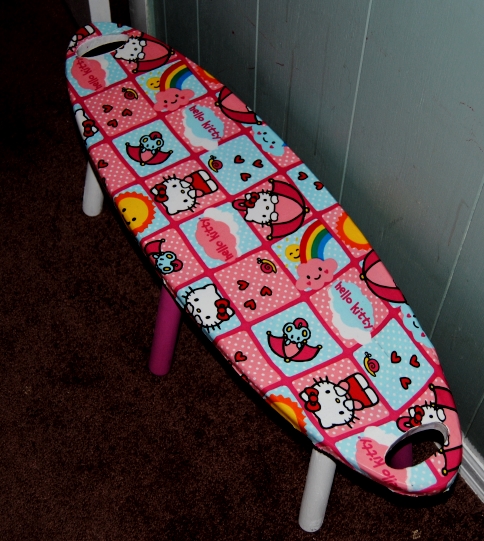
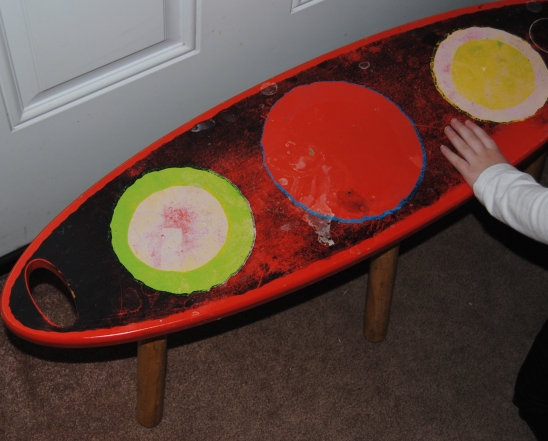
This old desk top computer table had seen better days but worked well as a crafting table. Of course a table used for this purpose is going to bare the scars of crafting, but I had a lot of left over fabric from an old bed skirt that I had used for a few previous projects. The pattern and color scheme also happened to match the room nicely.  I cut two pieces of fabric to fit over the table surface.  I applied Mod Podge generously with a foam craft brush.  I carefully applied the fabric to the table surface creating a seam to connect the two pieces together.  I then applied Mod Podge to the top of the fabric.

DSC_1529

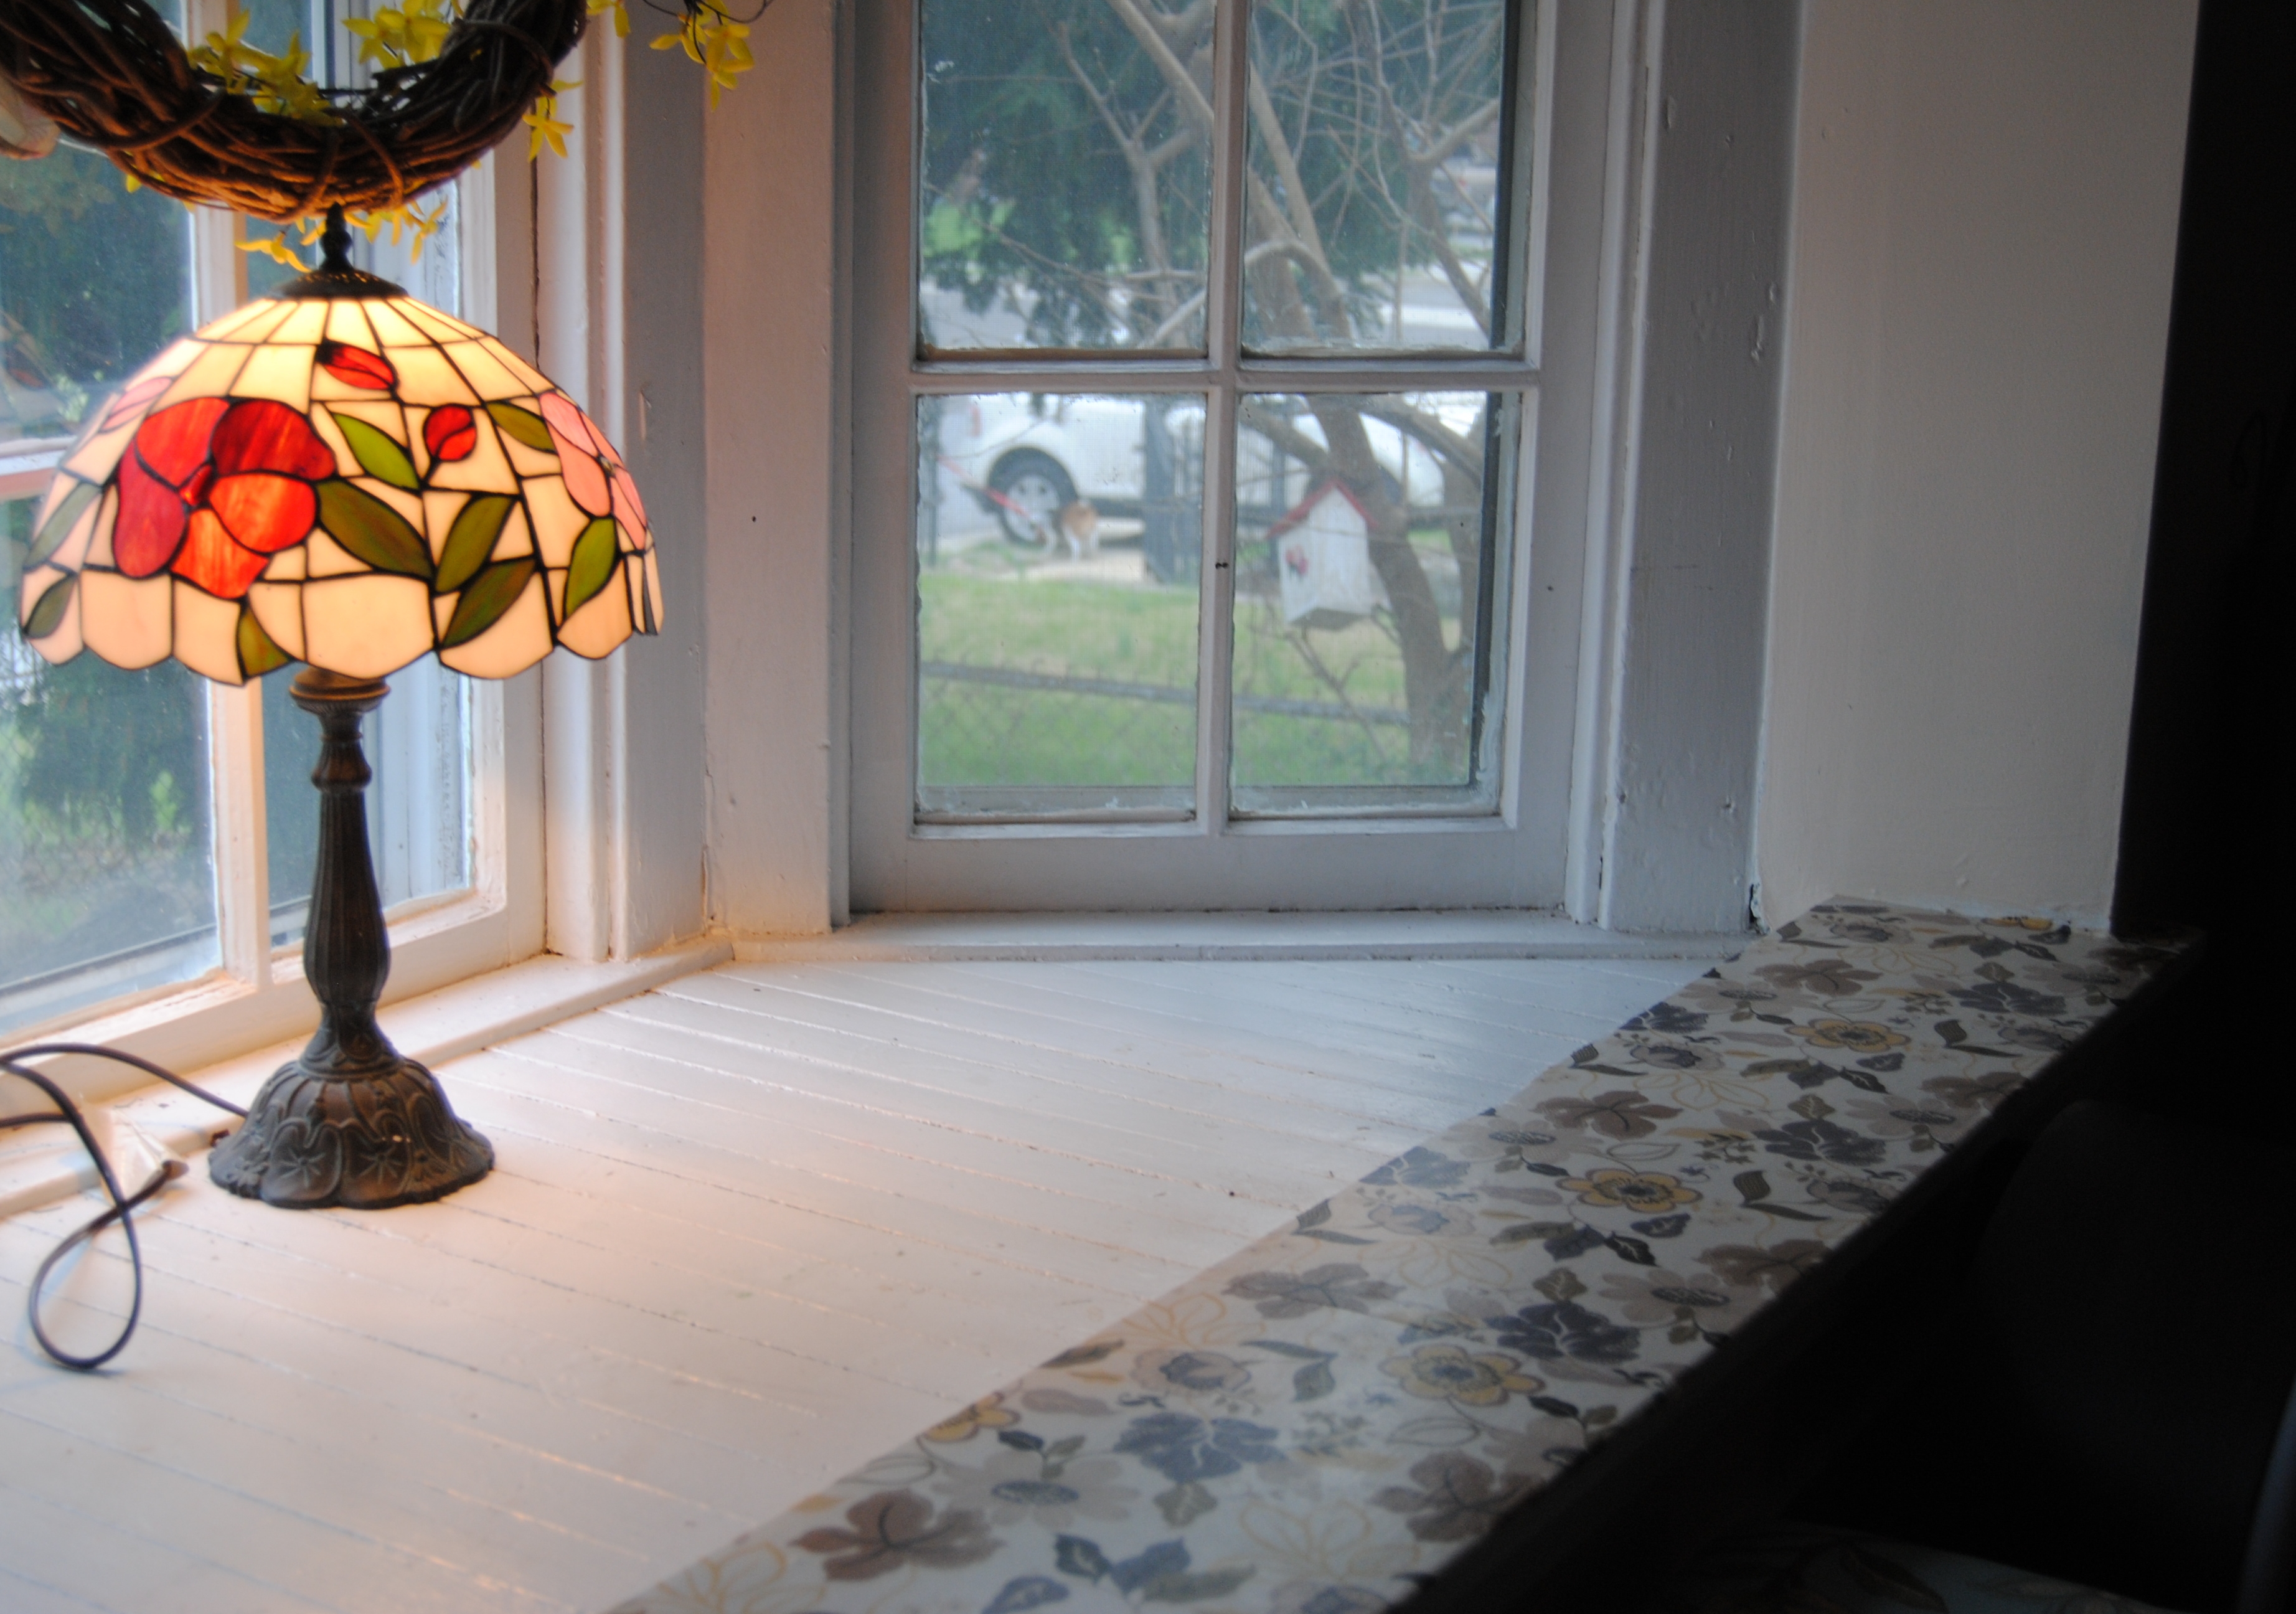
I applied several layers of Mod Podge allowing it to dry clear between coats. I painted the areas I could not decoupage black.  Once it was dry it created a workable surface that was much more attractive than before.

craft table resurface before and after

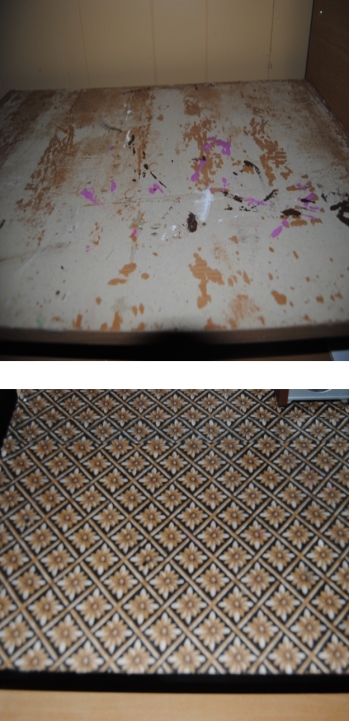
Table Before and After

Craft room shot

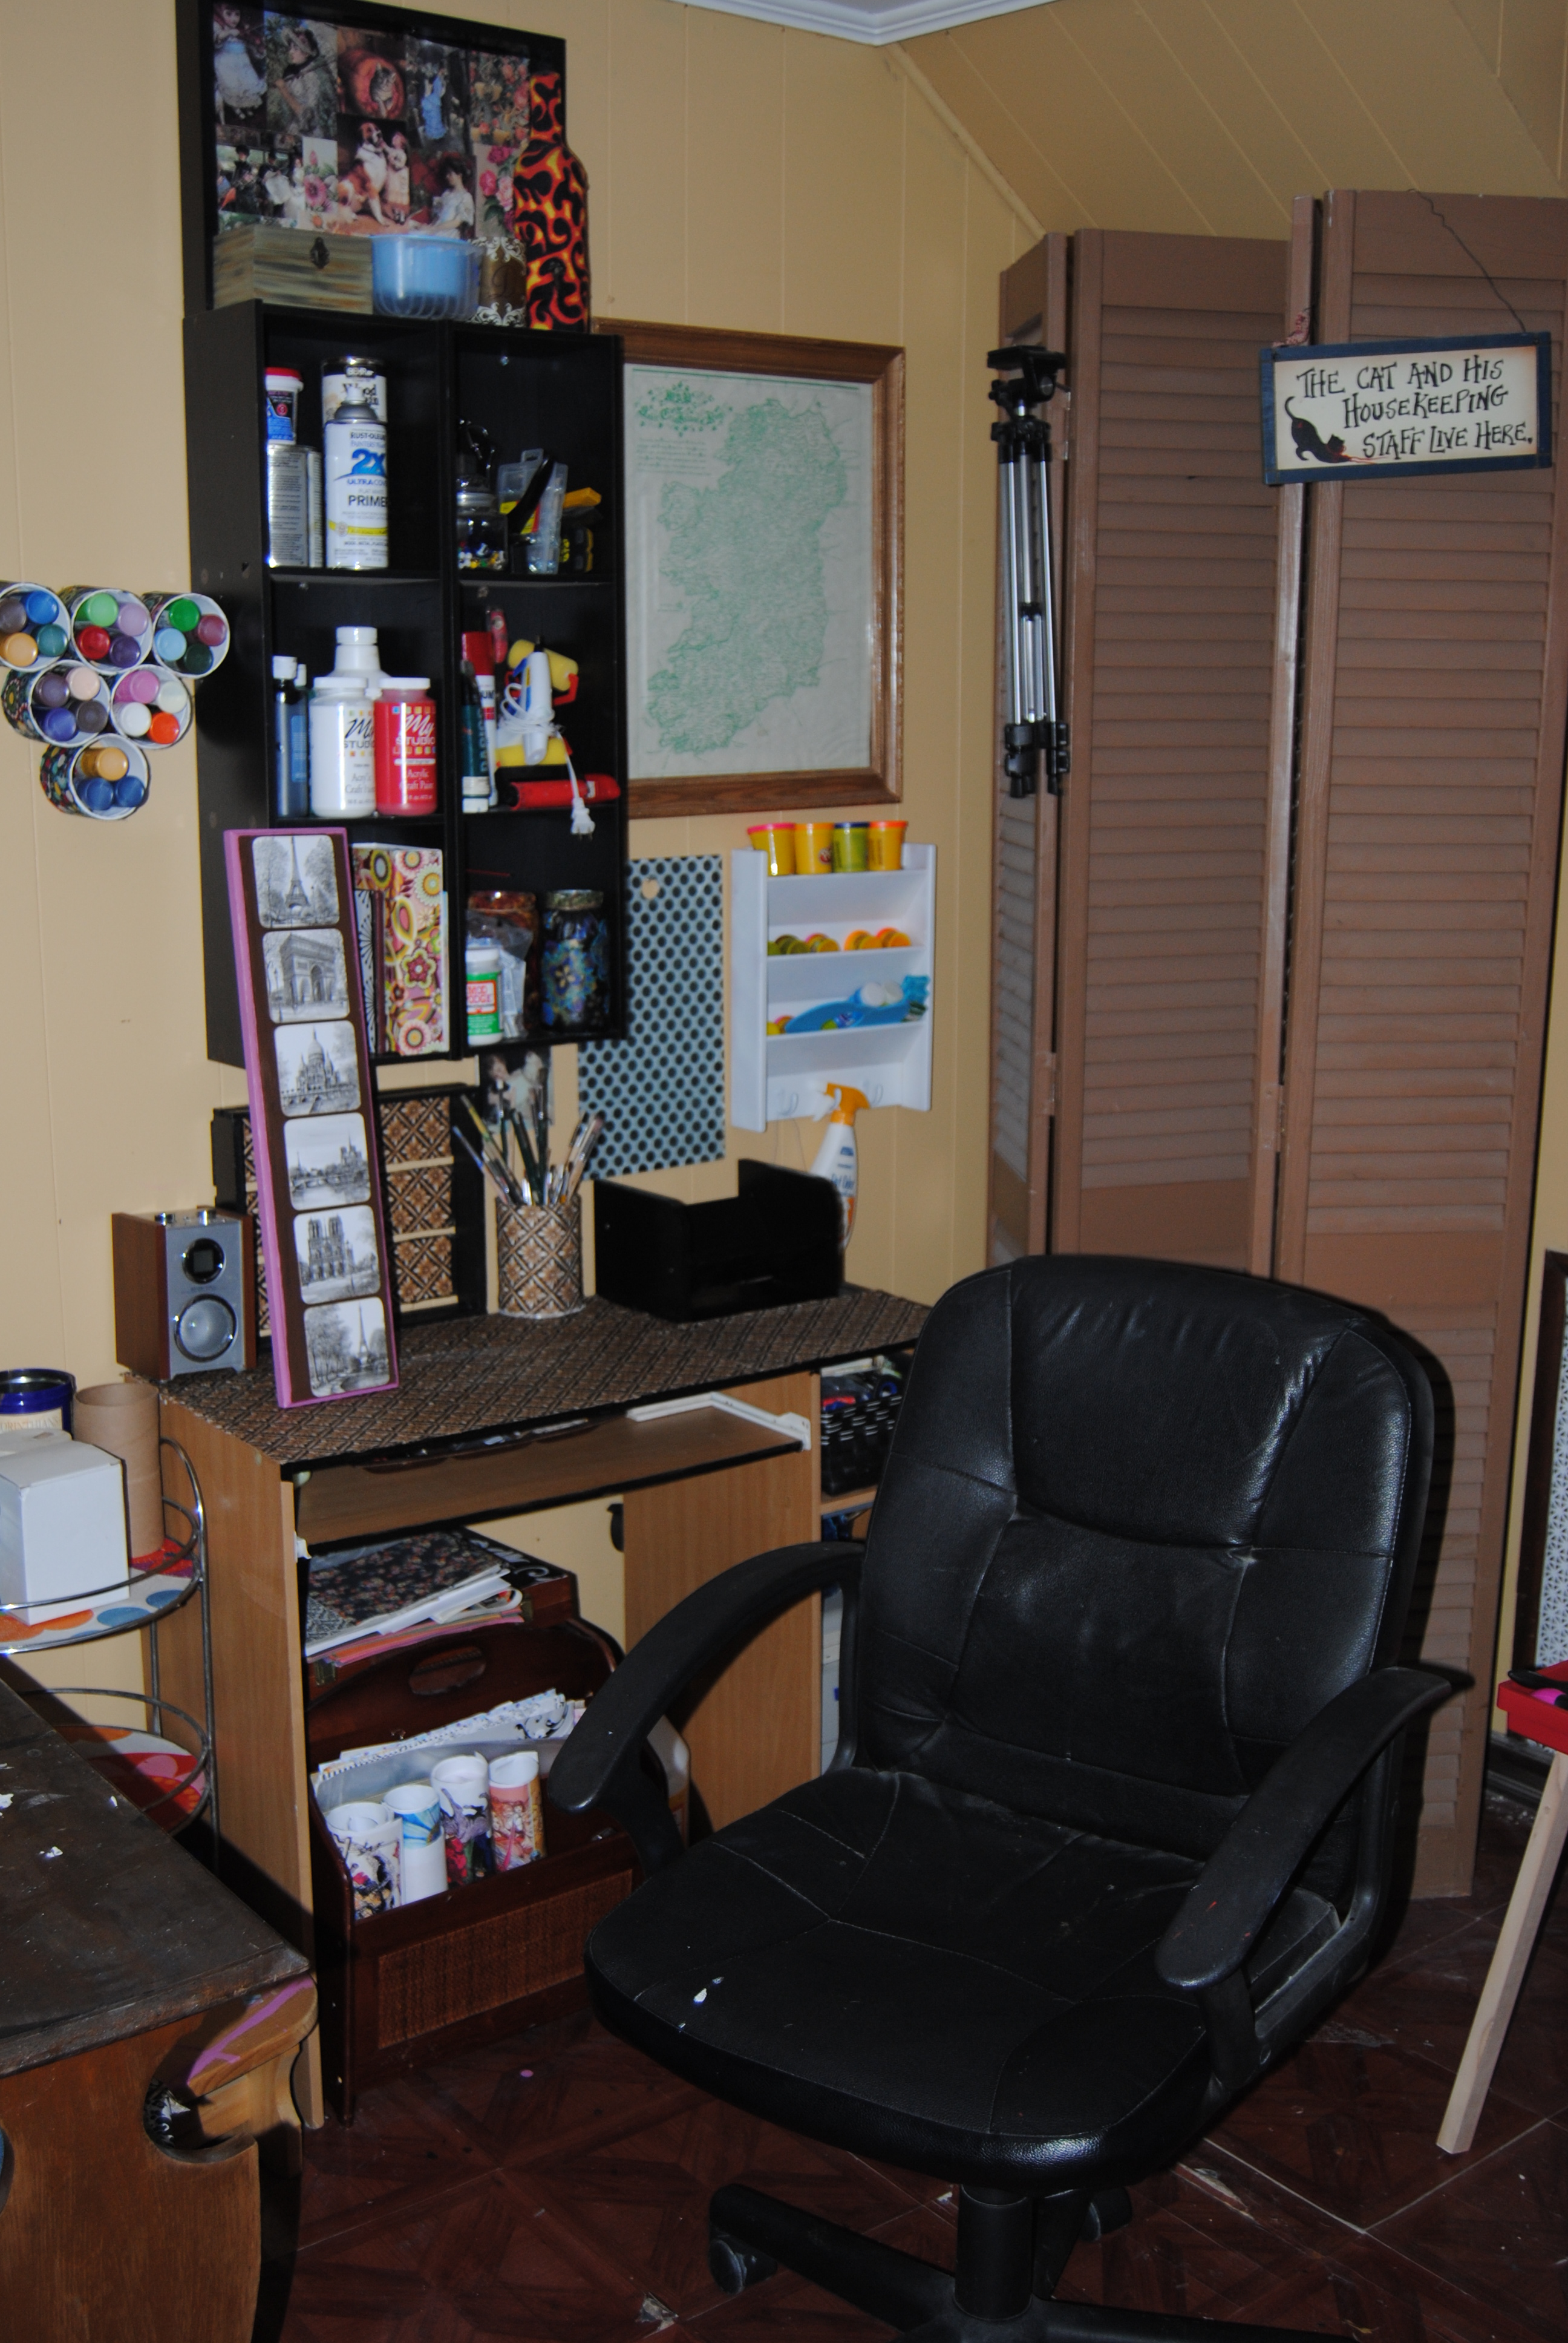
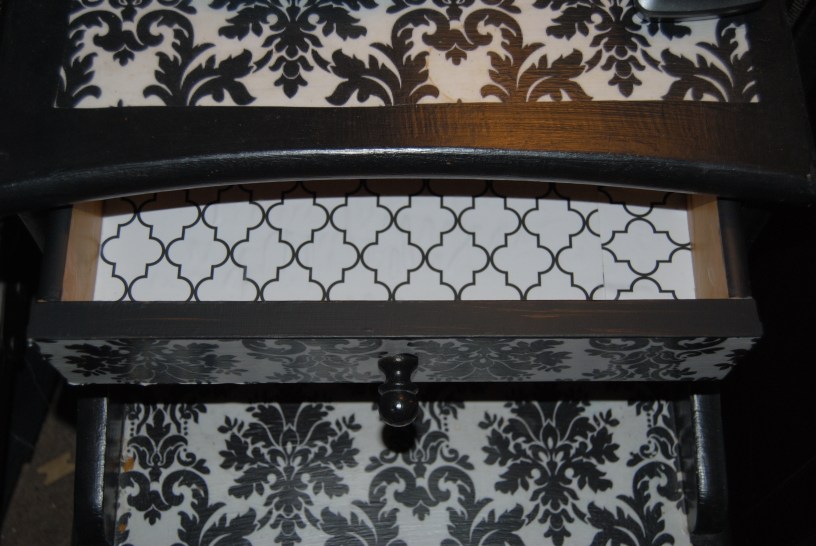
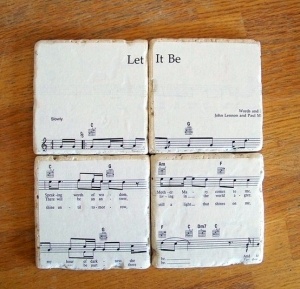
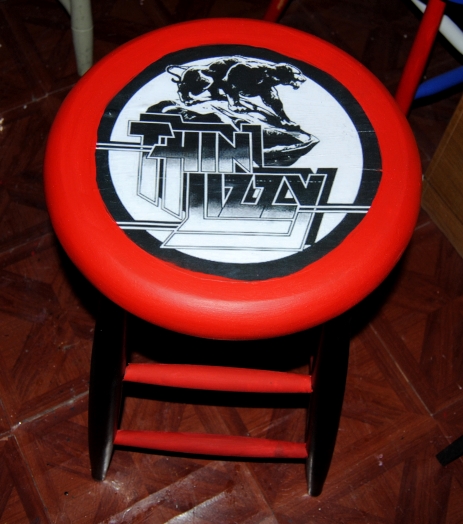
Craft Room Shot featuring “On The Upcycle” Projects  

Getting better with organization Lets hope I can keep it that way-Finally!

Mod Podge Your Cottage: Window Sills Accented With Fabric

One of the features I loved when we first saw our house was our front living room window. It was a large half hexagon shape with a deep window sill.  It is a nice accent area, and fun to decorate during the various holidays.  During other times of the year our Tiffany knock off lamp illuminates the window and the front of the house outside. Our cat loves to climb in and chase after various bugs who find themselves unlucky once he discovers them. It is also the perfect spot to place my stereo cabinet, which also acts as a nice window seat.  The downside is the ledge often gets dirty and is difficult to keep clean. I also wanted to add an accent and brighten the dingy white paint that constantly needed a touch up. I thought decoupage would be a nice option here. I had used a similar technique in a previous project Decoupage Mania Restyling your home with Mod Podge.  For that project I used scrapbook paper to cover a built-in wall vanity.  I decided to use fabric on this window sill project due to more decorative variety and the larger project area. Our living room is a neutral sandstone color and I chose a neutral flower pattern.  The advantage of using fabric makes it easier to remove if you want a change the look as opposed to using paper which tends to tear apart when you attempt to remove it.

I used a magic erasure to thoroughly clean the area before getting started.

DSC_0167

I cut two pieces of  fabric and lined up the images to create a seamless appearence in the middle of the sill.  The best part? The cut fabric doesn’t have to be perfect. Once the Mod Podge dries it is stiffer and easier to trim with a box-cutter knife.  Any excess fabric can be removed later.  I applied Mod Podge with a foam brush and placed the fabric over top.  I then applied Mod Podge over the top of the fabric.

DSC_0170

I allowed the Mod Podge to dry, trimmed away any excess fabric with the knife and applied an additional layer of Mod Podge over top and around the edges.

DSC_0171

Once dry, Mod Podge leaves a nice, clear protective and easy to clean surface.  It also adds a decorative touch in any room.  The styles of fabric and possibilities are without limits, and suddenly I have to urge to do more decorative sills throughout the house!

DSC_0193


Finished Decorative Fabric Decoupage Window Sill

DSC_0194


Neutral Floral Pattern-Fabric Purchased at Joann Fabric


DSC_0195


Materials:

Mod Podge

Fabric

Foam Brush

Box Cutter Knife

Fun with Chalkboard Paint: Kitchen Cabinet Memo Board

One day I was standing in my kitchen staring at my boring cabinets when the idea came to me! My daughter loves playing with chalk and drawing.  The hubby and I often have the need to communicate through various “notes” left around the house.  We could really use a better way to communicate.  What better way then to create a family chalkboard?  I had often thought about modifying our kitchen cabinets in some way and this was a fun first step.   I was eager to try one of the most talked about craft items on the web, chalkboard paint.   My idea was to use the paint to create a chalkboard on the side of the kitchen sink cabinet, but the ideas for its use don’t end there.  Be sure and check out Brit and Co  40 Creative uses for Chalkboard paint and you will be amazed at all the fun possibilities.

I went to Joann Fabric and picked up some black chalkboard paint.  It was regular priced at around 6 dollars, but I used a 50% off one regular priced item coupon which knocked the price down to below 3 dollars!

DSC_0166

When I got home I cleaned and prepped the area of cabinet I planned to paint.  The bottle recommends 2 coats, but I used 4 total as I was attempting to paint over laminate.

DSC_0165

The project was relatively easy.  I used a brush to apply the paint allowing it  to dry thoroughly between coats.  The top side of the sink was damaged so I used a strip of fabric across the top to cover the area and add a little “pop” to the chalkboard.  I applied the fabric strip using Mod Podge and covered it in Polyurethane since it could be exposed to water being in such close proximity with the faucet.

DSC_0174

I waited about 24 hours for the final coat to dry before using the chalk. It worked beautifully!

DSC_0196

Now we can leave each other messages, post  holiday greetings, and our daughter can use her imagination and draw!

DSC_0198

And yes if you are wondering those are Peeps on a stick my daughter is holding.  Happy Easter Everyone!


Times They Are A Changing: Repurposed Kids Changing Table

Our diaper changing table was a very useful piece of furniture while it served it’s purpose.  Once my daughter outgrew it however, I wondered how I would reuse it. For a while it took up space in the craft room as I contemplated what to do with it.  It just so happened that I was looking for additional storage in our kitchen and I thought that the changing table could easily double as an extra set of shelves.

DSC_0161

The family and I took a trip to Joann Fabric and I purchased a colorful floral fabric for the project.  Since I had quite a bit of area to cover I purchased 1  1/2 yards of material.  I decided to leave the areas free of material in its original dark wood color, or if desired it can be painted the color of choice.  Just be sure and use a primer first especially if it is dark wood.

I cleaned the piece thoroughly before getting started.  Once dry I used a small foam roller to apply Mod Podge generously to the table surfaces.

DSC_0162

I cut the material with scissors allowing some extra fabric to hang over the sides.  I then carefully laid it on top of the Mod Podge smoothing out any air bubbles or wrinkles.  I generously applied Mod Podge over top of the fabric.  I repeated this for each individual shelf, and used two coats of Mod Podge for each shelf.

DSC_0163

Once the Mod Podge was dry and clear, I used a box cutter knife to carefully trim away any excess fabric from around the edges.  I utilized the table groove as a guide while slicing the fabric.  I then used two coats of clear polyurethane to seal and protect the table from moisture.

Repurposed Changing table

Now I have a bright and cheery shelf for the kitchen and desperately needed additional storage.  The colorful fabric really pops against our bright yellow walls, and am happy to be able to continue to use what was once a very important and sentimental piece of furniture.


Decoupage Diaper Changing Table


Materials:

Old Wooden Changing Table

Mod Podge

Foam Roller

Box Cutter Knife

Scissors

1 1/2 yard of Fabric of Choice

(Primer and Paint Optional)

Polyurethane clear sealer

Spring into Decoupage: Scrapbook Paper Drawer Makeover

Spring fever has hit the suburbs, despite the meteorologists predicting yet another snowstorm/nor’easter early next week.  With that the spring cleaning begins which was apparent yesterday after receiving a knock at the door from one of my many fantastic neighbors.  He was cleaning out his garage and wanted to know if I was interested in a really lovely unfinished celestial shelf.

Unfinished Celestial Wooden Shelf

and this absolutely lovely unfinished wooden bench with seat storage!

Unfinished Wood Bench With Storage

I thought it was a dream that these beautiful pieces would literally show up at my door but it was true!  If I didn’t want them, my neighbors were taking them to Goodwill to donate them.  I know Goodwill would have been happy to have these items especially during this unsuccesful trip when I snapped a photo of their depleted furniture room which is usually FILLED with items.   It has been a tough winter indeed!

Empty Goodwill store

Now, the challenge begins… I have to come up with design ideas for these wonderful pieces that do them the justice they deserve.  Meanwhile, all of this did make me think about my own much-needed spring cleaning and looking for items to reuse and repurpose that I already have instead of buying additional pieces.  A project I did fairly recently incorporates that idea.  As crafters we accumulate various supplies some of which we never use.  I have a collection of scrapbook paper that fits this profile.  The good news is there is nothing better than scrapbook paper when it comes to decoupage.  It can be used for so many projects not just it’s obvious purpose.  One of my very first projects involved a pair of upcycled bedroom tables.  It has been almost a year since completing these tables and they have held up fantastically well.  When I restyled them, I left the inside of the drawers undone and decided this would be a great way to use up some of that scrapbook paper.

Decoupage Nightstand with drawers

The process is simple first I figured out how much scrapbook paper I would need.  I added creases on areas I would cut.  I set these pieces aside.

Scrapbook drawer lining

I applied Mod Podge to the drawer surface with a foam brush.

DSC_0036

I carefully applied the paper smoothing it out with my hands.  The Mod Podge Rubber Squeegee Tool  also works well for this, especially in the corners.  Once the Mod Podge was dry, I applied an additional coat over top.

Line your drawers with Scrapbook Paper

A great way to reuse, restyle, repurpose. Do you have any green crafting ideas for spring? Am I the only one excited at what I might find while Spring cleaning?


Travel the Old Fashioned Way: Vintage Decoupage Suitcase

I love vintage suitcases!  I especially love all of the decoupage and repurposed vintage suitcase ideas I have seen while strolling through the web. I was eager to restyle a suitcase of my own, but hard case luggage proved to be a challenging find.   Over the last two years, I searched for suitable suitcases in every thrift store, yard sale, and managed to stumble across only one along the way.   You can imagine my surprise recently, when I came across not one, but three vintage blue suitcases in the same shopping trip.  The small case was inside the medium case, and the large case was empty. The set was not priced.  I asked for a price check and expected an individual price on each piece of luggage.  Instead, Goodwill decided to price the small and medium cases together for only $3.99!  I checked with them twice, because I could not believe it!  The larger case (pictured below) was priced at a reasonable $7.99.

Vintage Blue Suitcase


For my first suitcase decoupage, I decided to keep it simple. I purchased a yard of fabric from Joann Fabric.  I searched for material that would blend with the color of the suitcase, and found a nice blue and white floral pattern. I cleaned the case to remove any dust or dirt. I generously applied Mod Podge with a foam craft brush.

DSC_0116


I carefully laid the fabric on glue, smoothing out any wrinkles or air bubbles with my hands along the way.  I carefully worked the fabric in the creases of the case, and covered the entire area with another layer of Mod Podge.

DSC_0117


Once dry, I trimmed any excess fabric with a box cutting knife applying minimal pressure using the natural crease of the suitcase as my guide.  I added a 2nd coat of Mod Podge. I repeated the same process for the opposite side of the suitcase.

DSC_0125


Decoupage Fabric Suitcase


Now, what to do with the other two?

Hello Kitty Themed Kids Surfboard Bench

It has been an especially harsh Northeast winter and many of my usual thrifting haunts have been light on stock especially when it comes to furniture pieces.  Despite this, I certainly don’t mind the thrill of the hunt. You never know when you will find something unique.  On such a trip, I came across an interesting kids bench (At least that’s what I think it was!) at a local Goodwill store.    It appeared to be a surfboard and the painted design was hideous!  Despite all of the negatives with this piece, I felt this would be a fun redesign, and I loved the detachable legs.  This feature made the legs easier to paint.  Nothing conjures up images of summer like a surfboard, and that is just the kind of project I needed!

DSC_0112

I cleaned the entire piece with a Magic Eraser. It had an unidentifiable sticky substance all over it and the Eraser worked well to remove it.  I used a white spray primer to cover the brightly colored design.  I was planning on using a fabric decoupage, but felt the bright colors may bleed through the fabric.  Using a primer first prevents this, and gives me a clean slate to work with.  Once the primer dried, I used a foam craft brush to apply Mod Podge to the bench surface.

DSC_0114

My daughter and I stopped by the craft store and I let her look through the aisle filled with different character fabrics.  She seemed to like this Hello Kitty print and I happily obliged, being a Ms. Hello Kitty fan myself. When I was young the local mall had a store called Sanrio and they sold Hello Kitty and all her “friends” merchandise. It was one of my favorite stores to visit in the mall.  I bought a half yard, and roughly traced the fabric to cover the table surface. Once the Mod Podge dries, any excess fabric left over around the edges and handles I trim with a box cutting knife.  The glue stiffens the fabric and makes it easier to cut.  I placed the fabric down on the Mod Podge soaked surface carefully smoothing out any wrinkles with my hands.

DSC_0115

I placed it aside to dry, eventually I would add a total of three full coats of Mod Podge on the fabric table surface.  I painted the legs with two coats of pink and white acrylic paint.  Once the legs were dry I covered them in a Mod Podge layer.   I then reassembled the table legs by screwing them easily back in to place.

DSC_0122

My daughter loves sitting on it.  It looks great in her room and it is a nice piece of kids furniture to use while helping her get dressed for her day.


Hello Kitty Girls Surfboard Bench

Before and After

Untitled


Upcycled Tiles: Instant Wall Art, And Much More!

Most of us have a box of  ceramic tiles collecting dust in the basement.  In our case, my helpful neighbor passed them on to us thinking we could use them, after I told him that I was attempting a DIY kitchen backsplash.   I utilized most of the box but still did not manage to use them all.  These were plain, white ceramic tiles, a clean slate just waiting to be reused, and make an artistic statement!

Tiles are a great medium for decoupage, and make great wall art!  It is also a great decoupage beginner project and virtually any image can be decoupaged on tile. Often times when I am working on a project, I will do a smaller side project at the same time.  The tile below, is an example of such a project. I had some great smaller prints and decided to use one of them on this tile.  Simply apply Mod Podge to the tile using a foam craft brush, or smaller paint brush, apply the print and once dry, apply the Mod Podge over the print.  Then simply use a small amount hot glue to adhere the tile to your wall.  You can make photo collages, decorative maps, and create different artistic schemes, while sprucing up boring walls.

DSC_1555

The above is simply one example of repurposed tile. It is displayed on the wall in my craft room.  Due to the magic of sites such as Pinterest, the ideas are flowing.  Below are a few examples of such ideas.

Two Girls Being Crafty Blog

These lovely drink coasters were made by Two Crafty Girls using Mod Podge and scrapbook paper.

instructables com

Take a favorite photo and divide it among several tiles to create wall art. Thanks to C.B.I.D Home Decor and Design for featuring yet another unique and crafty idea!

Indulgy

I love the idea of decorating with sheet music, and using it for decoupage!  Check out all of indulgy’s ideas!

On that note, happy crafting and stay warm my friends!

The Craft Must Go On: Upcycled Rock N’ Roll Bar Stool

A few months back, I came across a wooden bar stool at Goodwill for $5.99. I liked the size and design of the stool, and thought it would make a great decoupage piece.

DSC_0884

I decided to upcycle the stool with a Rock N’ Roll theme,  and since it was to be a gift for my husband, I chose the Irish Rock band Thin Lizzy as a subject. The band is one of our favorites and have a vast catalog of great music.  This initial vision took a back seat to the holidays, and various other projects. The idea seemed doomed afer one mishap after another involving this project.  I abused this stool, and used it to allow smaller painted projects to dry.  When I attempted to prime it, the spray can malfunctioned splattering the primer.  (I believe the can may have been too cold) After the bar stool was dry, I sanded off the “lumpy” paint by hand.  Creating yet more work for myself, while attempting to smooth out an air bubble on the initial decoupage print, I tore a hole in it and had to scrape it off only to start all over again.  Despite all of these blunders,  the project managed to come together.  Turns out I found a much nicer print, based on the album cover for “Nightlife” The print featured a black panther on the prowl like the one featured on the cover below.

Thin Lizzy Night Life

I painted the entire chair in black and red alternating the colors.  It took several coats to obtain good coverage.  Once dry I applied Mod Podge to the seat with a foam brush.  I carefully applied the printed logo and smoothed it out carefully with my hands doing my best to avoid tearing or wrinkling.  I painted the area not covered by the print red, creating a bull’s eye effect on the seat.  Once all the paint was dry, I used Mod Podge to cover the entire bar stool.

DSC_1581

Finally, my crafting nightmare showed some “Nightlife” after much adversity.  More importantly my husband seems happy with the result. Now we just need the bar..

Wanna see more chair restyles from “On The Upcycle?  Click Here

DSC_1583

Stories of a house From | Inspire Me Heather

{stories of a house} my quote wall | Inspire Me Heather.

Since the last several days have consisted of me battling a nasty winter cold and the weather (Over 12 inches of snow last evening) I wanted to share with you a great Mod Podge project from Inspire me Heather.  It consists of a wall decorated with favorite quotations.  I would love to create a wall like this leading up to our attic, or down to our basement area.  I think I would try decoupage tiles, or even coasters.  I thought this was a fun project and I wanted to share it with all of you.

So.. I am putting down the snow shovel, and tissues, and moving on to my next upcycle project..