Spring into Decoupage: Scrapbook Paper Drawer Makeover

Spring fever has hit the suburbs, despite the meteorologists predicting yet another snowstorm/nor’easter early next week.  With that the spring cleaning begins which was apparent yesterday after receiving a knock at the door from one of my many fantastic neighbors.  He was cleaning out his garage and wanted to know if I was interested in a really lovely unfinished celestial shelf.

Unfinished Celestial Wooden Shelf

and this absolutely lovely unfinished wooden bench with seat storage!

Unfinished Wood Bench With Storage

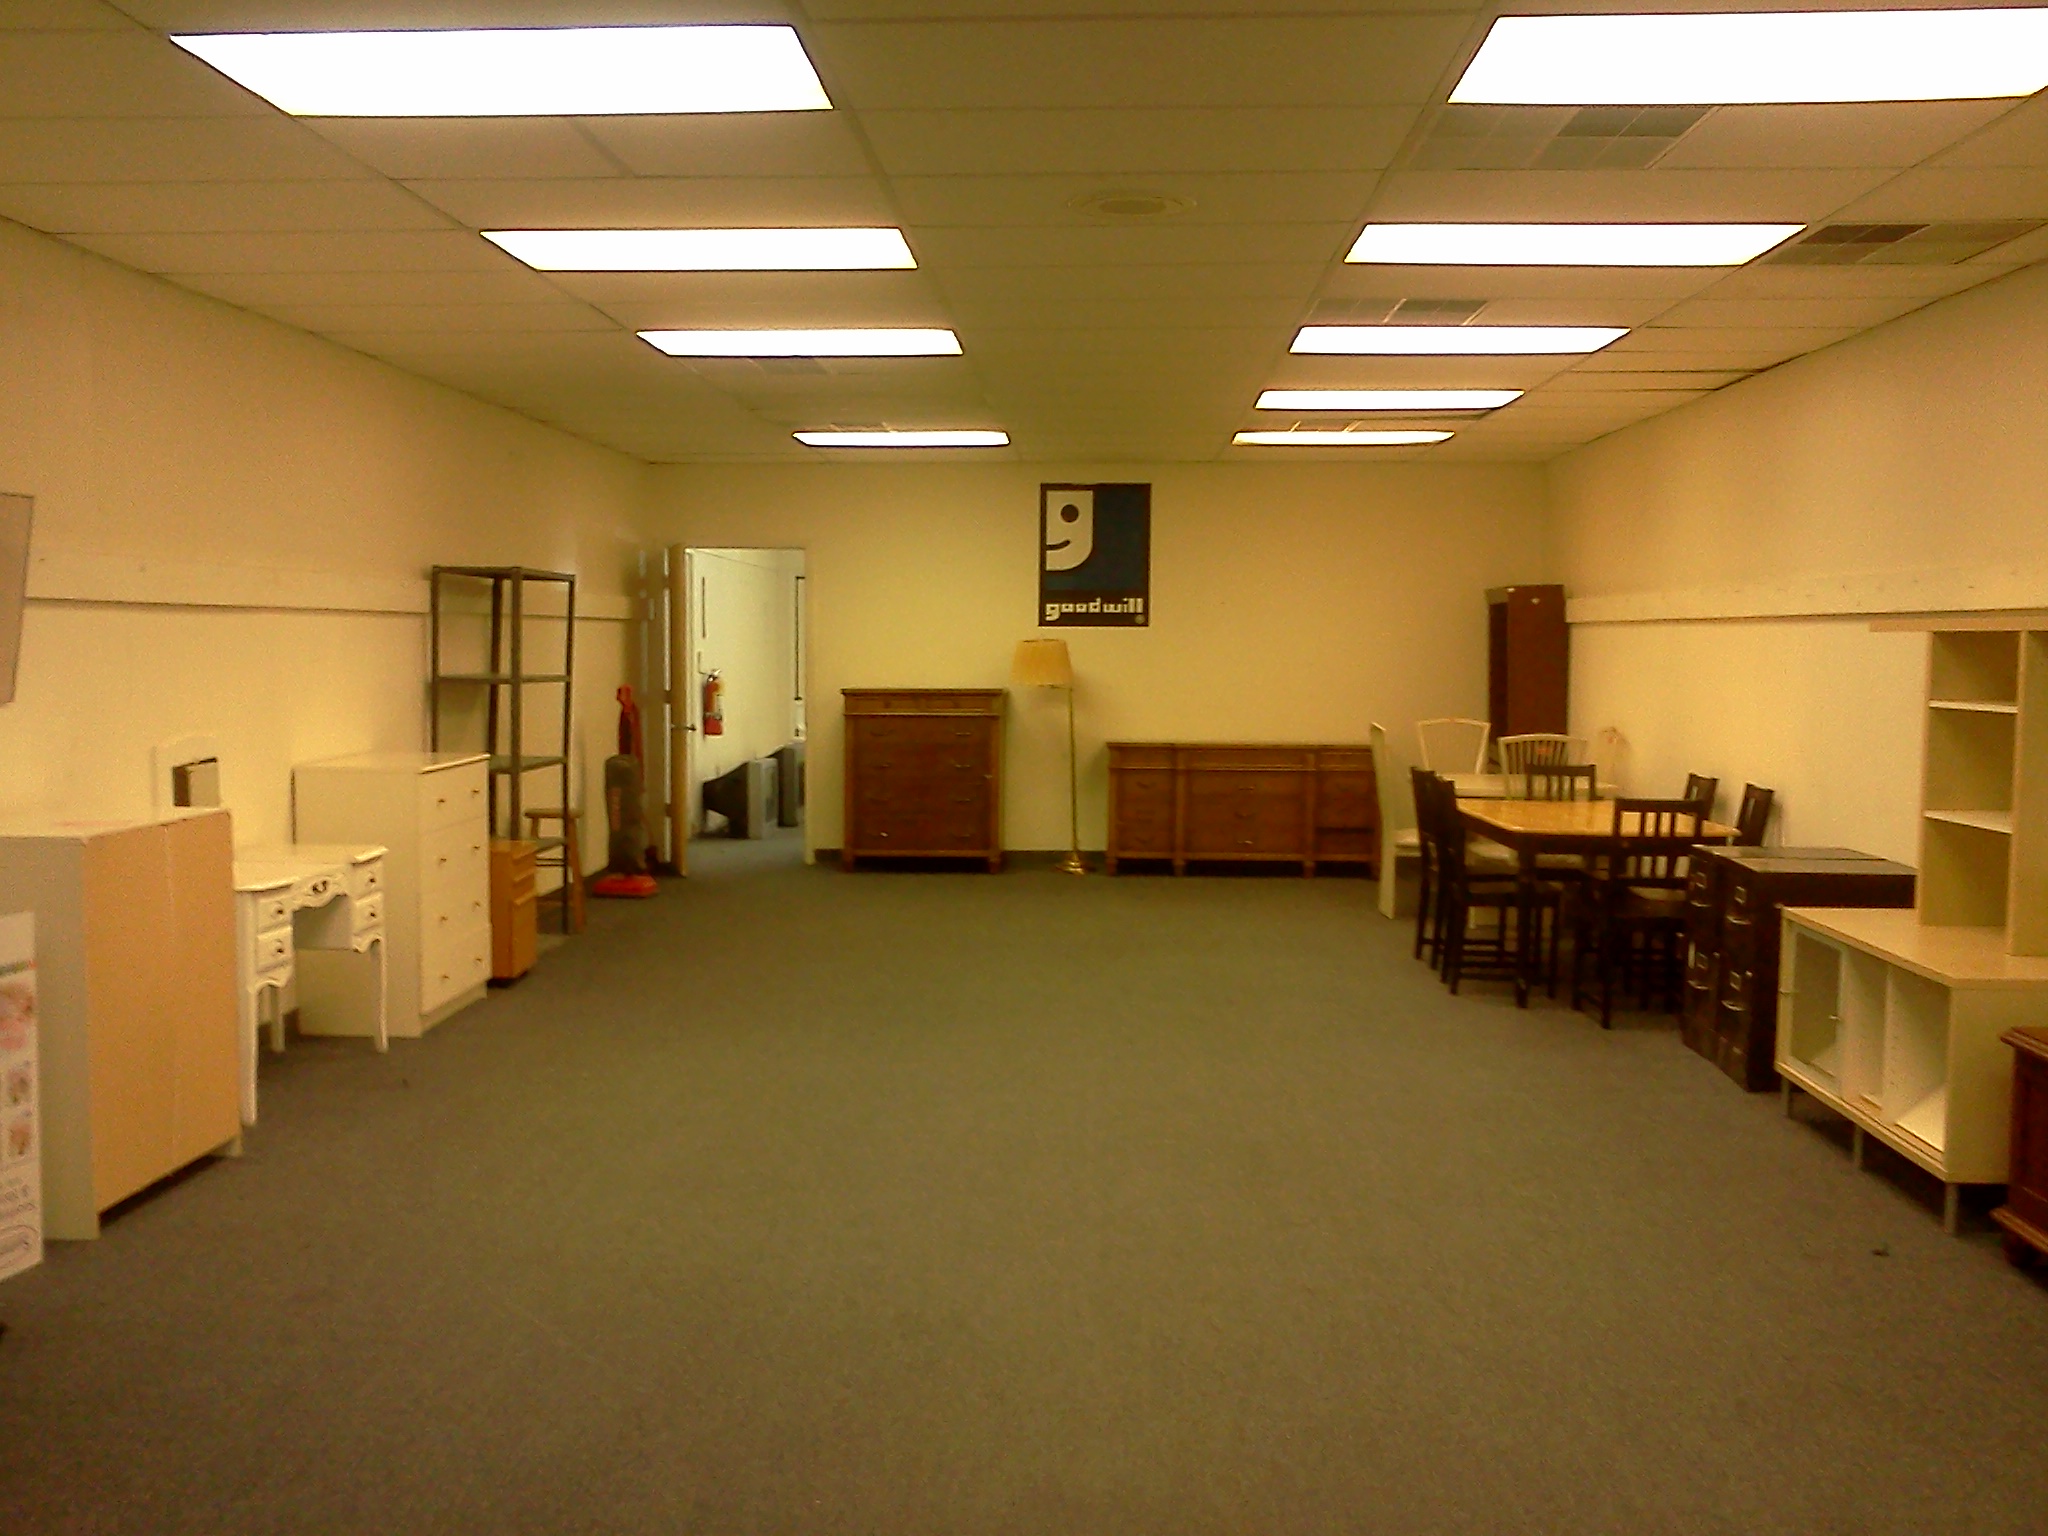
I thought it was a dream that these beautiful pieces would literally show up at my door but it was true!  If I didn’t want them, my neighbors were taking them to Goodwill to donate them.  I know Goodwill would have been happy to have these items especially during this unsuccesful trip when I snapped a photo of their depleted furniture room which is usually FILLED with items.   It has been a tough winter indeed!

Empty Goodwill store

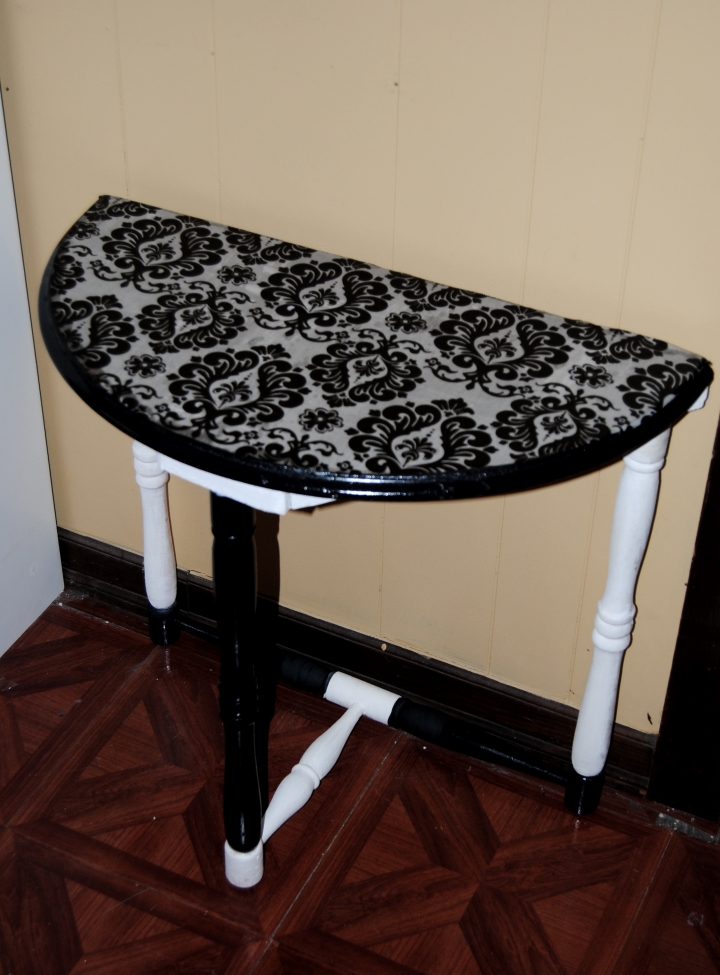
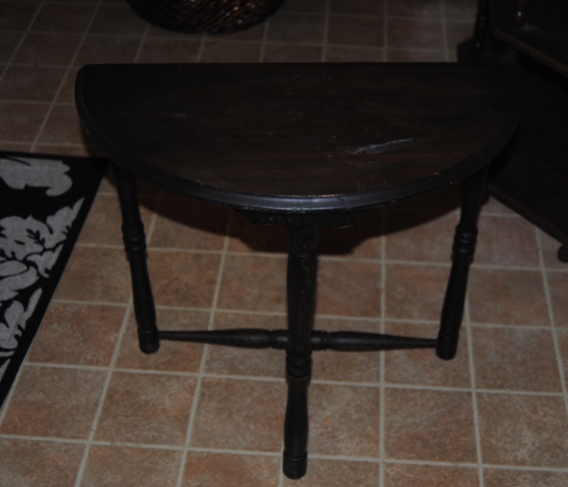
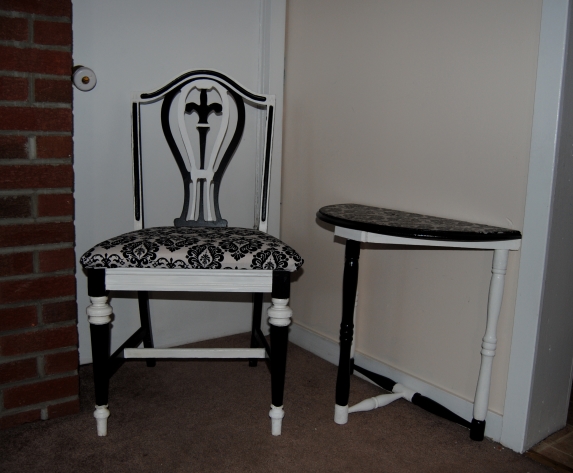
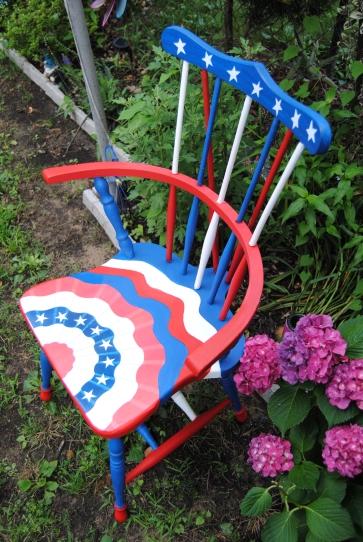
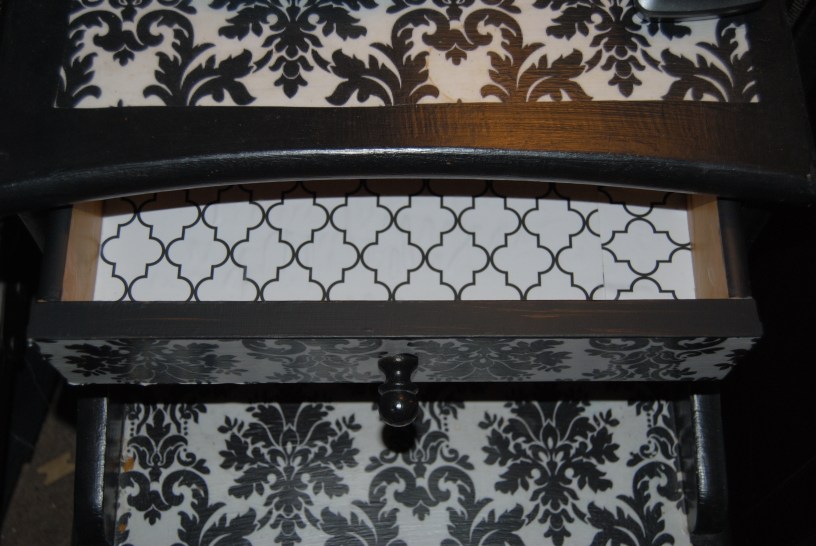
Now, the challenge begins… I have to come up with design ideas for these wonderful pieces that do them the justice they deserve.  Meanwhile, all of this did make me think about my own much-needed spring cleaning and looking for items to reuse and repurpose that I already have instead of buying additional pieces.  A project I did fairly recently incorporates that idea.  As crafters we accumulate various supplies some of which we never use.  I have a collection of scrapbook paper that fits this profile.  The good news is there is nothing better than scrapbook paper when it comes to decoupage.  It can be used for so many projects not just it’s obvious purpose.  One of my very first projects involved a pair of upcycled bedroom tables.  It has been almost a year since completing these tables and they have held up fantastically well.  When I restyled them, I left the inside of the drawers undone and decided this would be a great way to use up some of that scrapbook paper.

Decoupage Nightstand with drawers

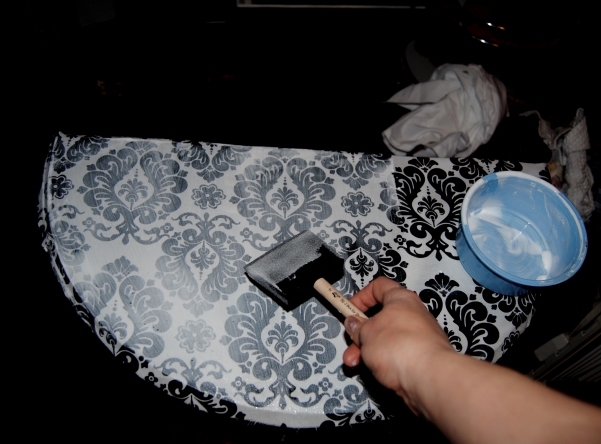
The process is simple first I figured out how much scrapbook paper I would need.  I added creases on areas I would cut.  I set these pieces aside.

Scrapbook drawer lining

I applied Mod Podge to the drawer surface with a foam brush.

DSC_0036

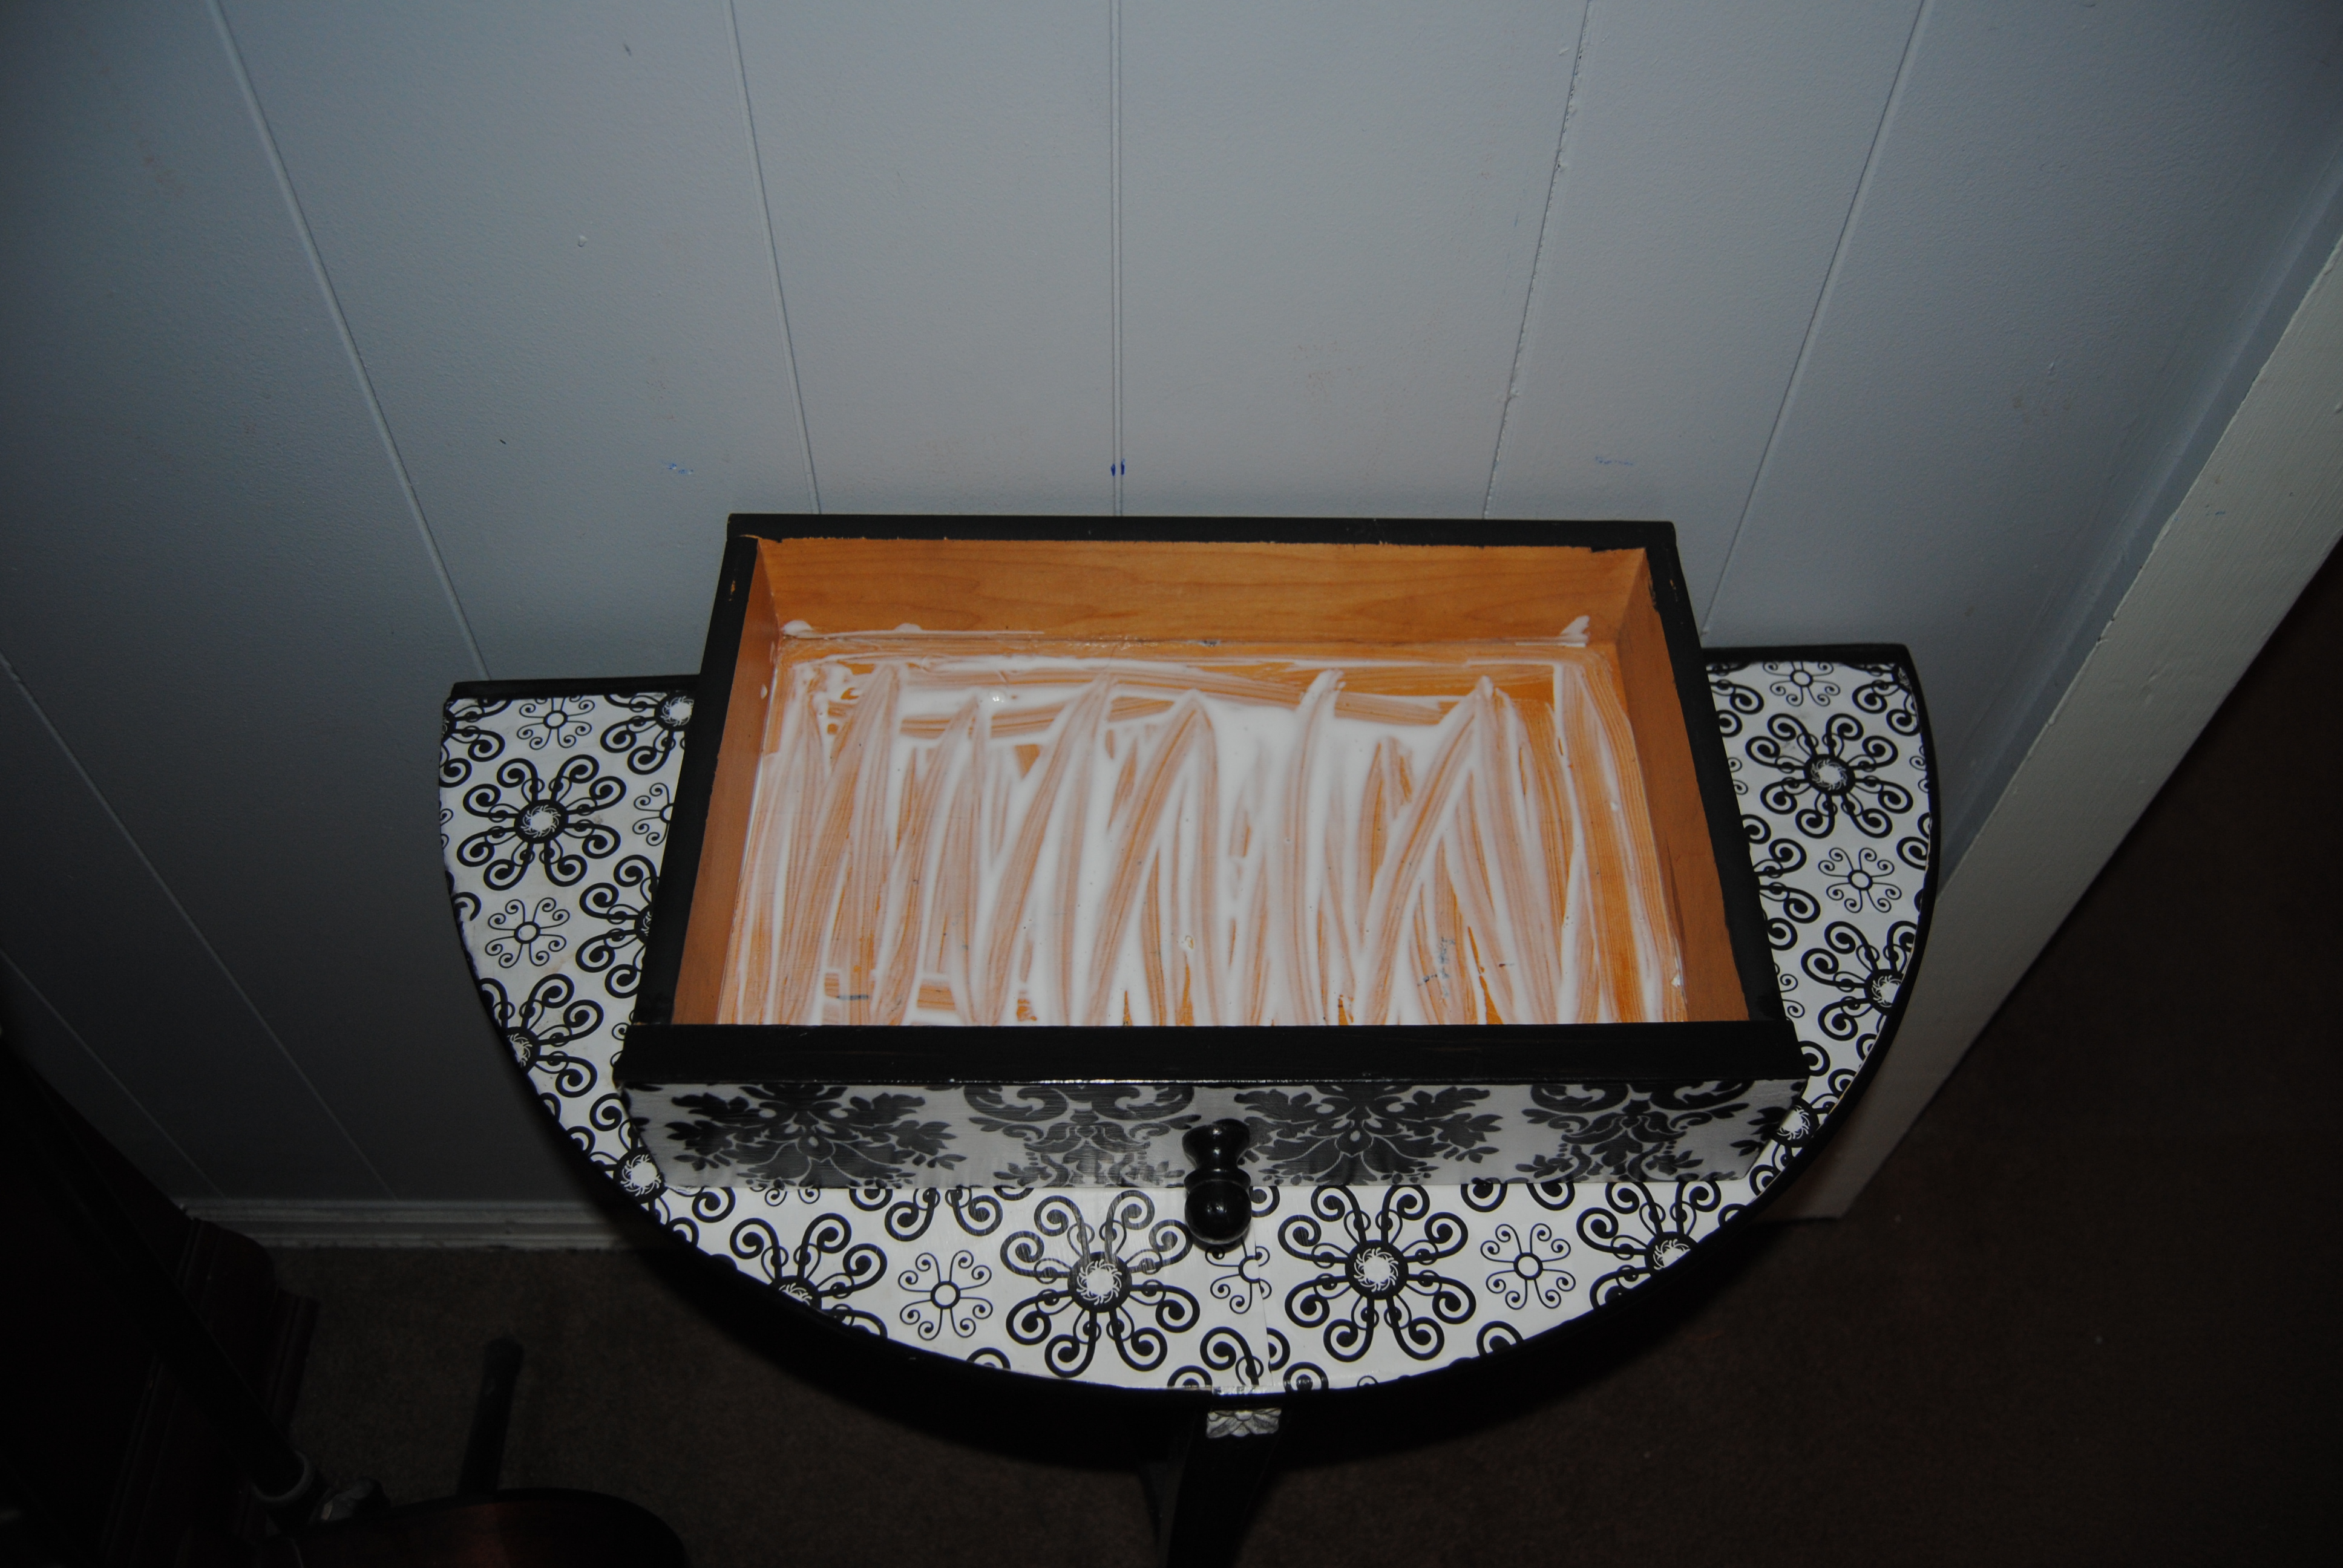
I carefully applied the paper smoothing it out with my hands.  The Mod Podge Rubber Squeegee Tool  also works well for this, especially in the corners.  Once the Mod Podge was dry, I applied an additional coat over top.

Line your drawers with Scrapbook Paper

A great way to reuse, restyle, repurpose. Do you have any green crafting ideas for spring? Am I the only one excited at what I might find while Spring cleaning?


Advertisement

You had me at “Half Table” Yard Sale Table Rescue

I was excited when a friend of mine from work approached me about a table she had spotted at a yard sale.  She had arrived toward the end of the sale and the family was packing things up that hadn’t sold.  She informed my friend that she was taking most of what didn’t sell and was placing it out on the curb for the trash collectors.  She was nice and asked my co-worker if she wanted to take anything at no charge since it would end up in the trash anyway.  This is the part of the story I am truly thankful for!  She spotted a little half-moon table and thought of me and how much I love to upcycle.  She thought it would be a perfect candidate and that I could “do something” with it.  I was so excited when she brought the table to me. She had no idea the love I have for these little tables!  I had come across a half table previously at a thrift store and snatched it up! That post was called Crazy for Half Tables! so you can see she had me at half table!  I snatched this table up happily and decided to use the table in our living room.  I decided to match the table design to our damask black and white chair which is one of my favorite upcycled chairs to date.

Yard Sale Half Table Before

The table finish was rough and ready for priming.  I cleaned the table and placed it upside down on to the fabric I was going to use.  I traced the table surface with a black felt tipped marker.

DSC_0942

I carefully cut out the tracing and placed the fabric aside.  I primed the table with a white latex primer and allowed the table to dry,  If you are working with a dark piece of furniture and lighter fabric  it is especially important to prime it because the darker color will bleed through the fabric from underneath and may appear darker than desired.  I learned this myself in the past the hard way!

Apply fabric and Mod Podge

I applied Mod Podge to the surface of the table, applying the fabric slowly to avoid and wrinkles or air bubbles.  Once the fabric was smoothed out, I applied Mod Podge over it with a foam craft brush.  Allowing it to dry.

Painted legs

While the Mod Podge was drying,  I used acrylic paint going with the black and white alternating theme.  Once the piece was completely dry I used a coat of polyurethane sealer to “seal the deal”  Now the piece was allowed to dry overnight.

Restyled Half Moon Table using Mod Podge and Fabric

Thanks again to my awesome like-minded friend who saw the possibilities in this piece! Someone’s trash truly is to another a treasure!  Now my damask chair has a friend and my living room is all the better for it!

Upcycled chair with half moon table

A Piece Of Americana: Upcycled Windsor Back Chair

Since I began upcycling, crafting, and decoupaging, I have wanted to make an Americana art piece.  I was uncertain as to what the object would be.  I was waiting to see what life, or thrifting was going to place in my path.  Then one day, I spotted this chair in a Goodwill Store.  The chair needed a bit of TLC, and had some issues.  Most of the finish was worn off the chair, and the spindles and legs were loose.  The chair passed “the sit test” I sat on it and I didn’t end up on the floor! Nothing I thought a little love and wood glue wouldn’t fix. Despite it’s problems, I knew this chair was something special.  The chair displayed several design elements I found intriguing, and the chair style looked very “American” to me.  I will be honest, I  didn’t actually know anything about this chair, but I knew one thing- I liked it.

A woman behind me saw me looking at it ,and said “That’s a Windsor Back Chair.”  She was from New England and these chairs are popular in that area. Then she simply walked away.  She was eyeing it up, but I had a tight grip on it.  By now the chair was in my cart and rolling with me out of the store.  The chair cost $5.99, but for this I think I would have paid a little more, so it was a great deal!

Windsor Chair

When I got home, I did some research on the chair and It had several of the Windsor Chair Design elements.  I found this great website for a company that makes these chairs Gummel Chair works and they feature an interesting history of these Windsor Chairs Beginning with their origins during the reign of King George in England to the shores of New England and the Early American Colonies.  It also states it became “preferred” in some circles to paint these chairs to bring out their unique design qualities.   This made me feel better about painting the chair, and since I did not have the space to keep the chair out year round, I thought it would be a nice to showcase the chair during the patriotic holidays.  Having a reproduction in need of some work seemed exciting and the “perfect” Americana project candidate,  It also happened to come along at the perfect time.  The July 4th holiday was quickly approaching, and I had to submit an original project for the new Green Crafting Book The Green Crafts Lifestyle .

Materials Used:

Red, White and Blue Acrylic paint

Decal, Print, Patriotic decorations for decoupage

Foam Brush to apply Mod Podge

Paint Brushes of various sizes

Scissors

I cleaned the chair before I got started with a damp cloth.

I primed the chair with two coats of a white latex primer.

Chair Materials

I applied the Mod Podge with a foam brush to the seat surface generously.  I took the patriotic image I was using and carefully glued the image to the seat.  I used my hand to smooth out any wrinkles or air bubbles.  If you have one available, you can also use the rubber Mod Podge, or roller tool to do this as well. Once dry, I applied a layer of Mod Podge with a foam brush over the image to seal it.  Now it was time to paint the chair.  I used a red white and blue color scheme and continued the pattern featured on the patriotic image for the chair seat.  Once the visible parts of the chair were dry, I flipped the chair over and painted underneath.  I then cut out some small white stars I wanted to decoupage to the top of the chair to add some additional flare.  I applied Mod Podge to the top of the chair with a smaller paint brush and applied the stars to the chair.

Once the chair was dry, I carefully inspected the chair for any painted areas that needed touching up, and added additional paint needed to these areas.  I allowed the chair to dry thoroughly overnight in front of a stand up fan. The next day,  I applied 2 coats of Mod Podge over the entire piece using the foam brush for larger surfaces, and a smaller paint brush on the smaller areas and chair legs.

An Upcycled Windsor Chair draped in Americana Decoupage:

Patriotic Windsor Style Chair:

Before and After:

Patriotic decopage Painted chair before and after