Tangled No More: Upcycled Wooden Shaker Peg Rack

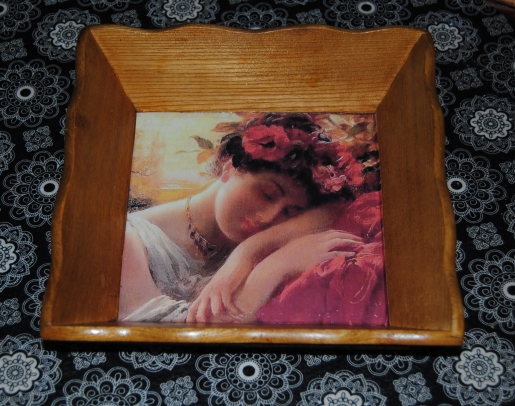
I have a confession.  I am horrible when it comes to keeping my jewelry together and organized. I am always losing earrings,  and I constantly tangle my necklaces together.  When I picked up this Shaker Peg Rack at a thrift shop, I planned on using it to hang “crafty”things in my crafting area. I decided against it when I realized it was more urgently needed in our bedroom for jewelry.    I reached my breaking point this weekend, when I went to change my necklace only to discover a tangled mess!

Image

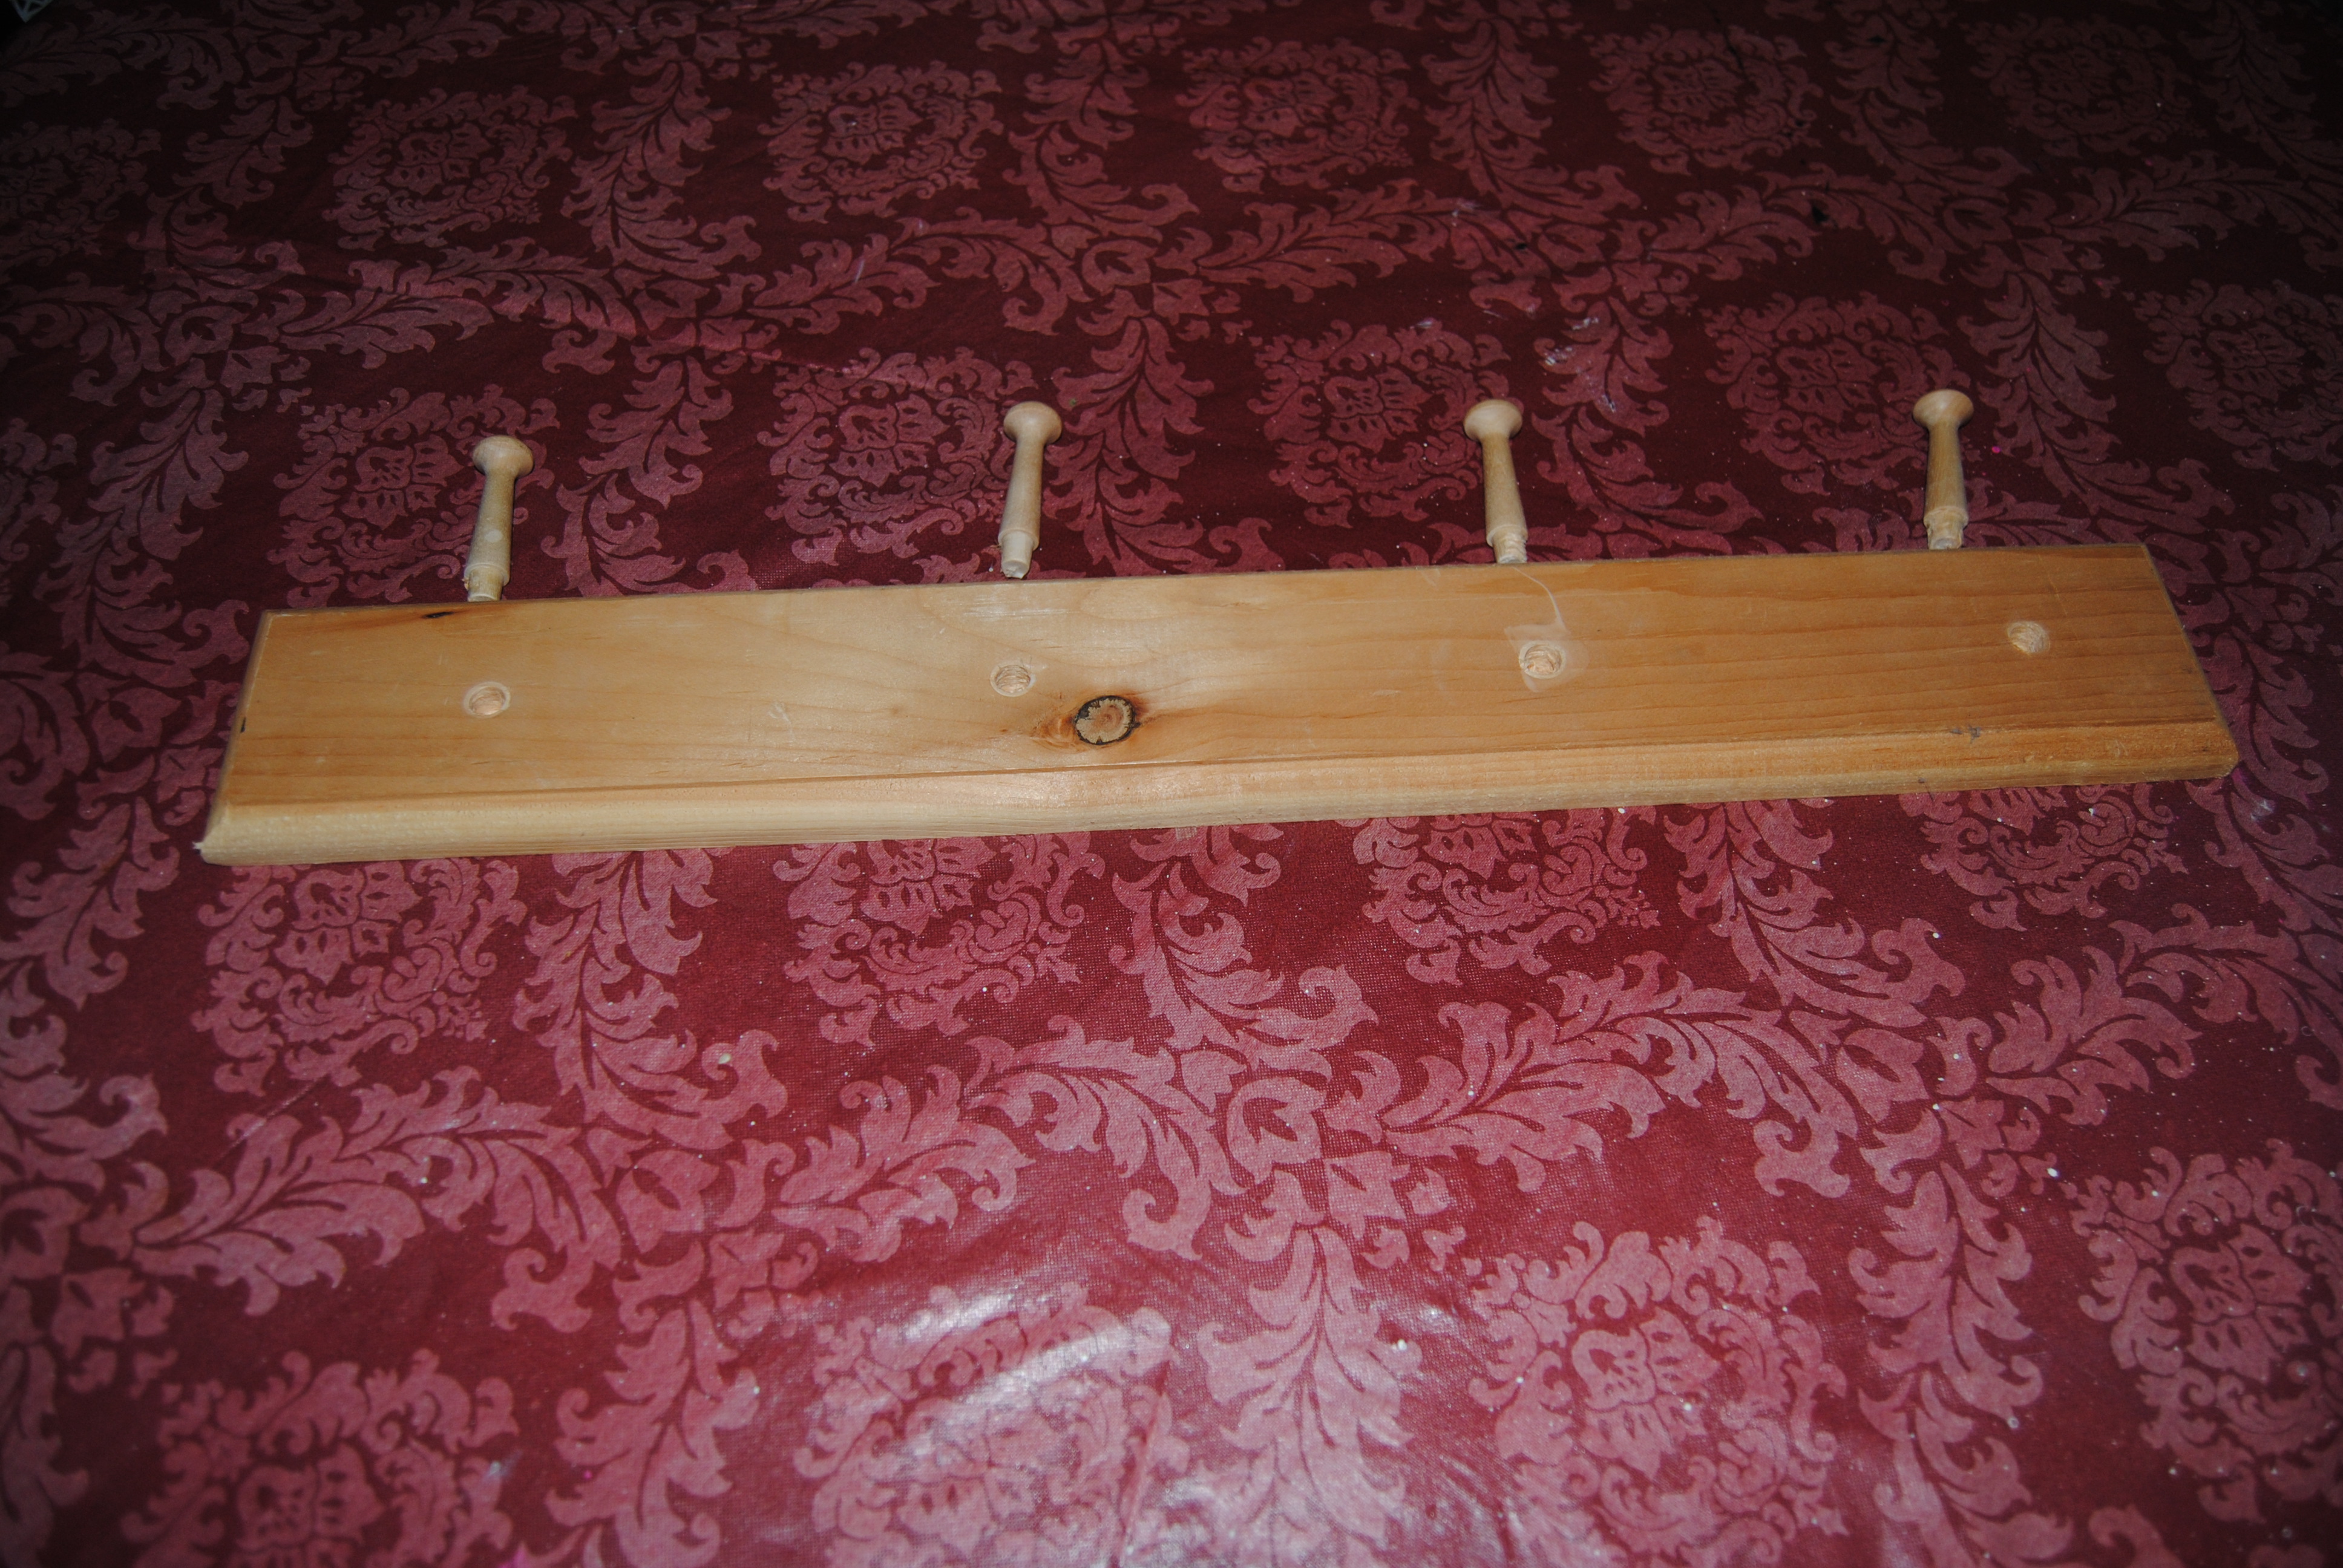
I decided I would use the fabric featured on Upcycled Spaghetti Jar Lamp.  I tried removing the pegs, but needed some of the hubby’s strength to remove them. He was able to loosen them and I was able to finally pop them out. My plan was to glue the pegs back on later. After pulling them out, they still fit snuggly which was great.  Removing the pegs would make it easier when covering the rack with fabric, and it would appear seamless.   I traced the rack surface onto the fabric with a black marker.

DSC_0274

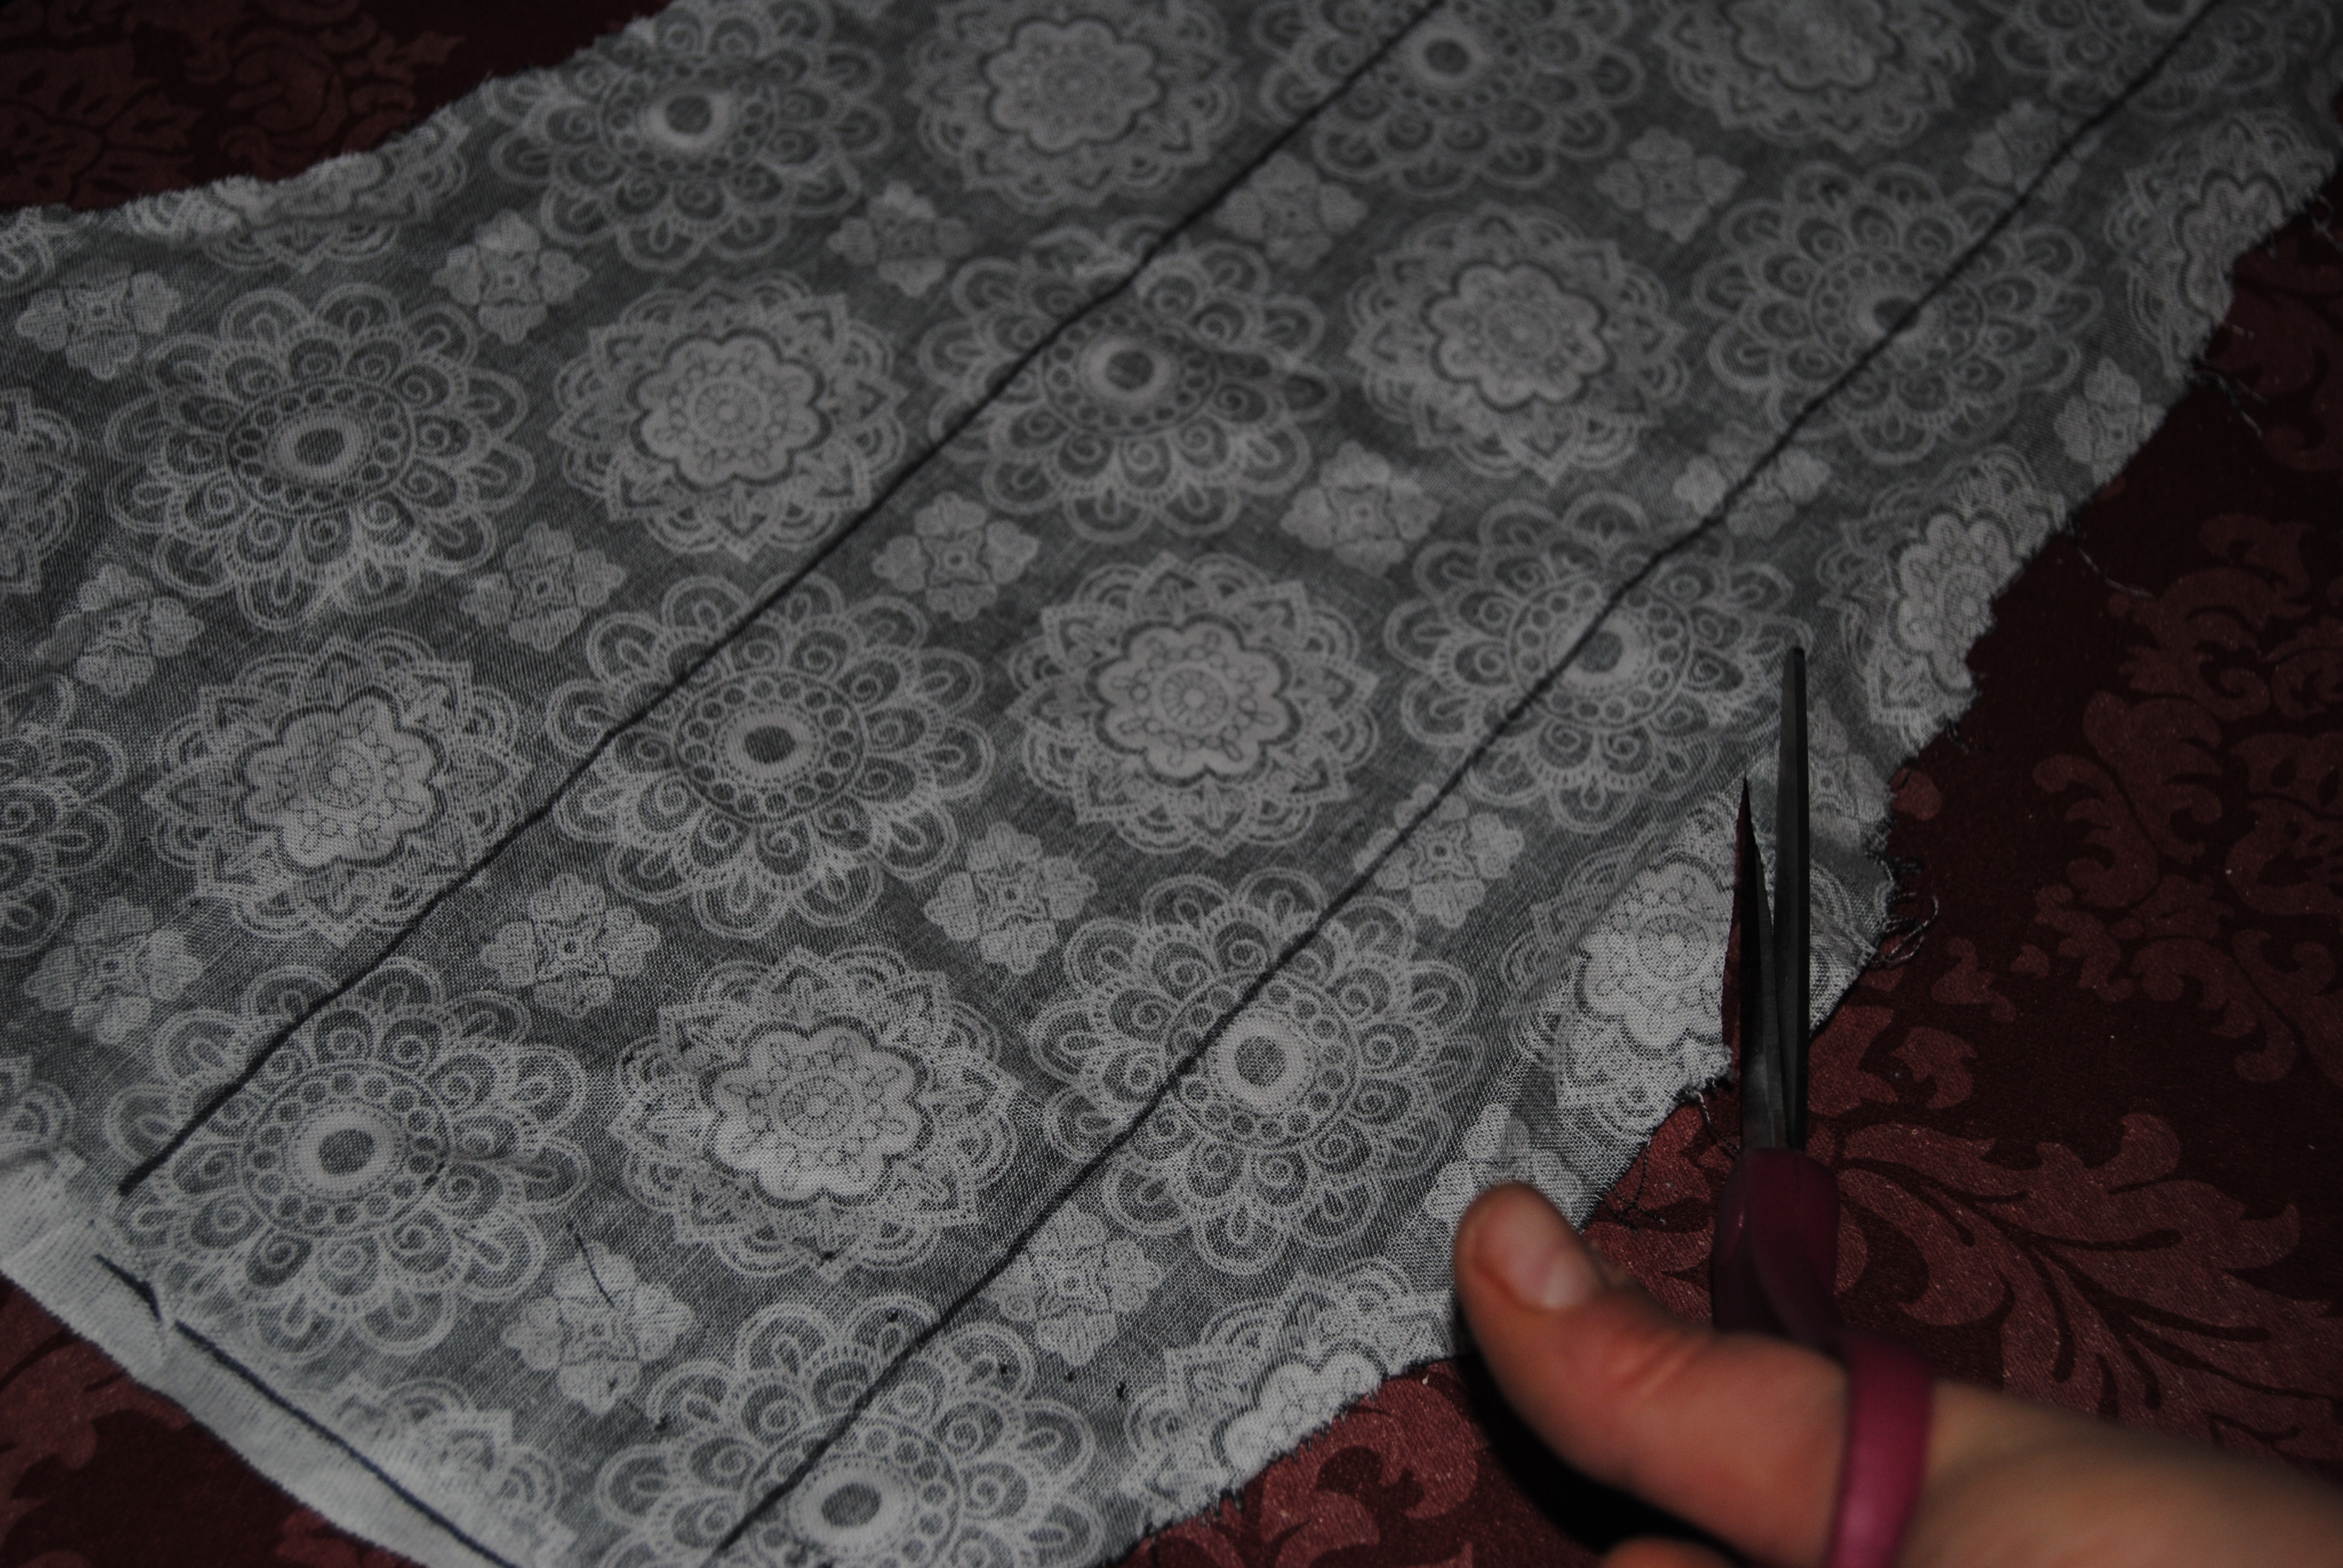
I cut the fabric outline with a pair of scissors.  I placed the fabric aside.  I applied Mod Podge to the wooden rack with a foam craft brush, I carefully applied the cut fabric to the wooden surface smoothing it out on the surface with my hands.  I marked off the spot on the fabric, where the peg holes were.  This way, when dry I could pierce the holes with a scissor tip without making the fabric shift and move. I placed this piece aside to dry and painted the pegs with black acrylic paint.  I painted any areas not covered with fabric black.  Once the paint was completely dry, I covered all the painted and fabric covered areas with another layer of Mod Podge, and glued the wooden pegs back into the holes.  I used two long black screws to mount the jewelry holder to the wall.

This fabric and style looks great in our grey/neutral bedroom. You can use any fabric or color scheme you like and unfinished Shaker Peg Racks can easily be picked up at yard sales and thrift shops for a couple bucks. The perfect upcycle!

Upcycled Shaker Peg Rack Made with fabric, Paint and Mod Podge

Stay Calm and Craft- A Simple Wooden Tray Decoupage

Nothing helps me manage stress better than crafting and creating.  When I don’t put my nervous energy to good use, the anxiety levels within me rise.  When I am creating I feel as though my stress levels decrease and my positive energy increases, and I am a better, lesser stressed out version of myself.  When I am working on a piece of art or a craft project, it is one of the few times my mind is clear of all worry and I become completely focused.  I was feeling a bit stressed and this small and simple wooden tray decoupage craft was exactly what the Dr. ordered.

Little Wooden Tray

I picked this wooden tray up at A Goodwill store.  It was  marked with a red tag and on this day red tag items were 50% off.  This was a bargain item costing only 50 cents.  The wood on this piece was in very nice condition. I decided not to paint it, I chose a nice piece of Victorian Artwork and traced and cut the print to fit the inside of the tray.  I generously applied Mod Podge with a small foam craft brush to the inside of the tray.  I adhered the print carefully to the tray, smoothing the paper out as I applied it to the wood.  Once dry, I applied two coats of Mod Podge over top of the image to seal it. I used a paper towel and vaseline (works great on wood!) to shine and buff the wood.

Victorian Artwork Decoupage

Ah now that’s better!  Try a simple craft during a stressful day. You won’t regret it!

(and I think our Victorian model would agree!)

Materials:

Printed Art

Small Wooden Tray

Mod Podge

Scissors

Craft foam brush

Vaseline/cloth or paper towel

Breaking Bread: Decoupage Bread Box Restyle

Decoupage Bread Box

When I was growing up, the one thing I remember we always had in our house was a bread box. So, naturally, when I moved out and acquired a home of my own, I immediatly bought this breadbox. Yes, this ACTUAL bread box! That would make this breadbox over 18 years-old! As far as bread boxes go it was typical, a wooden box and that was it.  No color, no style.  For years I thought of doing away with a bread box all together.  It took up a lot of counter space and it was nothing special, but where would I put the bread? When I started experimenting with Mod Podge and decoupage, This bread box was on my to do list.  Many projects have come and gone and it was finally time to decoupage the box!

This project was not as easy as it looks.  First, I measured the scrapbook paper I wanted to decoupage to the door,  I only had one piece in this style and in order to make it work, I had to trim, line up the design,  and fit it together in a few spots.  After the bread box  was cleaned, and primed, I glued the paper down with Mod Podge, and let dry.  I then painted most of the Bread box blue with acrylic paint and let it dry.  Next challenge was the number of coats of paint!  Cleaning it only helped so much after many years in the kitchen there was still a bit of grease on it.  I applied as many coats as it needed about 4 in all.Once the entire piece was dry, I applied the Mod Podge Matte to seal it.  I find the more layers of Mod Podge the better.  Yet another challenge was the door and not leaving enough room between the paper and the opening.  I had to carefully trim this with an X Acto knife.  Despite all this, I am glad this project is finally finished and the bread has a restyled box to call home

Decoupage Bread Box Mod Podge

Decoupage Mania-Restyling your home with Mod Podge

I am starting to think I have a problem.  I am addicted to decoupage!  My husband and friends joke with me that soon all that I have will be decoupaged, (including my underwear) and they may be right!  I am hooked.  The reasons are it looks great, and is an inexpensive way to restyle a home.  I also admit, I am a restless soul who can ever seem to sit even for one moment, and when I do, I am busy contemplating my next project or idea.  One of these areas in our home is at the top of our stairs in the hallway.  I believe it was intended to be a vanity.  There is a mirror and an outlet close by.  I basically use it as an area to display my husband’s mother’s blue vase.  (She passed away many years ago, so it means a lot to have an item of hers displayed in our home) and a small lighted Christmas tree during the holidays.   For a while I had considered tiling the area, but that would be quite an extensive project, although I know it would have looked amazing! Then I thought to myself, Why not decoupage it?  It’s similar to wall papering after all.

I used some scrapbook paper with a fairly neutral design.  I simply cleaned the area as best I could and applied Mod Podge Matte with a large paintbrush to the area.  I cut the paper in sections, trying to match the design the best I could so that it would appear as seamless as possible.  I smoothed out any air bubbles using my hand this time. (A bit messy but it worked rather well , and luckily the bathroom sink was nearby so no permanent mess to deal with.)  I placed a fan in front of it to help it dry quicker.  I then used multiple coats of Mod Podge to seal it (about three full coats overall.)  Now it looks neater as the original surface, looked rough even when I had painted it.  I find it is safe to clean a Mod Podged surface with a damp cloth.  I have even used a Clorox wipe and it was fine!  Overall I am happy with how this turned out and I think it makes the area look neater and adds a little “pop”  I was imagining other surfaces this could be tried on.  Window sills instantly come to mind as well as the bathroom cabinet.  No surface is my house is safe from decoupage! ; 0 )

built is wall vanity  before

Image

Mini Mystery Cabinet Restyled with Decoupage

I picked up this little mini cabinet at Goodwill for $2.99.  Originally, It was navy blue with Asian lettering on the front.  I thought it was intriguing, but had no idea what it’s original use was.  It looked like a jewelry box, but inside were miniature shelves.  First, I primed the entire piece with a white latex primer.  Then I carefully cut the scrapbook paper so that it would fit onto the doors.  This was the biggest challenge, because I wanted to line up the design so that it would appear seamless.  Once I was able to do this, I used Mod Podge to glue the scrapbook paper to the miniature doors.  Once dry, I painted the piece black with acrylic paint. I then waited for the entire piece to dry, and used the Mod Podge matte finish to seal the piece.  I used about three coats, allowing the piece to dry fully in between coats. The result is what you see below.  Now that the piece was restyled, I still struggled as to what I would use it for. One of our biggest challenges is keeping our house safe for our two-year old.  My husband and I decided to hang this in our kitchen way above little hands.  We keep our daily medications in it and it is perfect for keeping smaller unsafe items out of her reach.  Mission accomplished!

Image

Materials:

Mod Podge Matte

Scrapbook paper

X-Acto knife

Black acrylic paint

Small Cabinet

Paint brushes/black felt tipped marker