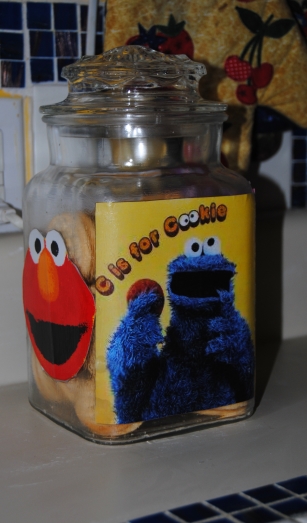
I hope everyone had a lovely Christmas yesterday. We sure did! The highlight of the day for my husband and I, was witnessing our daughter’s reaction as she came downstairs and realized she had been a good girl this year and Santa brought her gifts. Mr. Claus also brought a special gift for our daughter this year. Her very own pet goldfish named “Dorothy” just like Elmo’s pet goldfish!
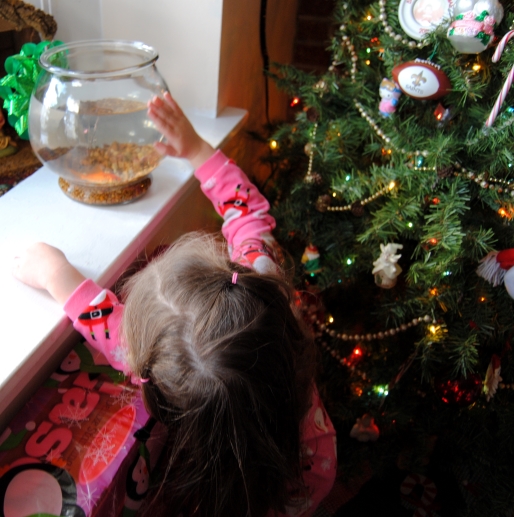
My daughter meeting Dorothy for the first time
Now it is the day after Christmas, all the preparation and hard work leading up to the holiday and in the blink of an eye it is over and the “clean up” begins. I spent the good part of today cleaning, organizing and trying to assemble my daughter’s new Art Eisel which will be going in the craft room, so she and I can work on projects together. In the meantime, I thought I would share with you two holiday recipes that were crowd pleasers this year.
Peanut Butter Blossom Cookies.
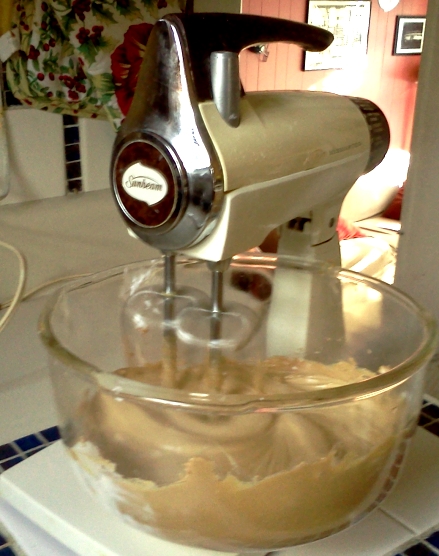
These tasty cookies are my husbands favorite. In 1957 Freda F. Smith of Gibsonburg, Ohio, developed Peanut Blossoms for the ninth Grand National Pillsbury Bake-Off competition. She failed to win the competition, but the cookie took off and landed on many tables throughout America. There are many variations of this cookie online but a great tasty version can be found here. I normally do not make cookies except during the holidays. I have a vintage Sunbeam Mix Master stand-up mixer that I picked up at a yard sale about 15 years ago. With the outrageous price of mixers, I will continue to use this 1970’s classic. I chuckled because while watching an episode of “The Brady Bunch” I spotted my mixer in the background! Despite its advanced age it still works and it whipped up multiple batches of tasty cookie dough.
A yummy peanut butter cookie with a Hershey kiss in the middle.

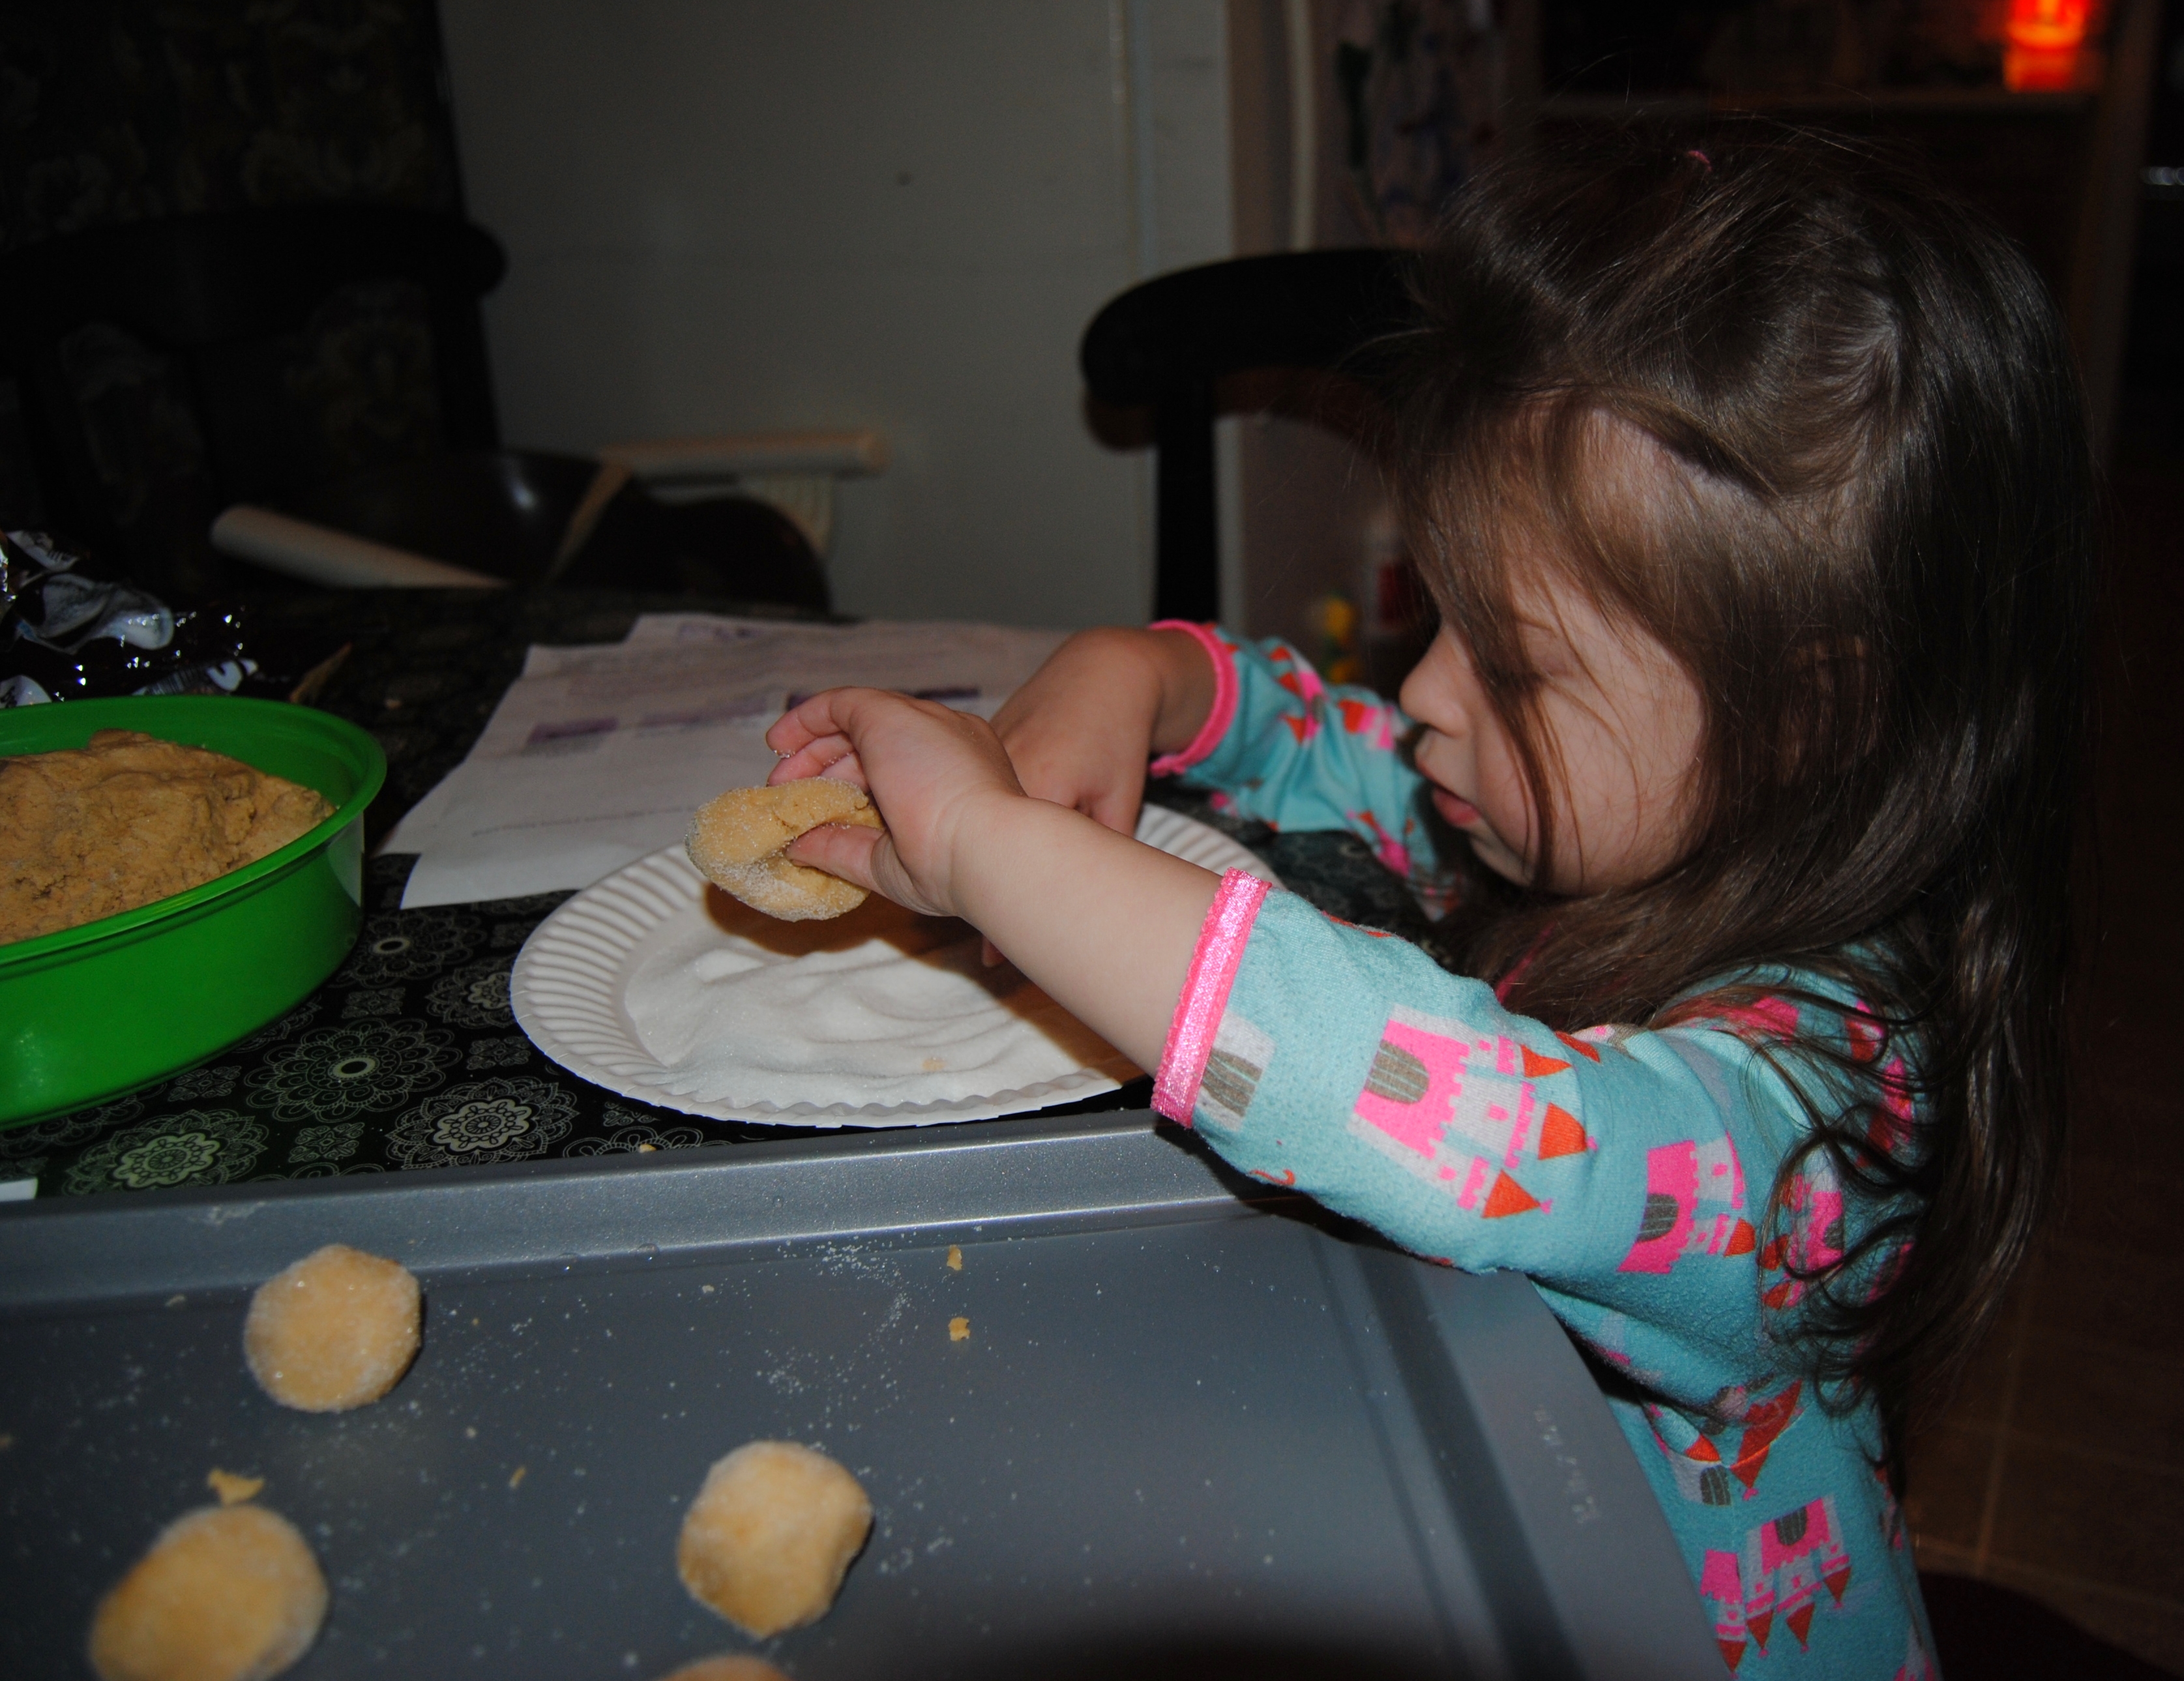
These cookies are easy to make and my daughter enjoyed dipping the dough balls into the granulated sugar. She is such a great helper!
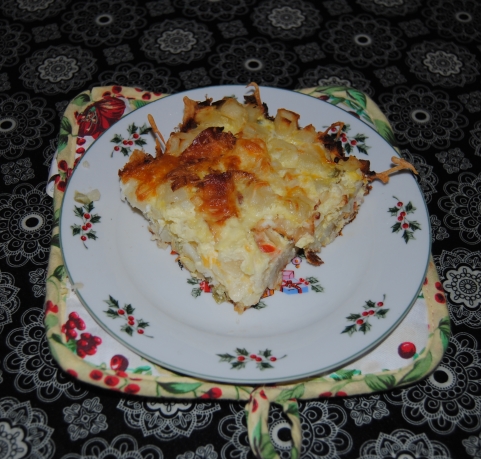
Christmas Breakfast Casserole
So much is focused on Christmas dinner, it is easy to forget about the most important meal of the day breakfast. This year I woke before everyone, brewed some coffee and whipped up a mean breakfast casserole inspired by a recipe I saw on Pinterest courtesy of The Wholesome D. I had to improvise a bit, I used cubed hash browns with pepper and onion seasoning and bacon instead of ham. It took less than 5 minutes to prepare and cooked in the oven while we opened our presents. You can find the full recipe here.

A great way to start your Christmas day or any day for that matter!