Repurposing Glass Bottles: Celestial Dish Soap Dispenser

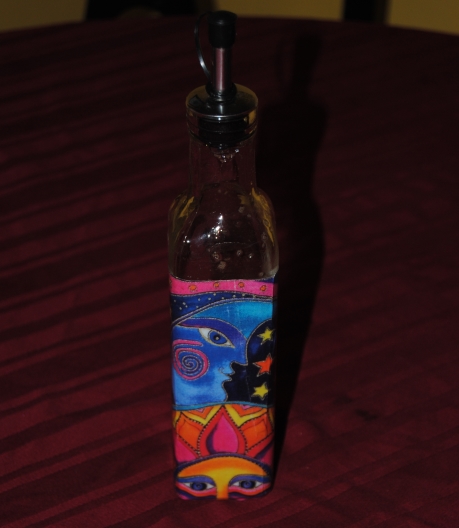
While at the new Joann Fabric Store the other day, I found this great little glass bottle with a liquid dispenser top.  It was a bargain at only .99 cents!  Seeing the dispenser, reminded me of a wine bottle re-purpose I saw on Pinterest from the  Mom 4 Real Blog.  It took a wine bottle and restyled it into a liquid dish soap dispenser.  I thought this was pure genius and it looked great!  The only problem for  me was counter top space, so rather than use a wine bottle for my attempt at the project, I decided to use this smaller square glass bottle. A simple decoupage restyle was in order! I gathered up the items I would need to make this project happen.  I decided to go with a celestial themed print I loved, and it matched the colors in my kitchen perfectly!

Image

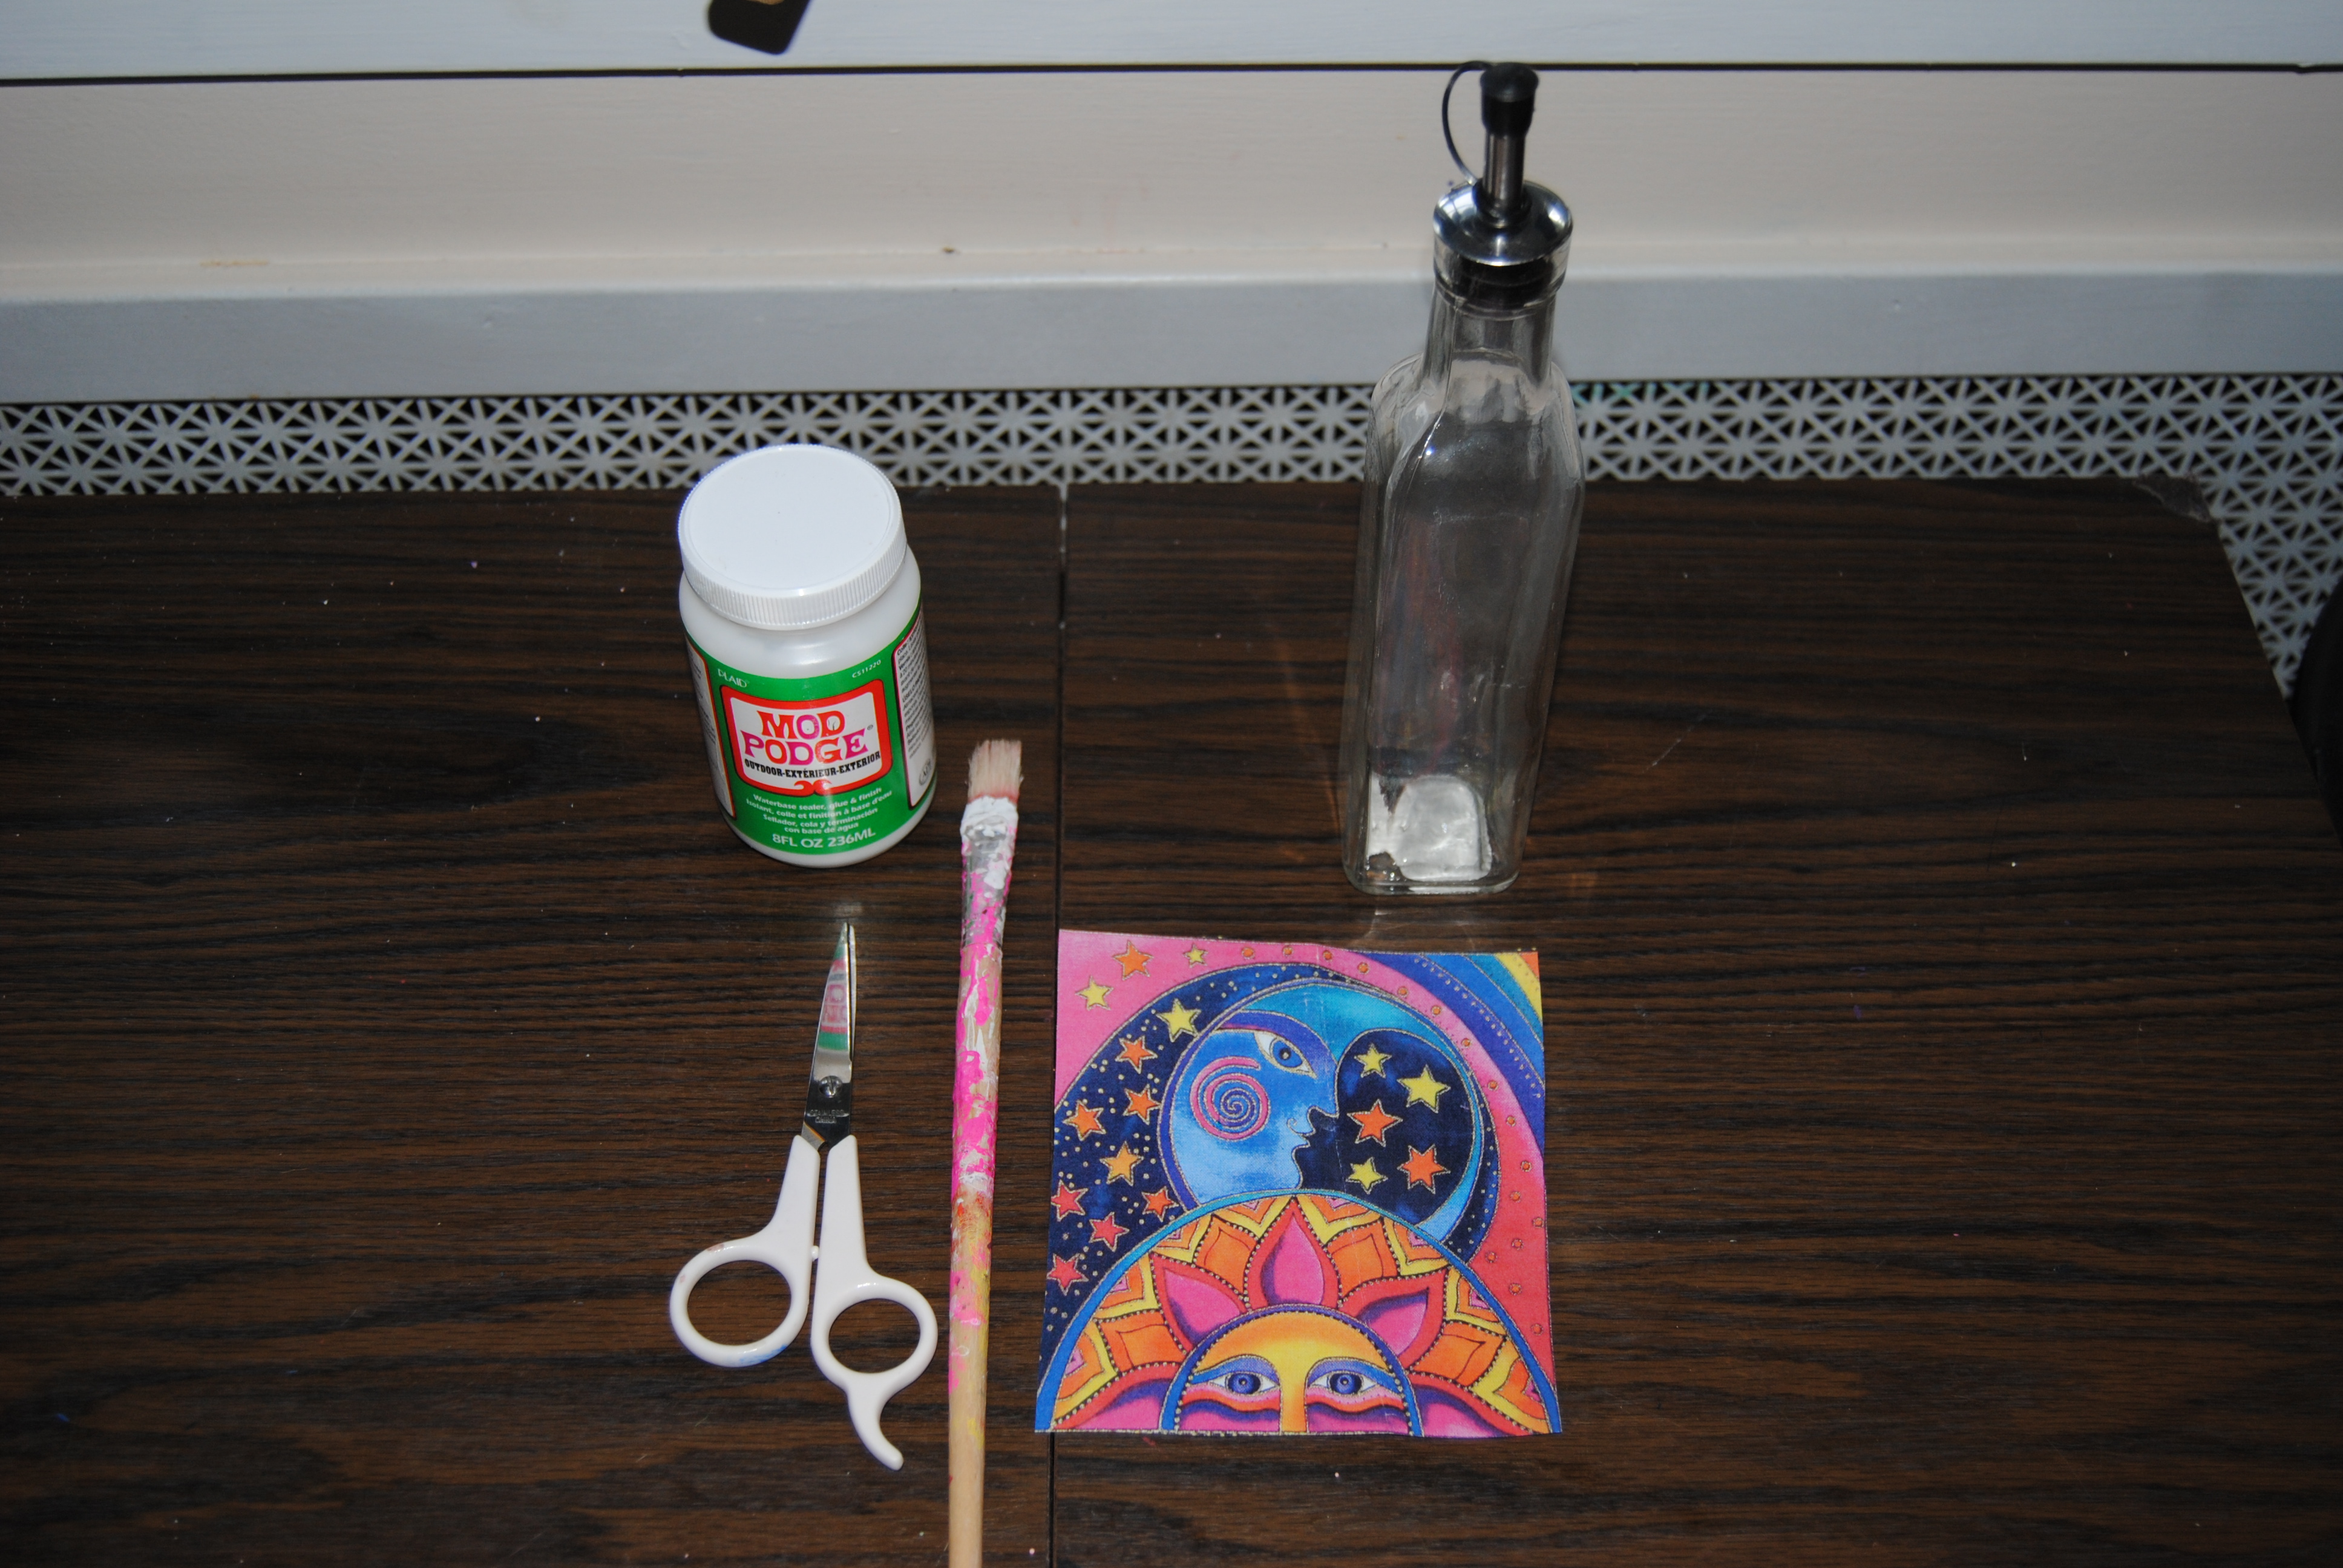
I decided to use Outdoor Mod Podge for this project.  My reasoning behind this was the close proximity  this bottle would be to the sink.  I thought it might hold up better with the added protection.  I simply printed the image, cut it out, and glued it to the glass with the Mod Podge.  Once dry, I then added 2 more coats over the image to seal it.  I believe the liquid/stopper/dispensers are sold separately so any glass bottle in which one of these stoppers would fit the opening would work for this project, a wine bottle is a fine example of that. I posted a photo below of the finished product.  This was an easy project and I am loving the whimsical celestial imagery!

Image

Summertime Crafts- Restyled Flower Pots made with Outdoor Mod Podge

Image

This my favorite time of year. Our living spaces expand and we can now utilize backyards, patios, and balconies. Flower pots are an inexpensive addition to any outdoor space, and look just as good inside the home. Flower pots can be found at your local dollar store or just about anywhere, and restyling them is a simple, and easy craft.   I had this one hanging around and thought a little sprucing up was in order.  I had some Jacquard style scrapbook paper scraps I had used from a previous project.   As you can tell I love Jacquard designs!  I have just about used up this book of  scrap-book paper designs I purchased from Michael’s Crafts.  I will be our searching for some new scrapbook paper designs in the near future.  I simply cut the paper into a long strip and used Outdoor Mod Podge to glue the paper to the top rim of the ceramic pot.  I  then applied the Mod Podge to the outside, applying a few coats.  A very simple project that you can share with the kids.  You can use fabric, wrapping paper, magazine clippings, personal photographs just about anything.  I recommend using Outdoor Mod Podge even if you plan on keeping your flower-pot inside.  Every time you water the plant you run the risk of getting it wet, and the Outdoor Mod Podge works great under these conditions and will seal it beautifully!  The key is to have fun no matter what design you choose!

DIY Walkway Character Happy Birthday Signs

What a day yesterday! There is nothing like a 2 yr old’s birthday party! Fun and Exhausting.  Certainly worth it to make our daughter’s day as special as possible!  Our theme this year was “American Sprout”  My daughter is a HUGE fan of the PBS run Sprout channel.  http://www.sproutonline.com/

Since it was Memorial Day weekend, we decided to incorporate her favorite Sprout characters with a Patriotic Theme.  Our original plan was to have an outdoor BBQ.  We changed this because as incredible as this may sound, It was cold and windy outside!  (Yes, I did say it was Memorial day weekend!)  Not very summer like weather.  Of course the kids could still play outside, but not your typical summer activities. It became an indoor/outdoor event. The kids didn’t seem to mind.

One of the home made decorations I wanted to share with you are the Sprout character pathway signs.  I was very happy with how these turned out and they held up extremely well despite the windy weather.  I found some great birthday character pictures.  I used cardboard, cutting the pieces into squares.  I painted the front various colors (Erin’s theme was red, white and blue) and the backs I painted black for continuity and to cover the cardboard.  I glued the images to the cardboard.  In this case, since I had the Mod Podge handy I used a light coating to glue them down.  I then tried to think of a way to anchor them into the ground and I am not sure what made me think of it, but I had these wooden BBQ skewers that I thought would work perfectly!  They are basically just a long toothpick and I slipped the skewer through the middle of the cardboard leaving half exposed to go into the ground no glueing required!

Image

I also recycled some some old party decorations.  I made this Birthday sign featuring Chica from the Good Morning Show and Jim Henson’s The Pajanimals.

Image

Remember that Mod Podge character tray?  Well it went to good use and the cupcakes didn’t last very long!

Image

It was a great time to celebrate Erin!  Happy Birthday to me XOXOXO

P.S. Do you like the dress?  Another money saving tip: Once Upon A Child. Great bargains on kids clothes and toys gently used.  Erin is wearing spring dress with detachable bolero jacket and  pink tights only $9.50 at Once Upon a Child http://www.onceuponachild.com/ check them out!

Image

Sesame Street Birthday decorations made from construction paper

Image
As we get closer to our daughter’s 2nd birthday party this Saturday, I thought I would share some tips from last year’s party.  One of the more expensive elements of throwing a party, other than food is the party decorations.  My husband and I always try to follow a budget the best we can.  We plan, make lists and try to keep costs down, but in this current economy that can sometimes be difficult.  Our theme last year was Sesame Street and since my daughter is still obsessed with these characters, I didn’t stray too far this year from her 1st birthday theme.  Her theme this year is all her favorite Sprout channel characters with a patriotic twist in celebration of Memorial Day.  Stay tuned for more on this idea.

Last year, I created most of her decorations from construction paper and glue.  I searched the internet for all her favorite Sesame characters and used the more basic cartoon images as a guide for making the different characters.  Most of the characters are based on simple shapes, so I drew these shapes onto the construction paper, cut them out and glued together to form the individual characters.  Pretty simple, cost effective, and I think they turned out great and are unique in their own way. I also summoned my old elementary school days cutting out strips of construction paper and making paper chains.  I also used re-cycled gift bags and anything else I could get my hands on, cut out and make into a party decoration.  There are so many great ideas on Pinterest as well, much more than I could ever try myself.  Let your imagination run wild and in the process save a little money!

Elmo Birthday Decoration

Sesame Street sign made from construction paper

Bert and Ernie Birthday Decoration

Oscar Trash Can

Sesame Street Decorations

Retro Monday-Craft an EAT sign for the kitchen

Retro Style EAT sign

I am definitely what you would call “old school”.   I love retro, and throwback items.  I always say to my husband that if I ever won the lottery I would buy an old Victorian house and fix it up instead of buying a brand spanking new mansion!

One of those throwback items I have seen all over the internet are the “Eat” signs.  These signs were popular beginning in the 1930’s and continued being used into the 1950’s.  Many of these signs were posted along the famous Route 66 advertising popular diners along the route.  I just think they are cute and thought the iconic letters would look nice in our kitchen.  I purchased the wooden letters from Michael’s.  I went to several different craft stores to find the letters.  A little frustrating because none of the stores had all three letters I needed!  Once I purchased the letters I simply painted them using acrylics.  You can also decoupage the letters if painting them is simply too boring for you.  I was looking for the simple red and blue letters.  I wanted them to “pop” in our bright yellow kitchen.  I thought it would be cute to add the napkin with the fork and spoon.  I used an old placemat and my upholstery stapler and stapled the material to the wall.  The hardest part was hanging the letters!  I have a level, but was still having difficulty.  Not sure they are completely straight but I can live with it!

Materials used:

Wooden Letters

Acrylic Paint

Old Kitchen Placemat

Upholstery staple

Old Fork and Spoon.

Victorian inspired Art decoupage birdhouse

Happy Cinco De Mayo!

Yesterday afternoon, our family hit the flea market circuit  in the hopes of finding a kids sized wooden chair to convert into a Time Out chair, and any other items that would make a good future project.  I am happy to report that we walked away with several items: A kids wooden chair,   a wooden school desk and a few decorative trays.    It was an absolute beautiful day today to walk around outside and soak in the sun.  Yard sale season is also in full swing.  We saw many on the trip, but had to save our yard sailing aspirations for another day.

Today was also the day my most recent craft:  my Victorian bird house, would be ready to hang outside.    Prime real estate for some lucky little bird family.  I wanted to create a Victorian feel. I searched the internet for Victorian art and floral images.  I then printed out the images I wanted to use on my color printer.  I carefully cut out the images with an X acto knife.  I painted the bird house red and white.  Once the bird house was dry, I used the Mod Podge to adhere the cut out images to the birdhouse.  The possibilities are endless as far as the styles and themes you can create.  You can choose any images you like including family photos, sports etc.  I then applied 3 coats of Mod Podge allowing to dry thoroughly between coats.  I used a metal hook  and screw for hanging outside.

Materials:

Wooden bird house from Michael’s Crafts

Red and White Acrylic paint

X acto Knife

Outdoor Mod Podge

Untitled

Dollar Store Bathroom Trash Can Makeover

If you have been following my blog so far you know that I work a lot with Mod Podge. It is a great medium to work with as there are so many possibilities, and different ideas you can try; However there are a few limitations.  One day I had the time for an easy project.  I had purchased a bathroom trash can from Dollar Tree and thought I could add a little flare by decoupaging some leftover scrapbook paper I had.  This project turned out not to be as easy as I planned.  If you ever look at the back of the Mod Podge container you will notice that the manufacturer warn against using on some plastics.  I found that in this case, the Mod Podge did not adhere well to the plastic.  It was also difficult to smooth out the air bubbles.   It was possible to remove some, but I found it to be quite a messy task.  In the end I had a craft result I could live with, but I would rethink and perhaps try a different approach when working with plastics next time.   Not perfect.  I think in hindsight, I might try this project on a metal trash can with material instead of paper.

Dollar Tree Bathroom Trash Can