DIY Walkway Character Happy Birthday Signs

What a day yesterday! There is nothing like a 2 yr old’s birthday party! Fun and Exhausting.  Certainly worth it to make our daughter’s day as special as possible!  Our theme this year was “American Sprout”  My daughter is a HUGE fan of the PBS run Sprout channel.  http://www.sproutonline.com/

Since it was Memorial Day weekend, we decided to incorporate her favorite Sprout characters with a Patriotic Theme.  Our original plan was to have an outdoor BBQ.  We changed this because as incredible as this may sound, It was cold and windy outside!  (Yes, I did say it was Memorial day weekend!)  Not very summer like weather.  Of course the kids could still play outside, but not your typical summer activities. It became an indoor/outdoor event. The kids didn’t seem to mind.

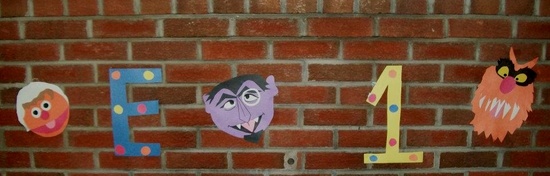
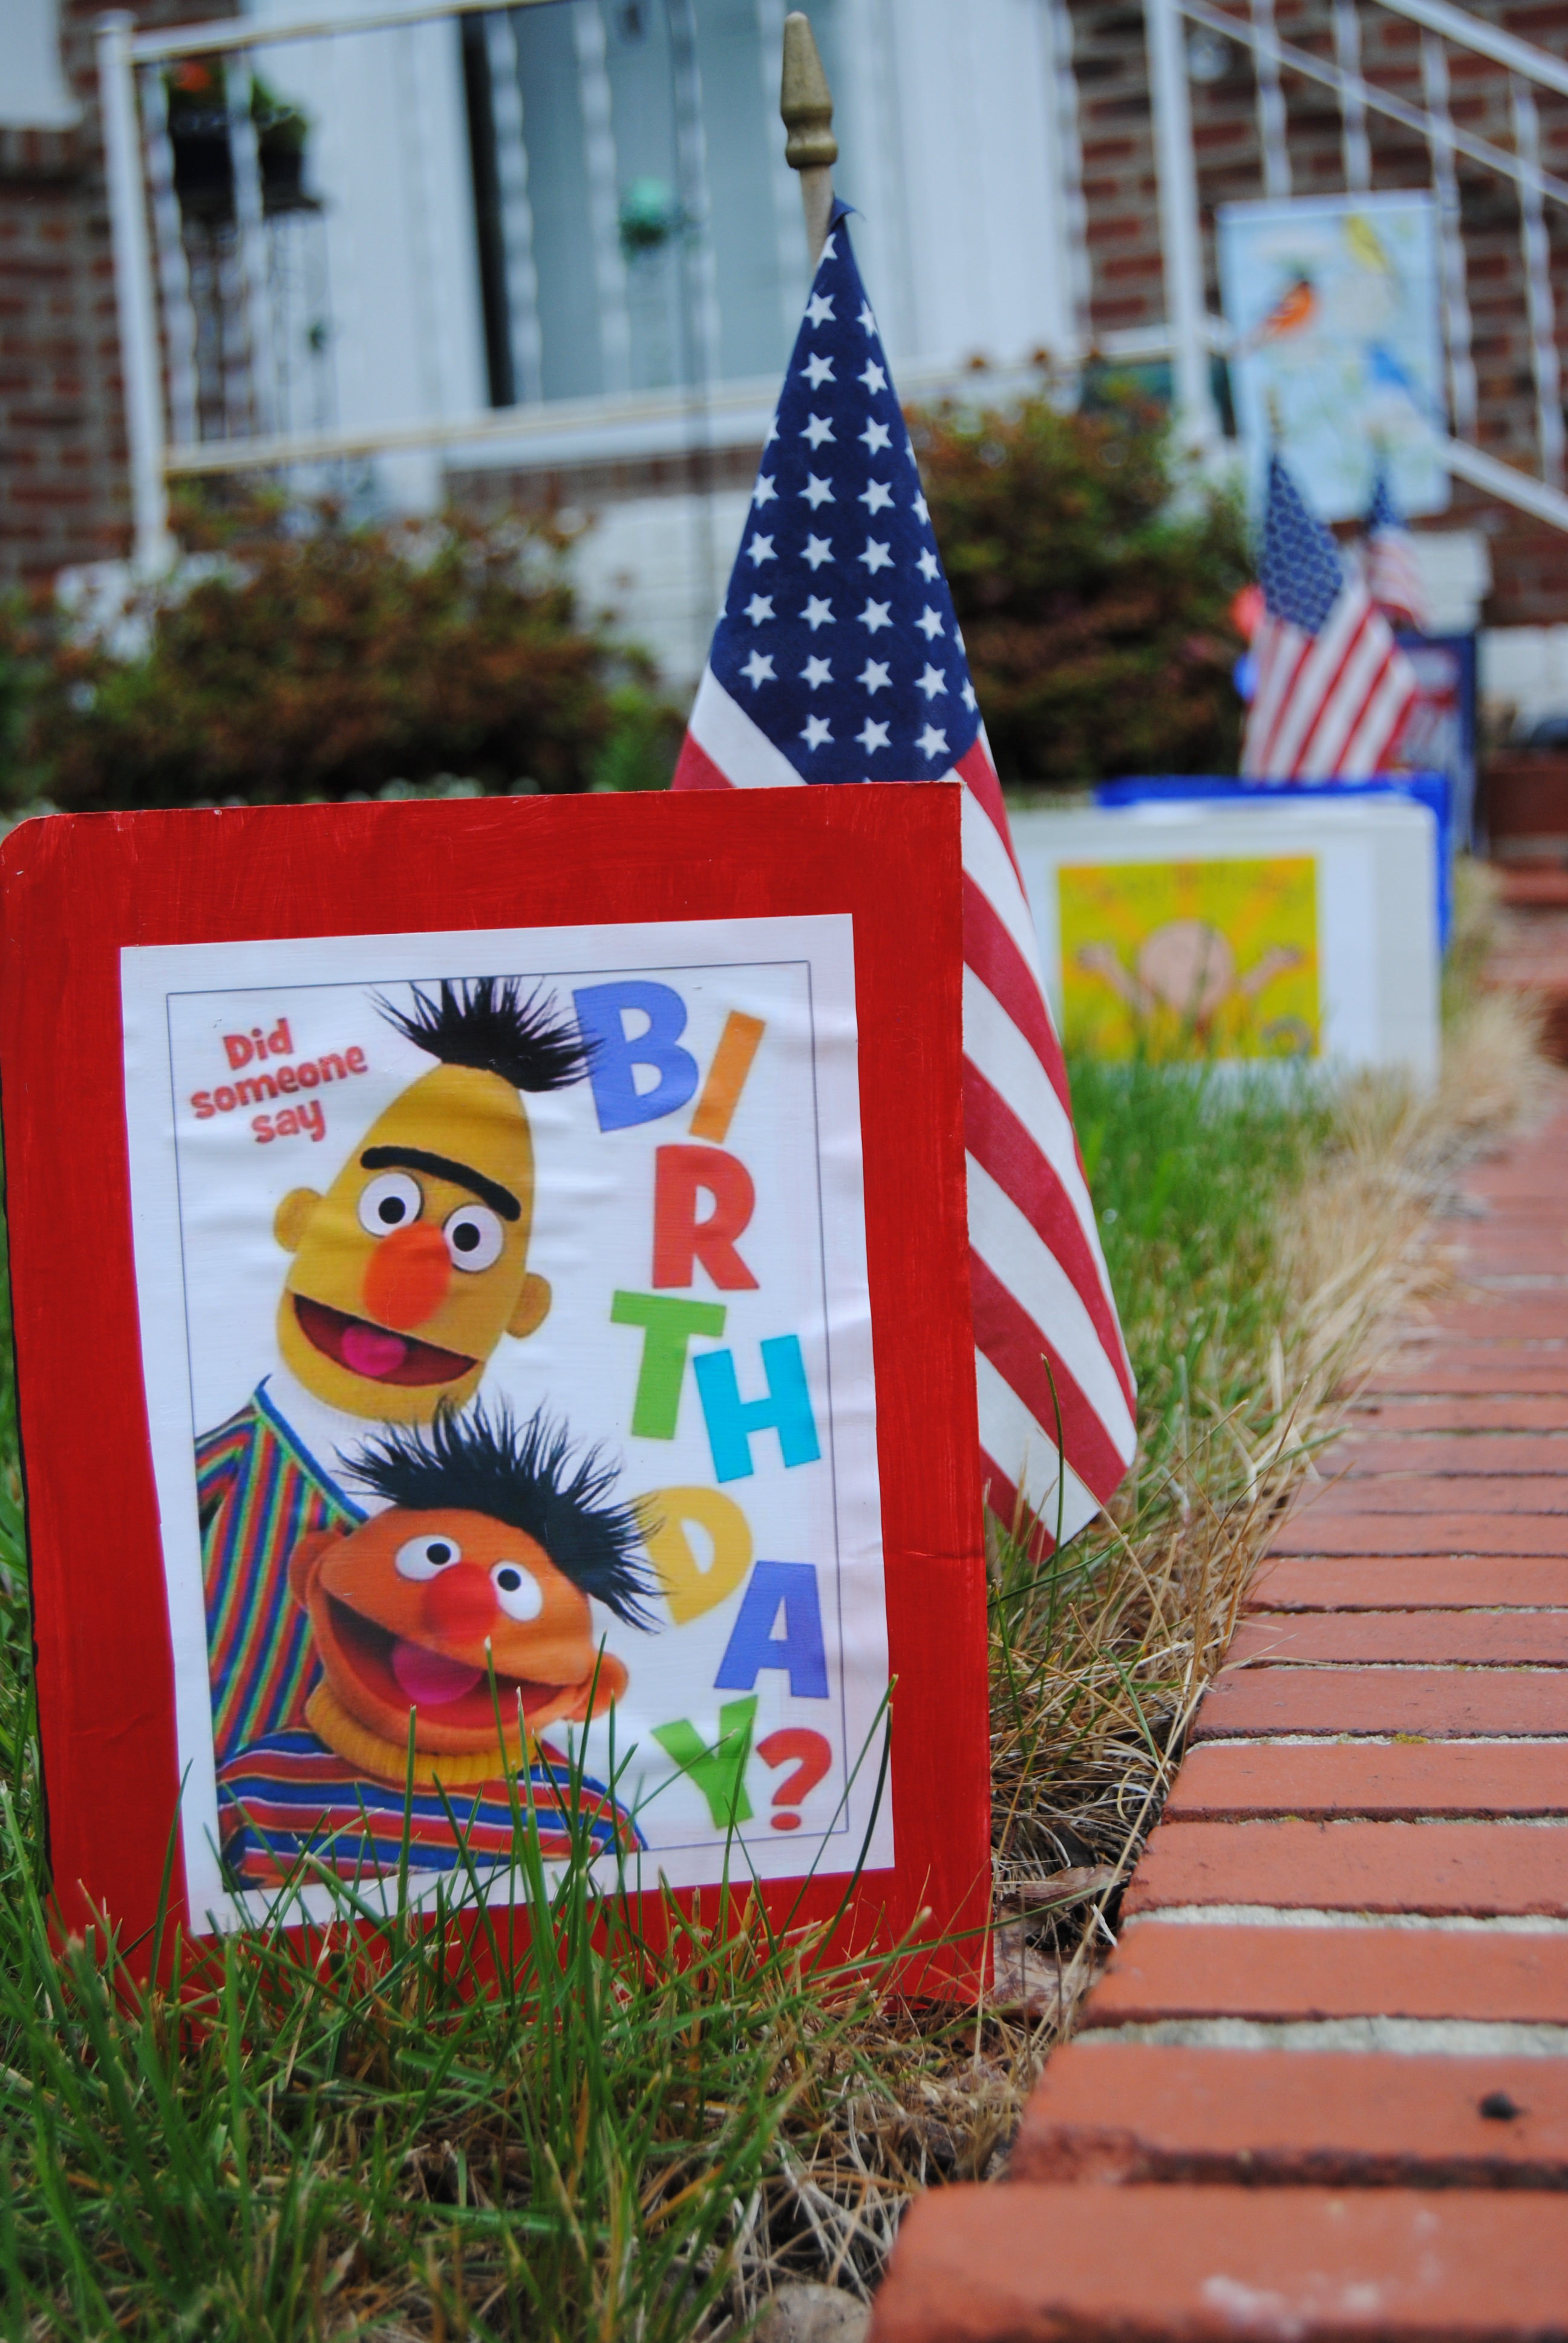
One of the home made decorations I wanted to share with you are the Sprout character pathway signs.  I was very happy with how these turned out and they held up extremely well despite the windy weather.  I found some great birthday character pictures.  I used cardboard, cutting the pieces into squares.  I painted the front various colors (Erin’s theme was red, white and blue) and the backs I painted black for continuity and to cover the cardboard.  I glued the images to the cardboard.  In this case, since I had the Mod Podge handy I used a light coating to glue them down.  I then tried to think of a way to anchor them into the ground and I am not sure what made me think of it, but I had these wooden BBQ skewers that I thought would work perfectly!  They are basically just a long toothpick and I slipped the skewer through the middle of the cardboard leaving half exposed to go into the ground no glueing required!

Image

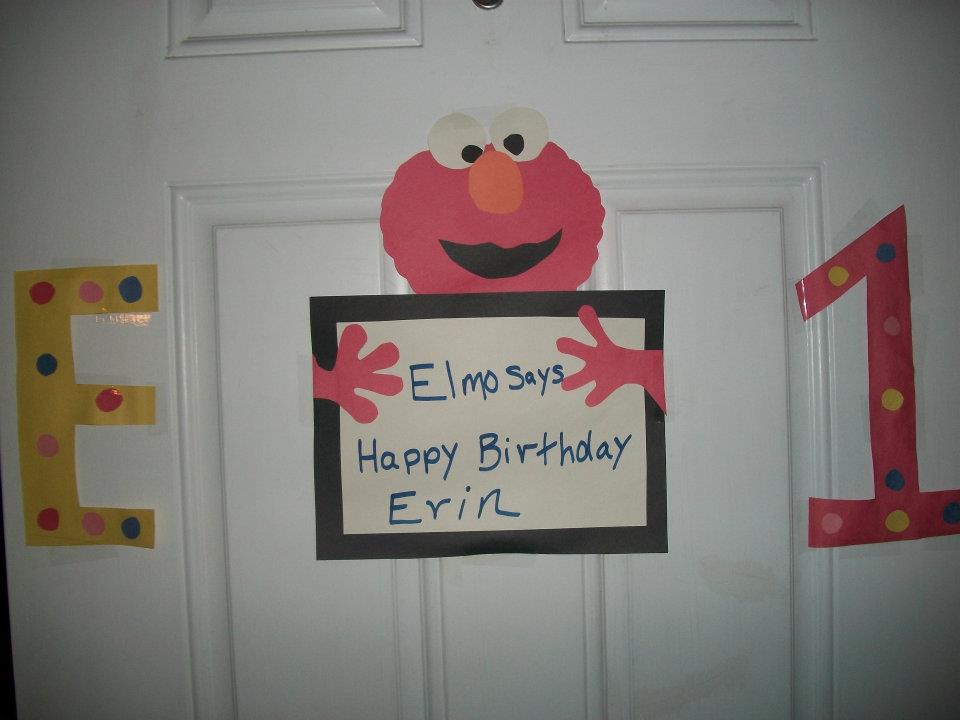
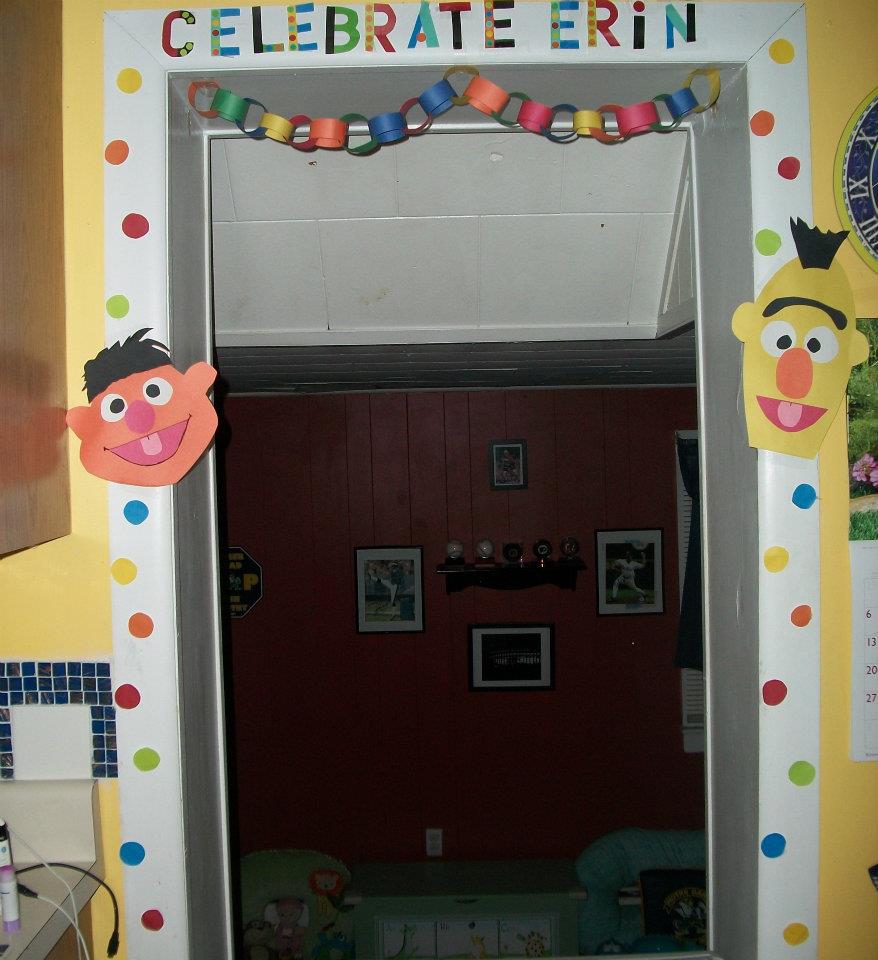
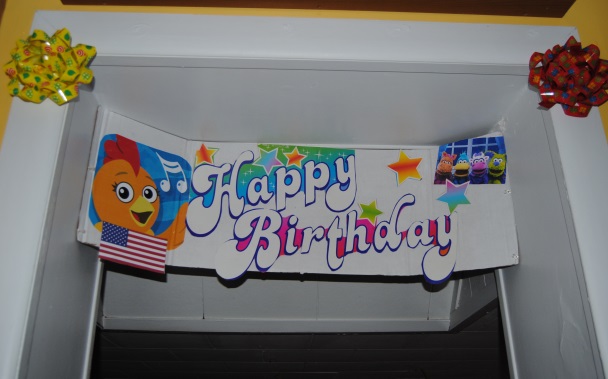
I also recycled some some old party decorations.  I made this Birthday sign featuring Chica from the Good Morning Show and Jim Henson’s The Pajanimals.

Image

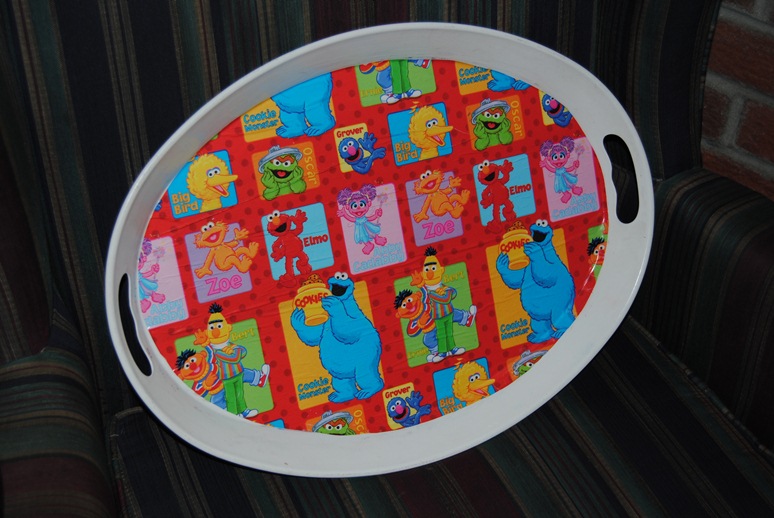
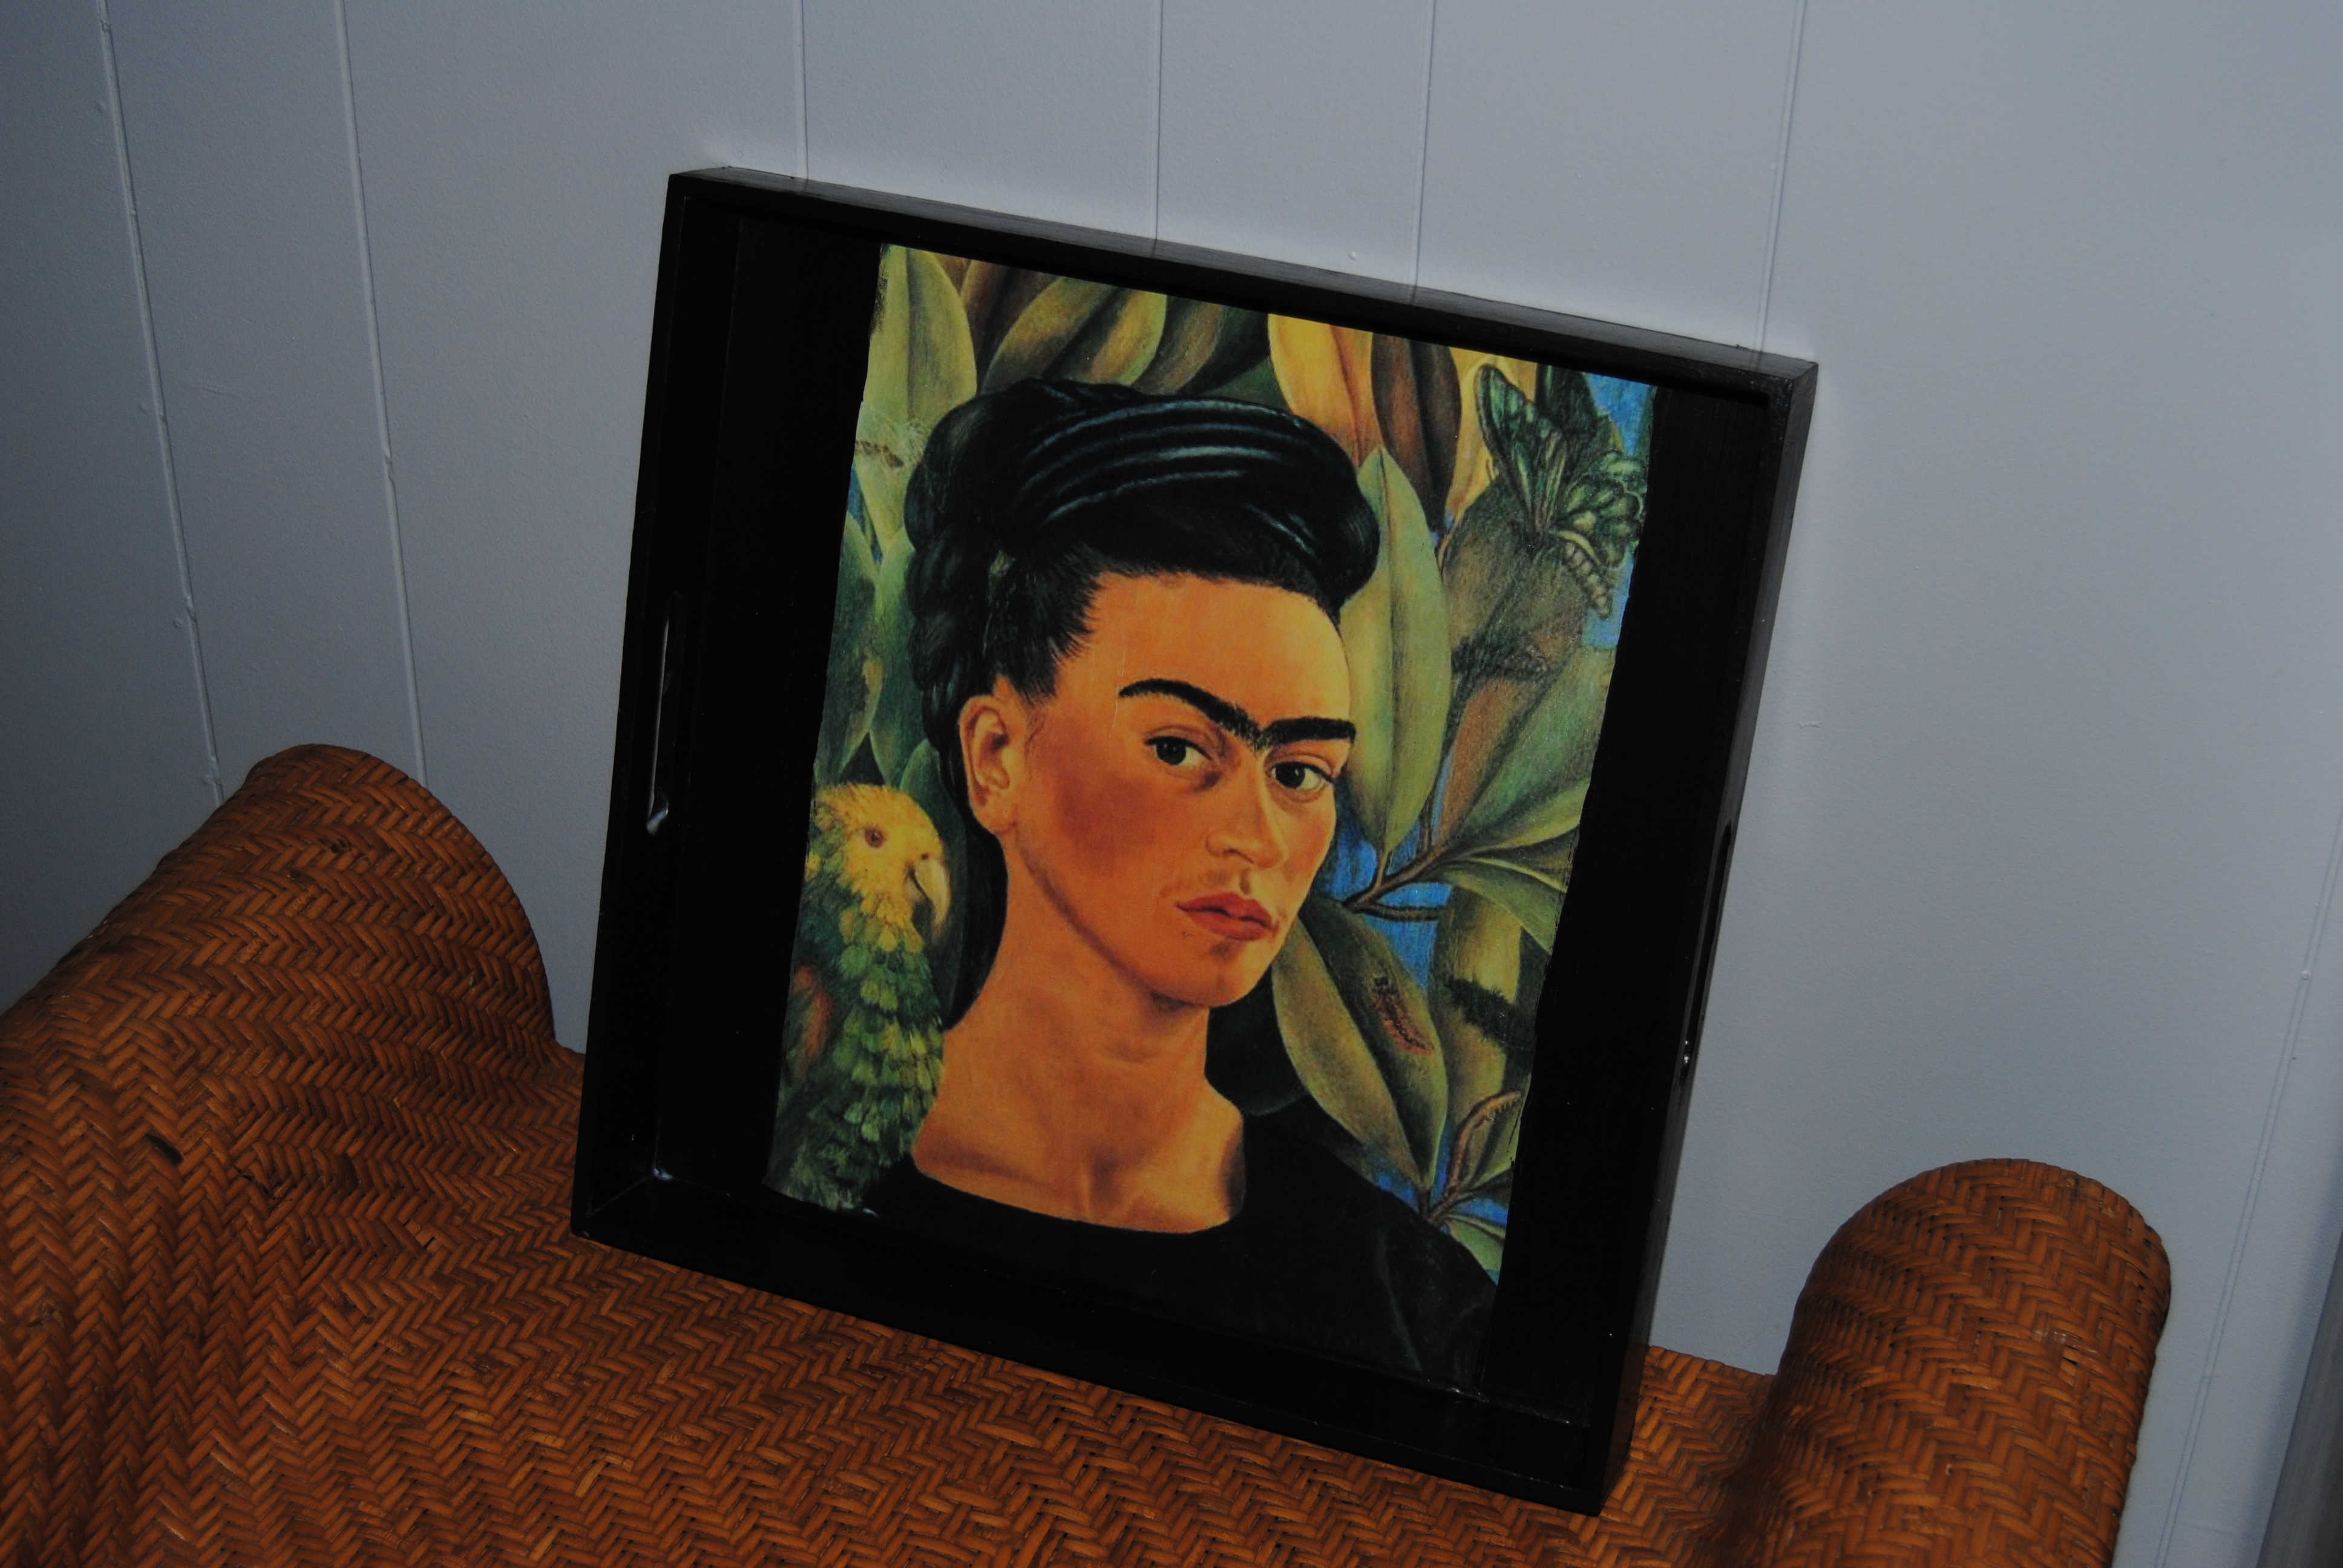
Remember that Mod Podge character tray?  Well it went to good use and the cupcakes didn’t last very long!

Image

It was a great time to celebrate Erin!  Happy Birthday to me XOXOXO

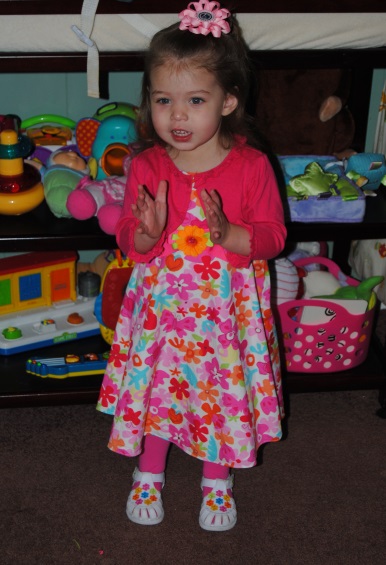
P.S. Do you like the dress?  Another money saving tip: Once Upon A Child. Great bargains on kids clothes and toys gently used.  Erin is wearing spring dress with detachable bolero jacket and  pink tights only $9.50 at Once Upon a Child http://www.onceuponachild.com/ check them out!

Image

Sesame Street Birthday decorations made from construction paper

Image
As we get closer to our daughter’s 2nd birthday party this Saturday, I thought I would share some tips from last year’s party.  One of the more expensive elements of throwing a party, other than food is the party decorations.  My husband and I always try to follow a budget the best we can.  We plan, make lists and try to keep costs down, but in this current economy that can sometimes be difficult.  Our theme last year was Sesame Street and since my daughter is still obsessed with these characters, I didn’t stray too far this year from her 1st birthday theme.  Her theme this year is all her favorite Sprout channel characters with a patriotic twist in celebration of Memorial Day.  Stay tuned for more on this idea.

Last year, I created most of her decorations from construction paper and glue.  I searched the internet for all her favorite Sesame characters and used the more basic cartoon images as a guide for making the different characters.  Most of the characters are based on simple shapes, so I drew these shapes onto the construction paper, cut them out and glued together to form the individual characters.  Pretty simple, cost effective, and I think they turned out great and are unique in their own way. I also summoned my old elementary school days cutting out strips of construction paper and making paper chains.  I also used re-cycled gift bags and anything else I could get my hands on, cut out and make into a party decoration.  There are so many great ideas on Pinterest as well, much more than I could ever try myself.  Let your imagination run wild and in the process save a little money!

Elmo Birthday Decoration

Sesame Street sign made from construction paper

Bert and Ernie Birthday Decoration

Oscar Trash Can

Sesame Street Decorations

Character Cupcake trays made with Mod Podge

Sesame Street Cupcake tray

Ahhh ugly old trays! Gotta love them!  There is no shortage of them at your local thrift store, or Dollar Store.  I am on a mission to rescue as many of these trays as possible!  They make great decorations and are simple and easy to repurpose.  I will admit as great wrapping paper is to use when decoupaging, I always struggle a bit with the wrinkles and air bubbles, but the variety of paper and styles available keep me coming back.  In this case, I used Sesame Street, but you can use any characters you like.  My daughter’s 2nd birthday theme is all of the Sprout channel characters.   Sesame Street seemed like a great choice for this cupcake tray and I thought it would make a great decoration for her party.  These are pretty simple to make.  I simply traced the tray onto the wrapping paper, carefully cutting the paper along the line with a pair of scissors.  I used Mod Podge to glue the wrapping paper to the tray, doing my best to smooth out as many air bubbles and wrinkles as I could.  I then applied several coats of Mod Podge to seal the image onto the tray.  I find when using wrapping paper the more coats of Mod Podge the better so use the Mod Podge generously!

Materials:

Ugly old tray of your choice

Mod Podge Matte Finish

Character Wrapping paper

Scissors

Thin tip black marker

Happy 2nd Birthday to my little toddler apprentice!

Today, I digress from the usual craft Ideas, love of Mod Podge and paint to wish our daughter Erin a very Happy Birthday!

2 years ago today at 6:05 pm,  I received life’s most precious gift.  The birth of our daughter Erin changed our lives in so many ways. My husband and I are beyond blessed everyday to know such a happy, kind, sweet little soul such as hers.  We are so honored god chose us, to hold her in our hands, watch over, and teach the ways of the world in the hopes that one day she can go on to have a happy, healthy life of her own. So much of what I do is inspired by her laughter and smiles!  It keeps us going despite life’s everyday difficulties.

I will be shifting gears this week in preparation of Erin’s party this Saturday.  Since we are having it this upcoming Memorial day weekend, we chose a patriotic theme and will be incorporating all her favorite Sprout channel characters.  We are so excited to have our family and friends celebrate her with us! I will continue posting through out the week and will share any upcoming birthday developments and ideas with all of you.  I already have a few craft ideas up my sleeve for her party so stay tuned!  Should be a wonderfully busy week!

Image

My little Toddler Apprentice

Adding “Bling” to your outdoor table with glass marbles and tile

One day I was sitting outside staring at our old patio table.  Like a lot of things in our home the table was rescued from the trash heap.  It was given to us when my mom moved from a house into an apartment.  It worked out great for us, because at the time all we had was a plastic patio table that had seen better days.  I would go to department stores and pine over all the elaborate outdoor furniture.  Fancy Fire pits, gazebo’s etc. OK so I am a bit of a dreamer, since there was no way I could afford any of it!  Of course that didn’t stop yours truly from stealing a good idea or two from my window shopping and making my own “shabby shiek” version.  I had some left over mosaic tiles so I thought I would add a little “bling” to the table’s edges.  If you are really an adventurous type, you could actually add the tiles to the whole table.  For the job I used a Grout and adhesive in one. There are varying opinions on the internet regarding the use of this product and whether it works as well as grout and adhesive do independently.   I find that it has worked well for the smaller tile projects I have  completed.  The table has been out in all weather conditions and I have not lost one tile so I find that the combo product has held up pretty well.  I used small mosaic tiles along with decorative glass marbles I purchased at  dollar tree.  I think this small change gave the table a lot more character.  Also, another money saving tip:  If you want to save money on a table umbrella, the beach umbrella’s work just as well and are $10-$20 (and even more in some cases) less than the actual table umbrella’s.

I may not be able to afford that fancy gazebo, but through some ingenuity I can have my own little backyard oasis at a discount!

Tiled outdoor table

Beach umbrella VS Table Umbrella save money!

Frida Kahlo inspired decorative decoupage tray and art case

Nothing is worth more than laughter. It is strength to laugh and to abandon oneself, to be light.
~Frida Kahlo

I picked up this ugly old tray for $2.00 at the flea market about a week ago.  At that time I really had no idea what I was going to do with it.  I did know one thing it needed a makeover! My sister’s birthday is coming up and since discovering my new upcycling obsession, I wanted to make her something special.  I always admired the artist Frida Kahlo and I was intrigued by her artwork and her life story.  My sister is also a fan of her art and got to see an exhibit of her work a few years back.  I recently did a quick project of my own when I decoupaged my art box with Frida Kahlo art and scrap book paper. (Pictured below)

This gave me the idea for the tray. Simple projects too!

Her birthday is next week.  Hope she likes the tray, but I am keeping the art box!

; 0 )

Art Case Before

DSC_0037

DSC_0067

DSC_0080

Victorian inspired Art decoupage birdhouse

Happy Cinco De Mayo!

Yesterday afternoon, our family hit the flea market circuit  in the hopes of finding a kids sized wooden chair to convert into a Time Out chair, and any other items that would make a good future project.  I am happy to report that we walked away with several items: A kids wooden chair,   a wooden school desk and a few decorative trays.    It was an absolute beautiful day today to walk around outside and soak in the sun.  Yard sale season is also in full swing.  We saw many on the trip, but had to save our yard sailing aspirations for another day.

Today was also the day my most recent craft:  my Victorian bird house, would be ready to hang outside.    Prime real estate for some lucky little bird family.  I wanted to create a Victorian feel. I searched the internet for Victorian art and floral images.  I then printed out the images I wanted to use on my color printer.  I carefully cut out the images with an X acto knife.  I painted the bird house red and white.  Once the bird house was dry, I used the Mod Podge to adhere the cut out images to the birdhouse.  The possibilities are endless as far as the styles and themes you can create.  You can choose any images you like including family photos, sports etc.  I then applied 3 coats of Mod Podge allowing to dry thoroughly between coats.  I used a metal hook  and screw for hanging outside.

Materials:

Wooden bird house from Michael’s Crafts

Red and White Acrylic paint

X acto Knife

Outdoor Mod Podge

Untitled

Dollar Store Bathroom Trash Can Makeover

If you have been following my blog so far you know that I work a lot with Mod Podge. It is a great medium to work with as there are so many possibilities, and different ideas you can try; However there are a few limitations.  One day I had the time for an easy project.  I had purchased a bathroom trash can from Dollar Tree and thought I could add a little flare by decoupaging some leftover scrapbook paper I had.  This project turned out not to be as easy as I planned.  If you ever look at the back of the Mod Podge container you will notice that the manufacturer warn against using on some plastics.  I found that in this case, the Mod Podge did not adhere well to the plastic.  It was also difficult to smooth out the air bubbles.   It was possible to remove some, but I found it to be quite a messy task.  In the end I had a craft result I could live with, but I would rethink and perhaps try a different approach when working with plastics next time.   Not perfect.  I think in hindsight, I might try this project on a metal trash can with material instead of paper.

Dollar Tree Bathroom Trash Can

Wooden Rocking Horse Re-Do

I wanted to make something special this year for my daughter who is turning 2 next month. My husband and I share a common love of shopping at thrift stores and we found this horse at Good Will for $4.99. I sanded it lightly and used a primer. I then used acrylic paint to paint the horse two shades of pink and white. I decoupaged scrapbook paper onto the horse and used Mod Podge Matte
finish to glue and seal this project. I was going for a more classic rocking horse and the debate with family and friends over whether I should give the horse a mouth and eyes was quite amusing. What do you think? Do you prefer whimsical or classic rocking horses?

Wooden Rocking Horse Re-Do