Autumn has always been one of my favorite times of year. Although you may not agree, In my world everything tastes better when mixed with pumpkin. There is nothing more refreshing than a cool breeze after months of summer heat and most of all it is host to one of my favorite holidays: Halloween. As much as I hate to admit it I have a macabre side. (Many of us do or holidays like Halloween wouldn’t exist) Halloween hosts many ghouls and goblins and makes fantasy come to life for a day. It’s a fun time but an even more interesting cultural tradition that coincides with Halloween is The Day of The Dead. For those of you who may not be familiar it is a Mexican Holiday celebrated all across the world. It was originally celebrated in Summer but was moved to Autumn in more modern times and coincides with the Roman Catholic triduum festival of Allhallowtide: All Saints’ Eve, All Saints’ Day, and All Souls’ Day. A three-day celebration beginning on October 31st, It is celebrated as a tribute to departed souls and to show respect and remembrance for deceased family and loved ones. According to Frances Ann Day, Latina and Latino Voices in Literature author
” On October 31, All Hallows Eve, the children make a children’s altar to invite the angelitos (spirits of dead children) to come back for a visit. November 1 is All Saints Day, and the adult spirits will come to visit. November 2 is All Souls Day, when families go to the cemetery to decorate the graves and tombs of their relatives. The three-day fiesta filled with marigolds, the flowers of the dead; muertos (the bread of the dead); sugar skulls; cardboard skeletons; tissue paper decorations; fruit and nuts; incense, and other traditional foods and decorations”

Representations of Catrina, one of the most popular figures of the Day of the Dead celebrations in Mexico
© Tomas Castelazo,www.tomascastelazo.com / Wikimedia Commons
One such decoration placed on these alters are called Sugar Skulls. I have always been fascinated with the sugar skull image. Each are unique much like the soul itself. An image of a skull adorned with colorful flowers and hypnotic eyes instantly fascinated me.
In the spirit of Fall and the Halloween/Day Of The Dead tradition. Here are three fun sugar skull decoupage projects:
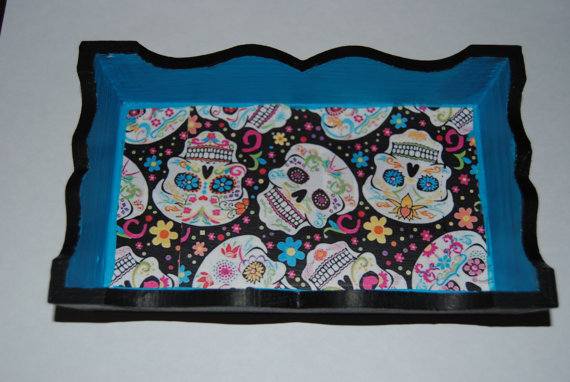
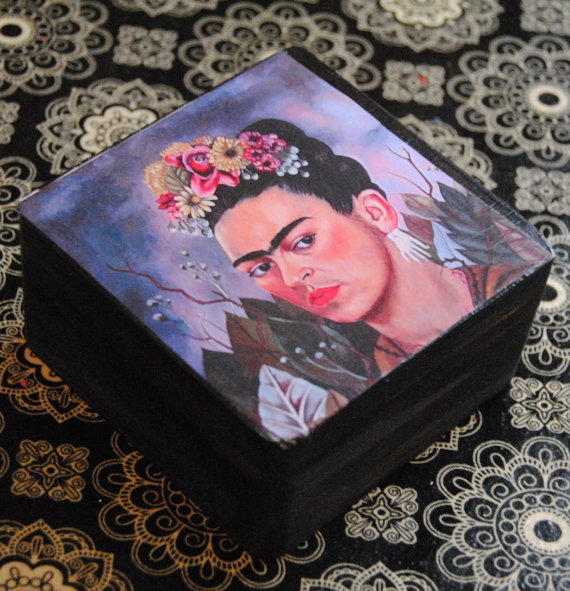
Sugar Skull Mini jewelry Tray

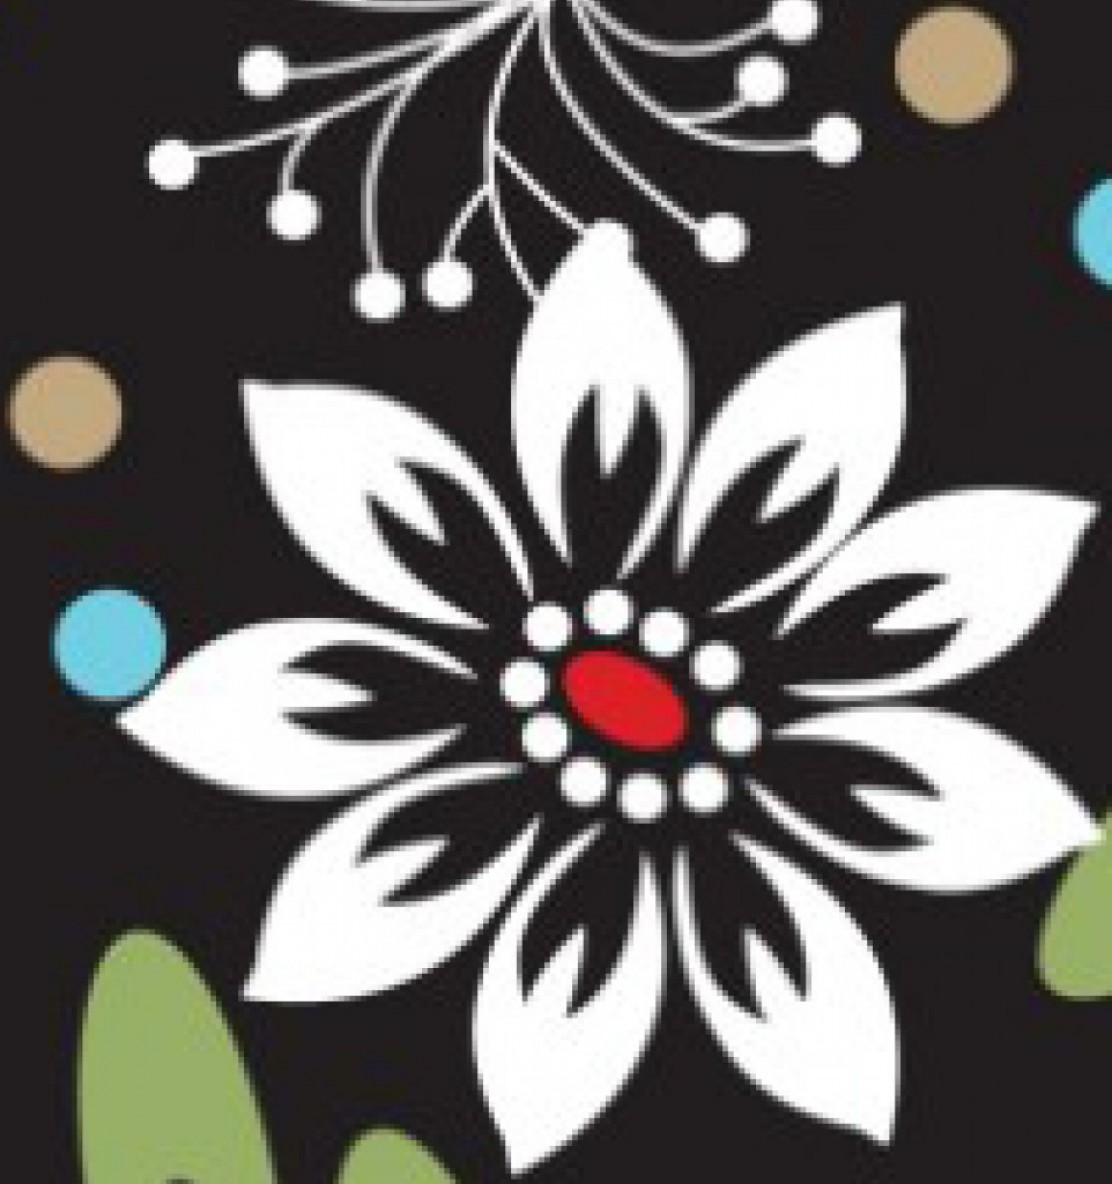
I picked up this miniature wood jewelry tray (unfinished ) at AC Moore. I hand painted the piece with acrylics and matched the primary color to the greenish-blue color on the print. (yellow, pink or black would work also) It looks great for Halloween or keep it out all year-long on your dresser. Great for holding various jewelry, rings or change. Cut print to size, apply Mod Podge and then the print. Carefully smooth out with your hands. Once dry seal with a few layers of Mod Podge allowing to dry between coats.
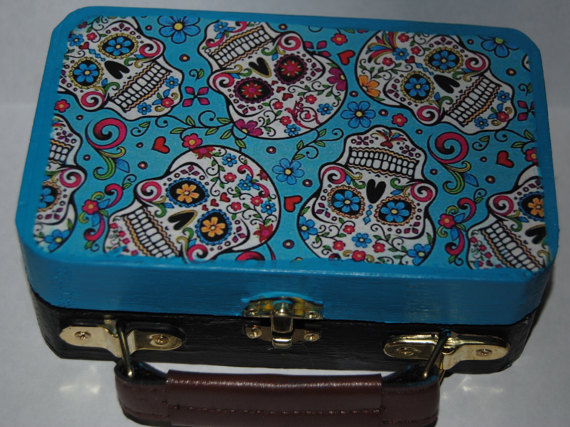
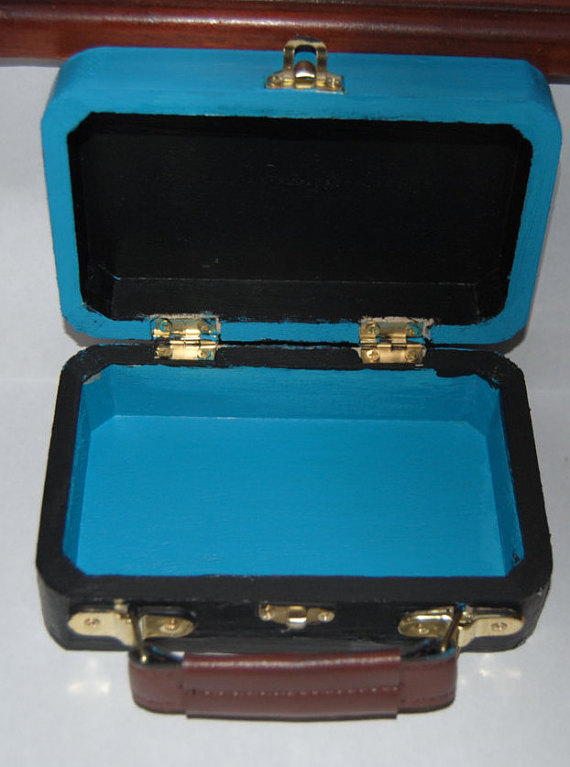
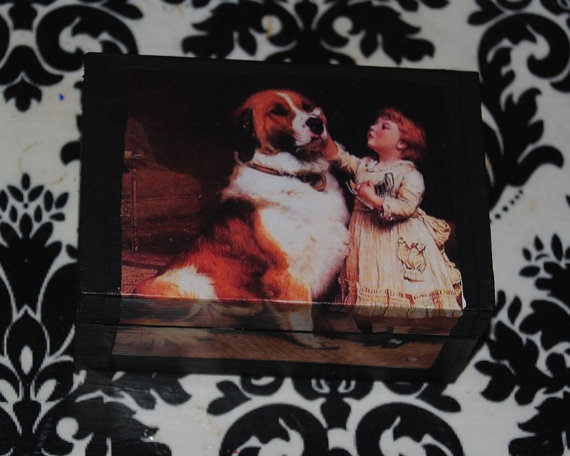
Day Of The Dead Miniature Wooden Suitcase Trinket Box
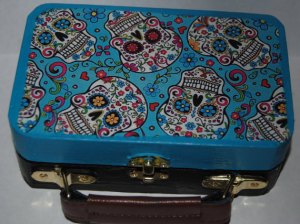

This adorable wooden mini suitcase also purchased unfinished at AC Moore follows the same decoupage process as above. I used the suitcase to trace the image on both sides of the piece to assure it was cut to proper size and shape. Hand painted inside and out, this would sit beautifully on a day of the dead alter filled with flowers or trinkets. The bright color captures the spirit of both Halloween and The Day Of The Dead.
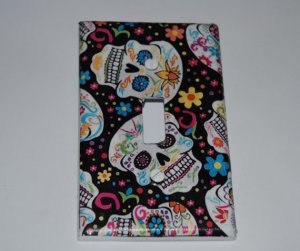
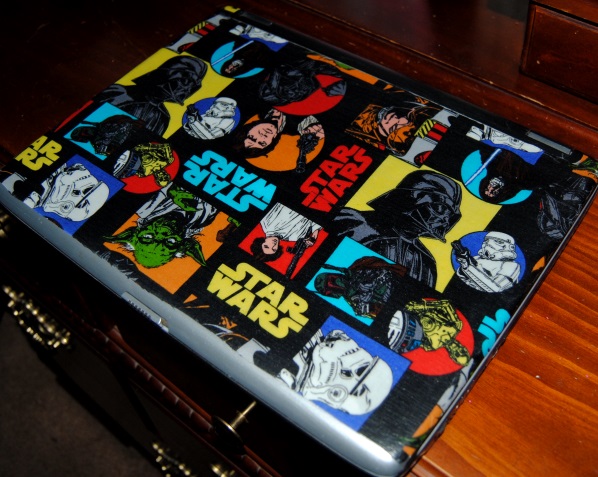
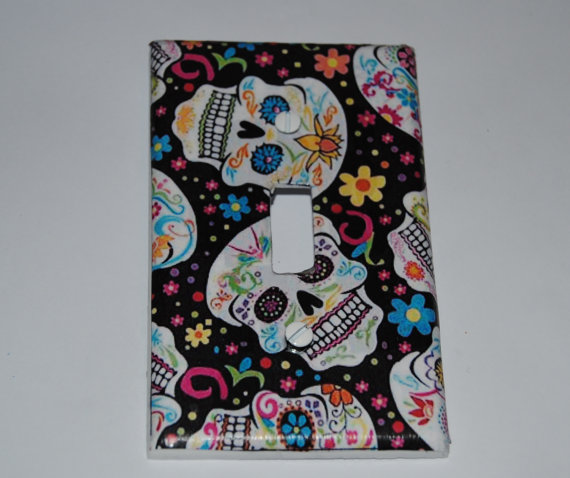
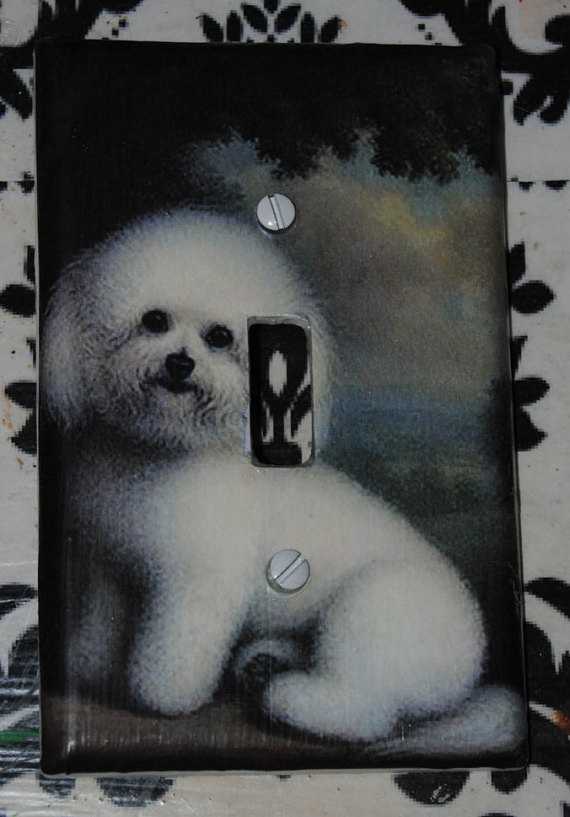
Sugar Skulls Light Switch Cover
 I
I
I am a firm believer in the fun a decorated light switch cover can bring to a room. I like to think of them as “little canvases” It can be fun switching them to reflect the holidays as well. Decoupage light switch covers are both easy and fun to create. First ,you trace the cover with a pencil, including the area that the switch passes through.(You can use prints, scrapbook paper, napkins, old gift bags just to name a few) Using an X-Acto knife carefully follow the tracing. Apply Mod Podge to the plain light switch cover carefully smooth out the image you want to use. Apply multiple layers of mod Podge and allow to dry thoroughly between layers.
Decorative, and full of color Sugar Skulls are full of life certainly Ironic considering it is a celebration of the dead.
Stay Safe and Have a Happy Halloween!


 I
I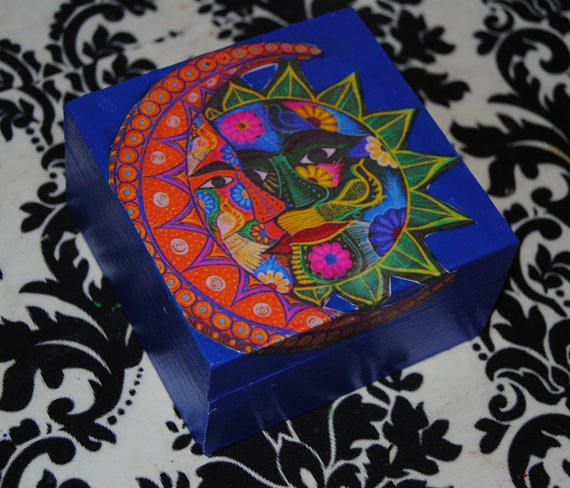


![20150718_165653-1[1]](https://ontheupcycle.files.wordpress.com/2015/07/20150718_165653-11.jpg)


![20150514_224224[1]](https://ontheupcycle.files.wordpress.com/2015/05/20150514_2242241.jpg)
![20150514_225456[1]](https://ontheupcycle.files.wordpress.com/2015/05/20150514_2254561.jpg)
![20150514_232054[1]](https://ontheupcycle.files.wordpress.com/2015/05/20150514_2320541.jpg)
![20150518_185404[1]](https://ontheupcycle.files.wordpress.com/2015/05/20150518_1854041.jpg)
