Memories of Paris: Upcycled Drink Coaster Wall Hanging

Since my upcycle adventures started last April, the word has gotten out to family and friends.  I am on a upcycling mission!  The best part of all is that others are starting to see ordinary items normally discarded or not used in a different light.  The original purpose of an item can be changed and restyled.  Instead of discarding something that can no longer be used, it can be modified so that it may have a new useful new purpose in your life.

Such is with the case of this project I am about to share with you.  My sister brought me a set of coasters she purchased during a trip to France.

DSC_1506

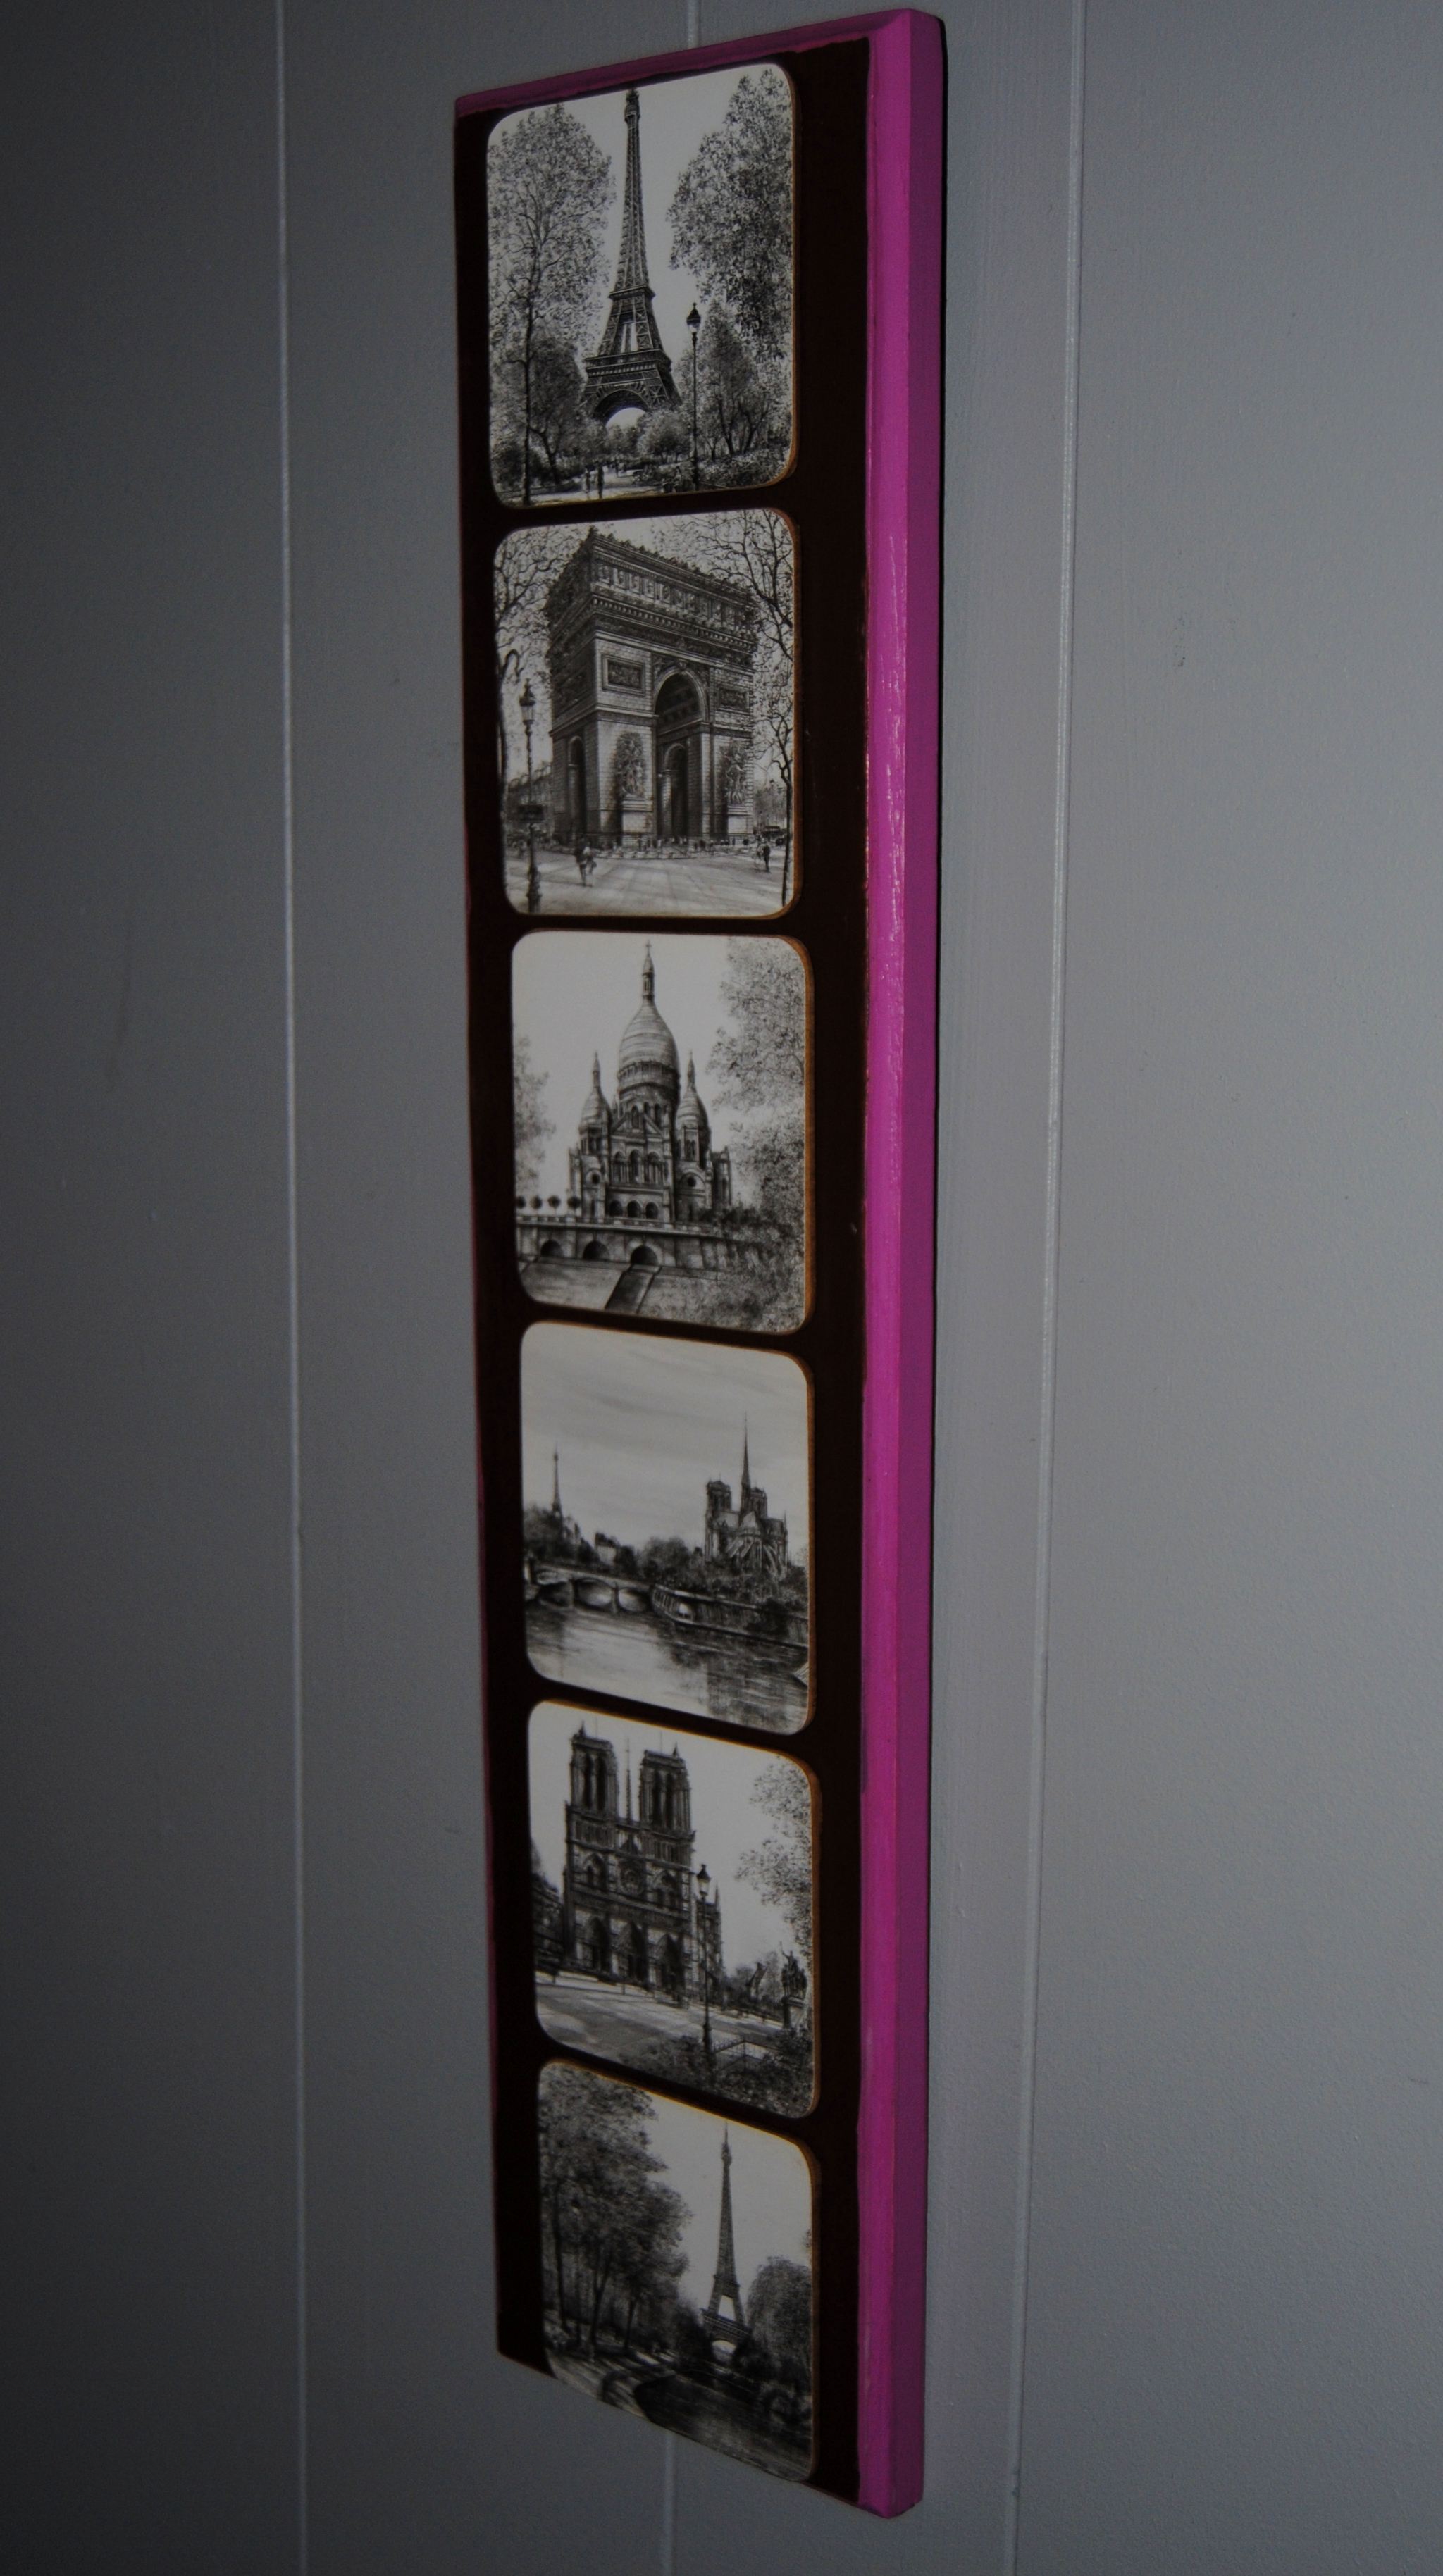
They are lovely and feature famous scenes and landmarks, but she felt the beauty of these coasters was wasted, and she never used them for their original intended purpose. It seemed a total waste not to display these in some way.  She asked me if I would I be able to do “something” with them. I love a challenge so I accepted the task, although at the time I really had no idea what the project plan would be, but luckily she was OK with that!

I held on to the coasters for a while, and kicked around a few ideas in my head.  Then one night I was lying in bed unable to sleep when I remembered this little wooden wall plaque.

DSC_1504

It was an item I had picked up at Goodwill a few months back.  When I purchased it for a dollar, I had no idea how I would use it.  Then it hit me!  It would be great to create a vertical wall hanging featuring the tile-like coasters.  She has a pink and brown french themed bedroom that I thought this would look perfect in.  I created my first chair upcycle for her.  A ladder back chair in pink and brown colors, known as  The Pillow Case Makeover.

I cleaned and primed the piece with a while latex primer.  Once dry, I painted the face of the plaque chocolate-brown.  The edges I painted pink.

DSC_1511

I applied Mod Podge matte finish to the painted areas. Once the Mod Podge was dry and clear, I used a high temperature hot glue gun to attach the coasters to the wood lining them up and allowing the same amount of space between them. I applied the hot glue generously and adhered them carefully one by one.

My sister seemed happy with the end result.  I have never been to France, but have a feeling I would love it there.  Everywhere you look is inspired by art, and hopefully looking at these images will bring back all the great memories of her trip!

DSC_1551

DSC_1547

Advertisement

The Pillow Case Makeover: Upcycled, Pink and Brown Hand Painted Decoupage Chair

Image

I am always attracted furniture bargains.  On this day, as I often do, I took a quick look around the local Goodwill on my lunch break. It just so happened that all red tagged items were 50% off.  In the corner, toward the back of the store,  I noticed a wooden chair with a ladder back, red sticker taped on the front.  It was a little diamond in the rough.  I was surprised the original price was only $4.99, and with the discount this chair would only cost $2.50!  I had been wanting to try a full-sized chair project for a while, and this chair seemed like the perfect candidate.

It just so happened my sister had noticed some of my furniture projects the last time she was over the house. She asked me to make her something, but was not sure what she wanted.  When she saw this chair among the other furniture candidates, she thought perhaps I could design it based on her bedroom which is pink and brown.  It was then I came across a pink and brown flowered pillow case while looking through used textile bin and I thought it would be perfect for this project.  I texted her a picture of it to see if she liked it, and she did. I then began to plan…

Image

Fast forward to today…I went to JoAnn fabrics and bought some Apple Barrel Acrylic paint.  I matched the pink and brown pretty well against the pillow case.   The pink appears slightly darker in person than in the photos and matched it nicely.  My daughter managed to open one of the bottles of pink paint with the plastic still intact!  Thank goodness the store had wipes handy!  It was some sort of miracle she only managed to get it on her hands and avoided her clothes entirely!

When we got home, I put the princess down for a nap, and got to work.  I traced the chair seat onto the fabric with a black marker.  I carefully cut the tracing with a sharp pair of scissors.  I then applied Mod Podge, using a medium-sized paint brush to the seat.  I spread the fabric out over the seat stretching and smoothing out any creases with my hands.  Once dry, I applied another coat of Mod Podge over the top of the fabric.  While this dried, I used a white latex primer to paint the chair so that I could apply the acrylic paint onto a good base.    I then carefully hand painted the chair and used several coats until I achieved my desired result.

I sat the chair in front of a fan to dry and waited.  Once the paint was dry, I could apply the Mod Podge.  I  allowed it to dry between coats.  This chair needed about three coats over the entire piece to seal it.  I am hoping my sister likes the result!  I had seen the color dipped legs online, on other crafted chairs and I  love this design! I decided to incorporate it into this chair.  Now she has a stylish place to sit and read or put on a favorite pair of shoes, and it perfectly matches her bedroom decor!

$2.50 chair Before and after:

Image

Upcycled chair

Materials:

Wooden Chair

Pillow Case for decoupage

Mod Podge Matte Finish

Scissors/Fine Tipped Marker

Pink and Brown Acrylic Paint

Paint brushes various sizes

DSC_0555