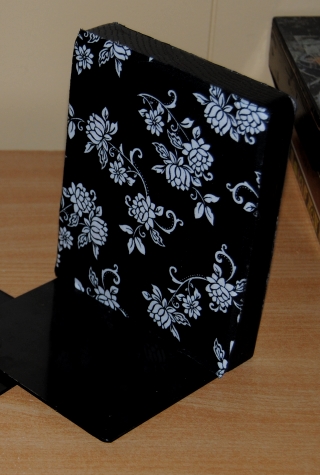
I found these ordinary bookends in the housewares aisle at a thrift shop near home. It was the only item I felt compelled to buy on this day, and they were priced right at $1.99. Lately, I have made it a goal to begin to organize my crafting space, and these little book ends would help alleviate some of “the bookcase overload” this room is experiencing. Of course they were in need of a little restyling flare. Right now the craft room is more of a storage room, so these book ends are a very small step in the right direction, but I am determined. Stay tuned!
Materials:
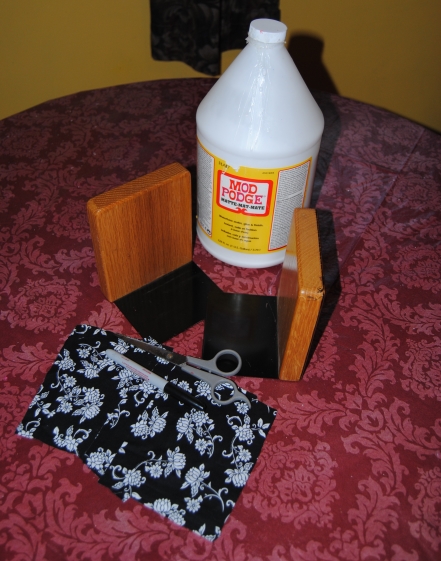
Fabric of choice cut and traced to size
Pair of bookends
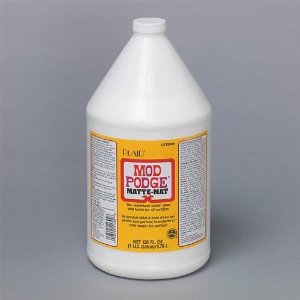
Mod Podge
Scissors, Black Marker
OOPS! Not Pictured
Foam Craft Brush, Paint Brush
Black Acrylic paint
I had fabric that I did not use from another project that I thought would look lovely on this project. I traced the book ends on the back of the fabric. I used scissors to carefully cut along the traced line. I set aside while I applied Mod Podge to the inside and outside of the book ends. I carefully applied the fabric to the bookends smoothing out and wrinkles with my hands. I then painted the edges where the fabric did not cover with black acrylic paint. I allowed the bookends to dry. Once dry, I applied 2 coats of Mod Podge to seal them. Now, A close up of a finished one of the finished book ends! A great beginner Mod Podge project!