The Cats Meow: Repurposed Cookie Jar Planter

In my kitchen recently while organizing and cleaning, I came across this great white cat cookie jar I had for many years that I picked up at a yard sale.  When I originally purchased it, I knew nothing about it.  It had a slight crack in the front.  Through the years, the straw hat was broken and missing, and it sat for 7 years collecting dust on the top of the kitchen cabinet.

I took it down and gave it a look.  Thanks to the internet I discovered it is a Metlox Cookie Jar.  Turns out they are vintage and very collectible when in good condition. Online they go for between $35.00 to $125.00! Of course this cat had seen better days, and wouldn’t be worth anything with a cracked nose and a missing hat.

I am starting to begin to think my upcycling ways are beginning to rub off on my husband.  When I scratched my head as to what to do with it he suggested a planter!

Upcycled Broken Metlox Cookie jar

What a great idea!  I purchased a small fall mum and placed it inside the jar.  Since there are no holes at the bottom of the jar, I left the mum in its original container so the water can properly drain away from the plants roots. Recently, I lost my beautiful cat Clyde at the age of 17 to kidney disease.  I created a memorial garden in his honor,  and I thought this would make a great addition to it. A great way to upcycle an old cookie jar!

Metlox Broken Cookie Jar Upcycle

Feline Memorial Garden


My daughter was more interested in the wind chime, but loves to help mom in the garden and in the craft room.  She is my little toddler apprentice after all.

DSC_0557


Strawberry Shortcake Sunday | CheekyGeeks

I want to thank Elise from Cheeky Geeks for featuring “On The Upcycle” during Geek month.  This week is retro week and what a better way to celebrate than with an upcycled Kids Strawberry Shortcake Record table and chair.  Be sure and check out my full tutorial on Cheeky Geeks.

Strawberry Shortcake Sunday | CheekyGeeks.

r\Retro Strawberry Shortcake Chair and Record table
Cheeky Geeks : Geek Month Celebration

Upcycled Strawberry Shortcake Kids Record Chair

For The Record: Upcycling Vinyl

I have seen many exciting ways to upcycle old vinyl online, but the idea for me actually started when I stumbled upon an awesome shop on Etsy called ” It’s our earth” They upcycle records, and floppy discs into coasters, chip bowls and clocks just to name a few.  I was shopping online for Christmas and saw a clock made from a Thin Lizzy record, my husband’s favorite band.  I jumped at the chance to get it and the price was right.  It hangs proudly in our living room next to our 1970 Pioneer stereo cabinet. Most importantly, he loves it!

It's our earth upcycled record clock on Etsy

The plaque below it says “Life is a song and love is the music”

I loved all the great upcycling ideas for small record side tables, and they looked very easy to make.  It would also go nicely with the clock in our living room. I am a great lover of music and the sound of vinyl, so I scoured my collection for a record I had purchased from a dollar record bin that was damaged and unplayable.

Aerosmith Greatest Hits

Aerosmith is a cool band, but this  record was destroyed! It was perfect for making a record table.  I also had an old, weathered metal plant stand.  I cleaned it and spray painted it black and allowed it to dry.

Spray painted metal plant stand

I then simply used a high heat hot glued gun to adhere the record to the plant stand.

Upcycled Plant Stand Record Table

Not only a cute living room addition, but a great functional side table!

Record Side Table

The Broken Chair Challenge Part 2: Chair Back Photo Frame

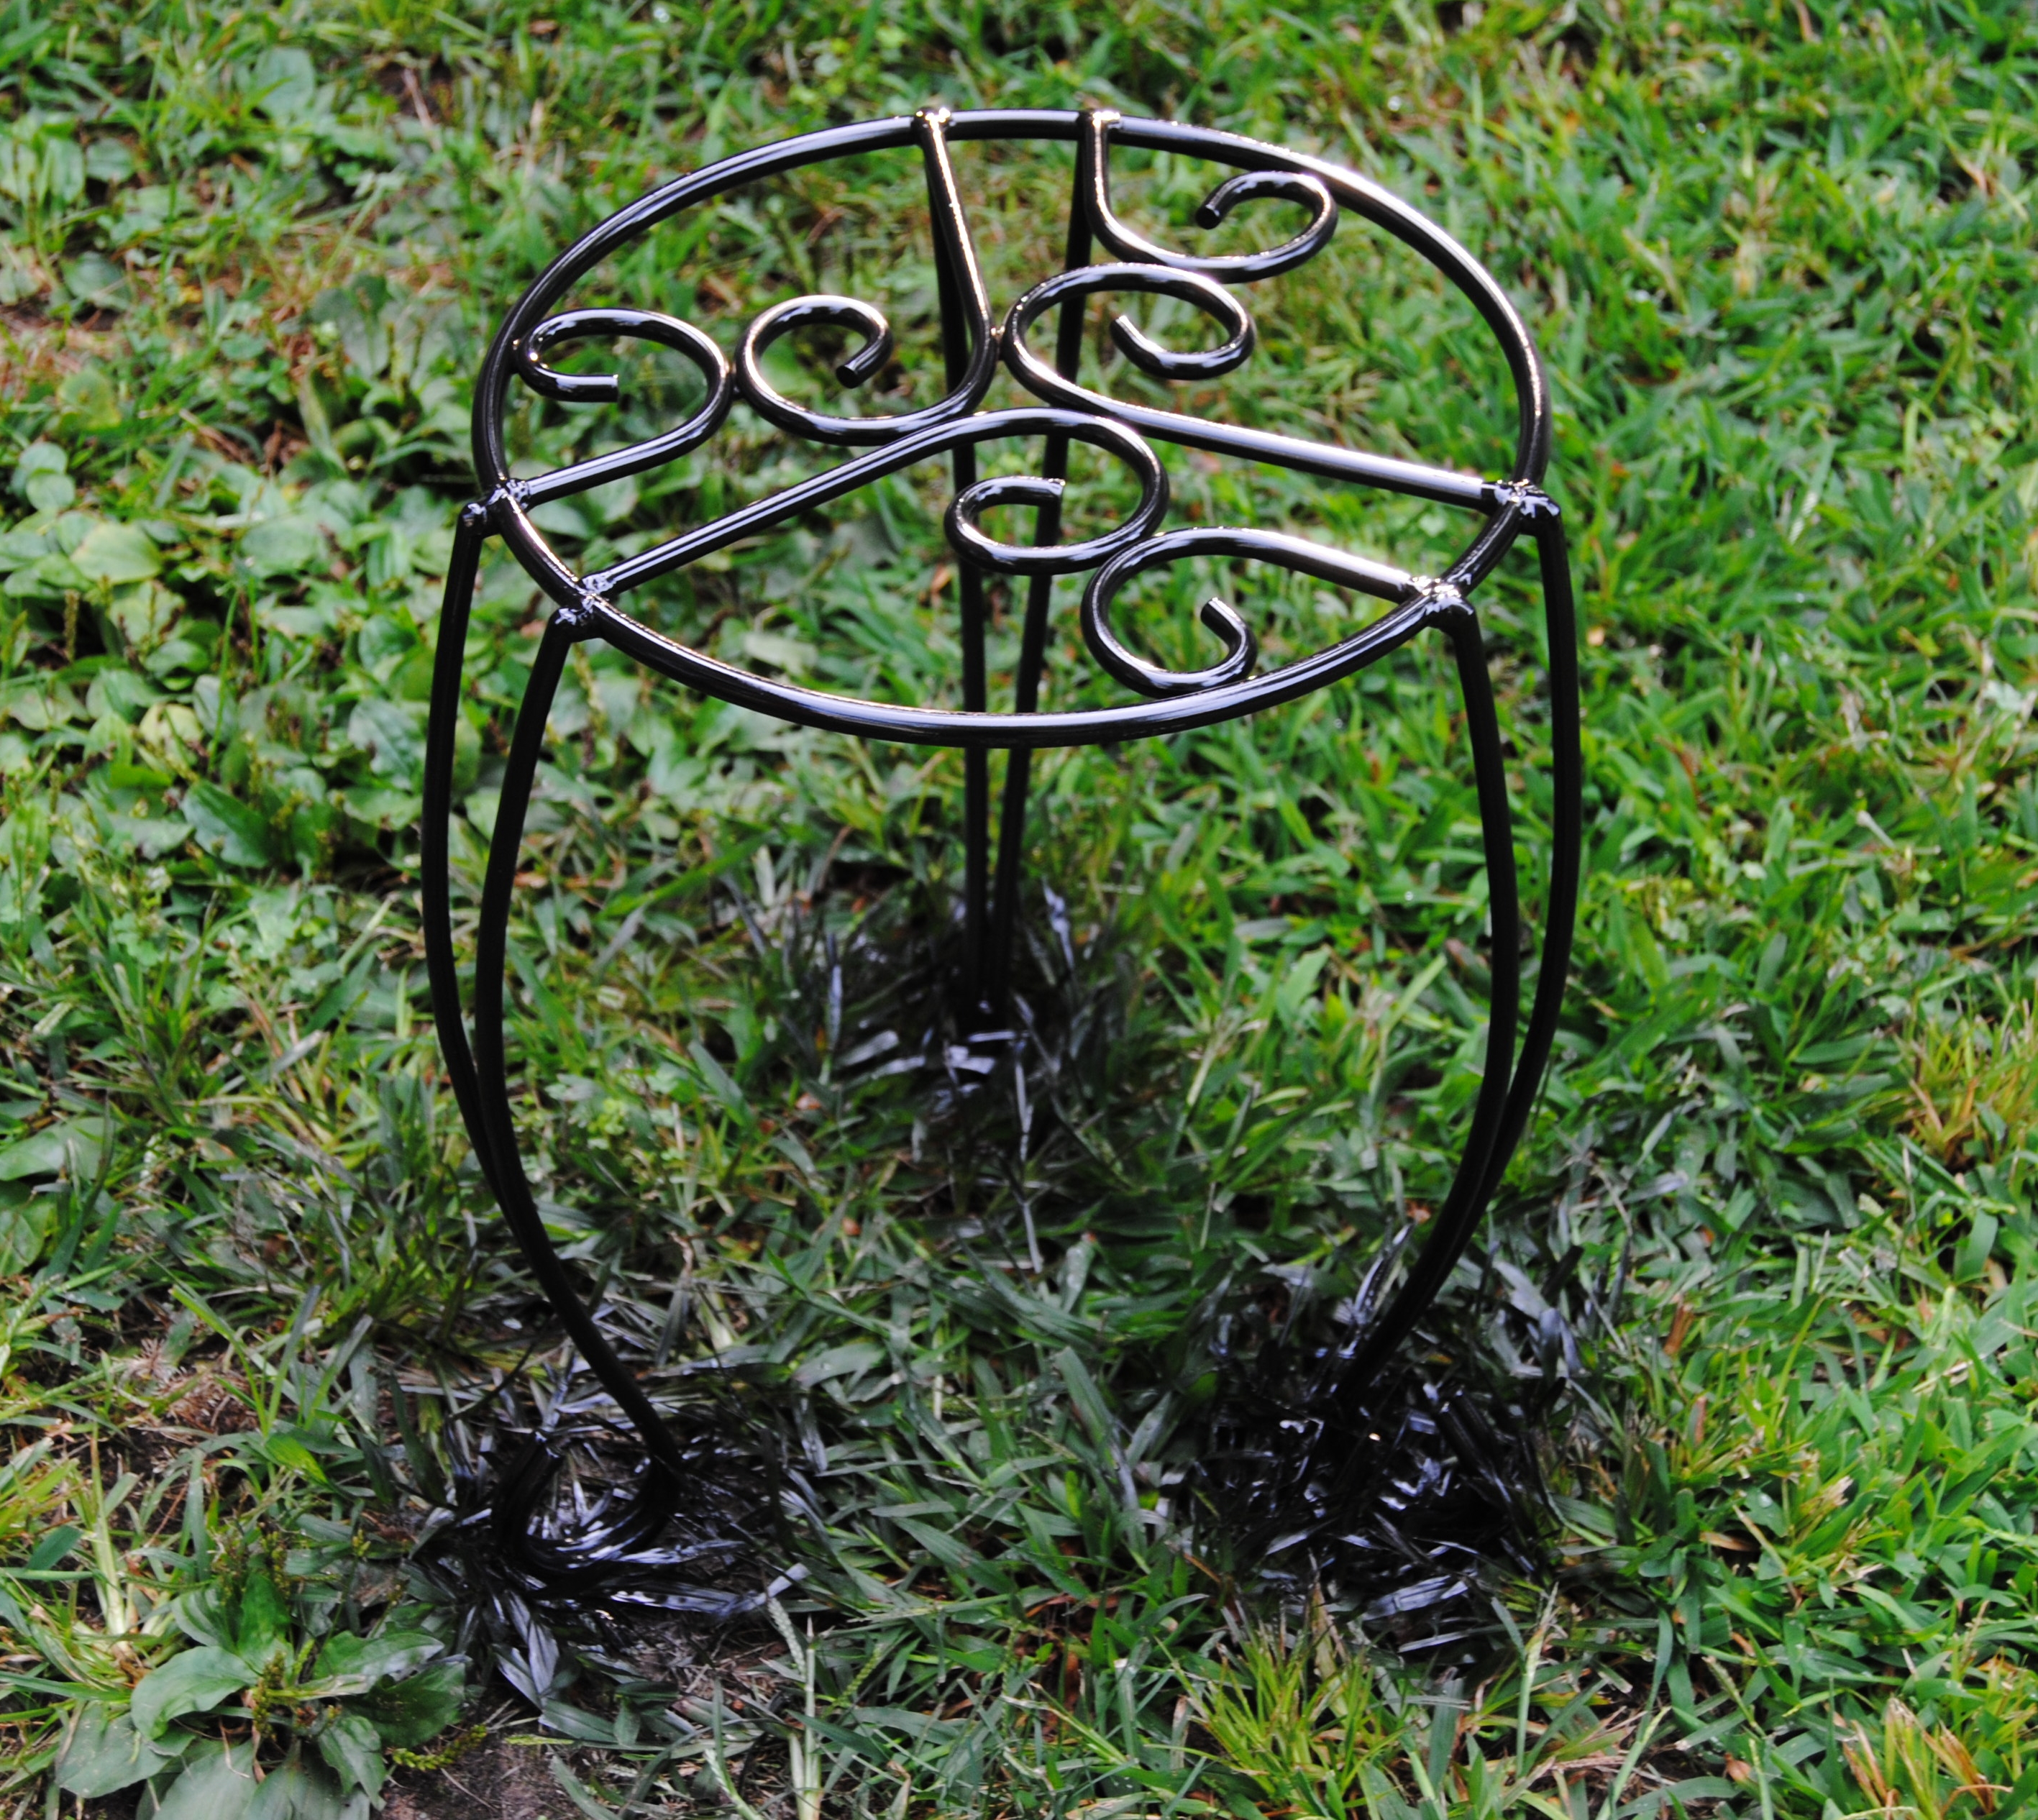
It all started when I purchased a lovely (but very abused) chair from Goodwill for $3.99.  I loved the design qualities of this chair and thought it would make a lovely restyle. I especially loved the is.  Which means “ Lily flower” in French.  I removed the chair seat, only to discover it broken beyond repair. I was not willing to let this chair go, and  I was determined to find a replacement seat.  My husband and I kept our eyes open for any broken chairs on the side of the road that we could use to salvage a seat.

For months, this chair sat and I resisted the temptation of buying a chair to salvage.  Then one day, my patience paid off.  My sister and I went thrift shopping one weekend and in front of the store they had free furniture.  I was ecstatic!  Their it was the perfect candidate, a chair missing the arms, but with a perfectly usable seat.  I confirmed with the store manager that this chair was indeed “free” and loaded it into the car with the biggest smile planted on my face. I immediately removed the seat when I got the chair home and it was a perfect fit.

Upcycled Black and White Damask Chair

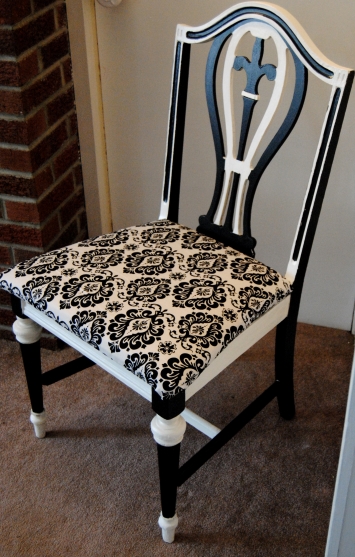
To read more about this project see The Broken Chair Challenge: Upcycled Black and White Damask Chair.

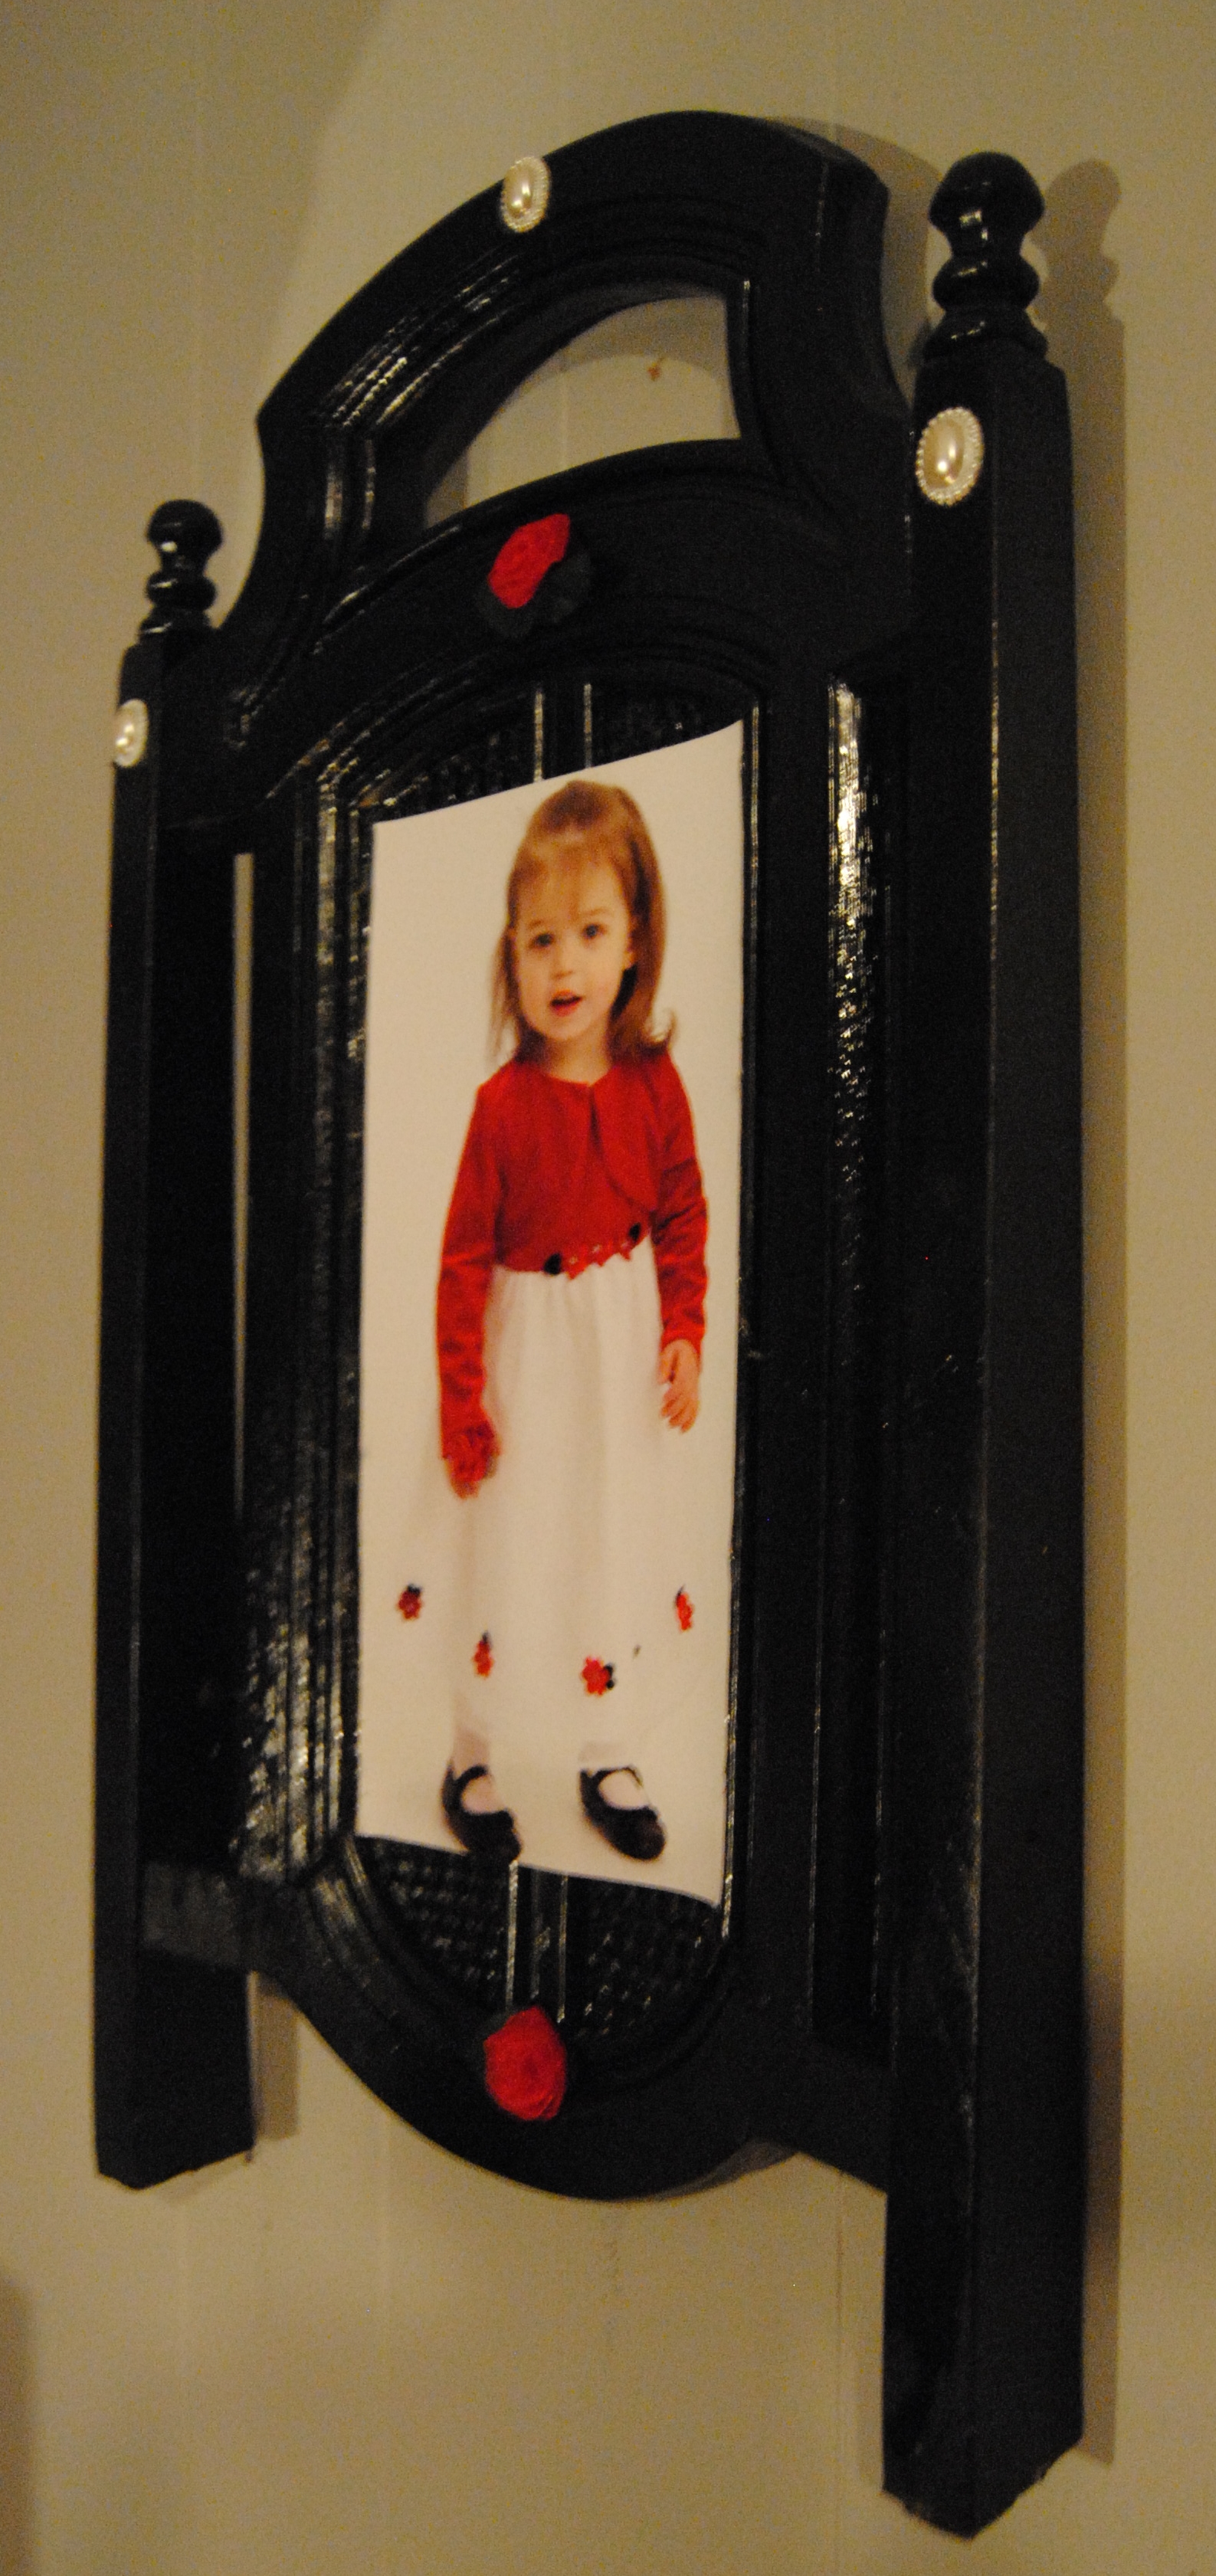
Now, I was left with the remnants of another chair, and did not want the all the parts of this chair to end up in the trash.  It had a lovely seat back, and I had seen some lovely upcycling of chair backs into picture frames on Pinterest. I decided to give it a try.  One great example of this can be found at All Things Thrifty.com

Old Chair Back

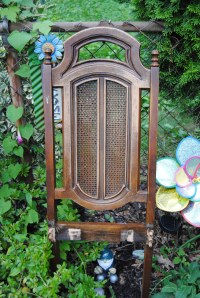
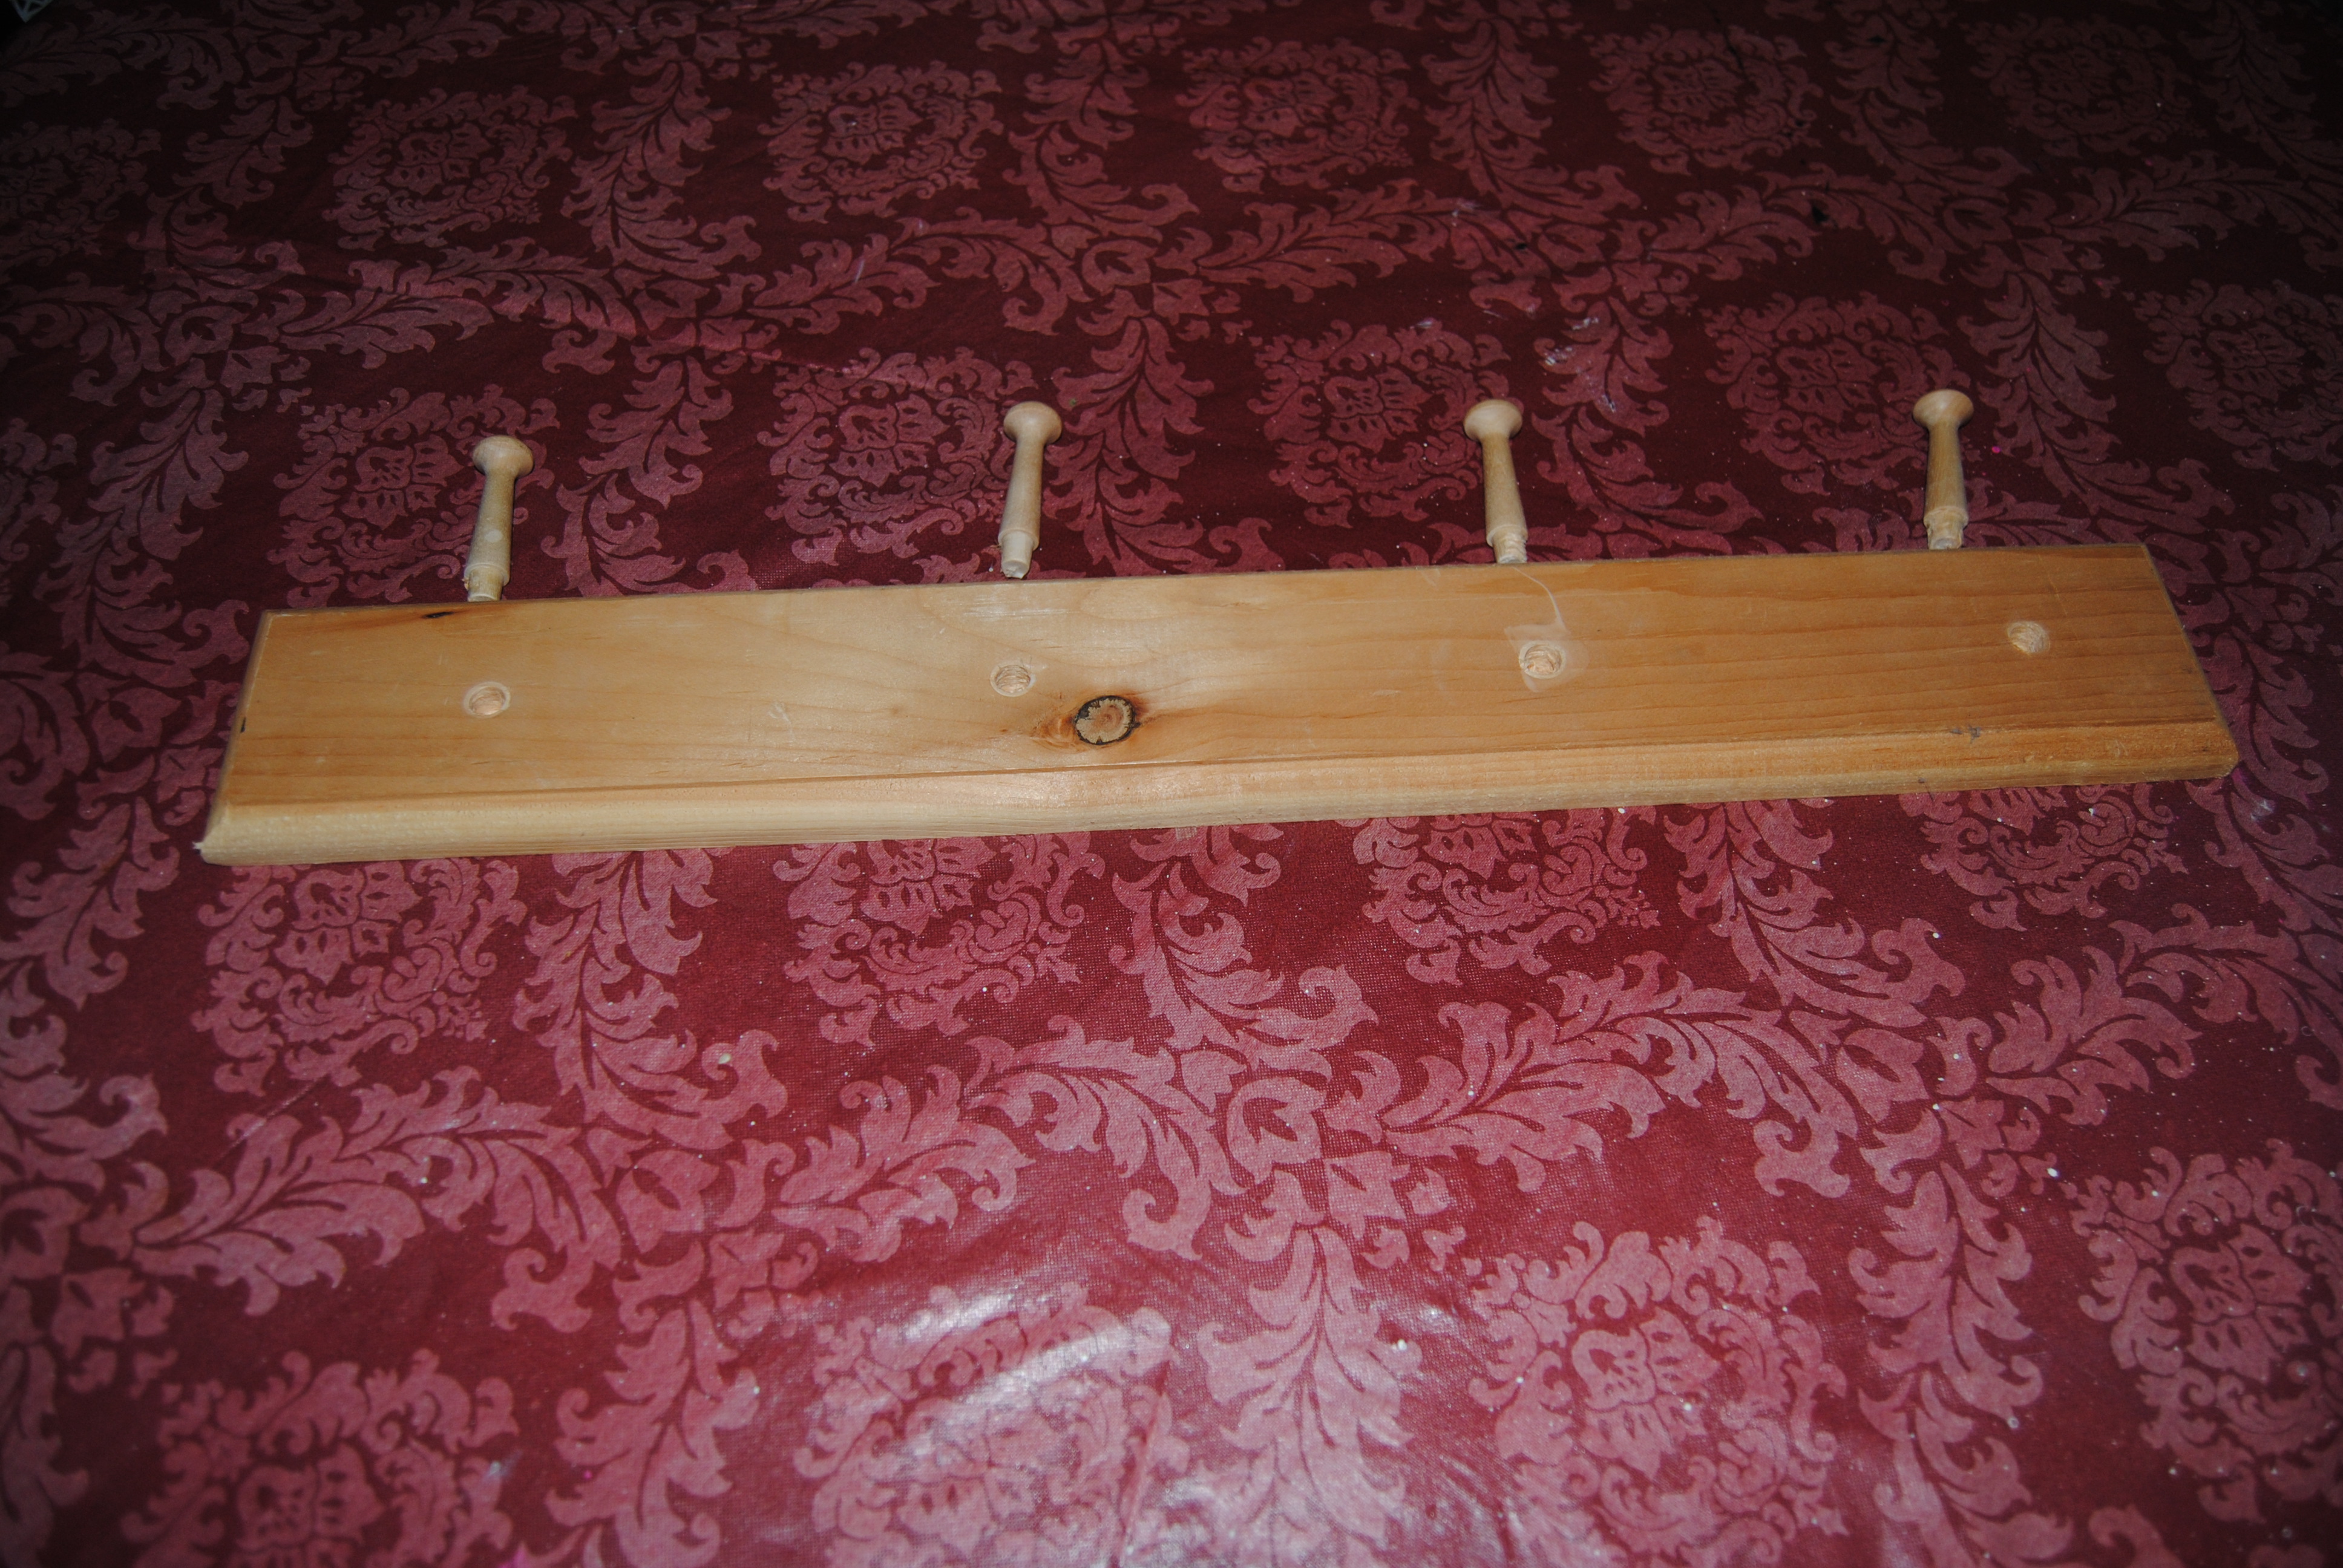
The finish on this was extremely worn. If it had not been in such poor shape, I don’t think I would have opted to paint it. By far,  the most difficult and challenging aspect of this project was sawing the legs off the chair back.  I used a hacksaw, but it was quite tough to do!  An electric or battery operated hand saw would have worked better, but on the bright side it was at least a 500 calorie burner! Rarely can you say you burn calories crafting!  Once this was completed, I sanded the area that was cut.  I took the chair back outside and spray painted it black, using about two coats.  I allowed the piece to dry overnight.

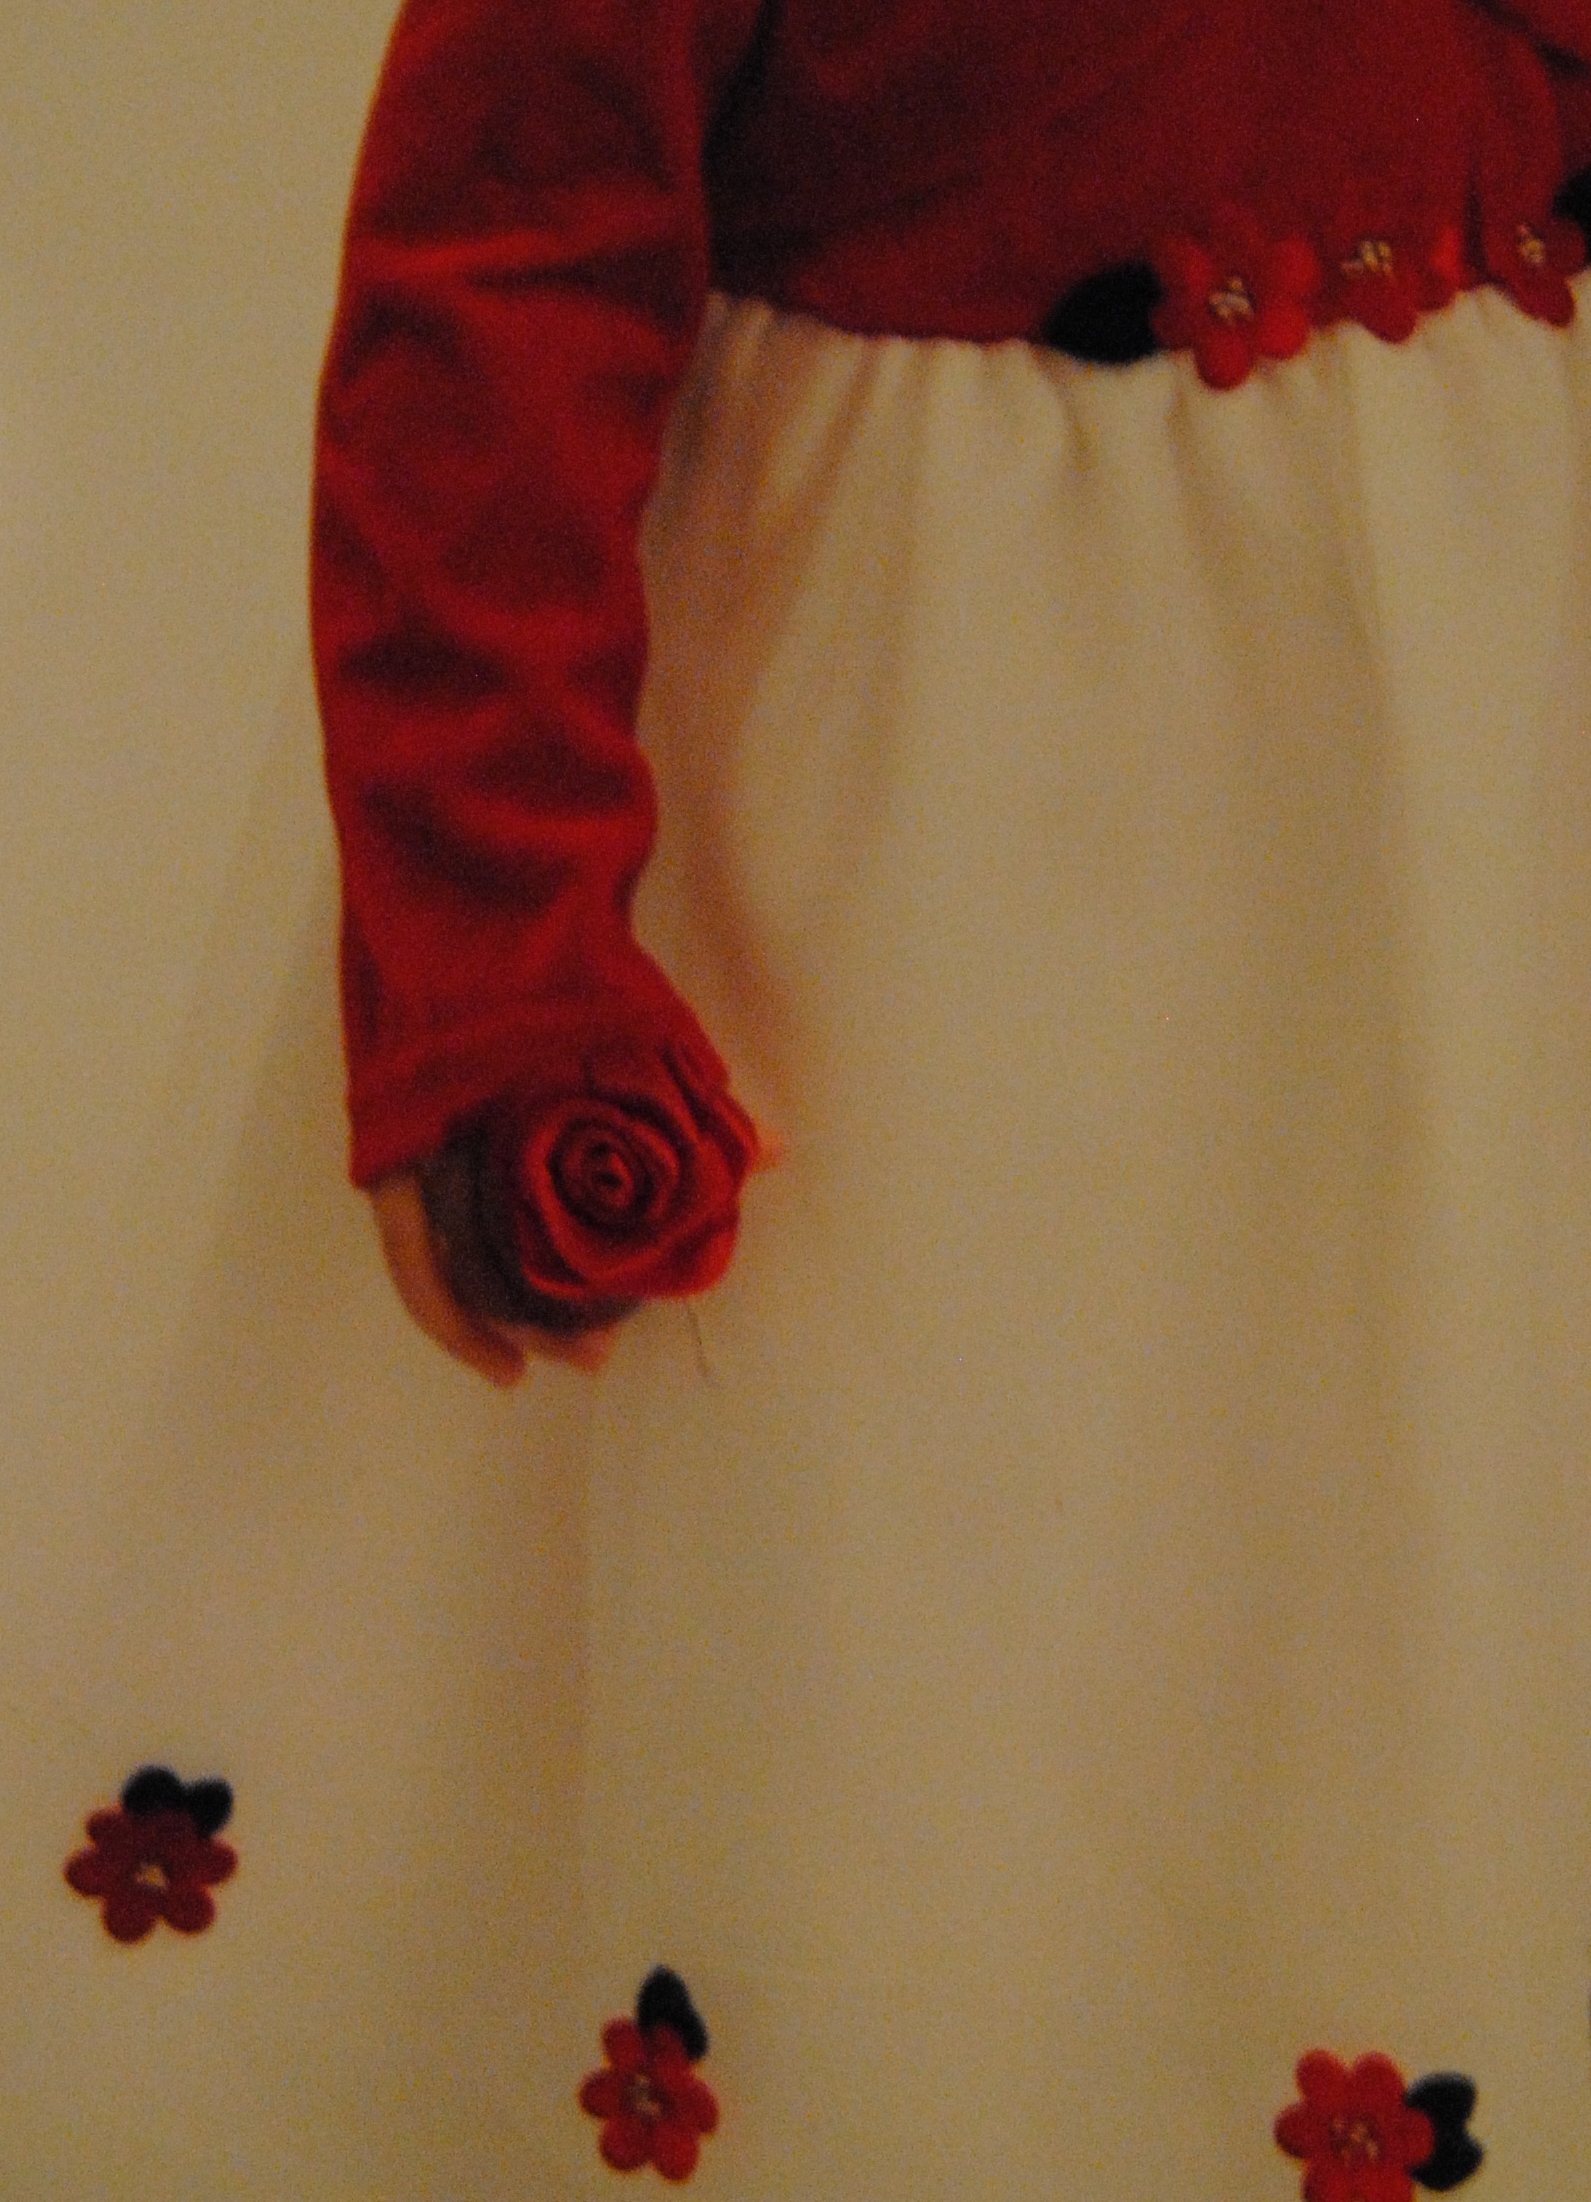
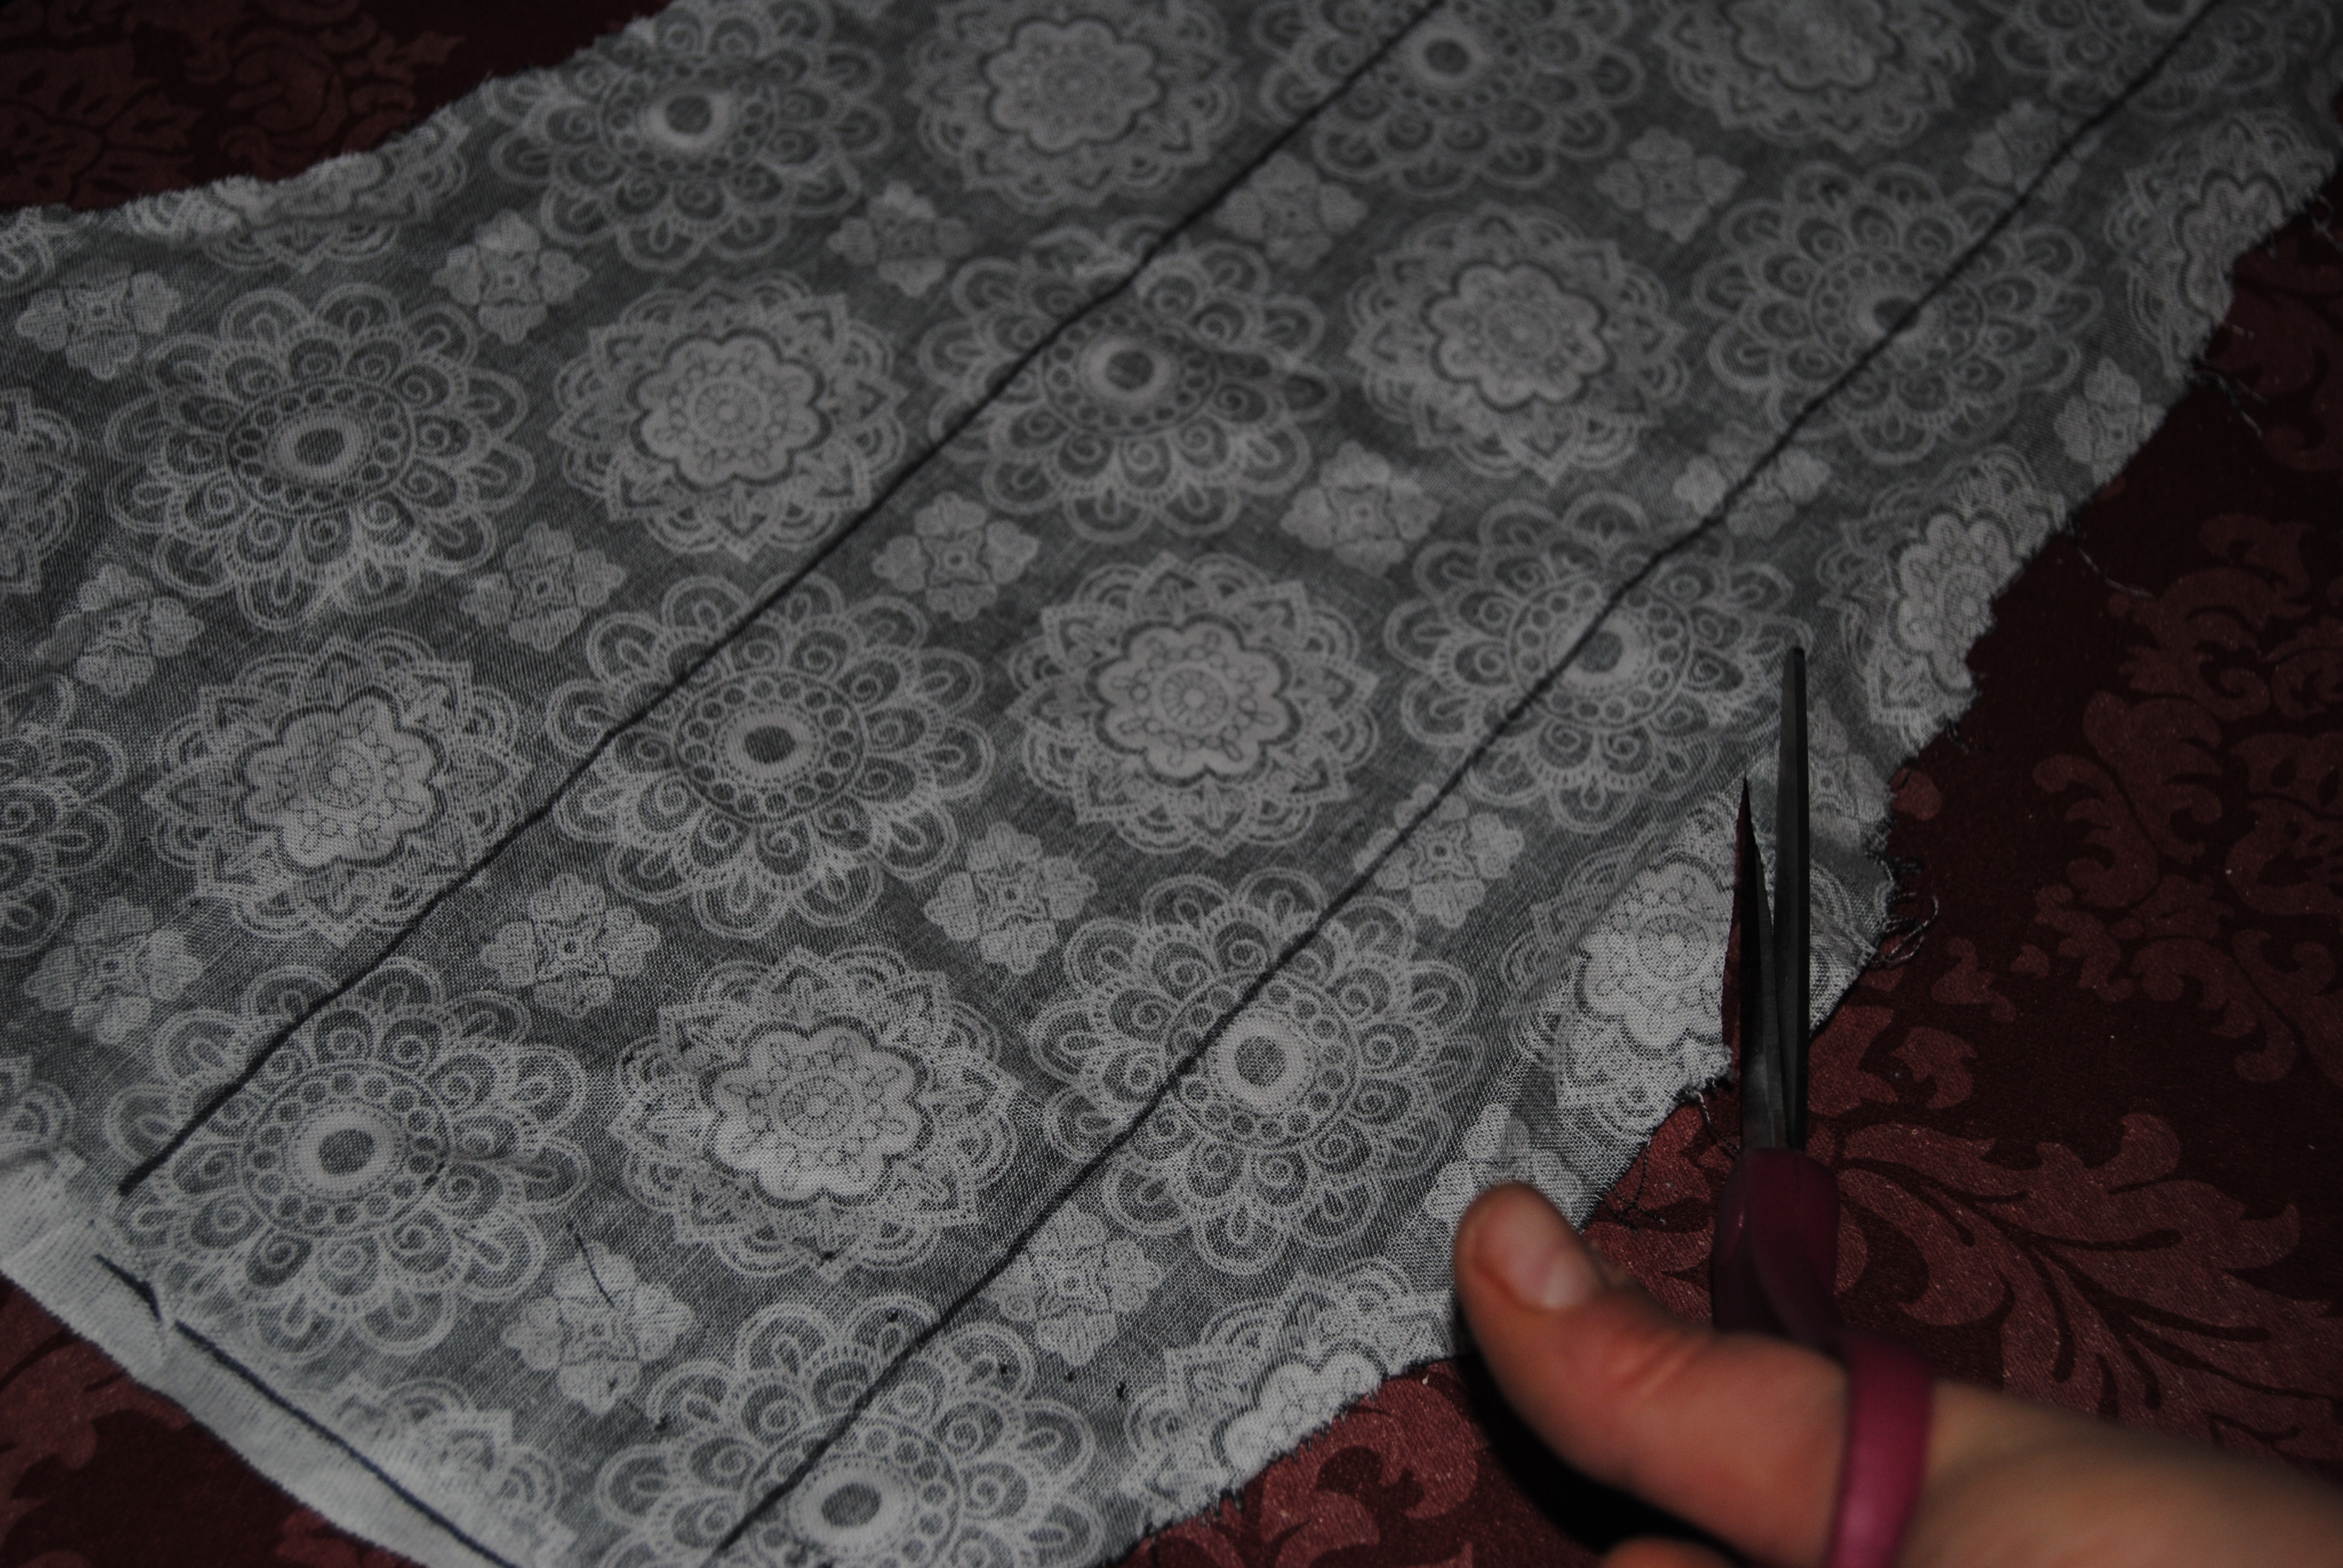
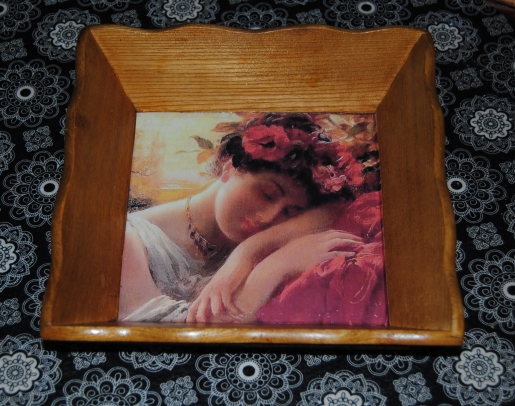
The next day, I chose a large photo from one of my daughter’s previous Picture People photo sessions.  I measured the area and trimmed the photograph to sit inside the middle of the chair back.  I used a hot glue gun to adhere the photo to the wood.  I had a few craft jewels and roses that I added to the chair back to make it “pop”  I originally glued a large rose to the bottom of the chair back, but decided to remove it later as you will see in the photos below.  One of the smaller roses, I carefully glued to her hand in the photo, It creates an illusion that she is actually holding a rose in the photo.  I think it gives the photo a bit of an extra dimension.  A nice little “touch” to the project.

Hand Holding Rose

I decided to hang this in our bedroom which is black, white with grey wall.  It was very difficult to snap an adequate photo as the flash kept reflecting off the shiny surface , but it is lovely and I am so glad I tried this!

DSC_0343

Think of all the possibilities before you toss that old chair!

Materials:

Hot Glue Gun

Spray Paint (If you choose to paint)

Old Chair Back

Scissors

Saw (If needed)

Screw driver (if needed)

Sandpaper

An old chair back re-purposed into a Picture frame

Flea Market Bar Cabinet Makeover

My husband and I picked up this wooden cabinet many years back at a local outdoor flea market.  It  had two mirrored bar signs glued to the door and was a perfect “novelty” cabinet for our bar.  We acquired quite a few shot glasses over time, collecting them as an inexpensive souvenirs wherever we traveled.  This cabinet was a perfect way to store them.

Now that the bar has become a distant memory in our family friendly household, this cabinet sat on the floor in our spare bedroom with the shot glasses still in it increasing the chances of something getting broken. The  signs began to fall off, so I decided to remove them all together.  I planned to restyle this cabinet and hang it in a much safer place-Our kitchen.

Image

I used a scraper, to remove the access glue front the door and cleaned the cabinet with a wet wipe.  I removed the knob and door and set aside.  The cabinet was heavily lacquered so I used a white latex sealer to prime the cabinet before getting started.

Removed door and Primed

I used fabric to cover the outside of the door and glued it to the wood with Mod Podge, I then applied a thick coating of Mod Podge with a Large brush to the top of the fabric.  Once dry, I trimmed the excess fabric away from the door with a pair of scissors.  I painted the entire cabinet with black acrylic paint except for the inside and shelves. Once dry, I applied Mod Podge over the entire piece.  I spray painted the knob white, and once everything was completely dry, I re-attached the cabinet door and knob.

I hung the cabinet in our kitchen by our table, with its much more sophisticated look, It is a great place to store our souvenir glasses!

Restyled cabinet using paint and Mod Podge

Inside wooden shelves

Materials:

Wooden Cabinet

Fabric

Mod Podge

Black acrylic paint

White latex primer

White spray paint

Small and large paint brush

Scissors

Before and After:

Cabinet Re done

Life Lessons Learned: Freebies, Coupons, and One Journal Makeover

While I was pregnant with my daughter, I started a habit of “gathering” and searching for free samples and coupons online. Becoming a mom for the first time,  I was in full on thrift mode. There are many of these sites online and many of them make you jump through hoops and often times do not deliver on there promises.  One of the best sites I came across and still follow today is Sample Stuff.Com.  It takes the best offers on the web and shares them with you first, so you have the best chance at getting free samples, coupons and sweepstakes.  They also post updates when items are no longer available.  I have gotten dozens of free items including yearly magazine subscriptions to Rolling Stone, Town and Country, Family Circle, and Better Homes and Gardens, just to name a few! So why am I sharing this?  It ties into this upcycle, a freebie I picked up from Oprah (yes, I said Oprah)

A while back, Oprah was  giving out free Journals to go with an upcoming “Lifeclass” a self-enrichment course that required keeping a journal.  I had heard of this promotion through the Sample Stuff Site.  I actually was interested in taking the class, but then life got in the way of Lifeclass, (Ironic I know) and there sat an empty journal.  The journal was nicely made with a strap and built-in book mark ribbon.  I have wanted to carry a journal and write for sometime, and this would be perfect; However a restyle was in order…

DSC_0285

Inside the cover and front page

DSC_0284

I picked out some nicely patterned scrapbook paper and gathered the materials needed:

DSC_0282

I traced the front and back covers.  I decided to leave the book spine free of paper. I cut out the tracings and placed them aside.  I applied Mod Podge with a foam craft brush to the front cover and gently applied the cut scrapbook paper smoothing it out with my hands.  I then repeated the same for the back cover.  I cut a small piece to cover the inside cover and carefully and neatly removed the 1st page.

DSC_0287

Once the outside of the book was dry, I applied Mod Podge to the covers to add some durability when taking this journal on the go.  Now I have a great recycled life journal to take with me and the best part was.. it was free!

DSC_0292

DSC_0290

Tangled No More: Upcycled Wooden Shaker Peg Rack

I have a confession.  I am horrible when it comes to keeping my jewelry together and organized. I am always losing earrings,  and I constantly tangle my necklaces together.  When I picked up this Shaker Peg Rack at a thrift shop, I planned on using it to hang “crafty”things in my crafting area. I decided against it when I realized it was more urgently needed in our bedroom for jewelry.    I reached my breaking point this weekend, when I went to change my necklace only to discover a tangled mess!

Image

I decided I would use the fabric featured on Upcycled Spaghetti Jar Lamp.  I tried removing the pegs, but needed some of the hubby’s strength to remove them. He was able to loosen them and I was able to finally pop them out. My plan was to glue the pegs back on later. After pulling them out, they still fit snuggly which was great.  Removing the pegs would make it easier when covering the rack with fabric, and it would appear seamless.   I traced the rack surface onto the fabric with a black marker.

DSC_0274

I cut the fabric outline with a pair of scissors.  I placed the fabric aside.  I applied Mod Podge to the wooden rack with a foam craft brush, I carefully applied the cut fabric to the wooden surface smoothing it out on the surface with my hands.  I marked off the spot on the fabric, where the peg holes were.  This way, when dry I could pierce the holes with a scissor tip without making the fabric shift and move. I placed this piece aside to dry and painted the pegs with black acrylic paint.  I painted any areas not covered with fabric black.  Once the paint was completely dry, I covered all the painted and fabric covered areas with another layer of Mod Podge, and glued the wooden pegs back into the holes.  I used two long black screws to mount the jewelry holder to the wall.

This fabric and style looks great in our grey/neutral bedroom. You can use any fabric or color scheme you like and unfinished Shaker Peg Racks can easily be picked up at yard sales and thrift shops for a couple bucks. The perfect upcycle!

Upcycled Shaker Peg Rack Made with fabric, Paint and Mod Podge

Decoupage To The Rescue! Lost Basement Table Gets A Makeover

Last stop before curbside in our house has always been the basement.  This poor glass table had been banished to the basement for seven years, the entire time we have lived in our house!  It was pushed in a corner and with flower pots and miscellaneous basement junk stacked on top of it and covered in spider webs. My husband and I try to keep the basement clean, and clutter free, but it is not always easy.  As much as we dislike our basement’s dampness, cement walls and floors, the spiders seem to love it! That’s good because they help control the other bugs crawling around down there! yuck!  If any item deserved a little TLC, and a makeover it was this table! I cleaned it in our utility sink and brought it upstairs.  The glass was easily removable, and the table cleaned up nicely.

Basement Rolling Glass Table Rescue

I laid out the fabric,  I was using on the floor and traced the glass on to the back of the fabric with a fine tipped marker.  I cut the tracings with scissors, and set the fabric aside. It is amazing that a pair of curtains bought at Goodwill, and originally sold by Ikea has been used in 5 previous projects on this blog! These curtains were a great buy and I still have scrap pieces left.  When I started doing this, I was shocked at the high cost of fabric. I always make sure I take a walk by the linens aisle at the thrift stores. Old bed sheets and curtains are great for  furniture re-styles because of their durability and come in great patterns.  You can still purchase this fabric called “Fredrika” through Ikea here.  I love it! For me, Even though it is modern made, it has a 60’s flower power appeal, and I love the colorful textiles from that era.

DSC_0211

I generously applied the Mod Podge, with a paint brush to the outside of the glass.

DSC_0212

Then, I carefully applied the fabric to the glass, smoothing it out with my hands.  I repeated this three times once for each piece of glass.  I allowed the pieces to dry in front of a fan. Once dry,  I applied Mod Podge over the top of the fabric to coat the surface.  I applied 3 coats to each table top.

DSC_0214

Ta da! The colorful fabric turned a dirty and dusty table bound for the junkyard, into a colorful, and fun piece!  A true basement rescue!

Upcycled Rolling Glass Table Restyled with Ikea Fabric

Stay Calm and Craft- A Simple Wooden Tray Decoupage

Nothing helps me manage stress better than crafting and creating.  When I don’t put my nervous energy to good use, the anxiety levels within me rise.  When I am creating I feel as though my stress levels decrease and my positive energy increases, and I am a better, lesser stressed out version of myself.  When I am working on a piece of art or a craft project, it is one of the few times my mind is clear of all worry and I become completely focused.  I was feeling a bit stressed and this small and simple wooden tray decoupage craft was exactly what the Dr. ordered.

Little Wooden Tray

I picked this wooden tray up at A Goodwill store.  It was  marked with a red tag and on this day red tag items were 50% off.  This was a bargain item costing only 50 cents.  The wood on this piece was in very nice condition. I decided not to paint it, I chose a nice piece of Victorian Artwork and traced and cut the print to fit the inside of the tray.  I generously applied Mod Podge with a small foam craft brush to the inside of the tray.  I adhered the print carefully to the tray, smoothing the paper out as I applied it to the wood.  Once dry, I applied two coats of Mod Podge over top of the image to seal it. I used a paper towel and vaseline (works great on wood!) to shine and buff the wood.

Victorian Artwork Decoupage

Ah now that’s better!  Try a simple craft during a stressful day. You won’t regret it!

(and I think our Victorian model would agree!)

Materials:

Printed Art

Small Wooden Tray

Mod Podge

Scissors

Craft foam brush

Vaseline/cloth or paper towel

Upcycled Decorative Jar Lamp: Take Three

Upcycled Decorative Jar Lamp


It all started with a spaghetti Jar, a broken lamp and a upcycle idea.  I found myself making a third decorative fabric covered glass jar lamp tonight.  (See Decorative Lamp # 1 and #2 to read tutorials on how I make these jar lamps.) I enjoy making these because each one turns out unique and the style possibilities are endless when it comes to the different fabrics you can use.

I also had the chance to work on a few smaller projects and organizing my craft space.  I decided to use the same sheet  I used for Cloth Covered Galvanized Bucket.  The Lamp is being displayed in a built-in vanity in our hallway that displays a special family blue vase.  The light this lamp omits illuminates the vase nicely and it is pleasing to the eye as you walk up our stairs.  Upon further inspection today, on a trip up to our attic, I stumbled across more of these “nightlight bulb lights”  These certainly will come in handy for future luminary crafts!

Upcycled Decorative Jar Lamp Reflection