Pretty As A Peacock: Side Table Redesign

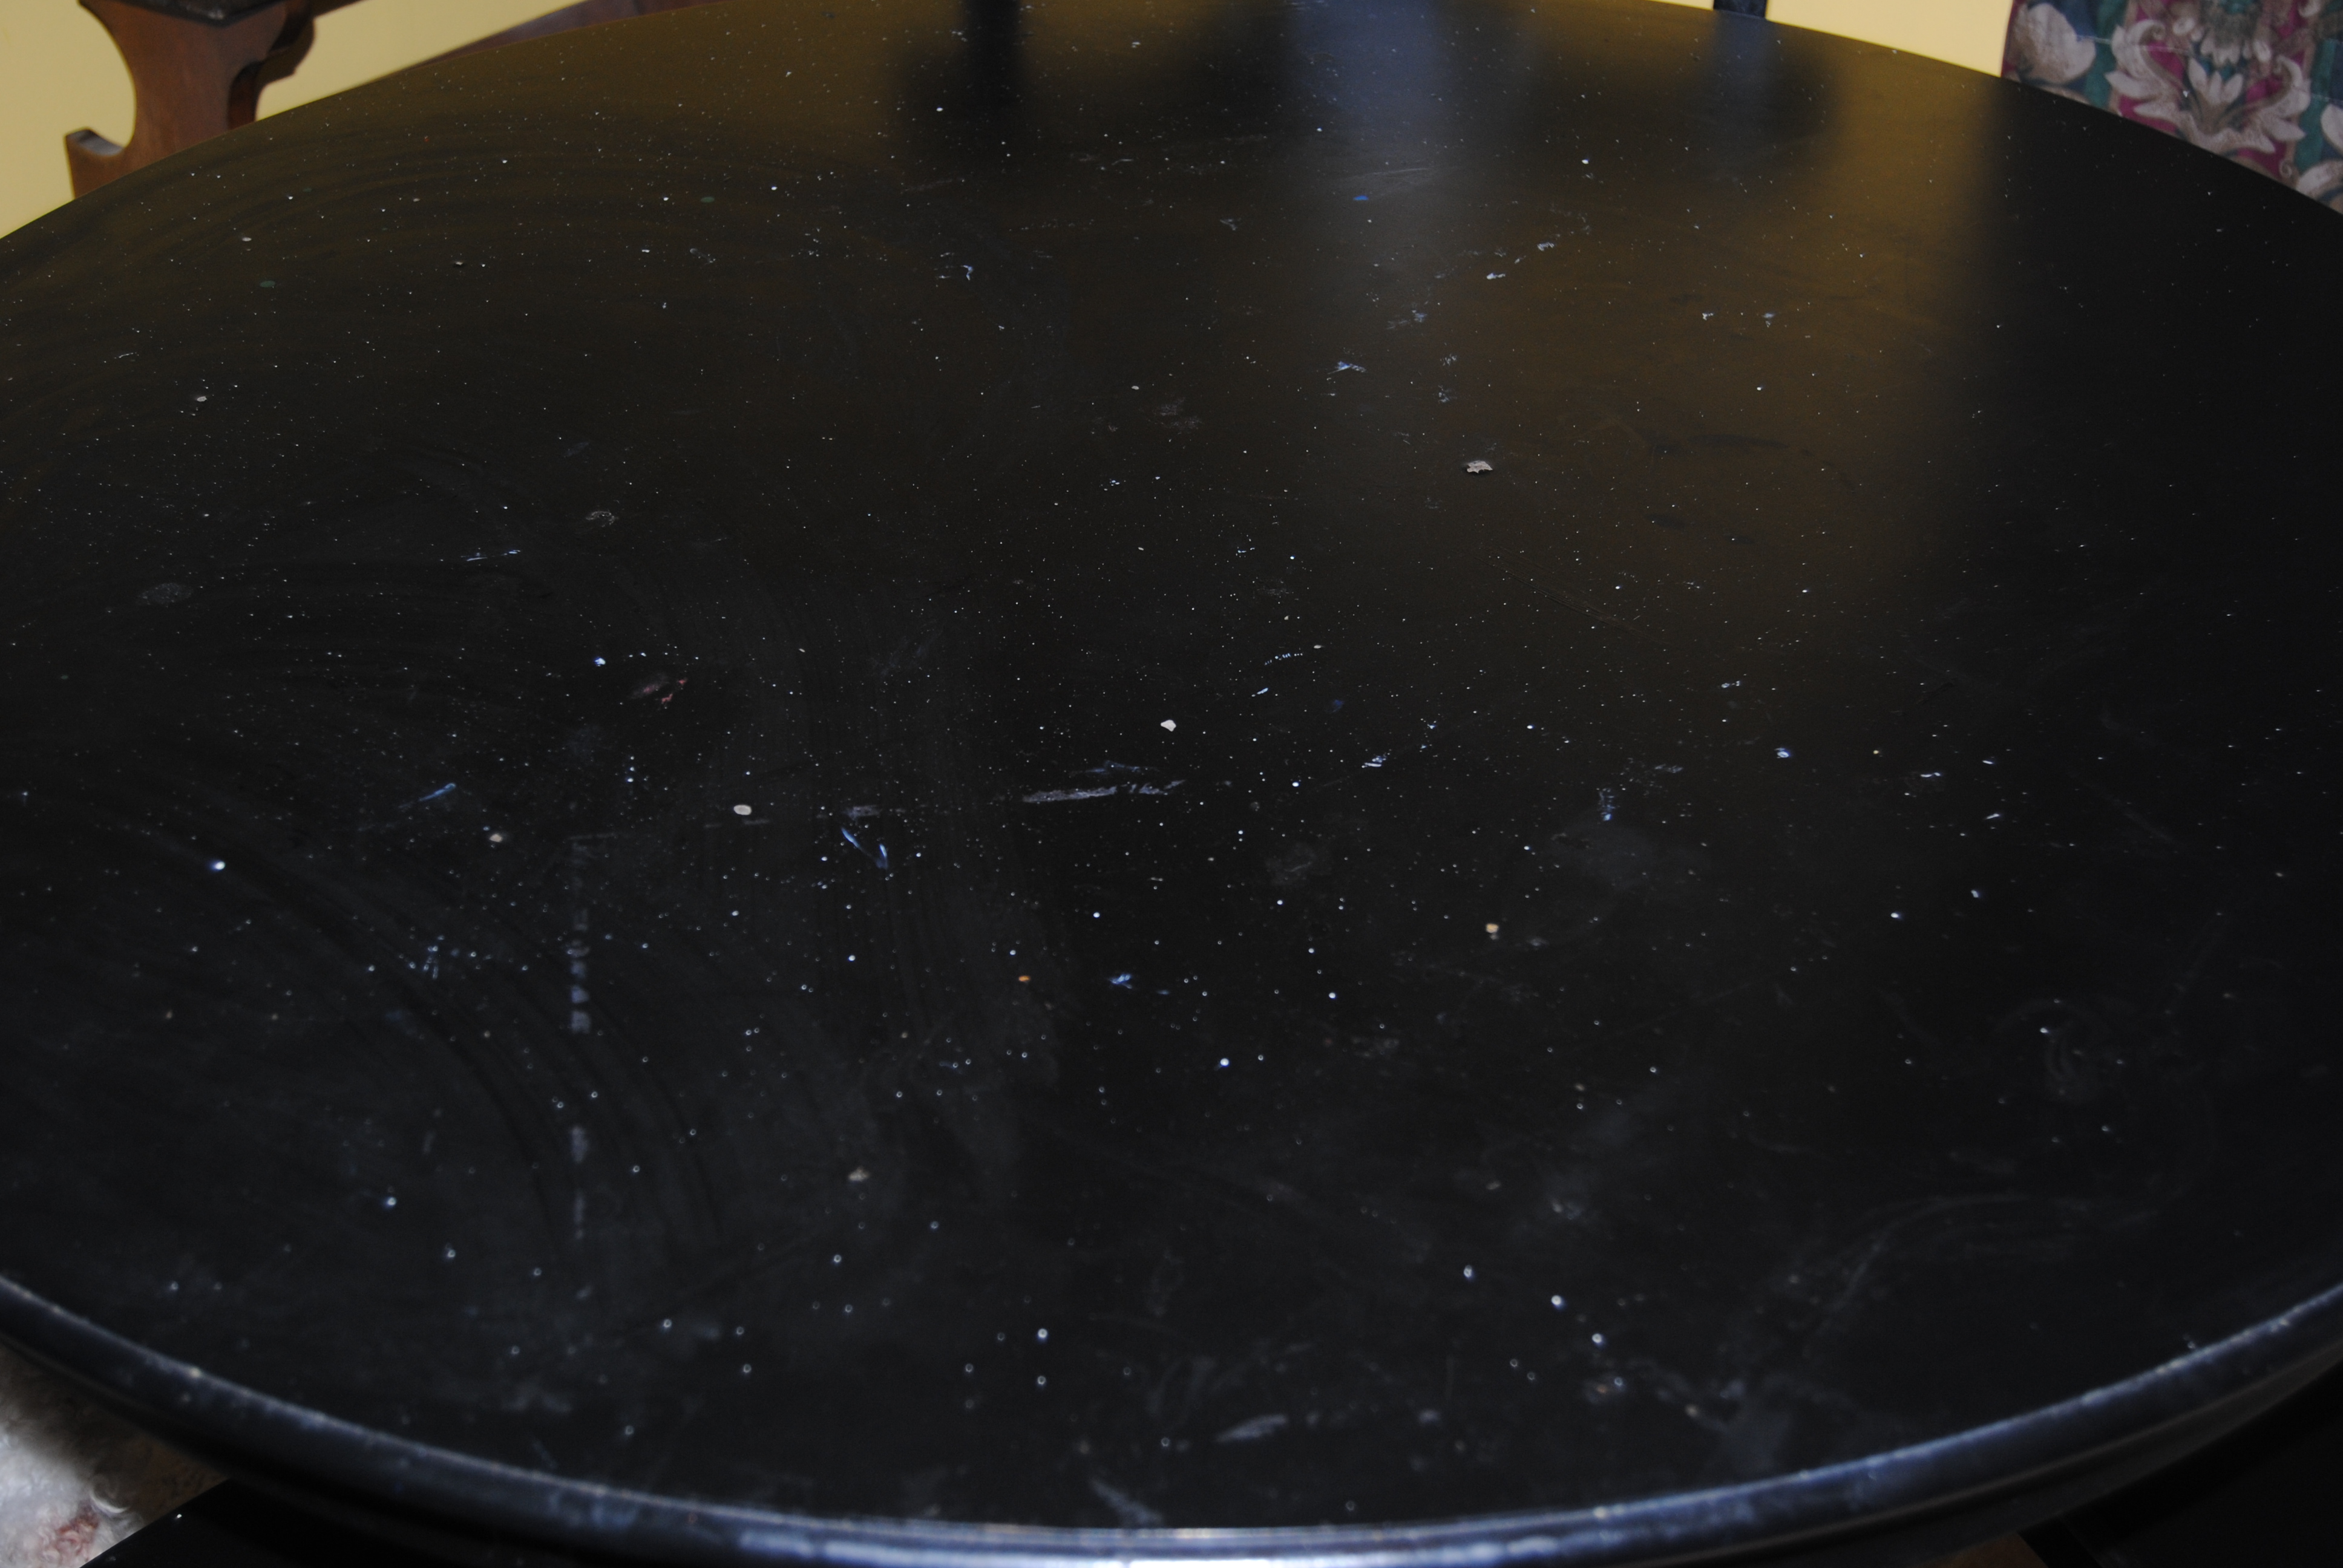
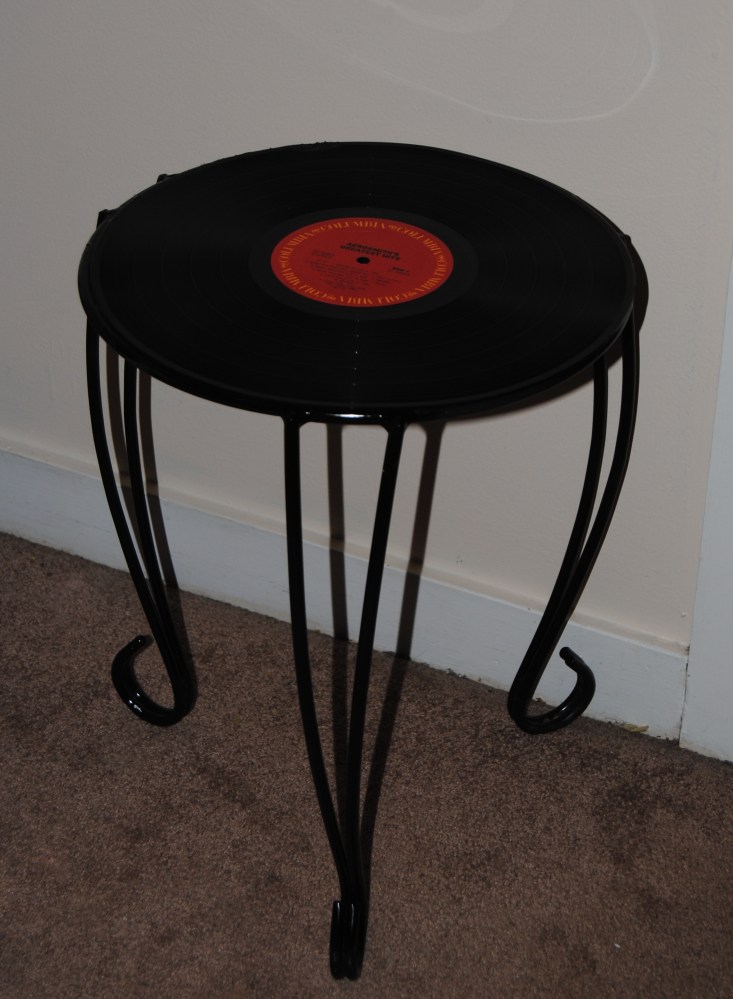
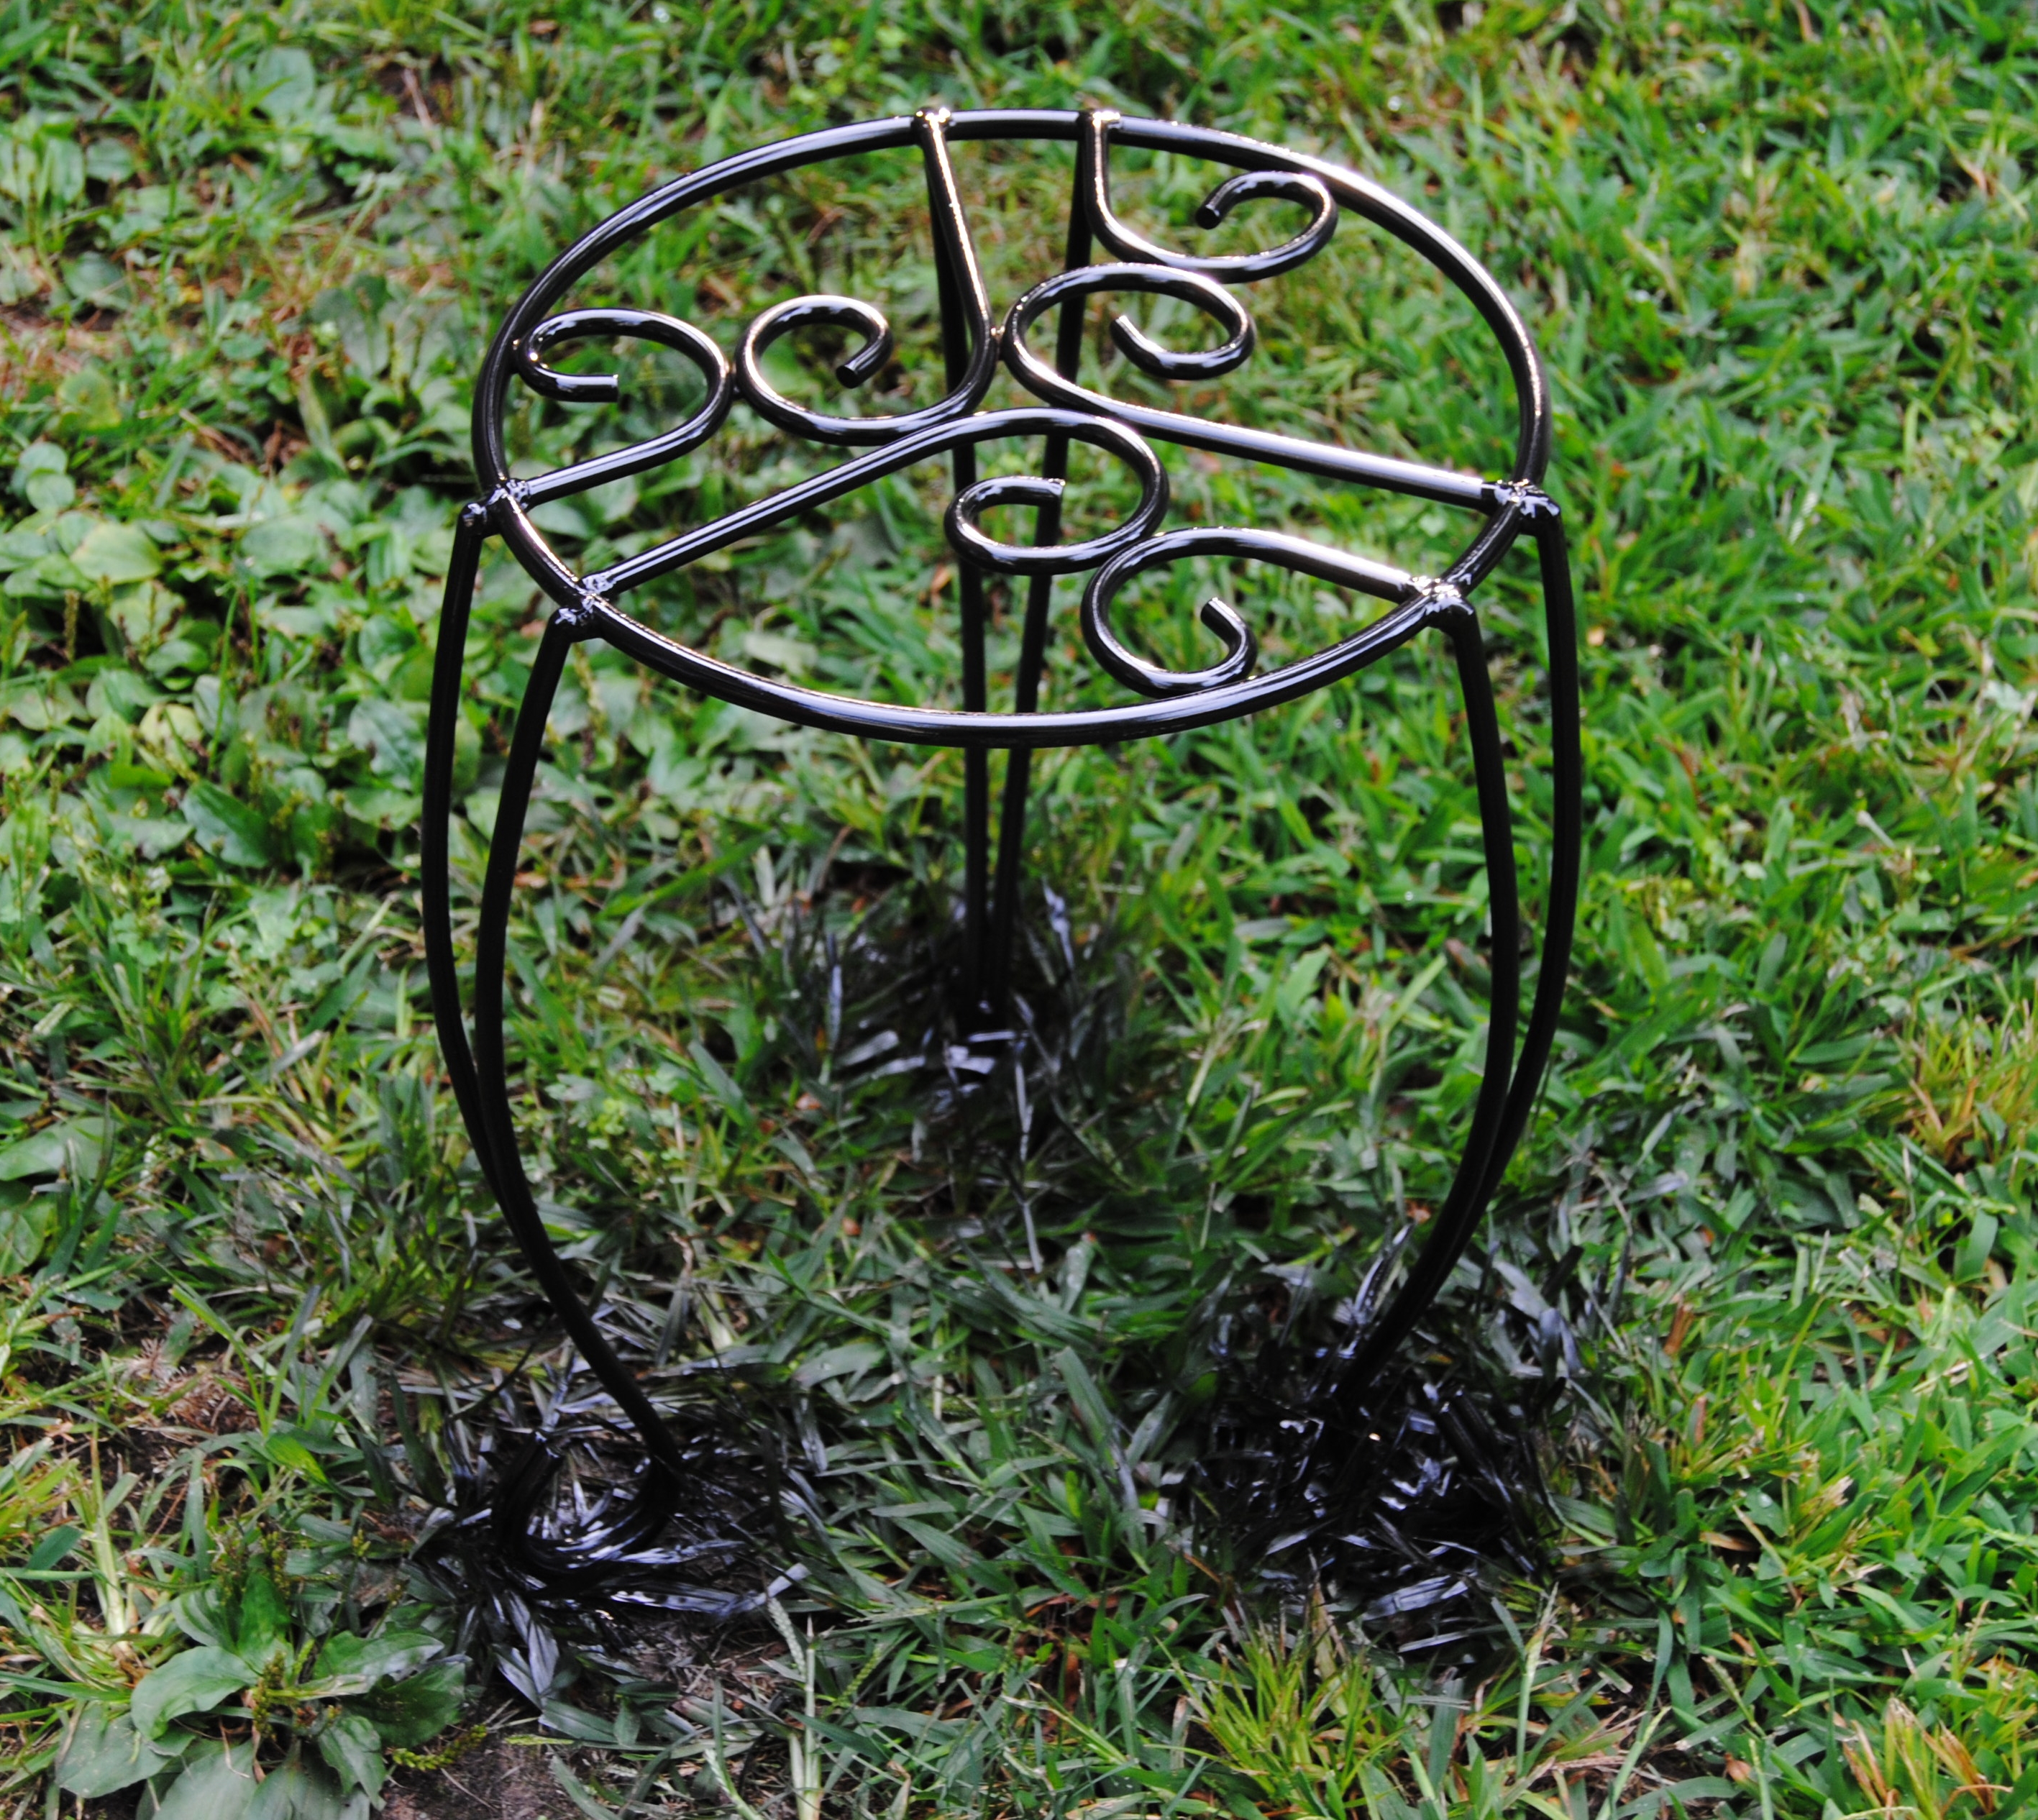
I picked up this side table at Goodwill.  I loved the design qualities it had, but this piece was in poor shape.  Most of the finish was worn off, and it had issues with sturdiness.  Due to these shortcomings, this table was priced right at only $3.99.

DSC_0655


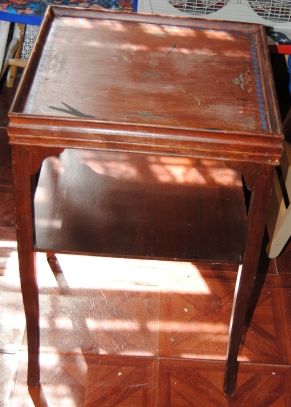
It sat for a while collecting dust.  I wanted to do something really special with it, but my vision was stifled.  I used it to work on projects, but this table certainly deserved a more dignified life, A trip to Jo Ann Fabrics changed everything.  They have a new super store less than a mile from home and it stocks row upon row of fabric.  I came across a beautiful peacock inspired fabric.  It made me think of the side table and I decided to buy about a yard of it.  I liked it so much I wanted to have extra to use in a future project or two. It felt nice to treat myself a little, plus I had a 40% off coupon!

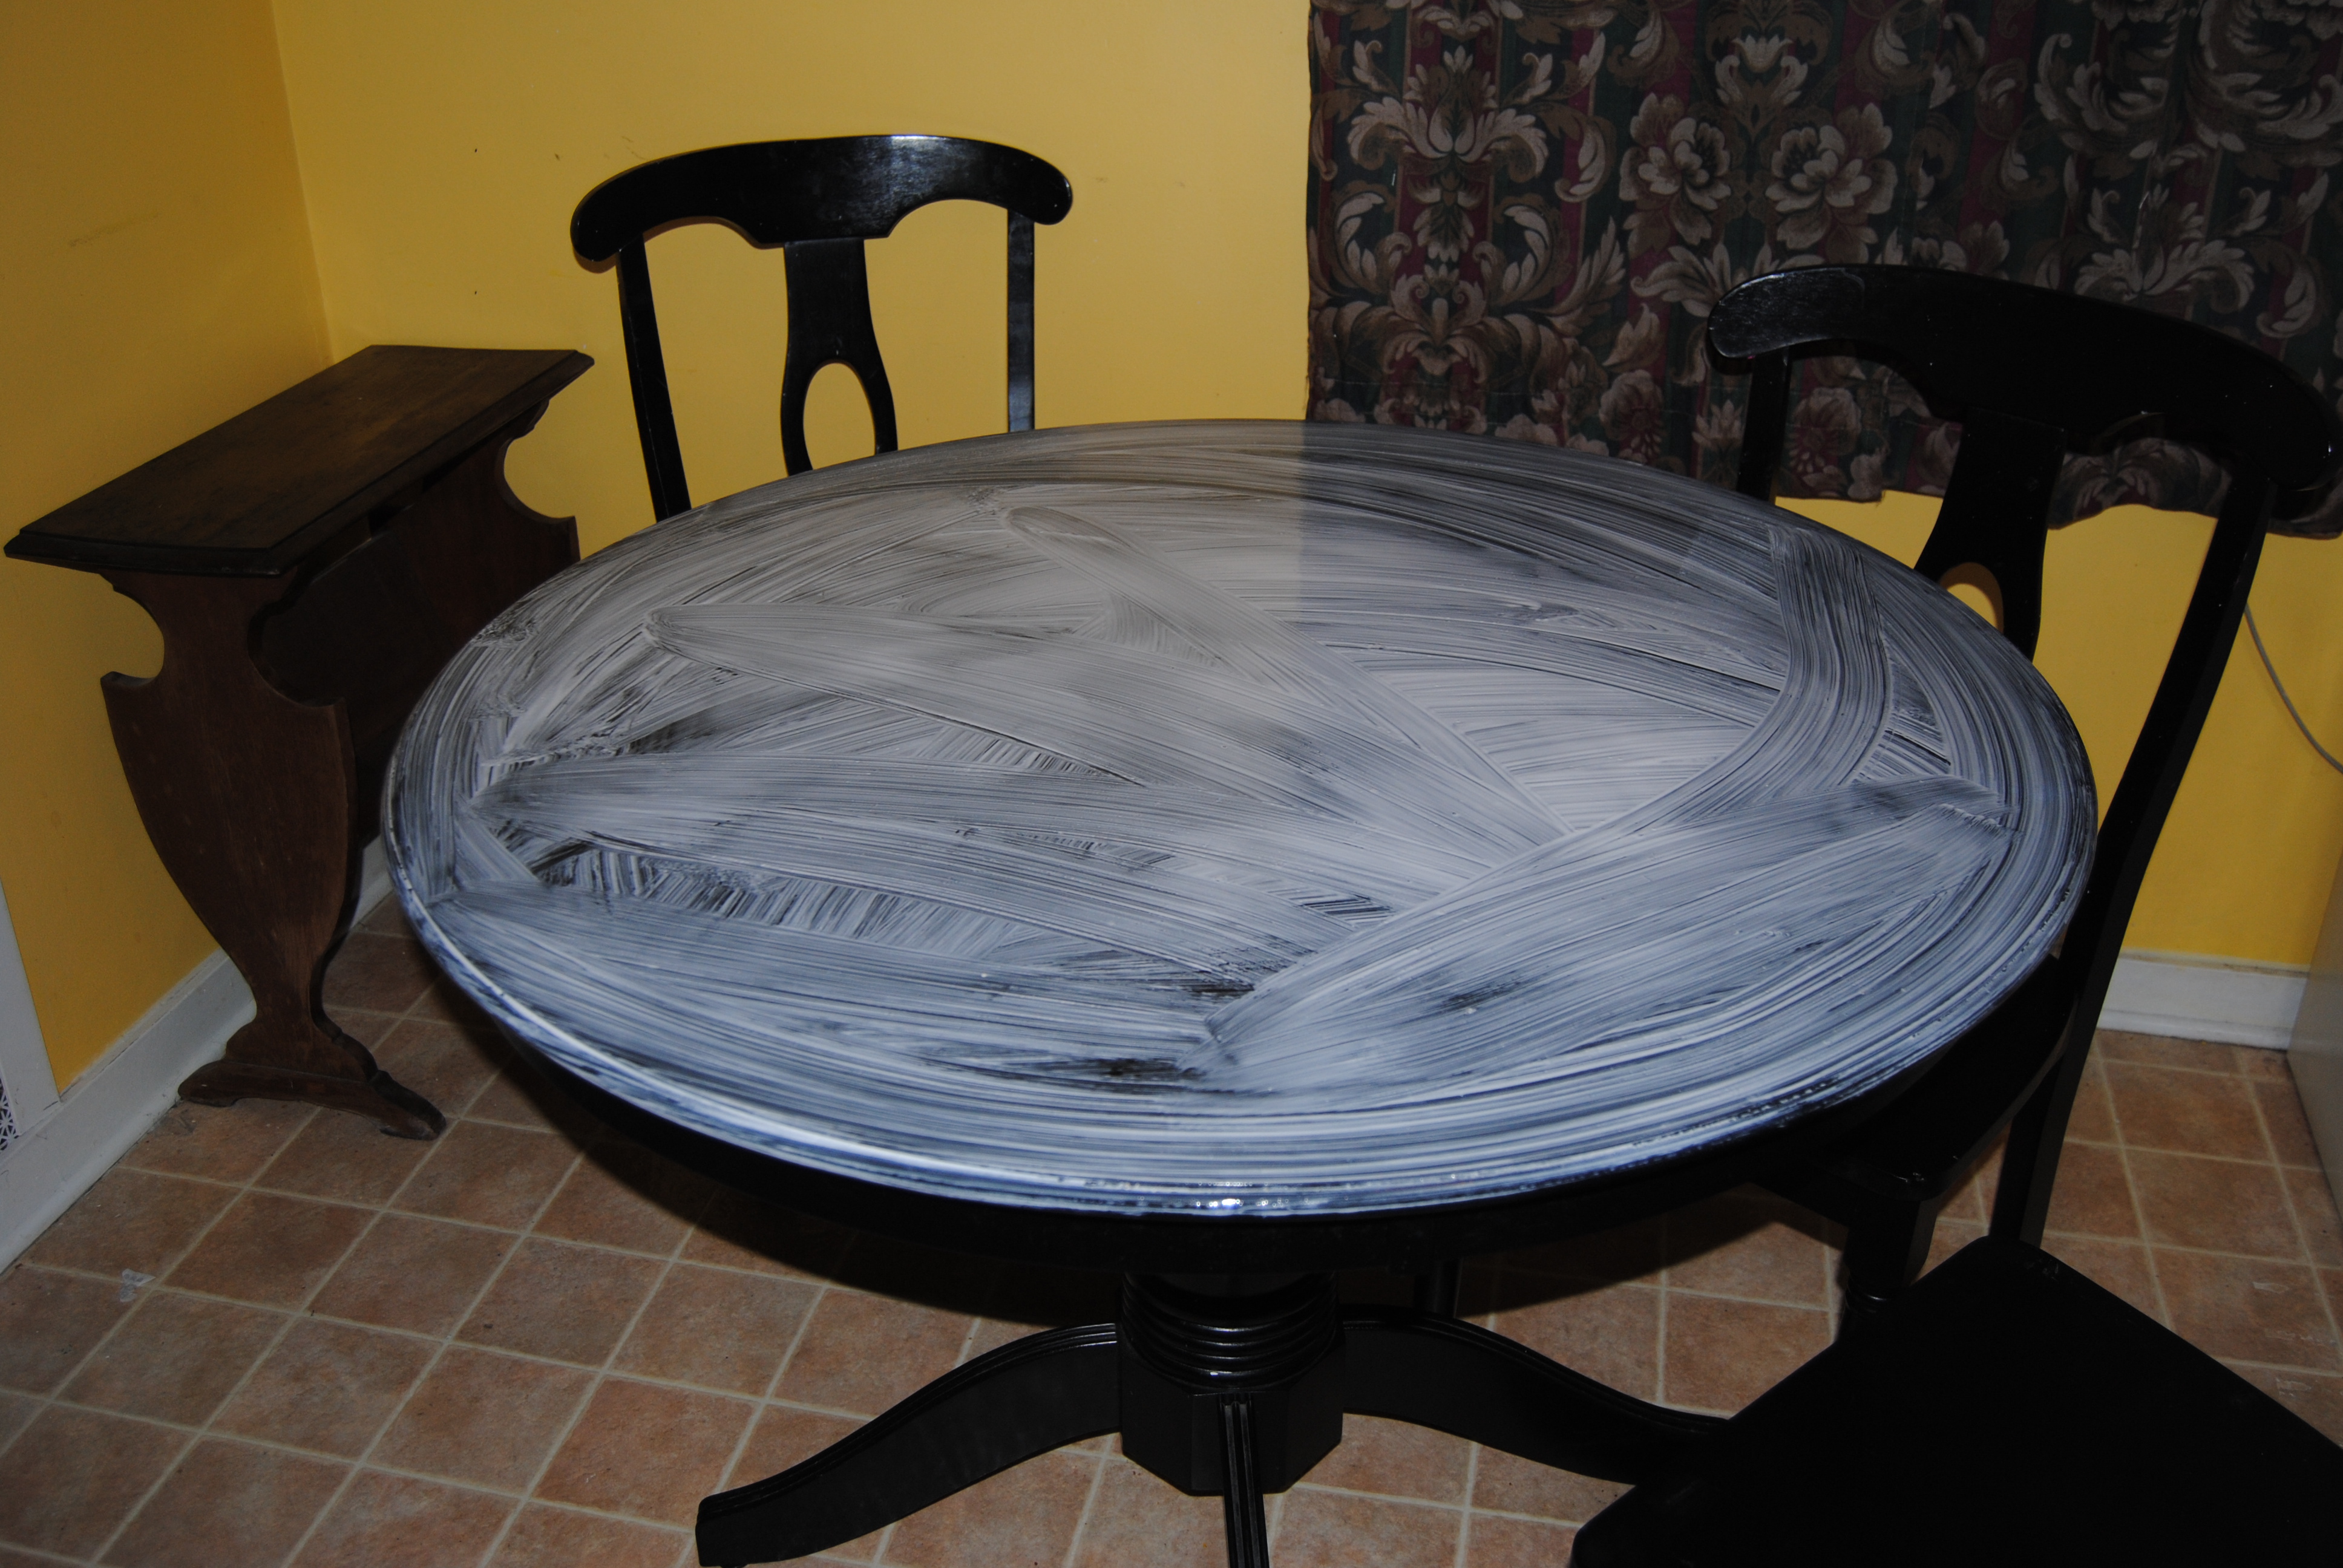
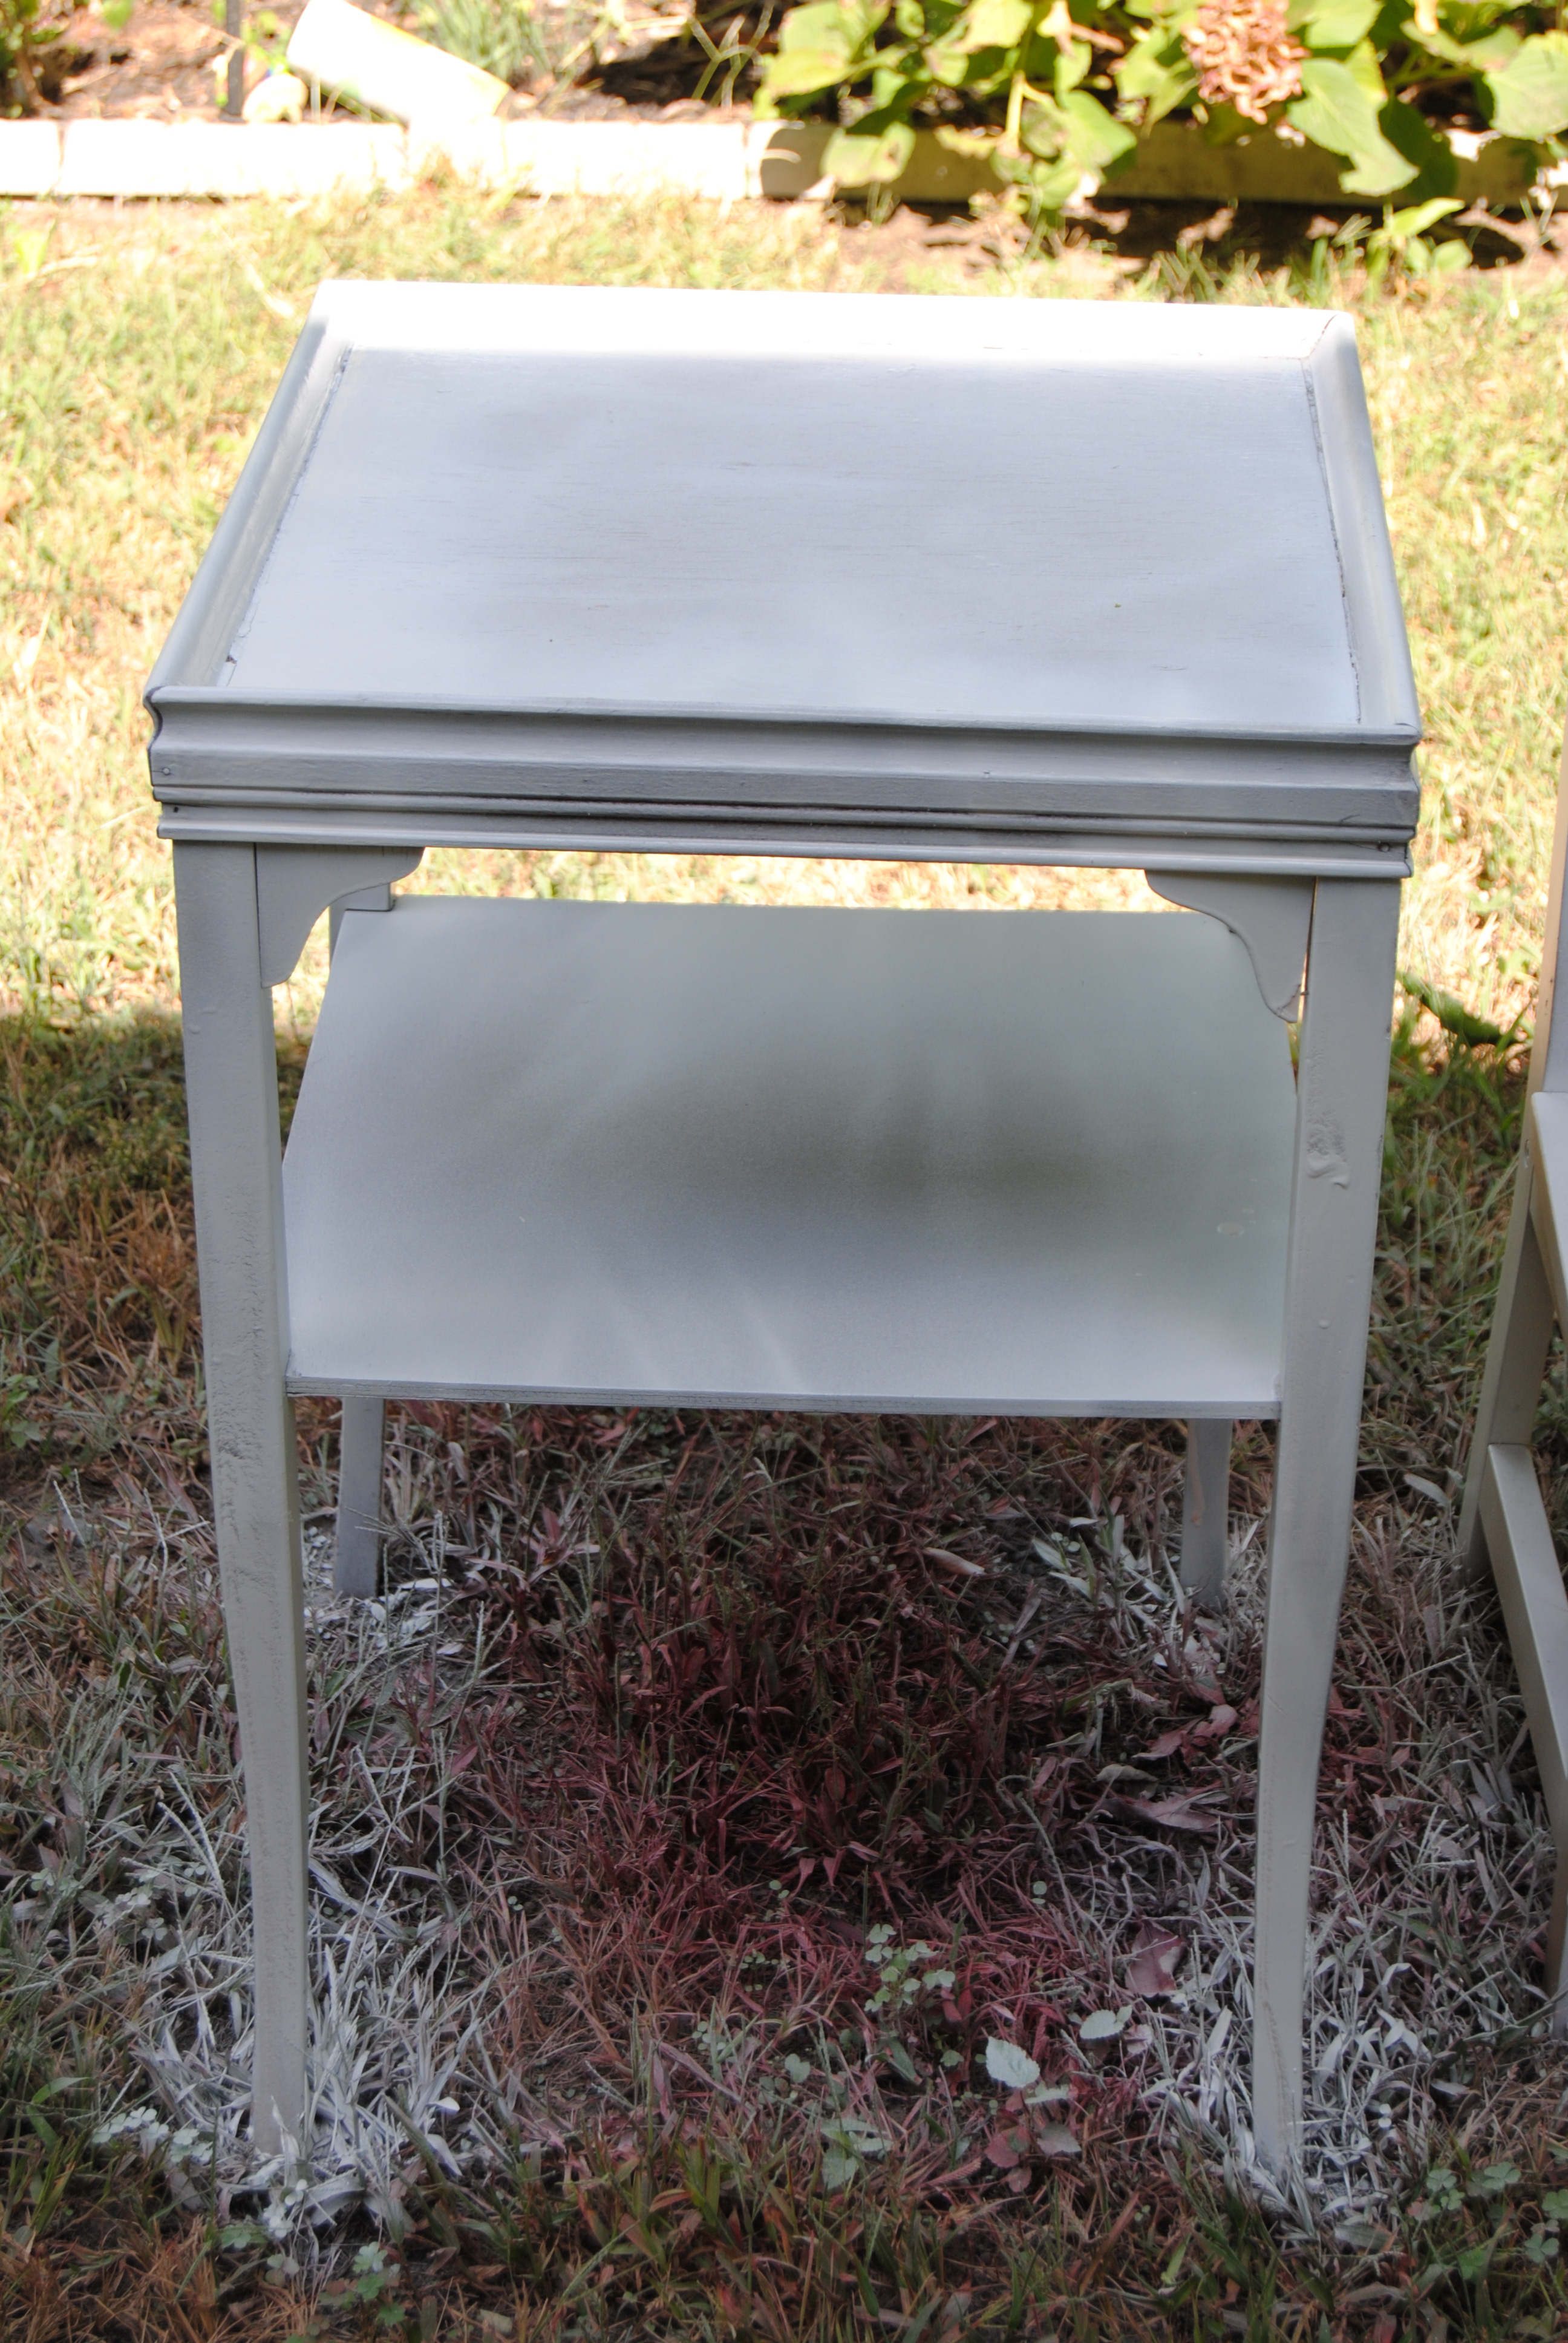
I took the table outside cleaned it, and tightened it up as best I could. I used a can of white spray primer to prepare the table for painting.

DSC_0659

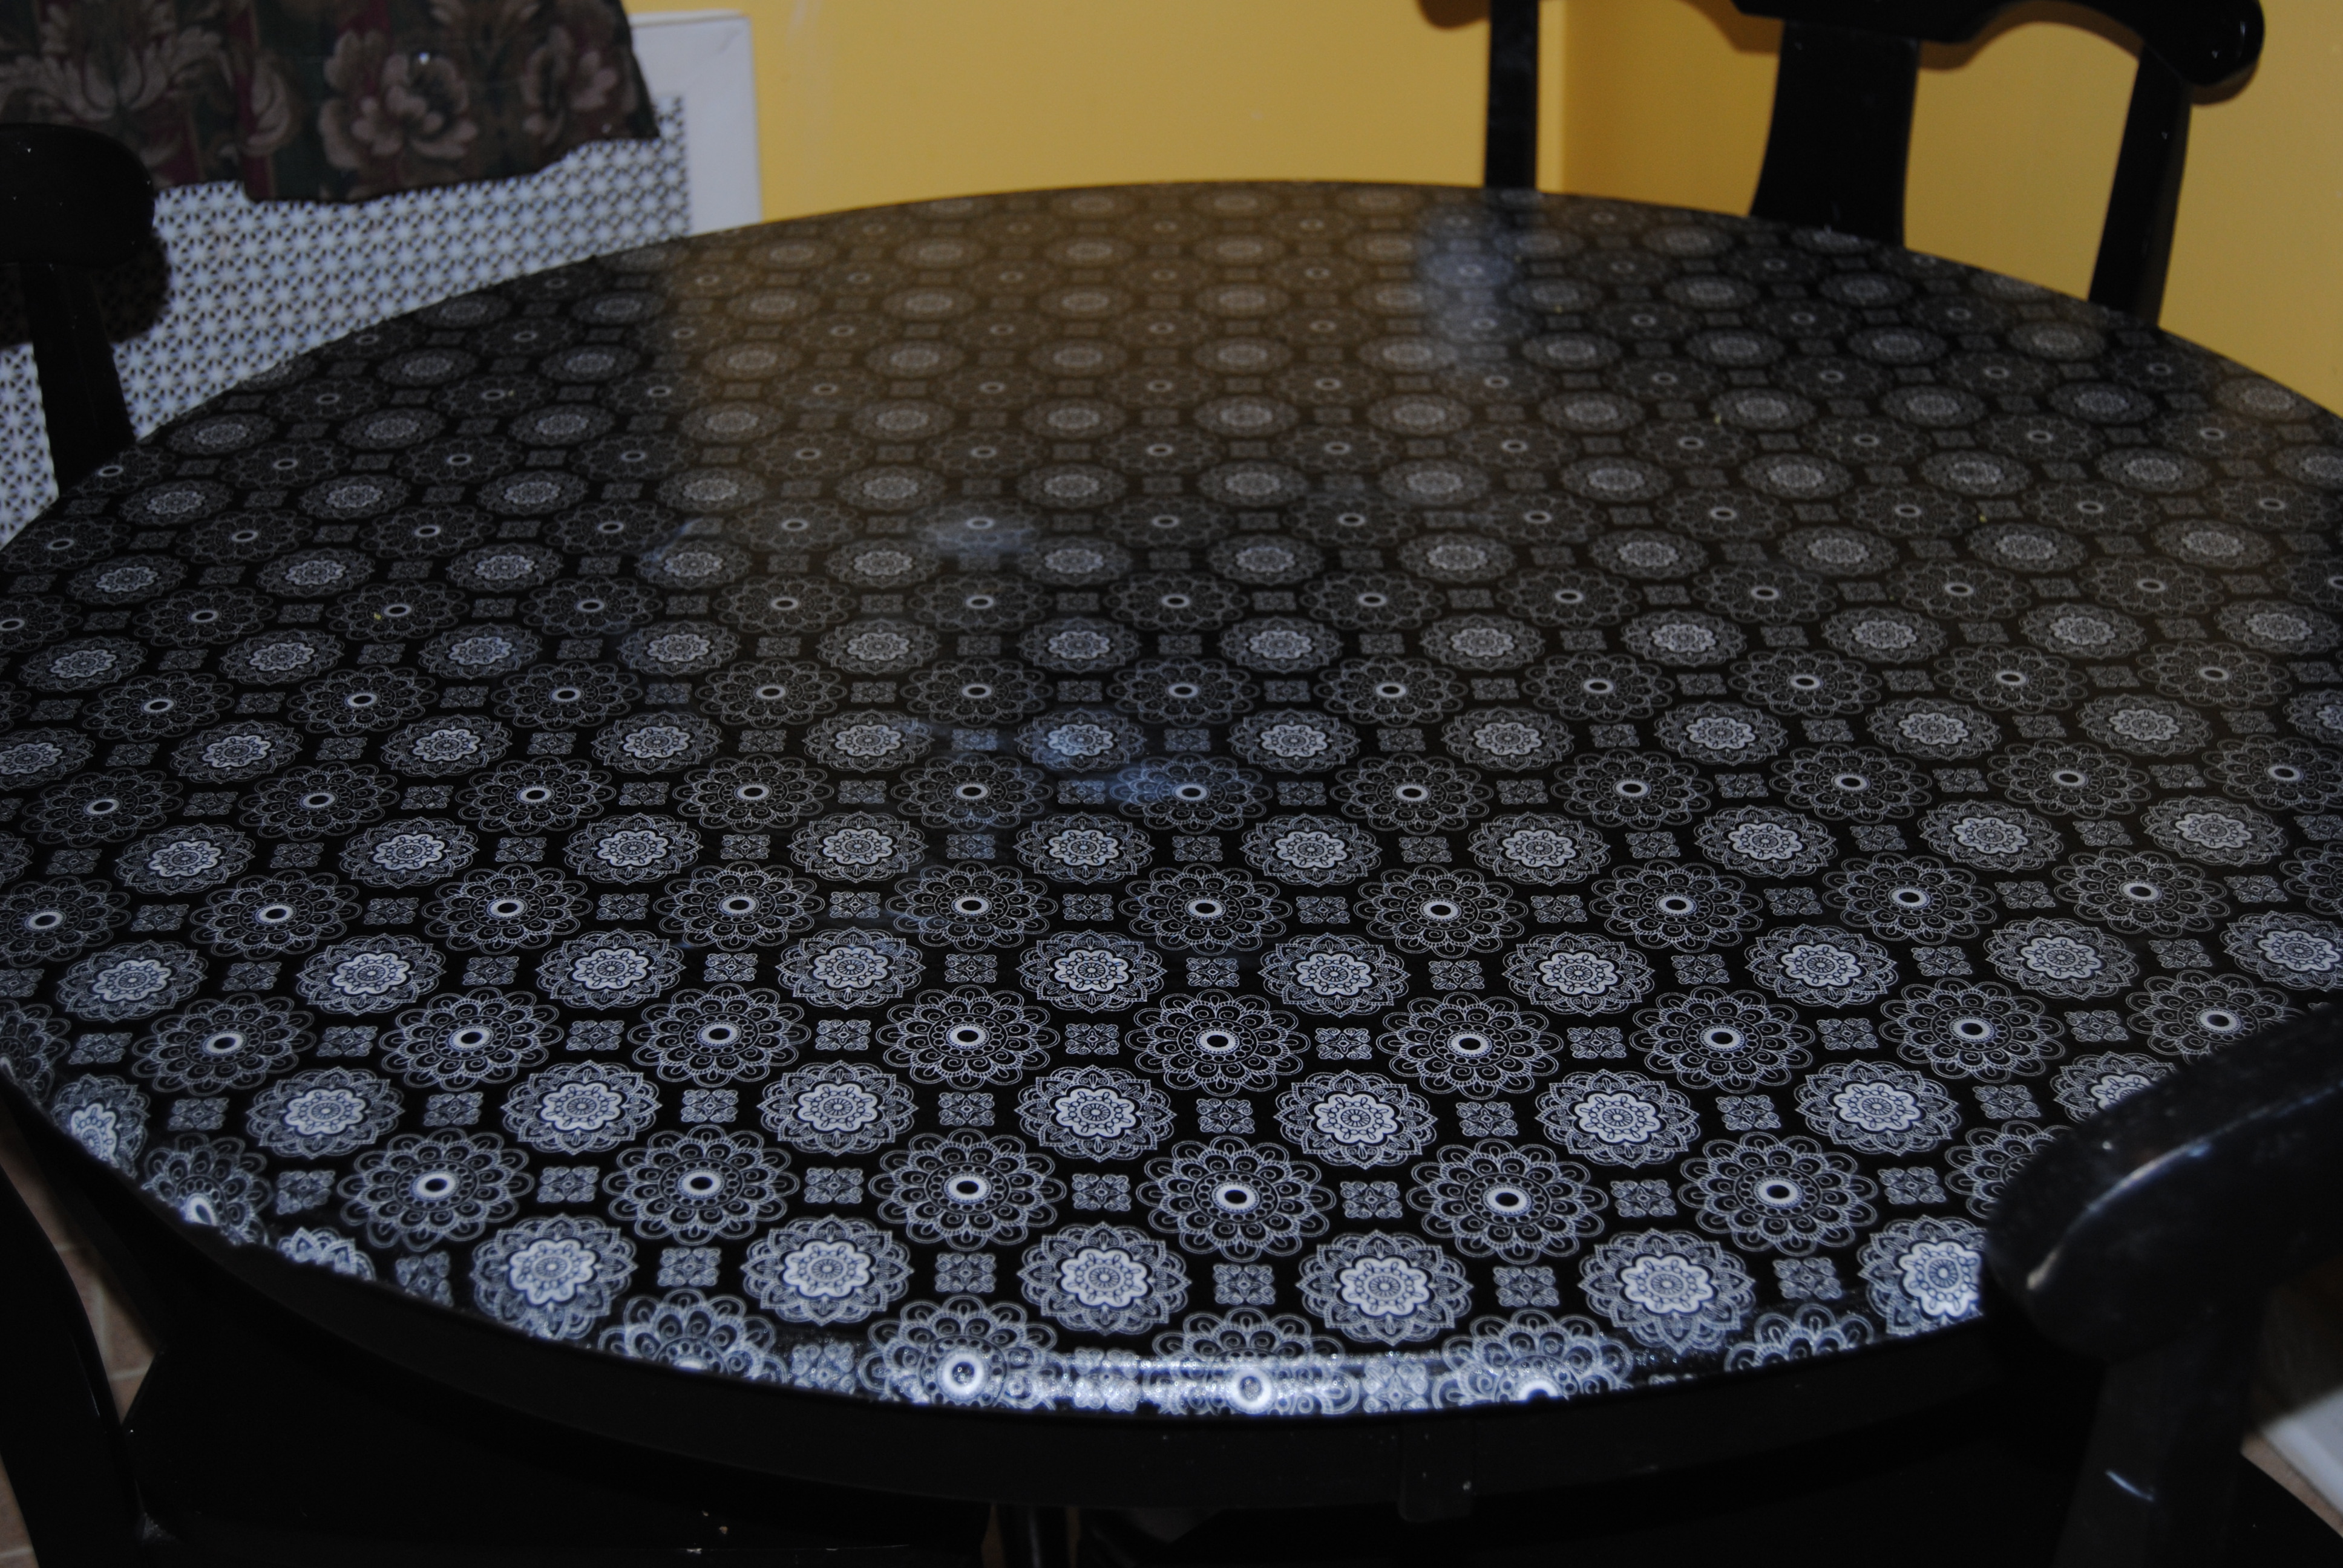
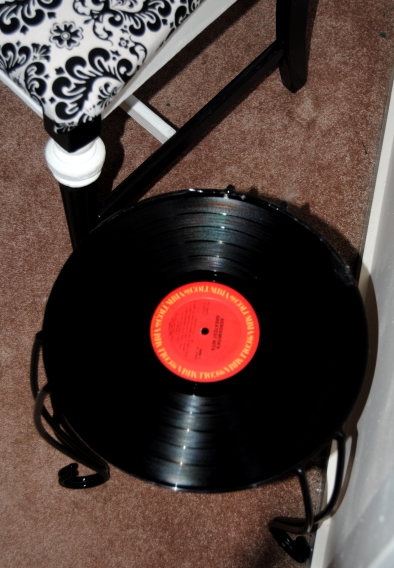
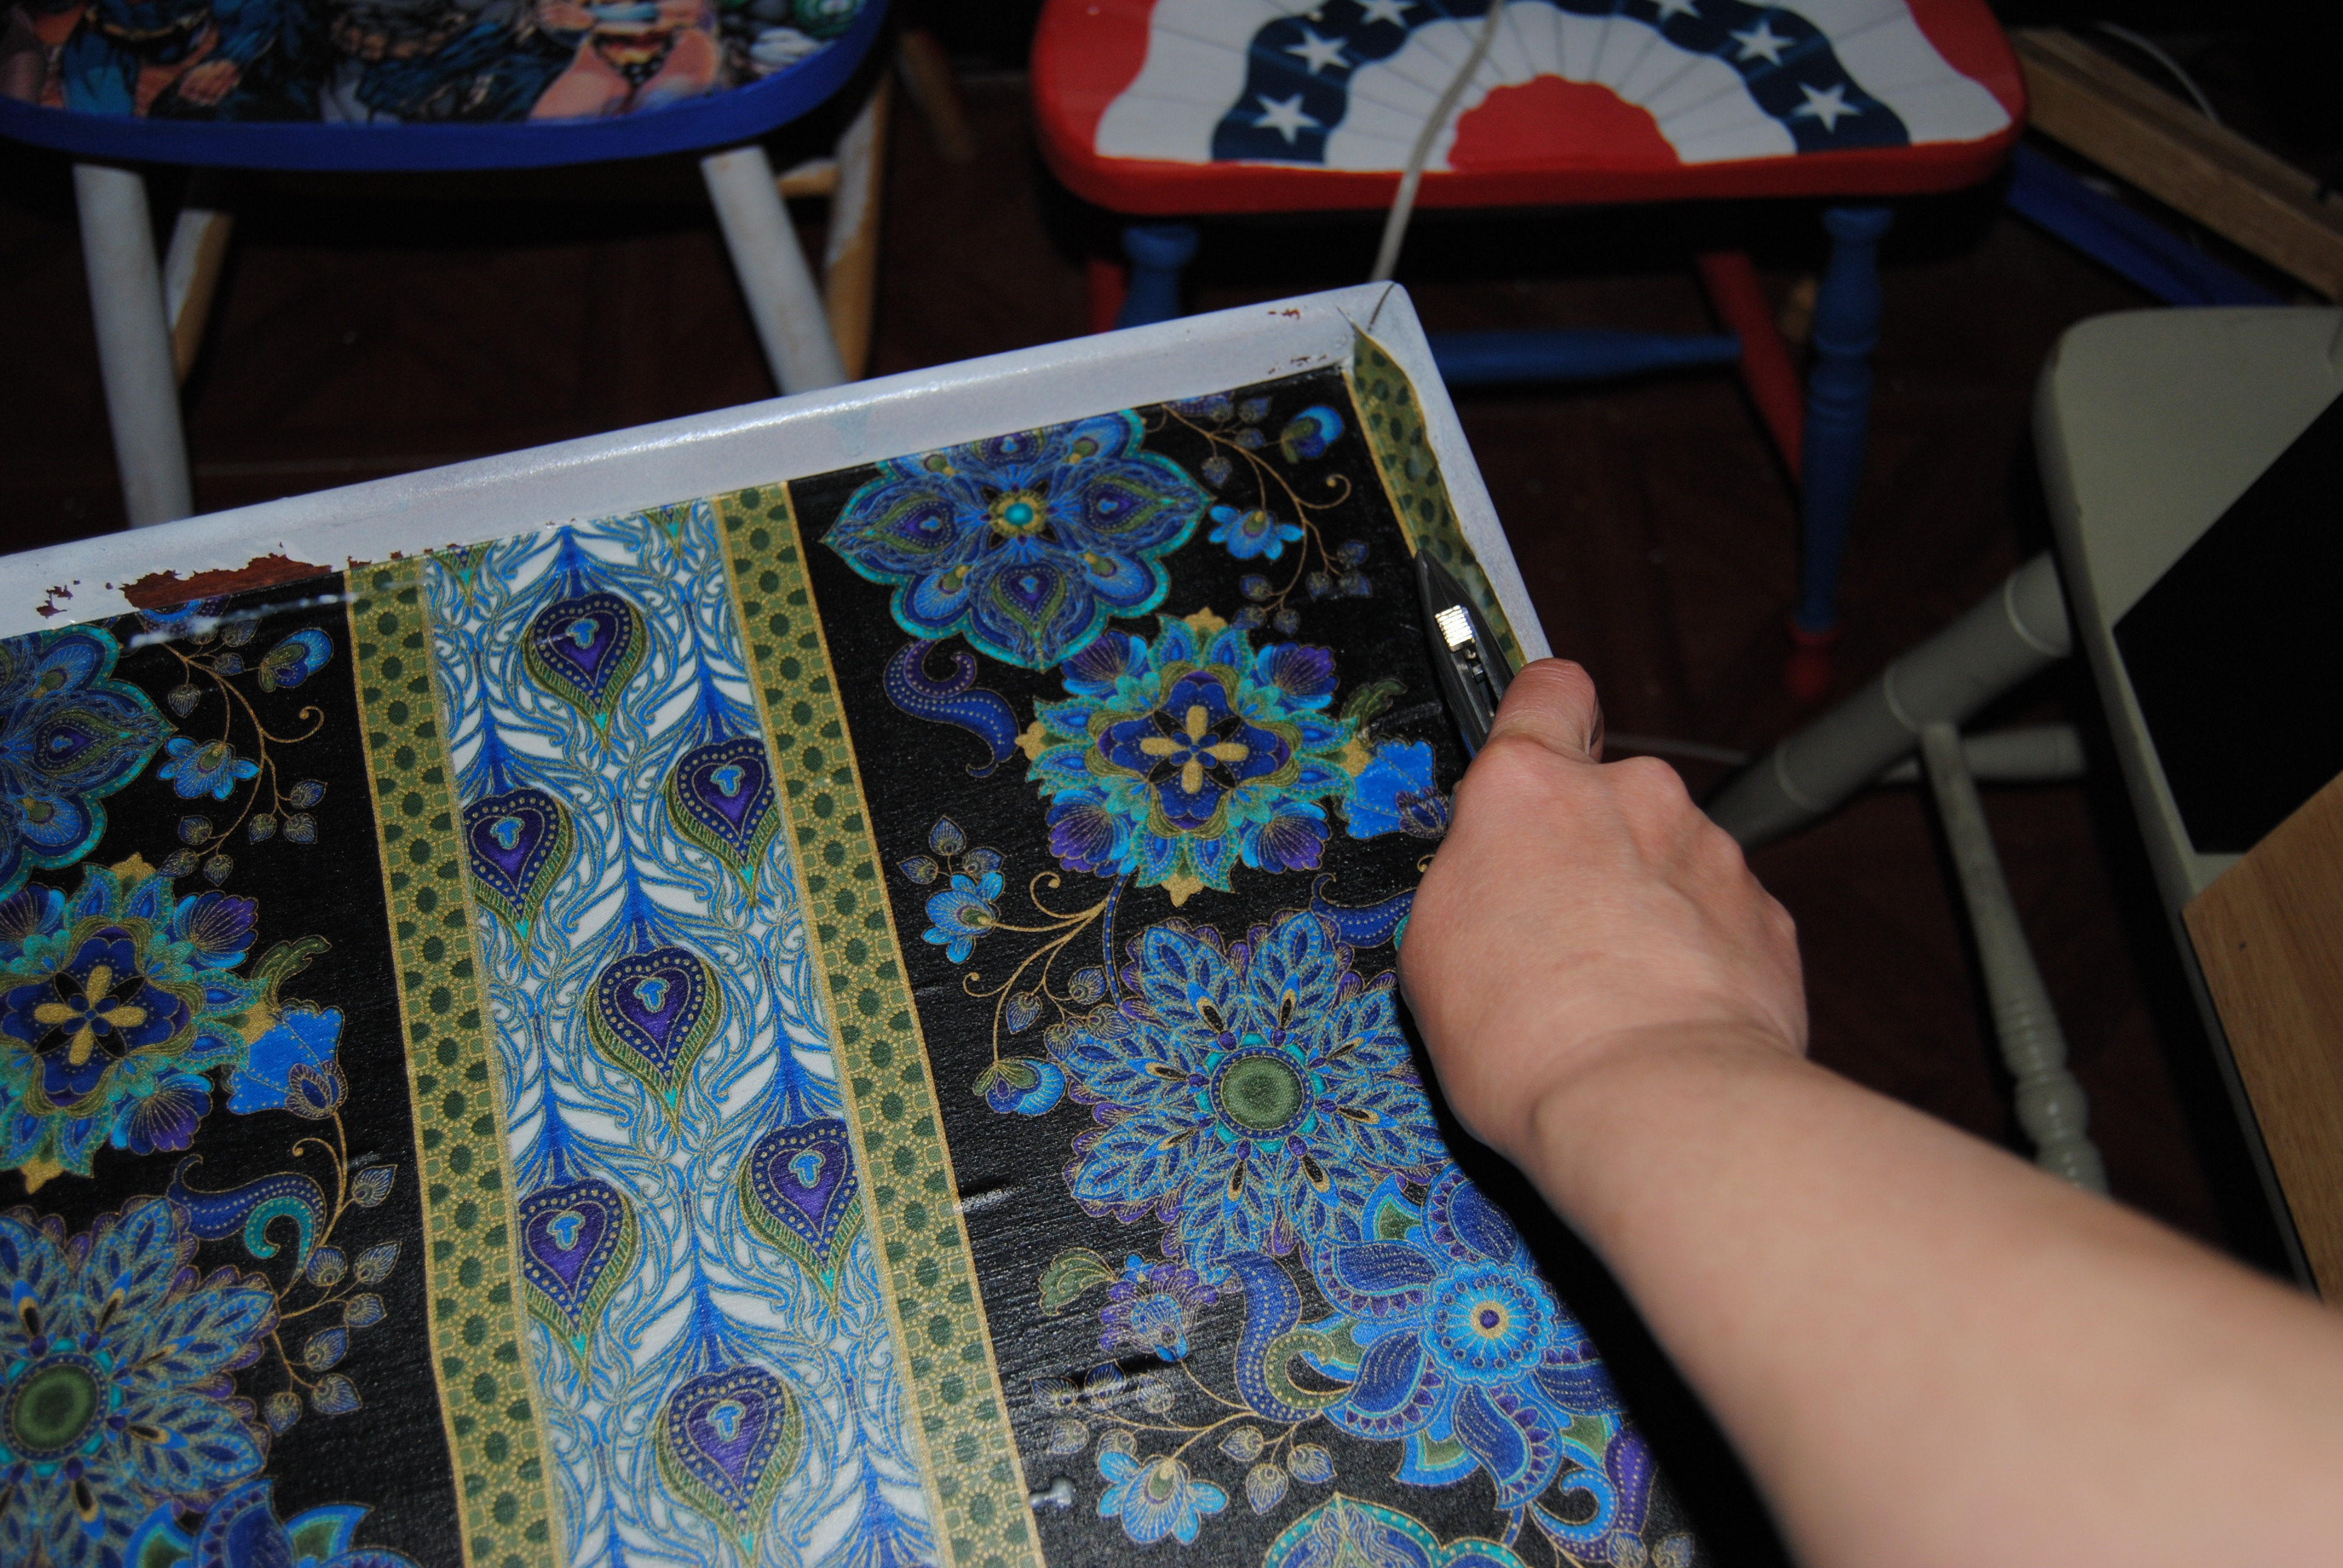
Once dry I brought it  back inside the house to the craft room.  I flipped the table over tracing the table on the back of the fabric with a black fine tipped marker twice, once for the top surface and once for the middle shelf.  I cut the fabric with scissors.  I applied the Mod Podge on both shelves and carefully place the fabric down, smoothing it out with my hands,  I applied Mod Podge over top and allowed it to dry,  Any excess fabric, I trimmed with a box cutter knife.  I also applied extra Mod Podge to the corners where the fabric meets the table .

DSC_0684

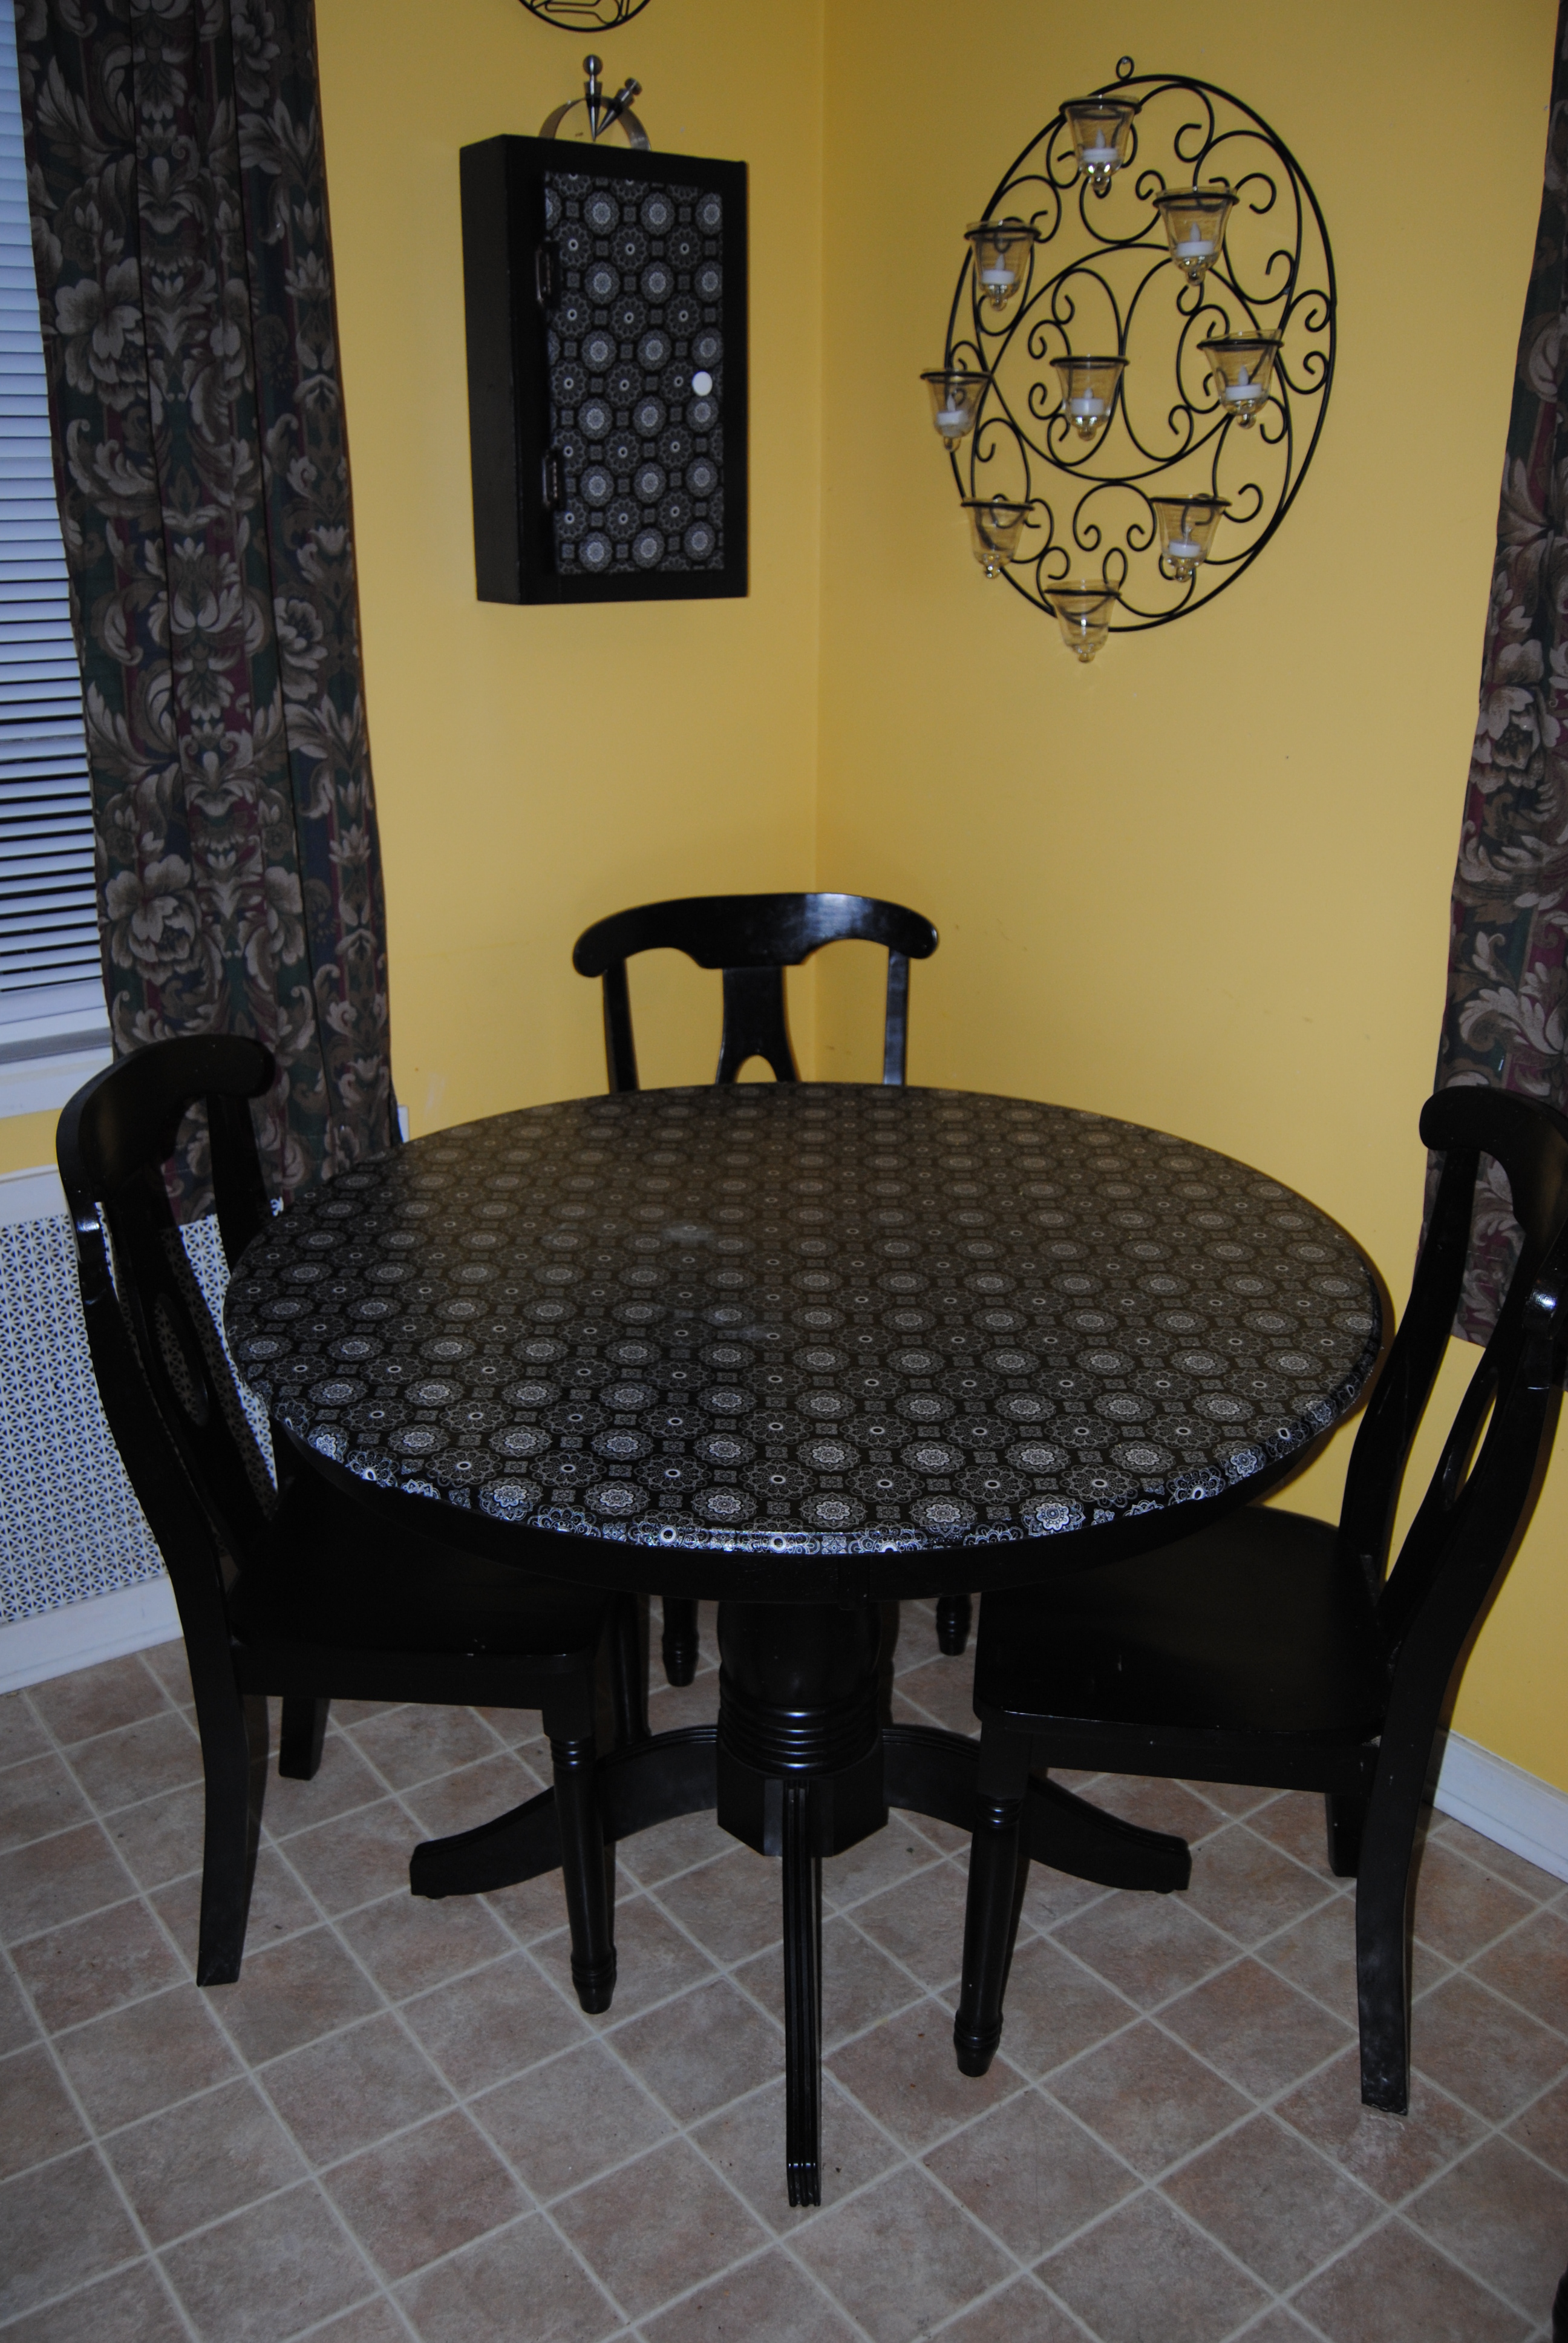
I used two coats of black and white acrylic paint to paint the remaining areas of the table. Once the paint was dry, I used a Polyurethane clear gloss to seal the table and give it a shiny appearance.
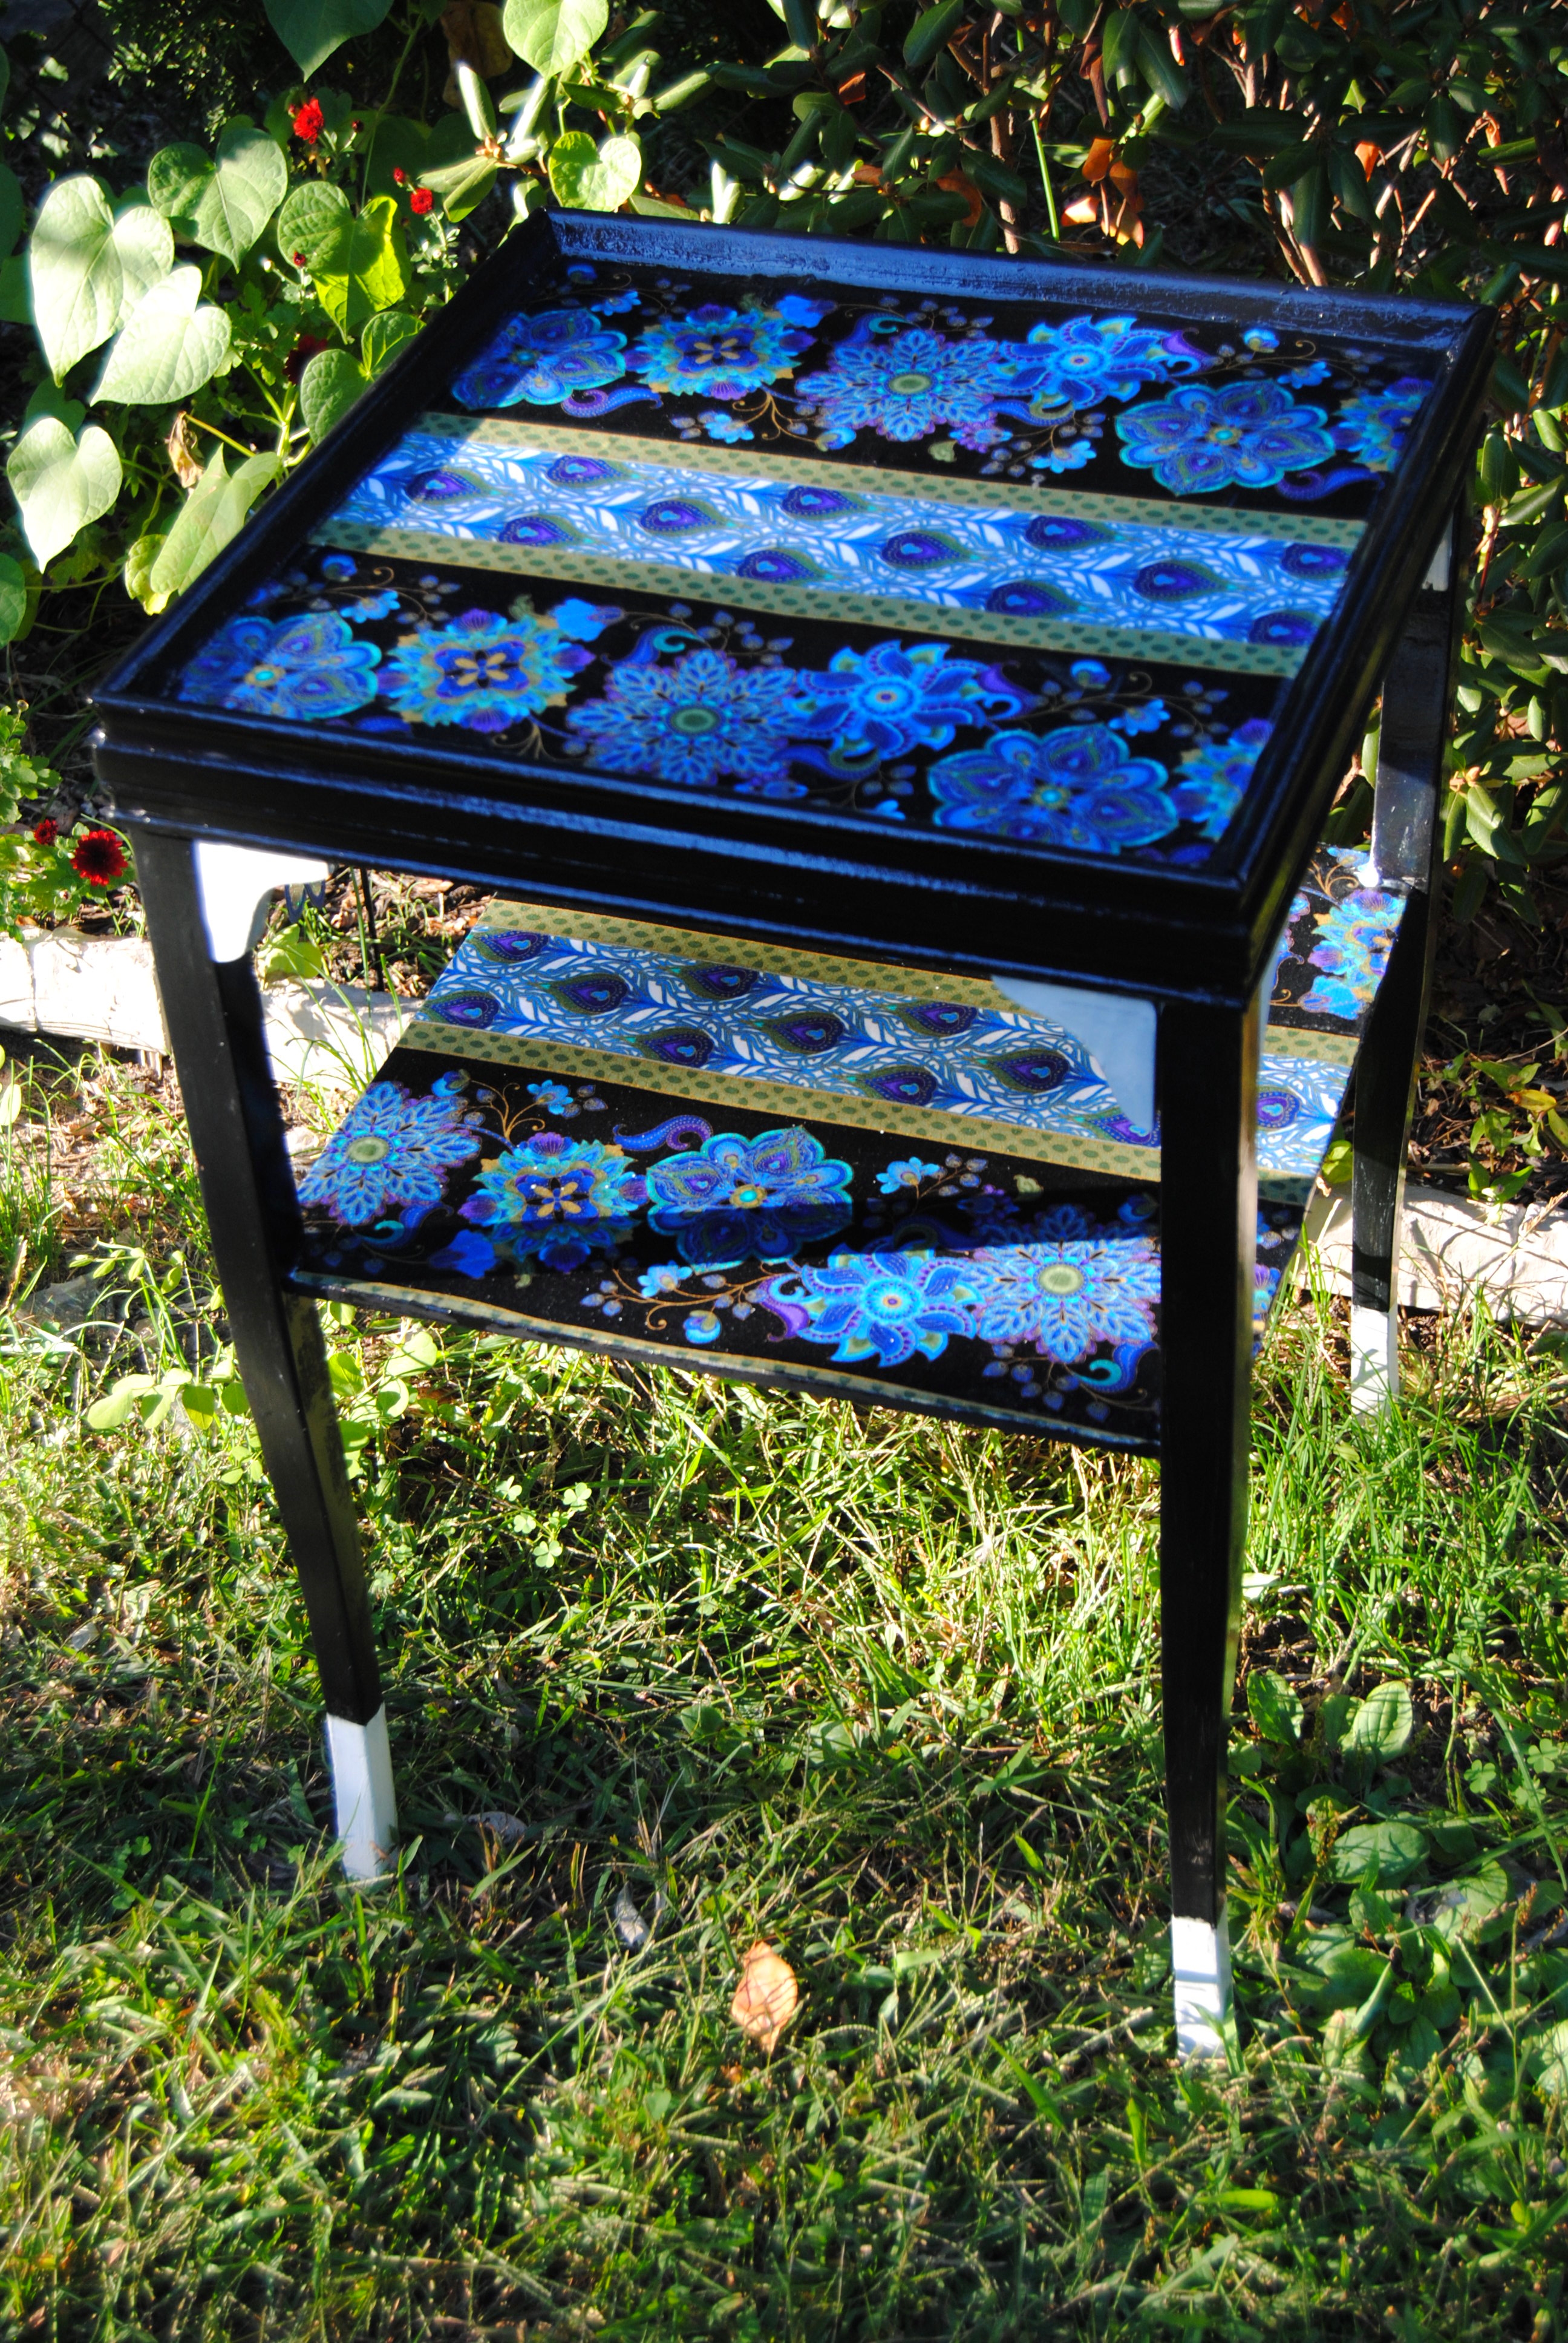
DSC_0707


Before and After:

peacock table before and after


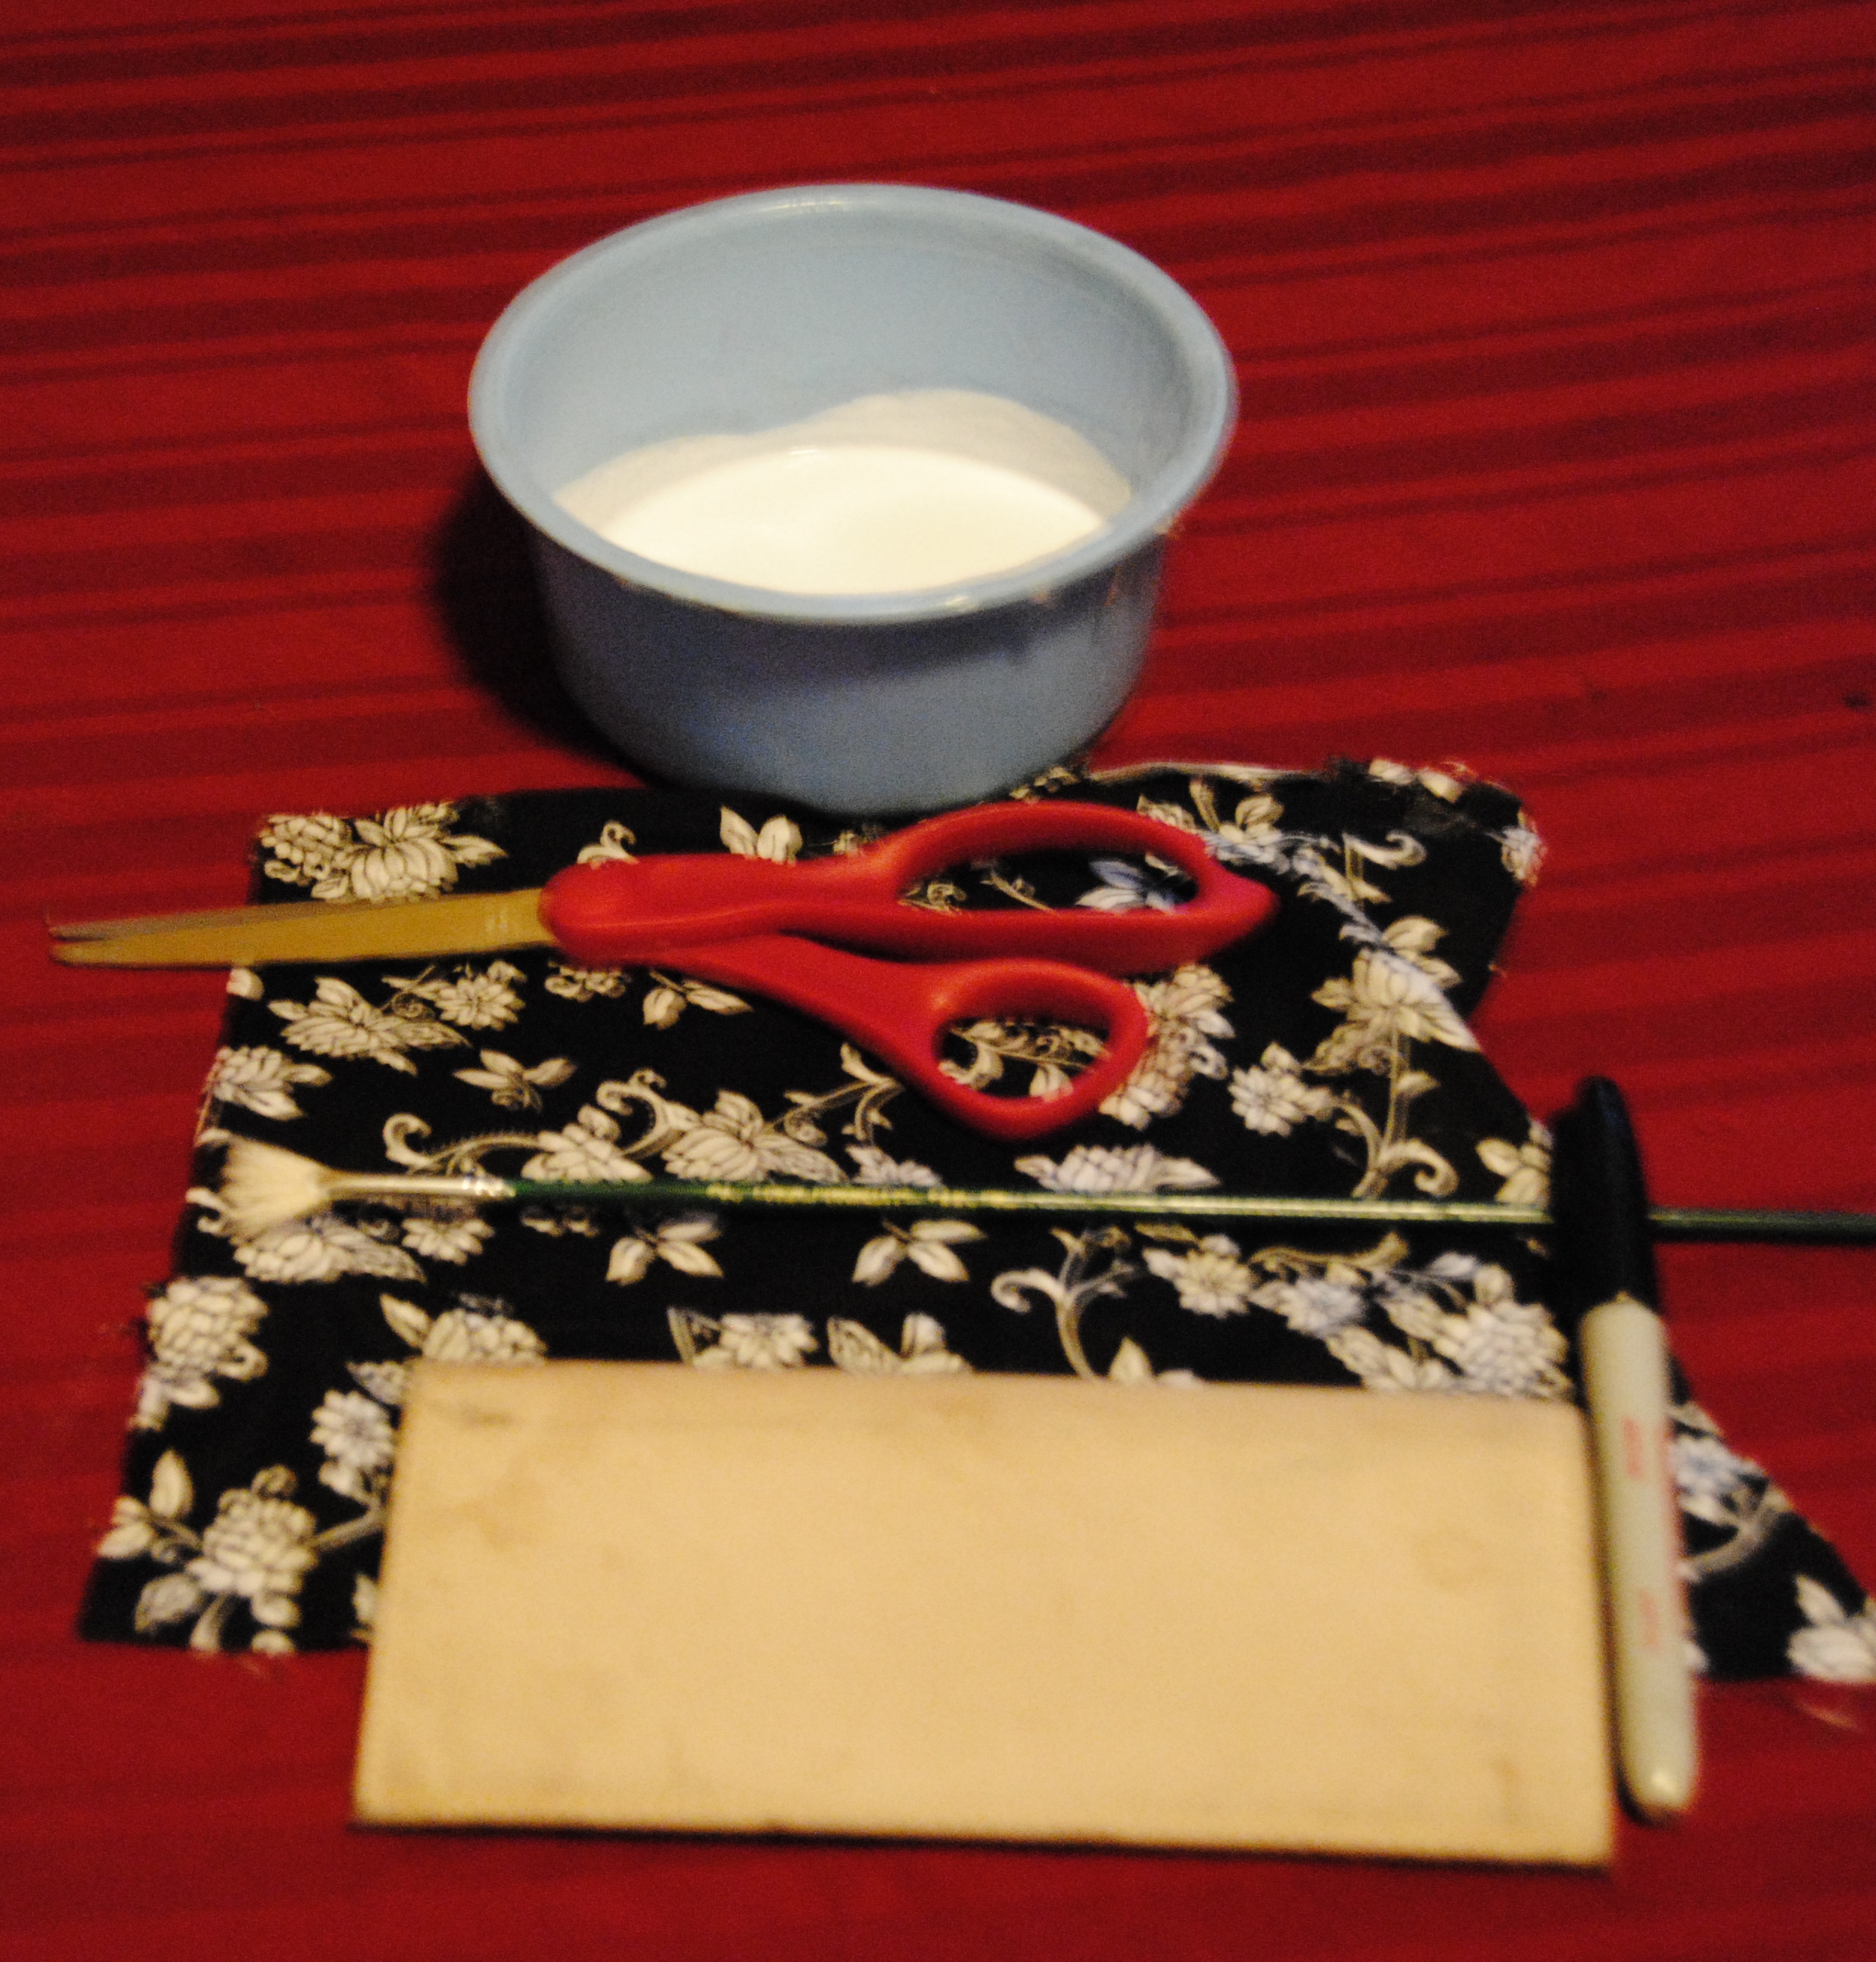
Want to strut your stuff and make a peacock inspired table?  Here is what you will need:

Table

Peacock inspired fabric (From Jo ann Fabric)

Mod Podge

Acrylic Paint

Spray on Primer

Polyurethane clear sealer

Box Cutter, Scissors, Fine tipped marker

Paint Brushes


A Much Needed Kitchen Table Makeover: “On The Upcycle” Style.

Our furniture sees it’s share of abuse in our home.  It would be easy to “blame it on the two-year old”, but the biggest offender in this household is me.   Before I began reorganizing what is now my crafting space, I had one place to craft on and that place was the kitchen table.  As much as I tried to be careful, with every new idea and craft came new damage to the table surface. I had to use a table cloth to cover the damage.

My husband and I originally purchased this set from Walmart before my daughter was born.   After years of living with some of the worst off the scrap heap kitchen tables.  The hubby and I decided we needed a more respectable table.  A table where a family could sit, eat and enjoy each other’s company, and not have to worry about the table collapsing while doing it!

We chose The Wood Casual Pedestal Dining Table in Black Finish sold by Walmart.  We liked the basic style and the table is very sturdy.  The table is about 3 years-old and the table itself is still in great shape.  I wish I could say the same for the table’s surface.  My fault totally!

DSC_0664

I had been putting off fixing it for quite sometime.  I was going to need a lot of Mod Podge and a clear sealer for this project!  This table would need protection against heavy use.

DSC_0662

Materials:

1 1/2 Yards of fabric (table measured 41×41)

High Gloss polyurethane sealer

Mod Podge

Scissors

Large Paint Brush

Small foam paint roller

First, I cleaned the table surface. I then covered the table surface generously with Mod Podge.

DSC_0665

I carefully, laid the fabric on the table surface allowing some fabric to drape over the sides.  You can use the Mod Podge roller tool, but now that I have been doing this for a bit, I actually prefer using my hands.

DSC_0666

I used my nail to feed the fabric into the table groove for a tight fit.  I applied a layer of Mod Podge over the top of the fabric, and on the sides. I allowed this to dry throughly.  I then used a pair of scissors, trimming off any additional fabric.

I applied additional Mod Podge to the edges shaping the fabric with my hands.  I applied three coats of High Gloss Polyurethane with a foam paint roller,  I waited about four hours between coats and the final coat was left to dry overnight,

DSC_0671

It matches Flea Market Bar Cabinet nicely and looks great in our yellow kitchen,  I was worried about the surface drying tacky, but it dried nicely.  If you want a smoother surface apply as many coats of the Polyurethane as needed until the desired effect is achieved. Since the table is shiny, I struggled to get a photo without any reflection in it!

Table Re Surface using fabric

Ruining the kitchen table never looked so good! No table cloth needed!

DSC_0676

DSC_0677

Stepping through time: DIY Cemetery Flowers And A walk through St Peter’s Cemetery, Staten Island, New York

Yesterday, my daughter and I took a trip to visit my aunt in New York.  During the trip, my sister and I traveled over to St. Peter’s Cemetery in Staten Island to visit several ancestors memorials.  I called the cemetery office and spoke with Pat who was wonderful!  I e-mailed her with a list of names I suspected were interred at the cemetery. She responded back with several and provided the grave plots and locations along with a cemetery map.  I planned on photographing the graves, but also wanted to leave something for them out of respect.

I found some old artificial flowers and glass candle holders in our attic as well as some left over styrofoam packing materials.  I decided to use these items to come up with a small tribute to each grave as I visited.

DSC_0574

I had to create five total and did not have enough styrofoam for the bases.  I used two glass candle holders instead with a small piece of styrofoam inside to attach the flowers.  I used scrap fabric, paint and hot glue to put these together.  I was also stopping by to visit my grandparents and made a special one for them with my daughter’s picture in it.

Repurpused Grave Memorial Flowers

DSC_0579

My daughter visiting her great grandparents

Stay tuned for more of the genealogy series!

The Cats Meow: Repurposed Cookie Jar Planter

In my kitchen recently while organizing and cleaning, I came across this great white cat cookie jar I had for many years that I picked up at a yard sale.  When I originally purchased it, I knew nothing about it.  It had a slight crack in the front.  Through the years, the straw hat was broken and missing, and it sat for 7 years collecting dust on the top of the kitchen cabinet.

I took it down and gave it a look.  Thanks to the internet I discovered it is a Metlox Cookie Jar.  Turns out they are vintage and very collectible when in good condition. Online they go for between $35.00 to $125.00! Of course this cat had seen better days, and wouldn’t be worth anything with a cracked nose and a missing hat.

I am starting to begin to think my upcycling ways are beginning to rub off on my husband.  When I scratched my head as to what to do with it he suggested a planter!

Upcycled Broken Metlox Cookie jar

What a great idea!  I purchased a small fall mum and placed it inside the jar.  Since there are no holes at the bottom of the jar, I left the mum in its original container so the water can properly drain away from the plants roots. Recently, I lost my beautiful cat Clyde at the age of 17 to kidney disease.  I created a memorial garden in his honor,  and I thought this would make a great addition to it. A great way to upcycle an old cookie jar!

Metlox Broken Cookie Jar Upcycle

Feline Memorial Garden


My daughter was more interested in the wind chime, but loves to help mom in the garden and in the craft room.  She is my little toddler apprentice after all.

DSC_0557


Just For Fun: Rainbow Brite Decoupage Tote Bag

I have been intrigued recently by the idea of using decoupage on purses and suitcases. This requires me to work with different materials I have not tried before, and overcoming certain obstacles such as shape, texture and overall size. I thought this tote bag would be a great practice project, and a cute item to carry/store my daughter’s toys in.

DSC_0570

Their was an overall texture to the bag and I was not sure how the Mod Podge would adhere to it. I was concerned at the possibility that the texture underneath the paper would make the decoupage appear wrinkled.  I printed out an image of the Rainbow Brite characters.  I trimmed the image with a pair of scissors.   I applied Mod Podge to the bag surface with a foam craft brush carefully smoothing out any wrinkles in the paper.  Once dry,  I applied multiple coats of Mod Podge over the image. (The more coats on synthetics/plastics, the better the bond) It appeared to adhere to the bag well, but I have been burned by plastic/synthetic surfaces before.  The Mod Podge simply does not adhere well to these surfaces. Through constant use by two year-old hands, only time will tell the durability of this project. I would guess that canvas would be a bit more “user friendly” The decoupage looks great and the surface does not appear to have affected the paper much.  I hope my toddler appreciates Rainbow Brite as much as her mommy does!

Rainbow Brite Decoupage Tote bag

Materials:

Tote bag

Print for decoupage

Mod Podge

Scissors

foam craft brush

And The Winner Is…. Me!?!

Good Morning to all my blogging friends!  It is a happier Monday than usual, thanks to Diana at Ray’s Sew Crafty.  I just wanted to personally thank her for making my day!  She has an amazing crafting blog, and is a lover of cats as I am!  Be sure and check it out! Diana sponsored a Labor Day Giveaway on her site and I happened to be the very lucky winner of a book of beautiful scrapbook papers (Can you say decoupage?)

Scrapbook paper winner!

Congratulations also to  Laura (from the Sew Frou Frou Quilter ) She won the cute Hugabook story book panel.

Also… If you missed it, be sure and check out my friend Elise from 2 Geeks and a Grandma at Cheeky Geeks Blog.  This month, Elise is featuring all things “Geeky”  Sci Fi, Retro you name it!  I was honored when Elise asked if I would be a guest blogger, my very first guest blogger position! My contribution is a  full tutorial on how to make a retro upcycled kids table and chair featuring an old Strawberry Shortcake record.  Be sure and stop by and check it out! Elise will be featuring all things “retro” this week.   Visit her for more to come, should be lots of fun!!

Enjoy your day my friends!

Cheeky Geeks : Geek Month Celebration

Strawberry Shortcake Sunday | CheekyGeeks

I want to thank Elise from Cheeky Geeks for featuring “On The Upcycle” during Geek month.  This week is retro week and what a better way to celebrate than with an upcycled Kids Strawberry Shortcake Record table and chair.  Be sure and check out my full tutorial on Cheeky Geeks.

Strawberry Shortcake Sunday | CheekyGeeks.

r\Retro Strawberry Shortcake Chair and Record table
Cheeky Geeks : Geek Month Celebration

Upcycled Strawberry Shortcake Kids Record Chair

Simple Saturday: Decoupage Sports Fan Desk Clock

This project was quick, and easy to create.   If you have never ventured into the wonderful world of Mod Podge before, this is a great starter project for you!  A sports desk clock is also a great gift for the special man in your life or a female sports fan such as myself.  When I stumbled upon this cute little clock made from Ikea, at a Good Will store, I had no clue what if anything I was going to do with it. The price was certainly encouraging! On this day items adorned with a yellow ticket were 50% off !  This cute little item cost just 1 dollar!

Ikea Desk Clock


My husband suggested that since the clock was Eagles Green, it would make a great Philadelphia Eagles Football clock.  I thought this was a great idea, in honor of the new football season, and our fantasy football team who opened week one with a win thanks to McCoy and Jackson. I found some sports images online and printed them.  These would be great for decoupage and looked as though they would fit well on the surface,  The clock was a bit of an odd shape after all.

Eagles print outs


I cut the images out and do to space restraints used the only the eagles letters, and the larger eagle.  I used a small paint brush and applied a light coating of Mod Podge to the back of the paper cut outs and carefully applied them to the front of the clock surface.  I placed in front of the fan, and when dry added additional Mod Podge over the top of the images.  I repeated this step twice,

Mod Podge Clock

This took less than a half hour to make and came out wonderfully!

Now are you ready for some football? Well at least you’ll know when the game is starting!

Sports Fan Clock made with Mod Podge


For The Record: Upcycling Vinyl

I have seen many exciting ways to upcycle old vinyl online, but the idea for me actually started when I stumbled upon an awesome shop on Etsy called ” It’s our earth” They upcycle records, and floppy discs into coasters, chip bowls and clocks just to name a few.  I was shopping online for Christmas and saw a clock made from a Thin Lizzy record, my husband’s favorite band.  I jumped at the chance to get it and the price was right.  It hangs proudly in our living room next to our 1970 Pioneer stereo cabinet. Most importantly, he loves it!

It's our earth upcycled record clock on Etsy

The plaque below it says “Life is a song and love is the music”

I loved all the great upcycling ideas for small record side tables, and they looked very easy to make.  It would also go nicely with the clock in our living room. I am a great lover of music and the sound of vinyl, so I scoured my collection for a record I had purchased from a dollar record bin that was damaged and unplayable.

Aerosmith Greatest Hits

Aerosmith is a cool band, but this  record was destroyed! It was perfect for making a record table.  I also had an old, weathered metal plant stand.  I cleaned it and spray painted it black and allowed it to dry.

Spray painted metal plant stand

I then simply used a high heat hot glued gun to adhere the record to the plant stand.

Upcycled Plant Stand Record Table

Not only a cute living room addition, but a great functional side table!

Record Side Table

Checkbook Cover Revival: Fabric Scraps and Mod Podge

Looking for an easy, fun project on a Sunday afternoon to do while you watch football?  I know I am! It has been a rough few days and I am hoping to relax on this lovely sunday and enjoy week one of the NFL games and cheer on our fantasy football team.  I have been on a small blogging hiatus, battling a nasty fall cold and continuing to go on with life as usual, work full-time, and as always, be a wife, and a mommy to a 2 year-old with an un-ending supply of energy.

It was my toddler apprentice who gave me the idea for today’s project.  My daughter was with me in our craft room the other day exploring as usual. She found some great scrap fabric to play with.  It made me think about ways I might be able to utilize these smaller fabric pieces, and then it hit me!  I had a tan checkbook cover that was in need of a revival.

I gathered what I would need:

DSC_0355

Mod Podge

Scrap Fabric

Paint Brush

Black Marker

Scissors

First, I opened the check book cover, laid it out flat and traced it onto the fabric with the black marker.  I cut the tracing, with a pair of scissors and placed aside.  I applied Mod Podge to the outside of the check book cover, generously with a paint brush.

DSC_0358

I carefully applied the fabric to the checkbook smoothing it out with my hands.

DSC_0360

I applied Mod Podge over the fabric and placed the checkbook in front of a fan to dry.

DSC_0361

I repeated this process three more times, which left a nice,  smooth finish on the cover.  I decided to leave the inside as is.  I didn’t want the paper checks to “stick” to the inside cover.  Mod Podge is attracted to paper. (as it should be!)

DSC_0365

What a great way to use fabric scraps and add a little life to your checkbook!