Decoupage your Cell Phone: Take Two

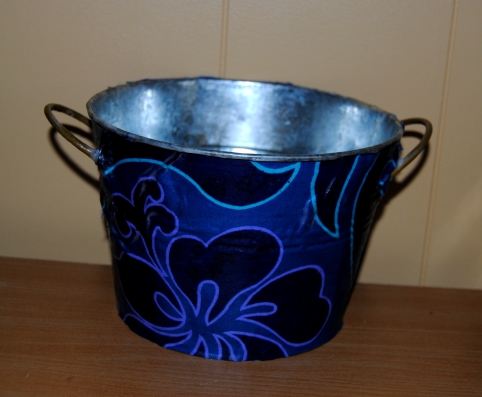
Back on May 28th, I posted an entry regarding decoupaging your smart phone called Crafting Is Worth The Risk.  At the time it was unknown as to how such a project would turn out.   I actually  loved it, and decided to decoupage my computer tablet as well.   I received so many compliments on my phone case!  If they only knew!  Cell phone cases can be quite expensive, and this is certainly is a thrifty way to add an artistic flare to your phone without spending a lot of money, but what happens  when you decoupage your phone, but need a change?  No problem!

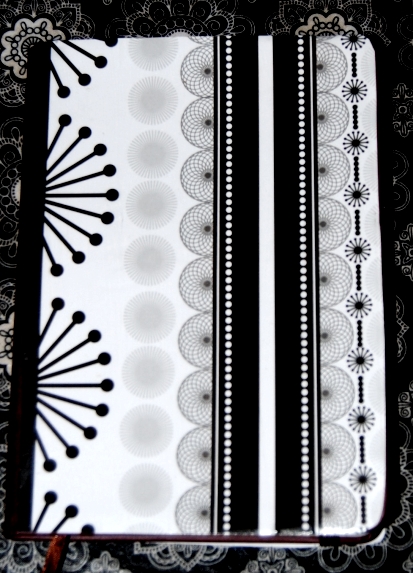
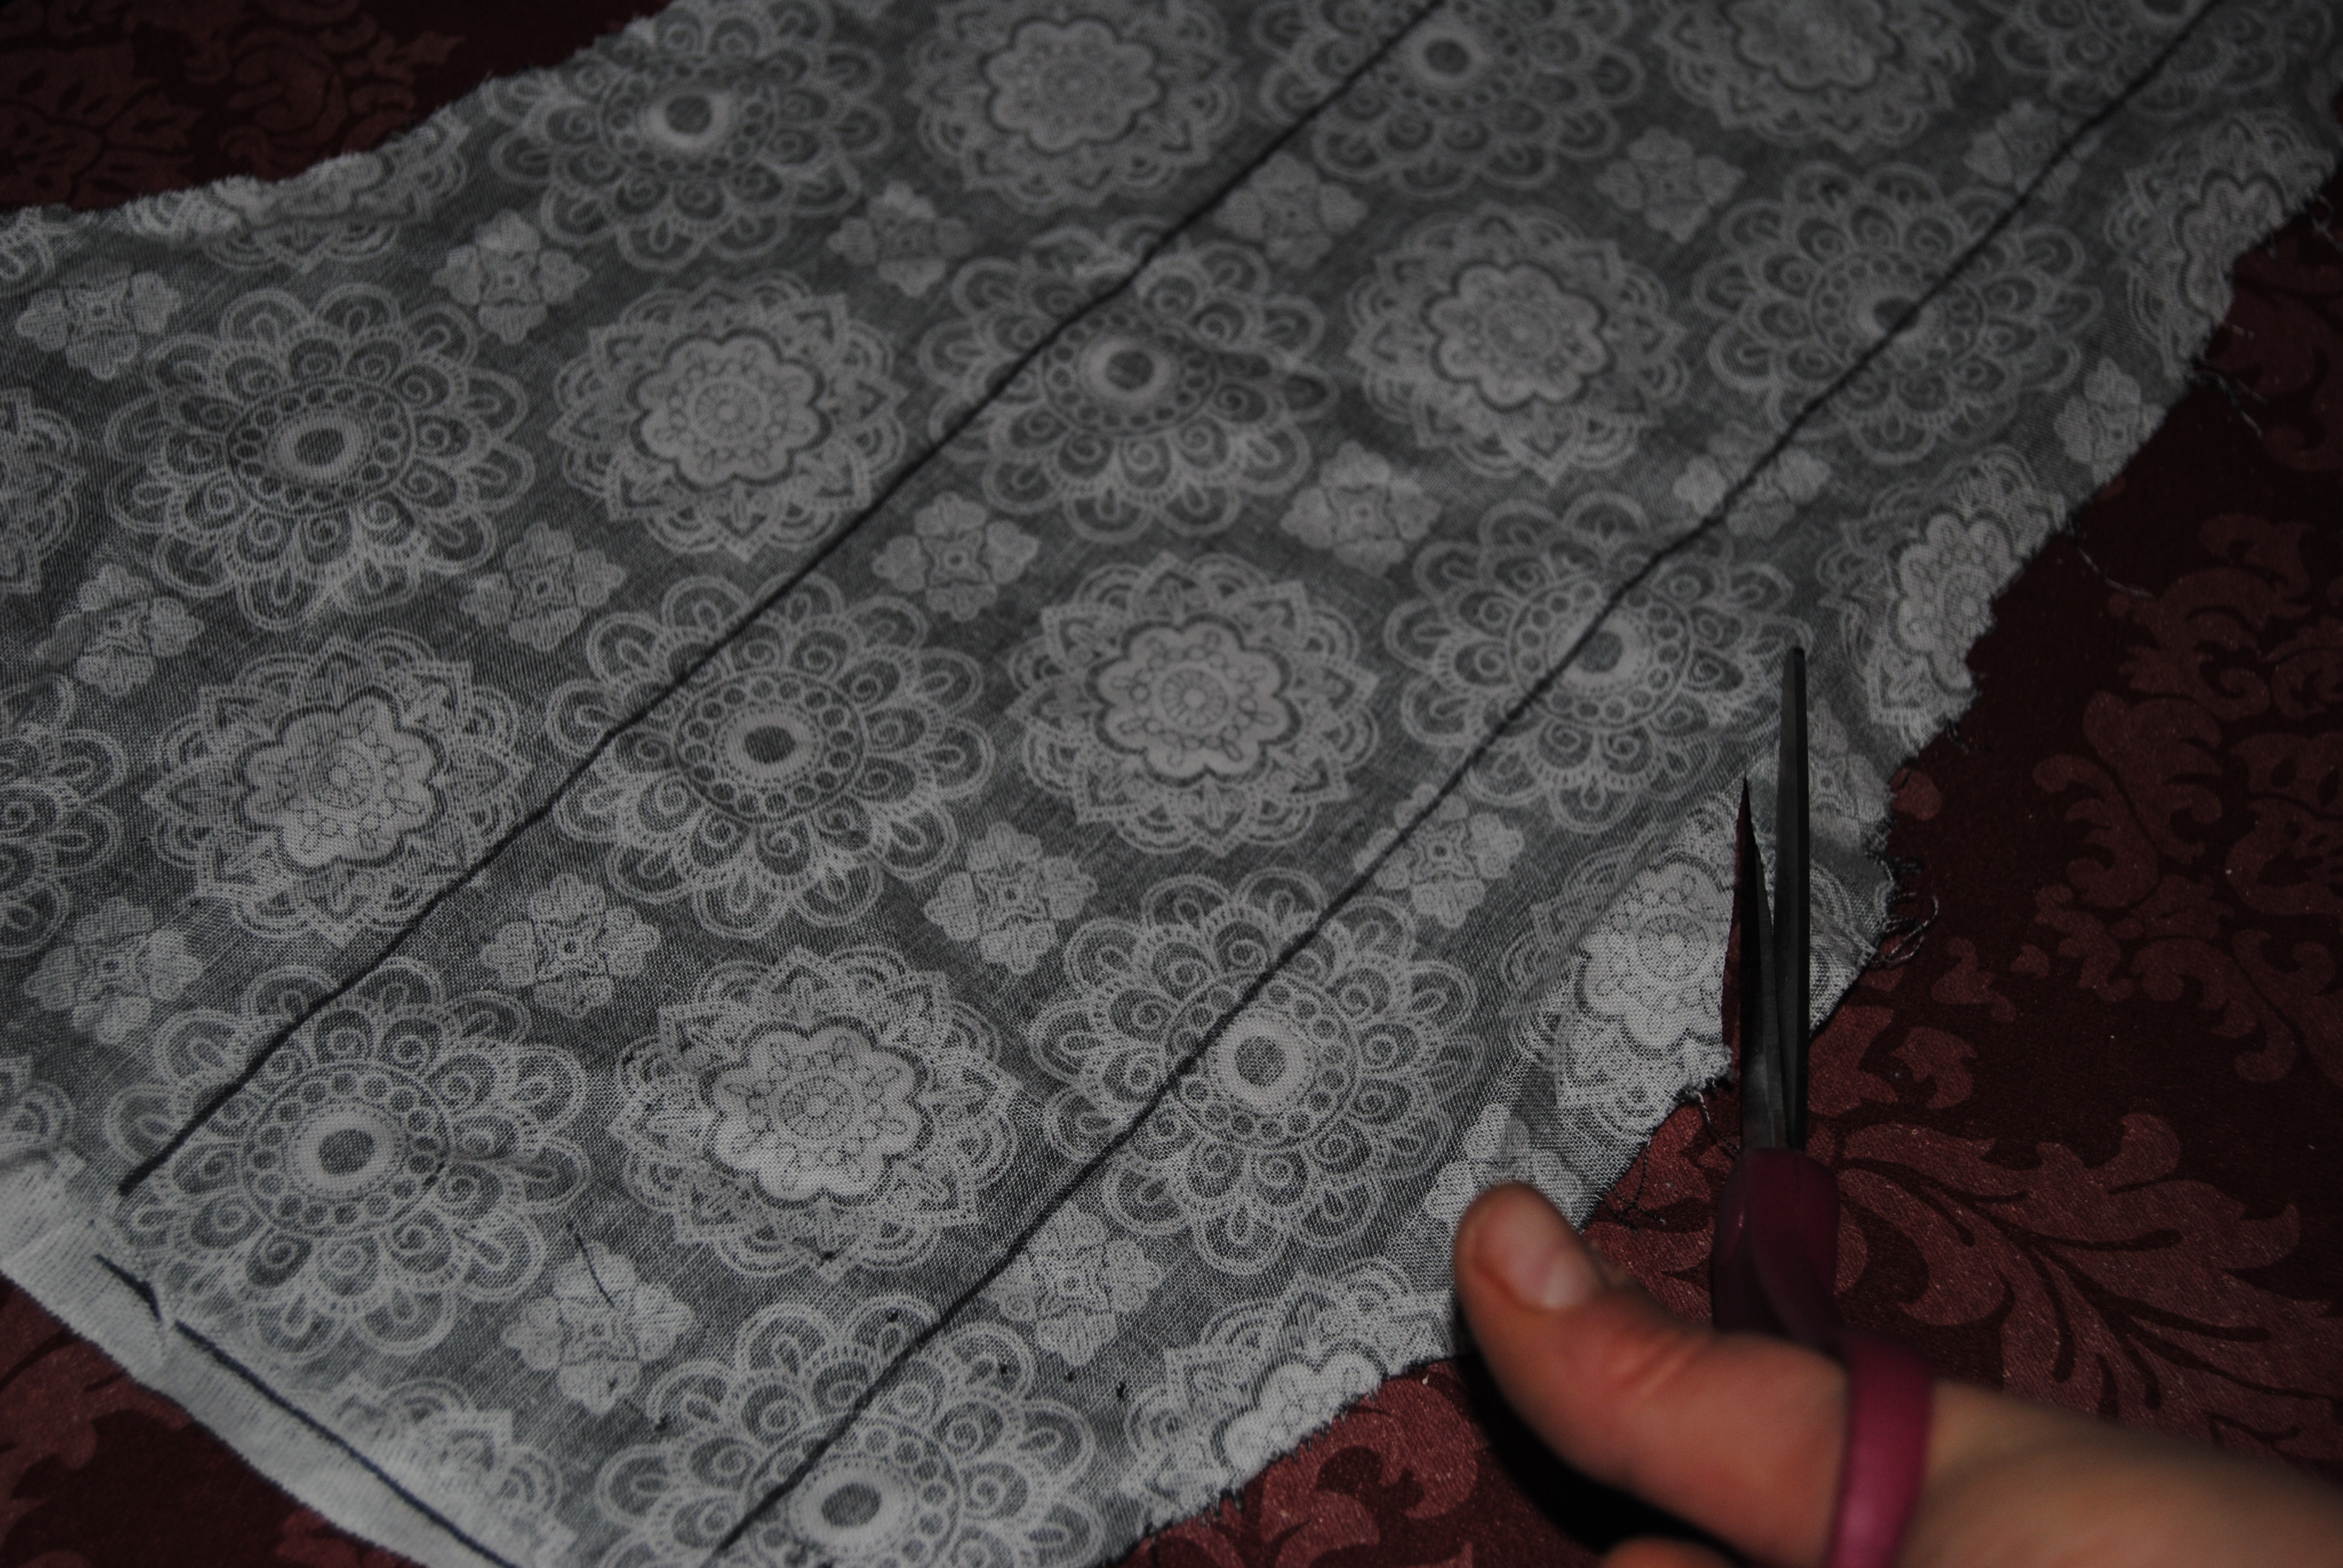
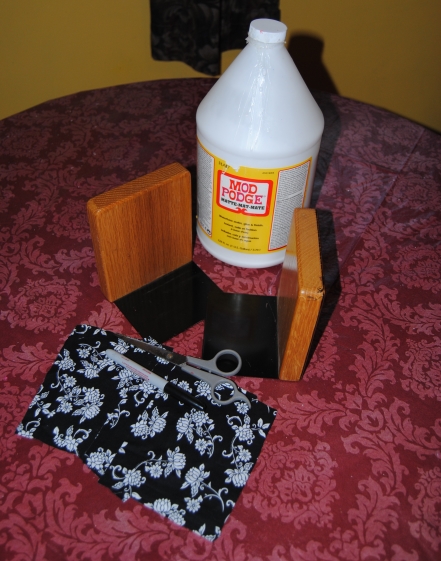
I wanted to change my smart phone’s look to something more colorful.  I loved the scrapbook paper I used on my tablet.  I had a small piece of this paper left and decided to use it to update my phone’s look.  It was fairly easy to remove the old decoupage, I simply peeled it off with my fingers and cleaned the back of the phone cover and removed any of the old dried, Mod Podge.  I was surprised, because the decoupage held up amazingly well, and I didn’t think it would be so easy to remove.   I then repeated the same process I used during my initial restyle.  I removed the back of the phone, and traced this  on to the back of the paper with a pen, and using an X-Acto knife I carefully trimmed the areas such as the speaker and camera lens.  I applied Mod Podge directly to the phone cover to adhere the paper and then applied multiple coats over top to seal.

A few additional phone decoupage tips:

Use Mod Podge Matte finish as the gloss finish I find dries tacky!

Be careful and keep your phone dry (Decoupage or not this is always a good tip!)

Always remove the cover from the phone before you start.  (Don’t want any glue finding its way in any of the phone’s electronic components.)

Do not place a decoupage phone on another decoupaged item such as a table.  The two mod podged surfaces will “stick” to each other!

Before Decoupaging, If your phone is under warranty, be sure and check if altering your phone in any way, could void the phone’s warranty (read the fine print)

For a more detailed tutorial, please see Restyle Your Smart Phone.

Restyle your cell phone/smart phone

IMG_20130829_104925

Life Lessons Learned: Freebies, Coupons, and One Journal Makeover

While I was pregnant with my daughter, I started a habit of “gathering” and searching for free samples and coupons online. Becoming a mom for the first time,  I was in full on thrift mode. There are many of these sites online and many of them make you jump through hoops and often times do not deliver on there promises.  One of the best sites I came across and still follow today is Sample Stuff.Com.  It takes the best offers on the web and shares them with you first, so you have the best chance at getting free samples, coupons and sweepstakes.  They also post updates when items are no longer available.  I have gotten dozens of free items including yearly magazine subscriptions to Rolling Stone, Town and Country, Family Circle, and Better Homes and Gardens, just to name a few! So why am I sharing this?  It ties into this upcycle, a freebie I picked up from Oprah (yes, I said Oprah)

A while back, Oprah was  giving out free Journals to go with an upcoming “Lifeclass” a self-enrichment course that required keeping a journal.  I had heard of this promotion through the Sample Stuff Site.  I actually was interested in taking the class, but then life got in the way of Lifeclass, (Ironic I know) and there sat an empty journal.  The journal was nicely made with a strap and built-in book mark ribbon.  I have wanted to carry a journal and write for sometime, and this would be perfect; However a restyle was in order…

DSC_0285

Inside the cover and front page

DSC_0284

I picked out some nicely patterned scrapbook paper and gathered the materials needed:

DSC_0282

I traced the front and back covers.  I decided to leave the book spine free of paper. I cut out the tracings and placed them aside.  I applied Mod Podge with a foam craft brush to the front cover and gently applied the cut scrapbook paper smoothing it out with my hands.  I then repeated the same for the back cover.  I cut a small piece to cover the inside cover and carefully and neatly removed the 1st page.

DSC_0287

Once the outside of the book was dry, I applied Mod Podge to the covers to add some durability when taking this journal on the go.  Now I have a great recycled life journal to take with me and the best part was.. it was free!

DSC_0292

DSC_0290

Tangled No More: Upcycled Wooden Shaker Peg Rack

I have a confession.  I am horrible when it comes to keeping my jewelry together and organized. I am always losing earrings,  and I constantly tangle my necklaces together.  When I picked up this Shaker Peg Rack at a thrift shop, I planned on using it to hang “crafty”things in my crafting area. I decided against it when I realized it was more urgently needed in our bedroom for jewelry.    I reached my breaking point this weekend, when I went to change my necklace only to discover a tangled mess!

Image

I decided I would use the fabric featured on Upcycled Spaghetti Jar Lamp.  I tried removing the pegs, but needed some of the hubby’s strength to remove them. He was able to loosen them and I was able to finally pop them out. My plan was to glue the pegs back on later. After pulling them out, they still fit snuggly which was great.  Removing the pegs would make it easier when covering the rack with fabric, and it would appear seamless.   I traced the rack surface onto the fabric with a black marker.

DSC_0274

I cut the fabric outline with a pair of scissors.  I placed the fabric aside.  I applied Mod Podge to the wooden rack with a foam craft brush, I carefully applied the cut fabric to the wooden surface smoothing it out on the surface with my hands.  I marked off the spot on the fabric, where the peg holes were.  This way, when dry I could pierce the holes with a scissor tip without making the fabric shift and move. I placed this piece aside to dry and painted the pegs with black acrylic paint.  I painted any areas not covered with fabric black.  Once the paint was completely dry, I covered all the painted and fabric covered areas with another layer of Mod Podge, and glued the wooden pegs back into the holes.  I used two long black screws to mount the jewelry holder to the wall.

This fabric and style looks great in our grey/neutral bedroom. You can use any fabric or color scheme you like and unfinished Shaker Peg Racks can easily be picked up at yard sales and thrift shops for a couple bucks. The perfect upcycle!

Upcycled Shaker Peg Rack Made with fabric, Paint and Mod Podge

Decoupage To The Rescue! Lost Basement Table Gets A Makeover

Last stop before curbside in our house has always been the basement.  This poor glass table had been banished to the basement for seven years, the entire time we have lived in our house!  It was pushed in a corner and with flower pots and miscellaneous basement junk stacked on top of it and covered in spider webs. My husband and I try to keep the basement clean, and clutter free, but it is not always easy.  As much as we dislike our basement’s dampness, cement walls and floors, the spiders seem to love it! That’s good because they help control the other bugs crawling around down there! yuck!  If any item deserved a little TLC, and a makeover it was this table! I cleaned it in our utility sink and brought it upstairs.  The glass was easily removable, and the table cleaned up nicely.

Basement Rolling Glass Table Rescue

I laid out the fabric,  I was using on the floor and traced the glass on to the back of the fabric with a fine tipped marker.  I cut the tracings with scissors, and set the fabric aside. It is amazing that a pair of curtains bought at Goodwill, and originally sold by Ikea has been used in 5 previous projects on this blog! These curtains were a great buy and I still have scrap pieces left.  When I started doing this, I was shocked at the high cost of fabric. I always make sure I take a walk by the linens aisle at the thrift stores. Old bed sheets and curtains are great for  furniture re-styles because of their durability and come in great patterns.  You can still purchase this fabric called “Fredrika” through Ikea here.  I love it! For me, Even though it is modern made, it has a 60’s flower power appeal, and I love the colorful textiles from that era.

DSC_0211

I generously applied the Mod Podge, with a paint brush to the outside of the glass.

DSC_0212

Then, I carefully applied the fabric to the glass, smoothing it out with my hands.  I repeated this three times once for each piece of glass.  I allowed the pieces to dry in front of a fan. Once dry,  I applied Mod Podge over the top of the fabric to coat the surface.  I applied 3 coats to each table top.

DSC_0214

Ta da! The colorful fabric turned a dirty and dusty table bound for the junkyard, into a colorful, and fun piece!  A true basement rescue!

Upcycled Rolling Glass Table Restyled with Ikea Fabric

Stay Calm and Craft- A Simple Wooden Tray Decoupage

Nothing helps me manage stress better than crafting and creating.  When I don’t put my nervous energy to good use, the anxiety levels within me rise.  When I am creating I feel as though my stress levels decrease and my positive energy increases, and I am a better, lesser stressed out version of myself.  When I am working on a piece of art or a craft project, it is one of the few times my mind is clear of all worry and I become completely focused.  I was feeling a bit stressed and this small and simple wooden tray decoupage craft was exactly what the Dr. ordered.

Little Wooden Tray

I picked this wooden tray up at A Goodwill store.  It was  marked with a red tag and on this day red tag items were 50% off.  This was a bargain item costing only 50 cents.  The wood on this piece was in very nice condition. I decided not to paint it, I chose a nice piece of Victorian Artwork and traced and cut the print to fit the inside of the tray.  I generously applied Mod Podge with a small foam craft brush to the inside of the tray.  I adhered the print carefully to the tray, smoothing the paper out as I applied it to the wood.  Once dry, I applied two coats of Mod Podge over top of the image to seal it. I used a paper towel and vaseline (works great on wood!) to shine and buff the wood.

Victorian Artwork Decoupage

Ah now that’s better!  Try a simple craft during a stressful day. You won’t regret it!

(and I think our Victorian model would agree!)

Materials:

Printed Art

Small Wooden Tray

Mod Podge

Scissors

Craft foam brush

Vaseline/cloth or paper towel

Hooray for Cloth Covered Galvanized Buckets!

I picked up this little galvanized metal bucket for a couple bucks at Goodwill.  As mentioned in a previous post, I am working on creating a small crafting space in our spare bedroom.  At the moment,  I am particularly interested in items that can assist in organizing this space. Although many of these storage items can be made from cans, jars, and boxes,  I couldn’t resist this cute little bucket. Organizing this room is not an easy task as the job requires moving a few larger items from the room and up into the attic, small steps…

I decided to try to decoupage this bucket.  I saw some examples online and liked the look.  I realize some may prefer the bucket without decoupage, but since I was making it for a craft room, I wanted to make it fun and experiment.  It also gave me the opportunity to use Mod Podge for the first time on metal.  I had this great old bed sheet, colorful and fun.   I thought it would be perfect for this bucket and would contrast nicely with the silver metal.

I cut off a piece of fabric and wrapped it around the bucket and trimmed off any access fabric.  I used a foam craft brush to apply Mod Podge to the outside of the bucket.  I then very slowly applied the fabric smoothing it out with my hands,  after it dried I applied 4 coats of Mod Podge allowing to dry between coats.  It dried with a few wrinkles, but it was a bit of a challenge due to the handles to perfectly wrap the fabric around the bucket.  Despite this, the bucket will come in handy for various craft supplies and provide the durability of galvanized metal.

Decoupage Galvanized Buckets

A Perfect Pair: Fabric Decoupage Book Ends

I found these ordinary bookends in the housewares aisle at a thrift shop near home.  It was the only item I felt compelled to buy on this day, and they were priced right at $1.99.  Lately, I have made it a goal to begin to organize my crafting space, and these little book ends would help alleviate some of “the bookcase overload” this room is experiencing. Of course they were in need of a little restyling flare. Right now the craft room is more of a storage room, so these book ends are a very small step in the right direction, but  I am determined.  Stay tuned!

Fabric Decoupage Book Ends


Materials:

Fabric of choice cut and traced to size

Pair of bookends

Mod Podge

Scissors, Black Marker

OOPS! Not Pictured

Foam Craft Brush, Paint Brush

Black Acrylic paint

I had fabric that I did not use from another project that I thought would look lovely on this project.  I traced the book ends on the back of the fabric.  I used scissors to carefully cut along the traced line.  I set aside while I applied Mod Podge to the inside and outside of the book ends.  I carefully applied the fabric to the bookends smoothing out and wrinkles with my hands.  I then painted the edges where the fabric did not cover with black acrylic paint.  I allowed the bookends to dry.  Once dry, I applied 2 coats of Mod Podge to seal them.  Now, A close up of a finished one of the finished book ends! A great beginner Mod Podge project!

Fabric Decoupage Book Ends (2)


The Broken Chair Challenge: Upcycled Black and White Damask Chair

I spotted this chair in the back of a Goodwill store.  There were various miscellanies items piled on top of it, and It involved quite a bit of work to break this chair free. I was attracted to the chair design  ( The chair featured a fleur de lys) and I loved the detail.  The chair seat was in very rough shape and it would require re-upholstering.  The overall chair frame seemed like it was in ok shape, and I thought enough of this chair to assume the risk.  The chair was priced to sell at $3.99.

When I got it home,  I ripped the blue material off the seat and discovered the seat was broken and could not be repaired.  Now, I had to salvage another chair in order to repair this one!  My husband and I kept our eyes open for any “curbside” or “free” chairs, I prefered to use  a free chair and not purchase one, but months went by until I found a freebie chair that would be perfect, A lucky find at a thrift store. The chair seat would turn out to be a perfect replacement, and I have future plans to upcycle what’s left of the chair frame.  Stay tuned!

First, I cleaned the chair, and primed the chair frame with 2 coats of a white latex primer.  Once the chair was dry, I began to paint it in a white and black color scheme.  I used black and white acrylic paints to paint the entire chair.

This chair was quite a challenge to paint. The chair had a lot of cut-ins, and detail, and required a lot of patience when it came to the paint brush. I sat the chair in front of the fan until it was dry, and then added a layer of Mod Podge overtop to seal the chair.  It dried nicely.  Now I was ready to re- upholster the chair seat. The original fabric I chose was a black fabric with white roses.  When I placed it up against the chair, I despised how it looked!  So, It was back to the fabric store to pick out another style and I went with the Elegant look of Damask.  I used less than a yard of material and cut and traced it to fit the new seat, leaving extra material for underneath the seat.  I used an upholstery stapler and carefully stapled the material to the back of the chair seat.  Once I was done I screwed the seat back on to the chair.

This chair was not short in challenges, but in the end it was worth it. Looking at the finished chair,  I would say this chair turned out to be worth the risk, and a broken piece received an elegant new lease on life!

Upcycled Black and White Damask Chair

Back of B&W Damask Chair

Rear View of Black and White Chair

Before and After Chair Made with aint,cloth and Mod Podge

Before and After

Black and White Demask Upcycled Chair

Materials:

Roughed up chair

White Latex Primer

Black and White acrylic paint

Mod Podge

Damask Fabric

Brushes/Scissors

Upholstery stapler and staples

Screwdriver

Black Marker to trace seat to fabric

A Friendly Following: DIY Blog Promotion

Image

I was at the fabric store today buying fabric for a chair I am currently working on, and I struck up a conversation with two very nice ladies buying fabric at the counter.  I was telling them what I planned on doing with the fabric I was buying, and we started talking about Mod Podge and all the great things you can make with it.  Sometimes it is easier for others to visualize what you are trying to explain, so  I showed them a picture on my phone of one of my upcycled chairs.  They were interested in seeing more of what I do. I scrambled for a piece of paper and managed to write my website info on the back of a n old coupon.   I am interested in reaching as many creative people as I can.  It is not unusual for people to come up and start talking to me.  I am generally a friendly person and I guess I have a friendly face because it happens a lot!  I am always happy to share ideas with like-minded people.   It made me think, I needed something a bit more professional to spread the word about “On The Upcycle.” I used Microsoft Word Starter Software to make these cards. I was able to download a business card template and insert the “On The Upcycle” logo and text.  I printed the cards out on my printer, and the result is what you see above.  What do you think?  Does anyone have business cards that spread the word when it comes to your blog?

Lastly, I want to shout a big “Thank you!” to all 101 of you who have chosen to follow me on my humble little blog. It means so much and inspires me to keep creating. Nothing beats the WordPress Community!

Epic Fail or Tiny Triumph: Upcycled Decoupage Cigar Box

I found this great cigar box during a quick walk through of a local Goodwill store. I considered it a win because I was able to get my Goodwill customer rewards card stamped (10 stamps and you save 20% off your total purchase and I only managed to spend $1.06 (with tax)  I had made a previous attempt to upcycle another cigar box and the whole project went terribly wrong!   I liked this box because unlike the failed project box, it was made only from wood.  The other cigar box was made from wood also; However it was coated in paper.  The Mod Podge adhered to areas like the lid creases and not realizing it also adhered to this “paper.” When I tried to open the lid it was glued to the box! Upon attempting to open it, the lid tore away from the box. Ouch!  That’s what I’d call an Epic Fail! I swore this cigar box upcycle would be different!  After all, decoupage boxes are usually fun and easy to make.

Wooden Cigar BoxFor the lid cover, I chose the John Waterhouse painting The Lady of Shalott.  My plan was to line the inside of the box with Ivory Damask scrapbook paper I had on hand.  First, I traced the box lid onto the back of the art print.  I then traced the bottom of the box, and inside lid onto the back of the scrapbook paper.  I then cut them out with scissors.  I applied Mod Podge with a foam brush to the lid and carefully adhered the print to the top of the box carefully, smoothing it out with my hands.  I allowed the box to dry, and repeated this process on the inside of the box using the scrapbook paper.

Once it was completely dry, I applied Mod Podge to the top and inside of the box.  I decided to leave the exposed natural wood on the edges inside.  I really love this box and as I always say “Now…. what shall I put in it?”

Decoupage Wooden Cigar Box Inside

The Lady of Shalott 1888Upcycle Cigar Box

The Lady of Shalott
1888 Upcycled Cigar Box

Materials:

Art Print to Decoupage

1 Sheet of Scrapbook paper

Mod Podge

Fine tip marker

Scissors

Foam Craft Brush