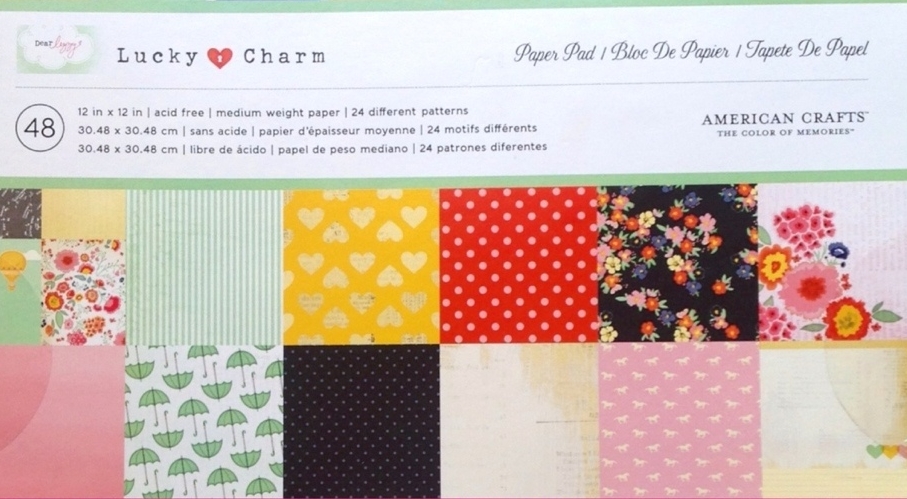
I was very excited recently, when I received my prize in the mail from Ray’s Sew Crafty‘s Labor day giveaway. A lovely book filled with different designed scrapbook paper. I was eager to use this paper on a project and share it with all of you. Once again I want to send a big thank you to Diana at Ray’s Sew Crafty. Be sure and stop by and check out her blog!
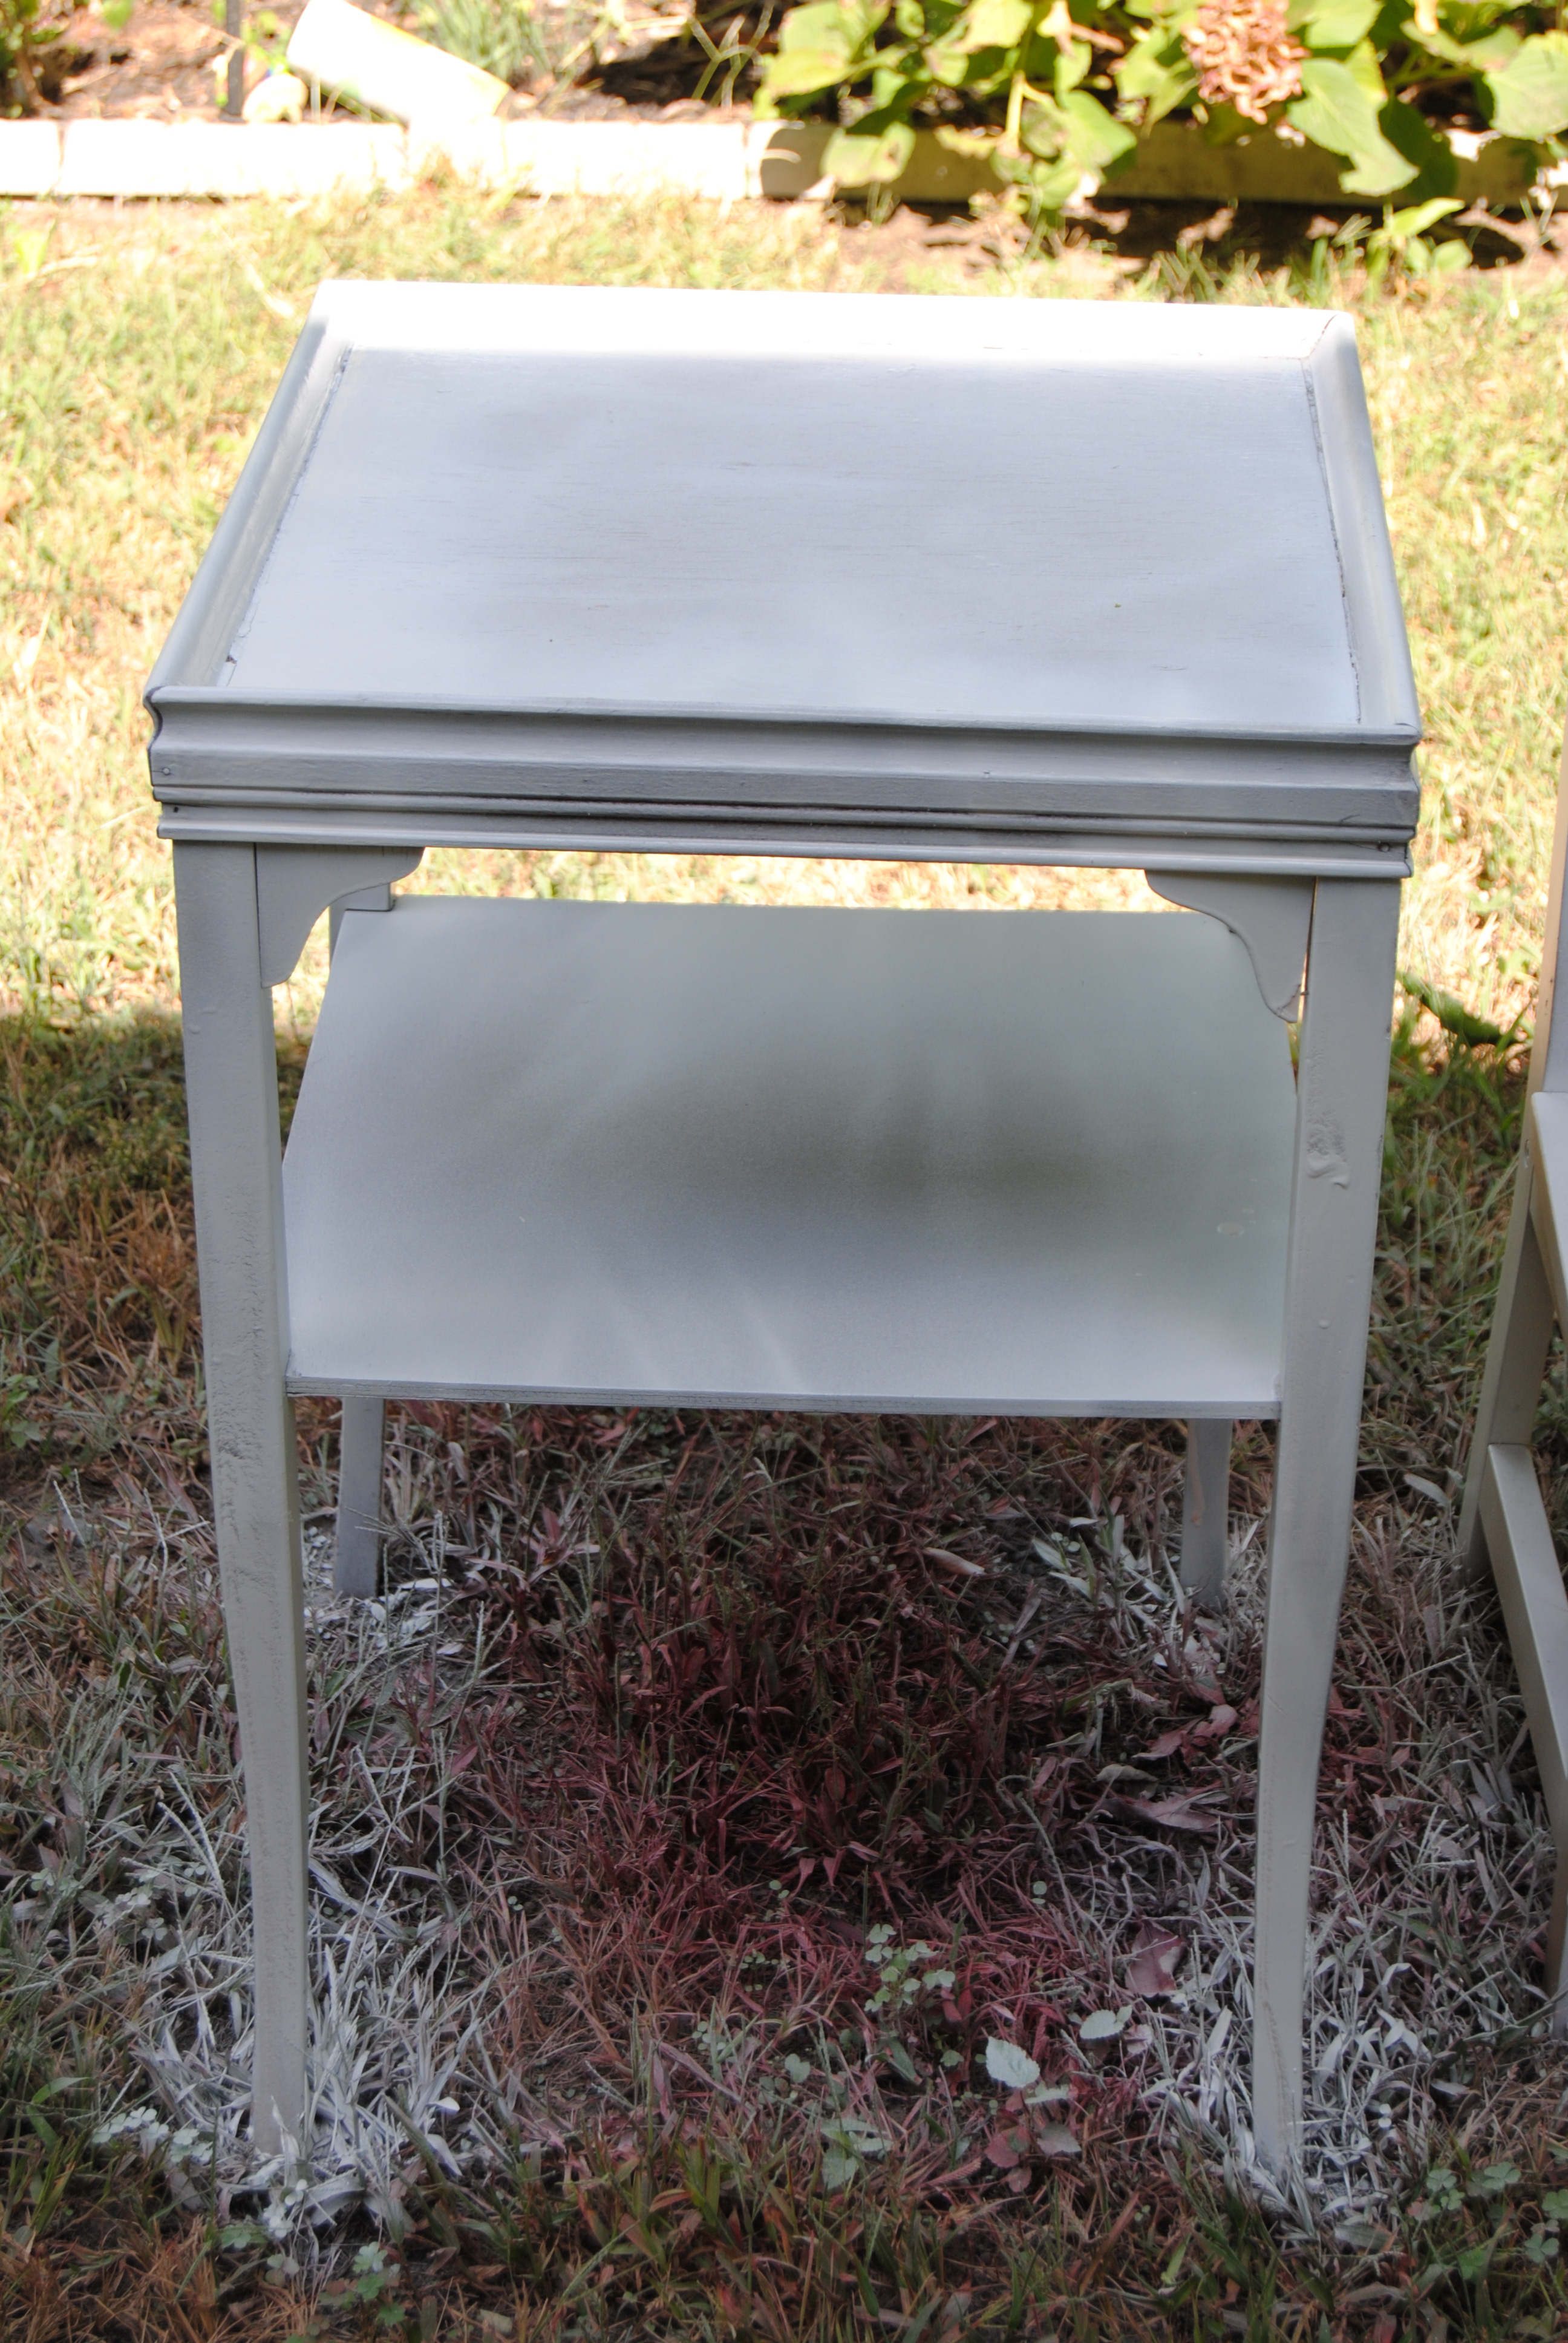
I had a set of three different sized black shadow box shelves that I wasn’t sure what to do with. I decided to repurpose the medium-sized shelf into a photo shadow box. I gathered my materials:
Shelf
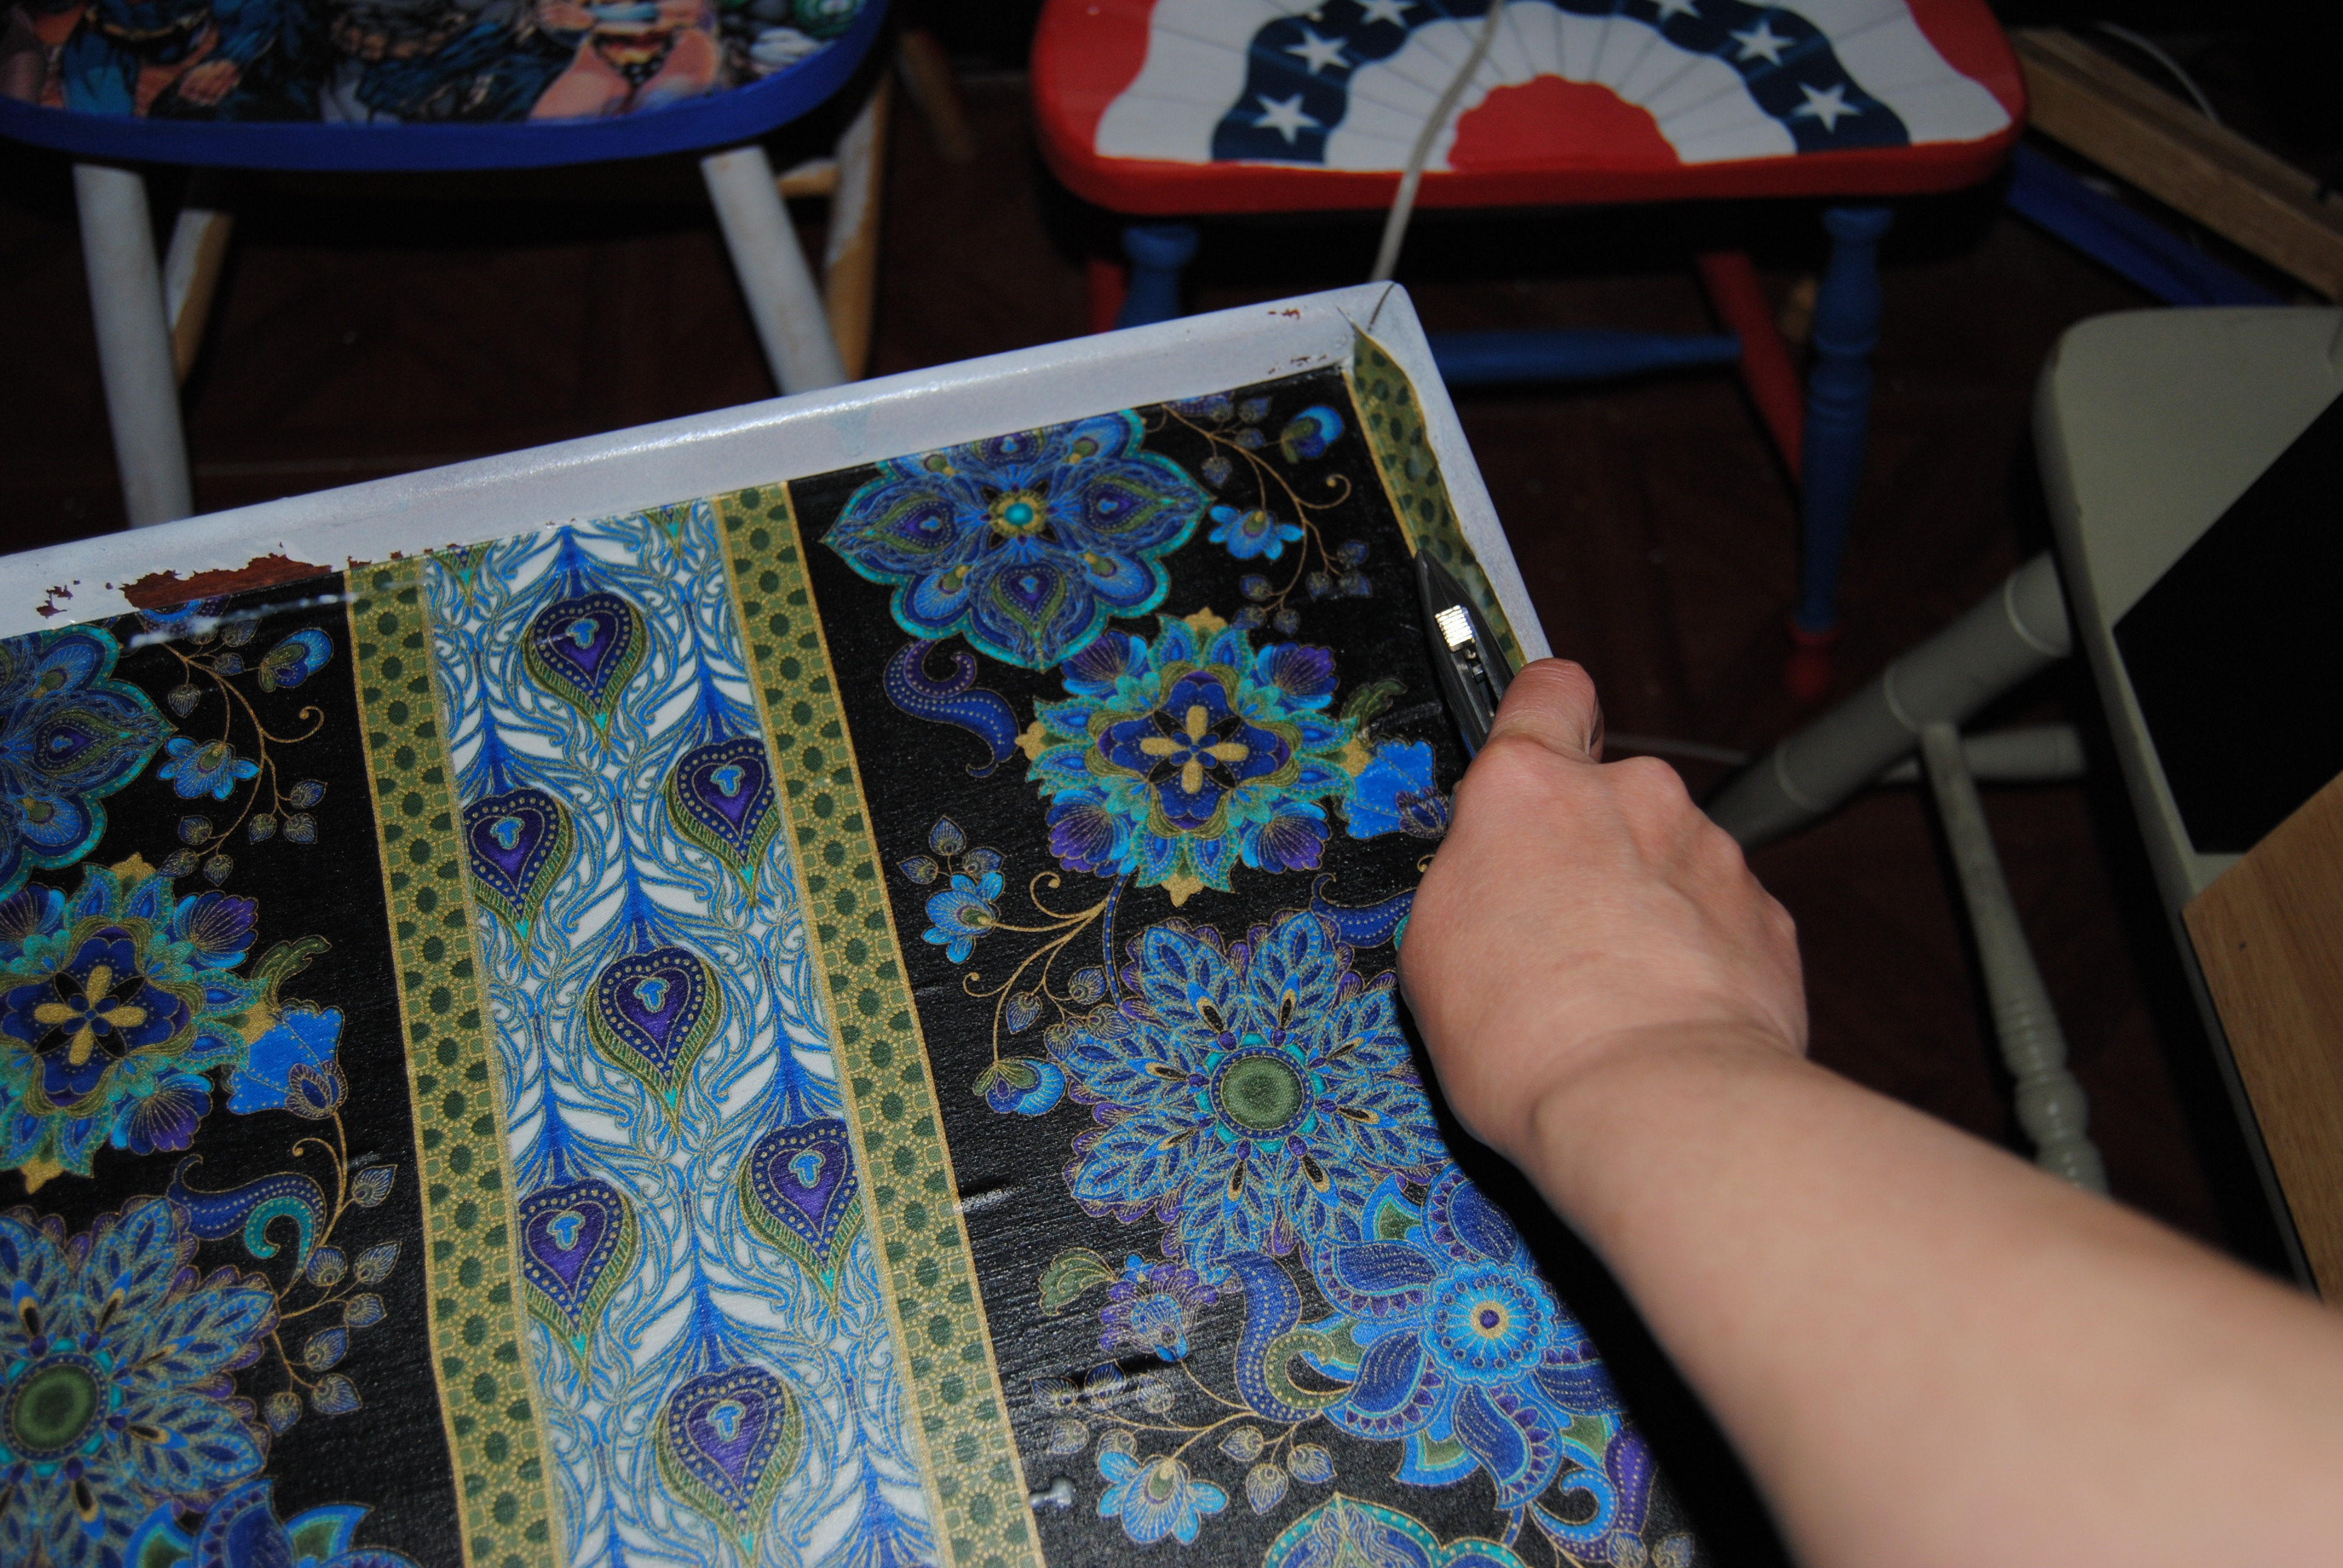
Scrapbook paper
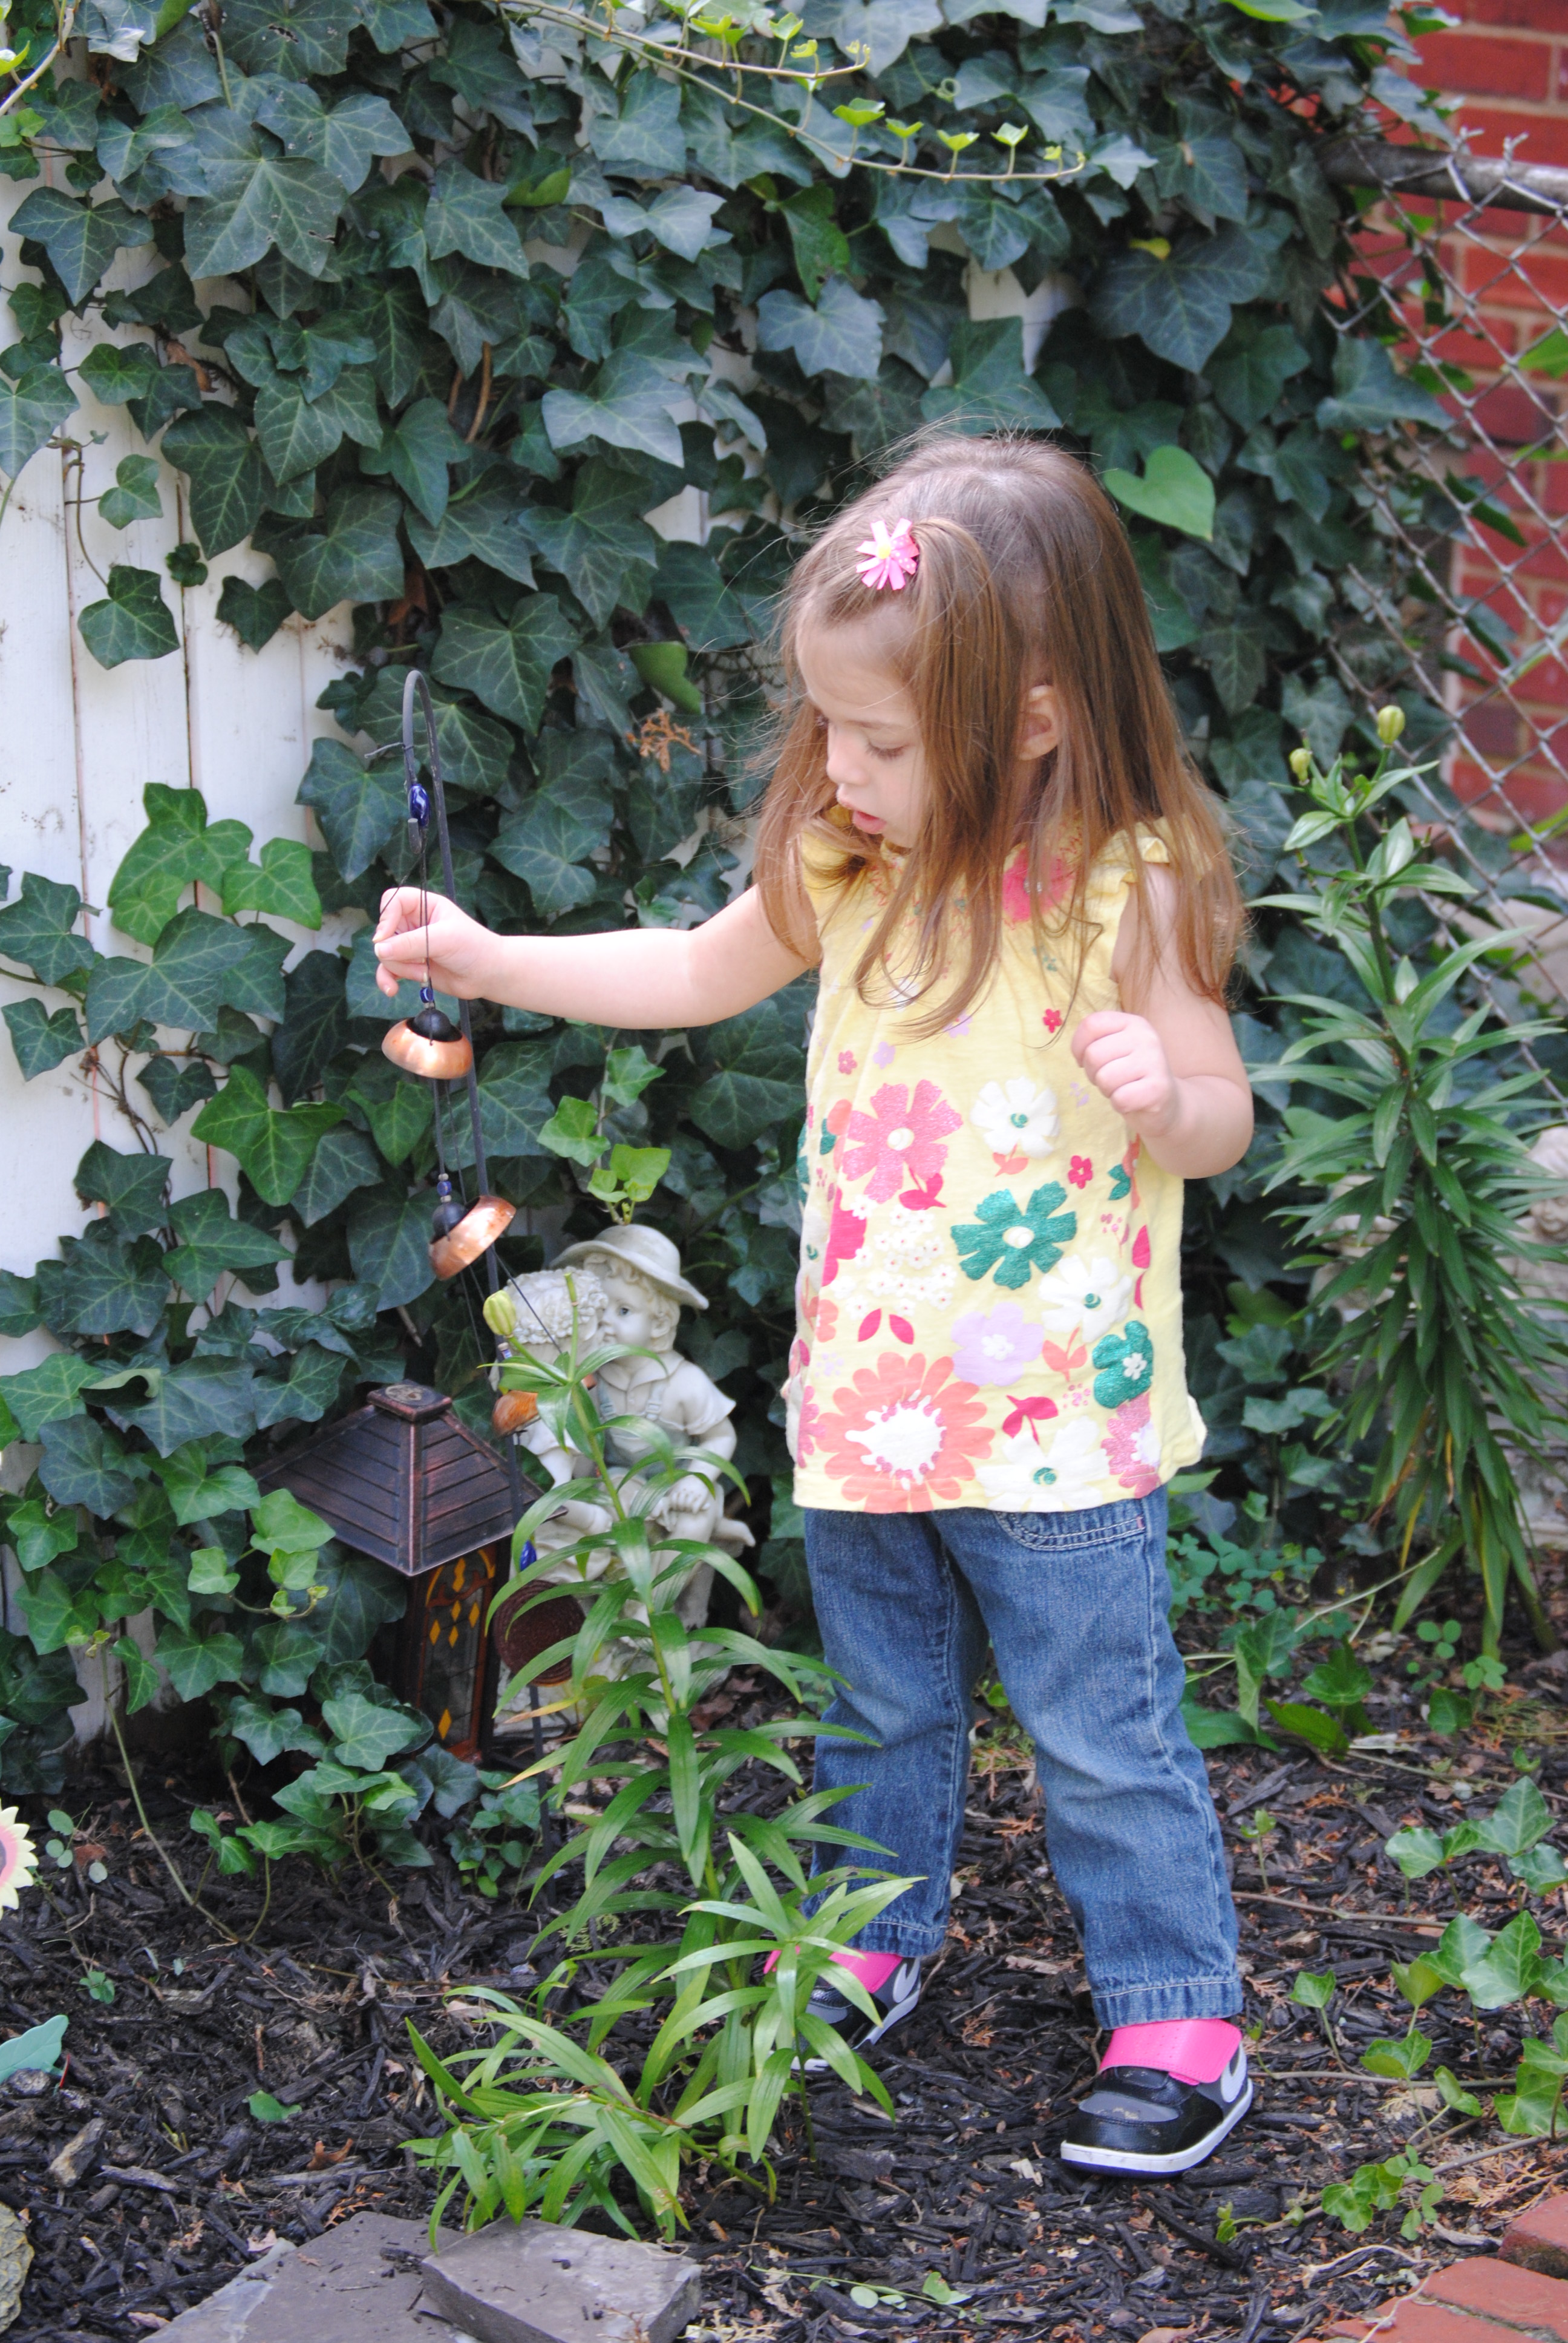
Photo
Mod Podge/Foam craft brush
Hot Glue Gun
Black Fine Tipped Marker and Scissors
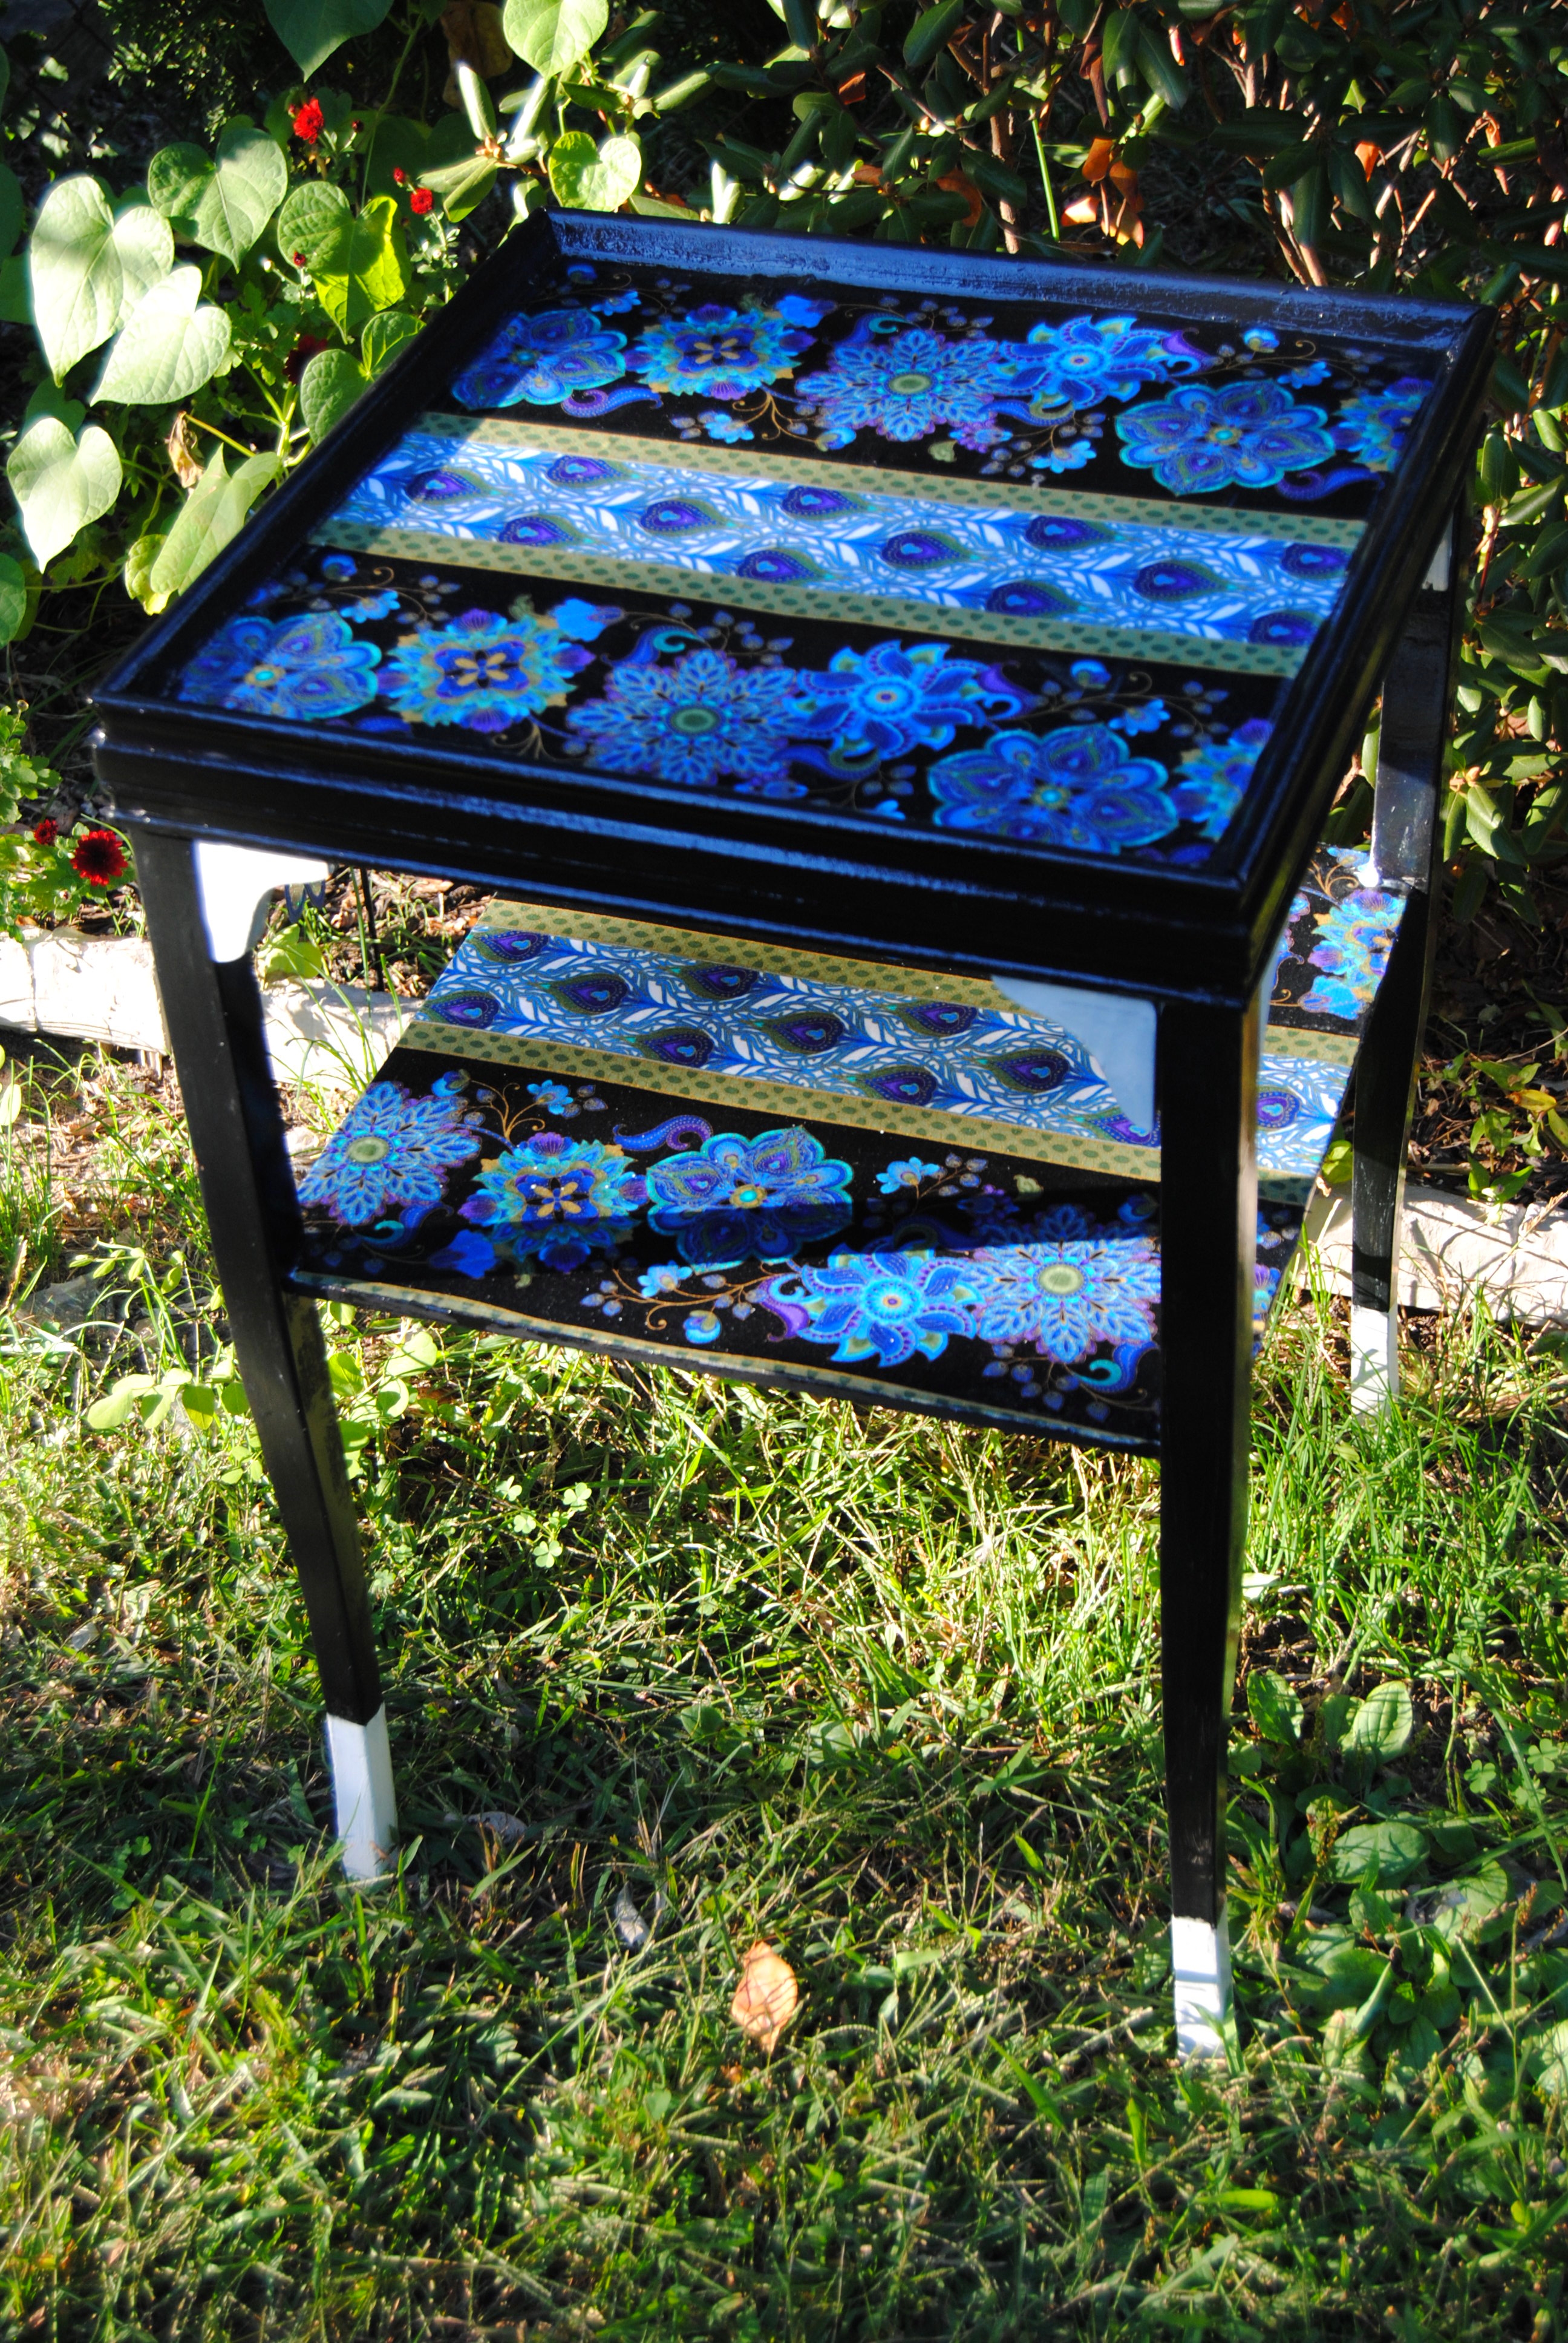
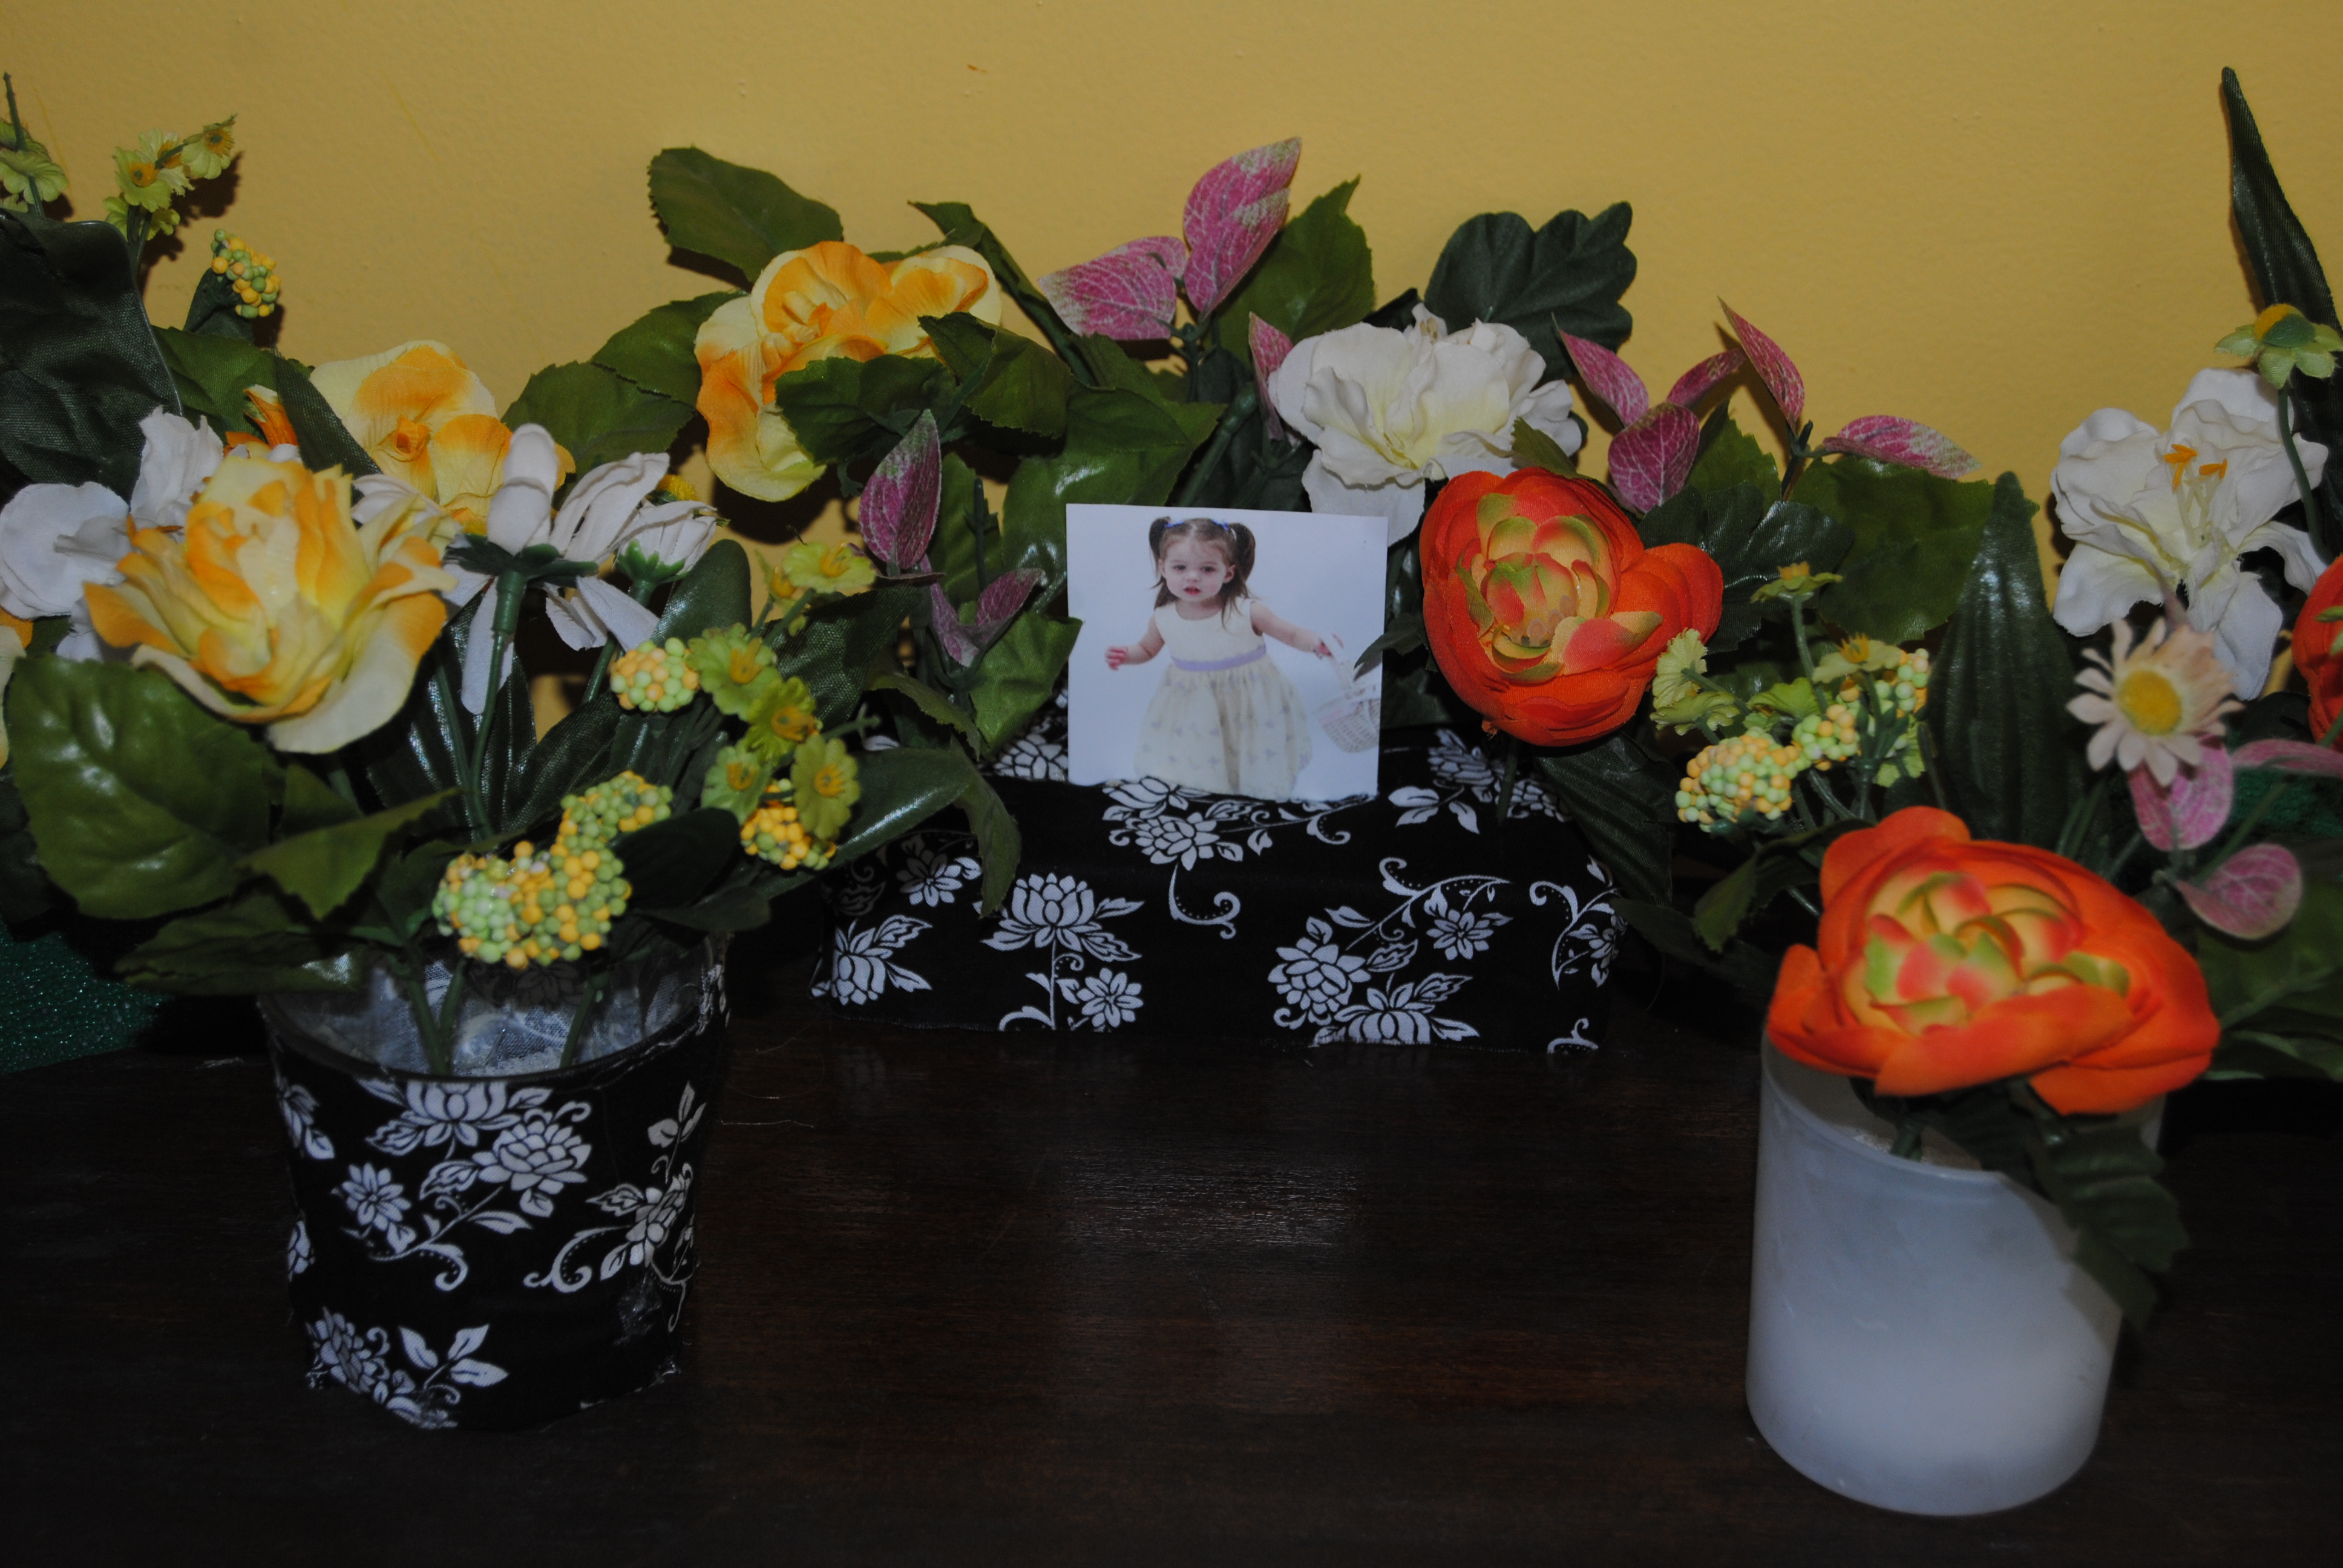
I traced the four sides of the shelf with a black marker. I cut the tracings out with a pair of scissors and placed them aside. I applied Mod Podge to the outside of the shelf with a foam brush, and carefully applied the scrapbook paper to the outside. Once dry, I applied Mod Podge over the top of the paper to seal it. I used the hot glue gun to carefully glue the photo to the back, leaving a small space at the top if I decided to hang it on the wall.

I wish the edges had come out better, as I accidentally touched them before they were dry! Overall I loved the project and what a wonderful way to display a favorite photograph!