A Frugal Feline: Make A Cat Bed In A Pinch

About 2 months after the birth of our daughter, I noticed a stray cat hanging around the neighborhood that I hadn’t seen before.  He was very thin and unusually friendly.  I saw the sad state he was in, took pity in him and began feeding him.  He would stay in the backyard lounging on our outdoor chairs, and greet us at our front door when we arrived home.

Summer Stray

After a few months, and the threat of winter approaching, we scheduled a visit through our local animal shelter’s Spay Our Strays program.  He was vaccinated and turned out to already be neutered a sure sign that at one time, he was someone’s pet.  I searched the local lost animal websites, and checked with shelters, but no one seemed to be missing him.  My husband and I decided to take him in.  He was great, but my younger male cat did not approve and started picking fights with him.  Until I could find him a suitable home, he would have to stay in our basement.  I created quite the feline bachelor pad for him.  A cat tree in front of the window, complete with futon bed,  private litter box and a never-ending supply of food and water.  He continues to thrive, after many attempts at finding him a permanent home and attempting to integrate him into the household have failed.  He resides in our basement laundry and remains sweet and content with his life.  He comes upstairs to visit and then goes back down to the basement where he is king and lives in peace by himself.  Just look at him now and how much weight he has gained! It is hard to believe this is the same cat that showed up in our yard on the brink of starvation!..

Nucky

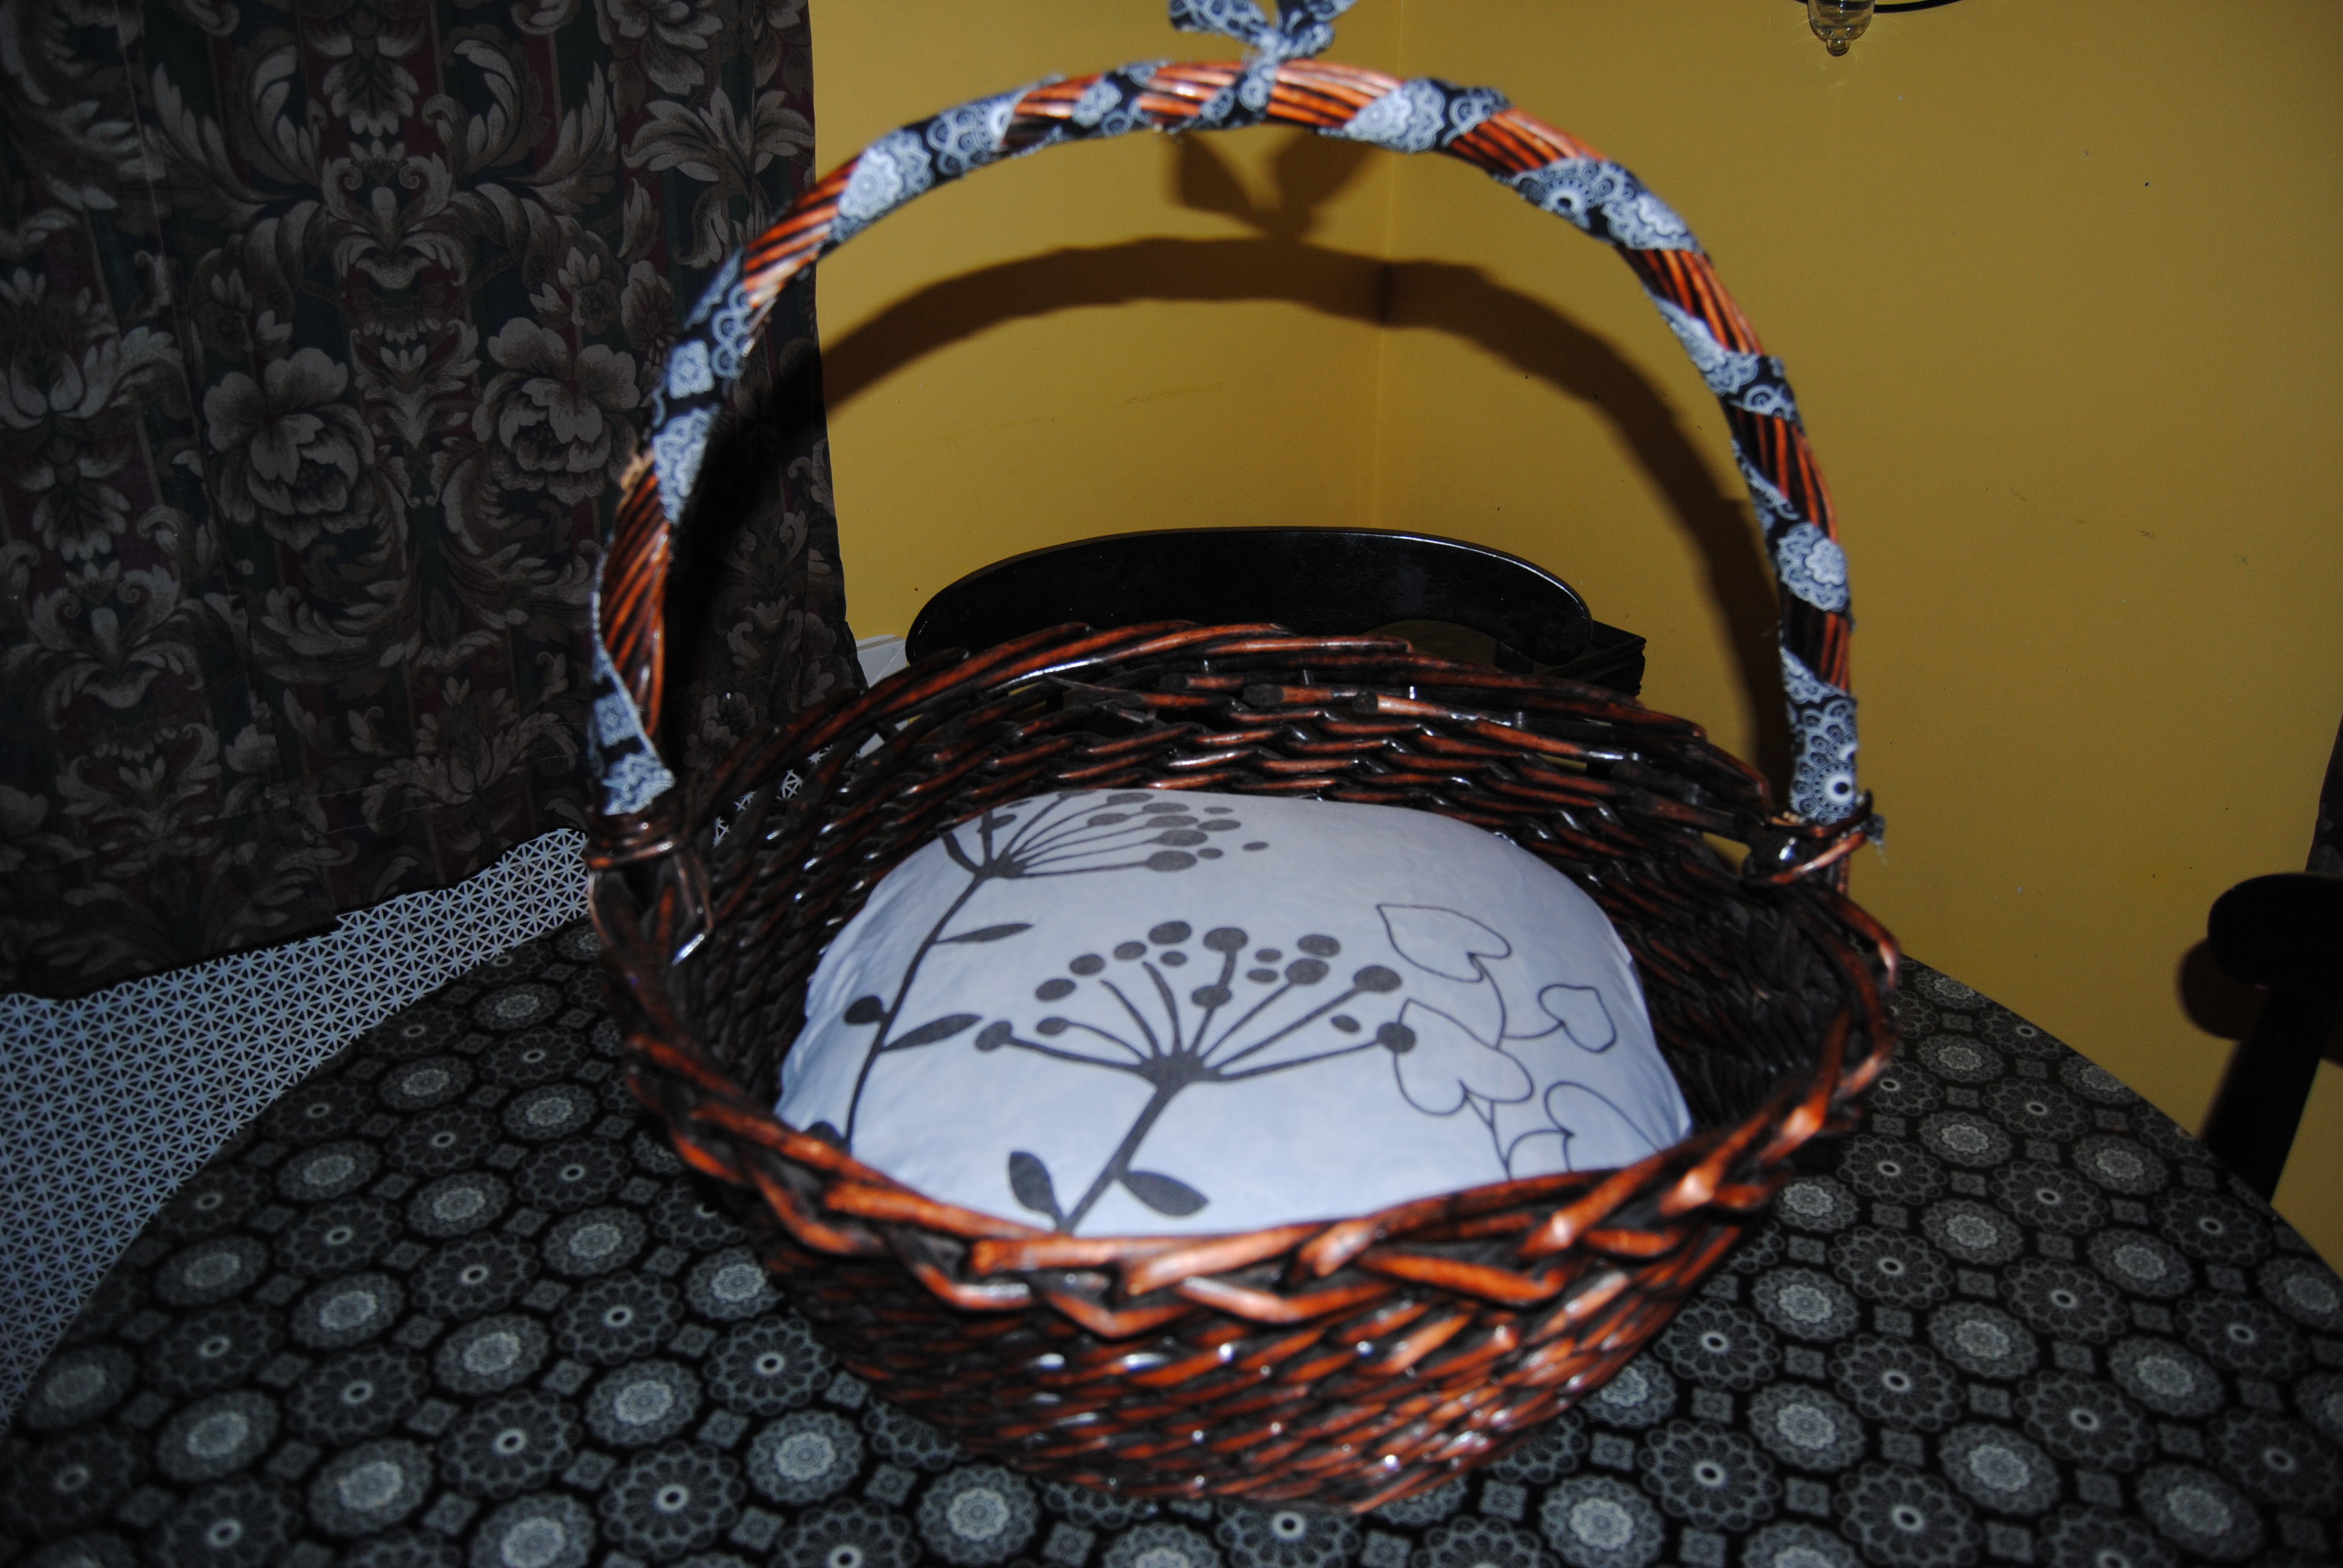
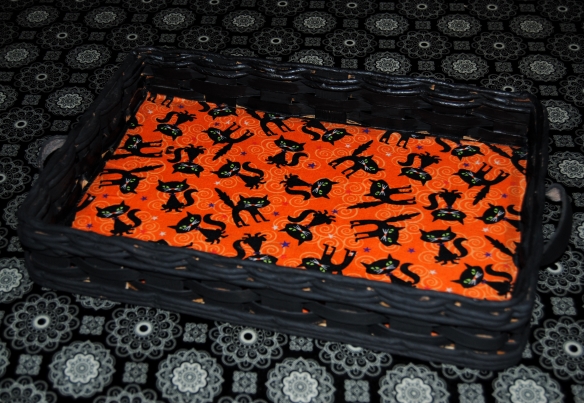
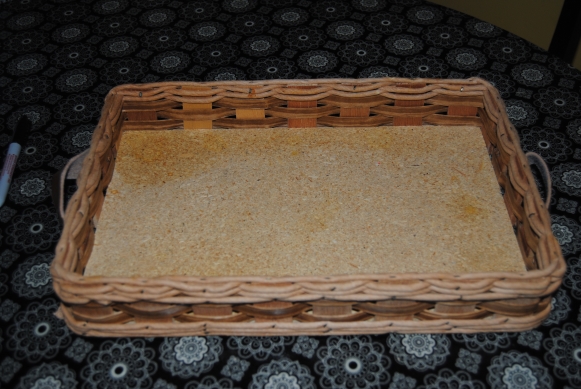
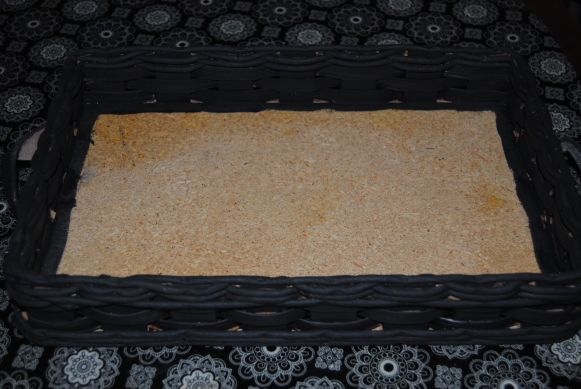
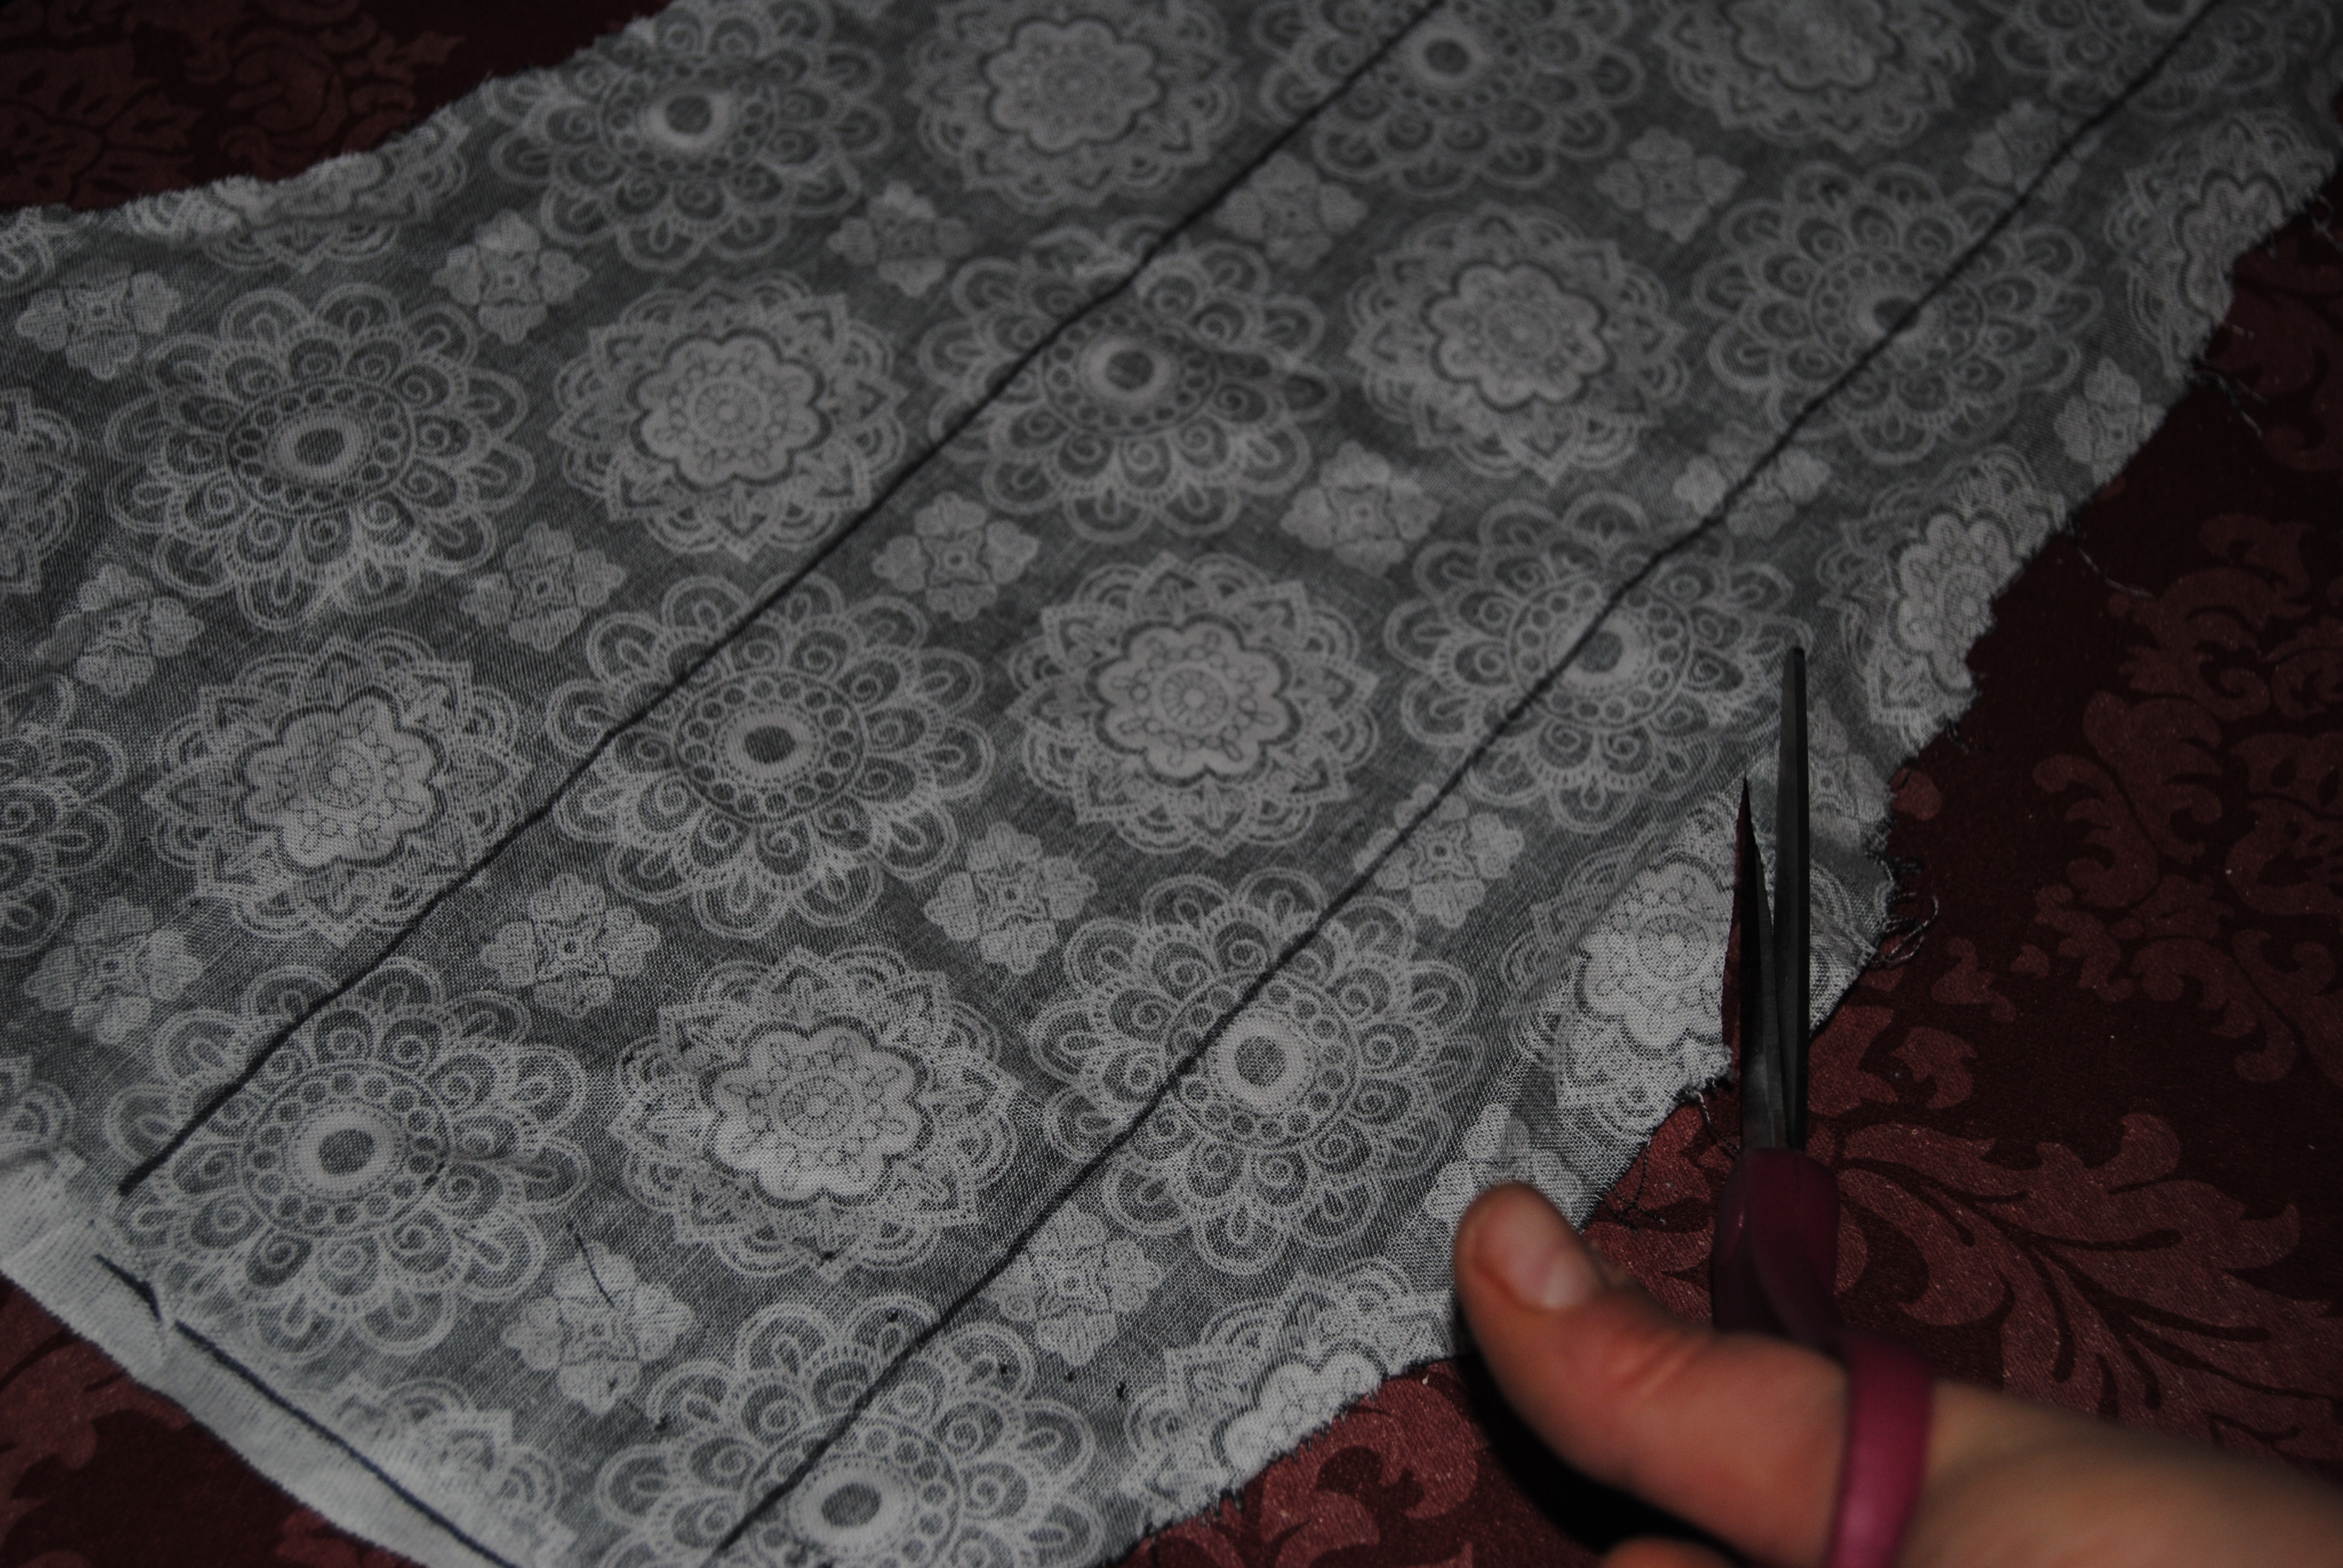
Recently, we were forced to discard the futon in the basement. Removing this piece of furniture removed precious lounging space for our poor “Nucky” (named after the character in HBO’s Boardwalk Empire.) I searched the house for suitable items that I could repurpose into a cat bed.  I came across a large wicker basket that I had stored in our attic.  I found an old couch pillow as well as an old pillow case.  I stuck the pillow in the case, and tucked it inside the basket.  I used some fabric scraps to add some detail to the basket handle.  Cat bed in a pinch was born!  A much less expensive and greener alternative to purchasing a new cat bed.  Nucky loves it and has been sleeping in it every night since it was quickly thrown together!

DSC_0933

Calling all Upcyclers: Projects Needed for The Second Edition Of The Green Crafts Lifestyle!

A few months ago, I was honored when “On The Upcycle” was featured in the very first edition of the Amazon E-book The Green Crafts Lifestyle.  The author of that book the lovely Mahe-Zehra-Husain is gathering new submissions for the 2nd edition of the Green Crafts Lifestyle.  If you like to craft green, this is a great opportunity to get your work published and increase readership to your blog. Be sure and check it out!

Altered Upcycling

Purrific Candy Cats: Upcycled Halloween Candy Tray

While I was out thrifting yesterday, I picked up this great little wicker tray with a hard unfinished wooden bottom, and two handles. This tray was stamped underneath as made by Corning.  It was a bit of a mystery as to what this tray was used for in its current state.  It was certainly priced right and stamped with a red tag marked 50% off and cost only $1.00.

Mystery Wicker Tray

I had an idea since it is close to Halloween to repurpose this item into a Halloween candy tray.  Using a flat tray instead of a deep one, enables the kids to pick the candy that they like best.  I had some great left over Halloween themed spooky black cat fabric I purchased at Joann Fabric.  The same fabric I used for DIY Upcycled Decorative Halloween Lamp.  I gathered the materials needed for this project.

Wooden Tray

Mod Podge

Black Acrylic Paint

Spooky Halloween Fabric

Paint Brush/Fine Tipped Marker

Foam Craft Brush/Scissors

First, I painted the tray areas that would not be covered by fabric with a medium-sized paint brush,  I used a couple of coats and allowed it to dry thoroughly between coats.

Painted Tray

Once dry, I traced the bottom of the tray on to the back of the fabric with the black fine tipped marker.  I carefully cut the fabric out with a pair of scissors.  I placed the fabric aside and applied Mod Podge to the tray surface with a foam craft brush.  I carefully placed the fabric on the tray surface and smoothed out any wrinkles with my hands.  I allowed this to dry and then applied Mod Podge over the painted areas, and the fabric surface.

Upcycled Halloween Candy Tray-Black Cats

Now the hubby and I can pass out candy in spooky black cat style! This can also be used as a serving tray for ghastly goodies. What crafts do you have planned this Halloween?

Halloween Tray made with Mod Podge

Fredrika Fabric Corner Shelf Makeover: A Final Farewell

I was a bit sad when I realized I was running out of one of my favorite thrift store finds,  Fredrika Fabric from Ikea. It is amazing when I think of all the great projects restyled with this fabric, most of which currently reside in our daughter’s playroom.  Ahh the upcycling memories.  First it was a little wooden step stool, then many more followed, lost basement table, 1960’s Coffee Table, Repurposed Umbrella Holder/Toybox and even a Garden Pig Makeover!

We needed a shelf in the playroom out of our daughter’s reach.  We had a great baseball lamp my sister gave to us as a gift, and we needed a place to display it on. The playroom still has a sporty theme coupled with a girly mod look.  I found this great corner shelf at Goodwill for $2.99 and I snatched it up!

DSC_0649

I had just enough fabric to cover the surface with a few scrap pieces to spare. I traced the shelf on the fabric and cut the tracing with a pair of scissors.  I applied Mod Podge to the shelf surface and carefully placed the fabric on top.  Once dry, I applied Mod Podge over it to seal it.

DSC_0650

The most difficult part of this project was hanging the shelf!  It had 3 slots which required three screws hung on the wall precisely.

DSC_0653

I love how this turned out and so simple to make!  You can “jazz” up ordinary furniture and decor and make it a unique expression of your own personal home style!  This project was certainly bitter-sweet.  I will miss you.  Farewell Fredrika!

Stepping through time: DIY Cemetery Flowers And A walk through St Peter’s Cemetery, Staten Island, New York

Yesterday, my daughter and I took a trip to visit my aunt in New York.  During the trip, my sister and I traveled over to St. Peter’s Cemetery in Staten Island to visit several ancestors memorials.  I called the cemetery office and spoke with Pat who was wonderful!  I e-mailed her with a list of names I suspected were interred at the cemetery. She responded back with several and provided the grave plots and locations along with a cemetery map.  I planned on photographing the graves, but also wanted to leave something for them out of respect.

I found some old artificial flowers and glass candle holders in our attic as well as some left over styrofoam packing materials.  I decided to use these items to come up with a small tribute to each grave as I visited.

DSC_0574

I had to create five total and did not have enough styrofoam for the bases.  I used two glass candle holders instead with a small piece of styrofoam inside to attach the flowers.  I used scrap fabric, paint and hot glue to put these together.  I was also stopping by to visit my grandparents and made a special one for them with my daughter’s picture in it.

Repurpused Grave Memorial Flowers

DSC_0579

My daughter visiting her great grandparents

Stay tuned for more of the genealogy series!

And The Winner Is…. Me!?!

Good Morning to all my blogging friends!  It is a happier Monday than usual, thanks to Diana at Ray’s Sew Crafty.  I just wanted to personally thank her for making my day!  She has an amazing crafting blog, and is a lover of cats as I am!  Be sure and check it out! Diana sponsored a Labor Day Giveaway on her site and I happened to be the very lucky winner of a book of beautiful scrapbook papers (Can you say decoupage?)

Scrapbook paper winner!

Congratulations also to  Laura (from the Sew Frou Frou Quilter ) She won the cute Hugabook story book panel.

Also… If you missed it, be sure and check out my friend Elise from 2 Geeks and a Grandma at Cheeky Geeks Blog.  This month, Elise is featuring all things “Geeky”  Sci Fi, Retro you name it!  I was honored when Elise asked if I would be a guest blogger, my very first guest blogger position! My contribution is a  full tutorial on how to make a retro upcycled kids table and chair featuring an old Strawberry Shortcake record.  Be sure and stop by and check it out! Elise will be featuring all things “retro” this week.   Visit her for more to come, should be lots of fun!!

Enjoy your day my friends!

Cheeky Geeks : Geek Month Celebration

Growing Pains: 7 Mistakes I Have Made “On The Upcycle”

Tonight I thought I would, share with you all a few things I have learned the hard way through crafting, decoupaging, upcycling, and blogging.  It is certainly not as easy as it looks and I have acquired quite a few bumps and bruises along the way!

1. High Temperature hot glue guns are as advertised: 

For many years, I used a small low temperature glue gun.  As many of you already know these do not adhere as well as the high temp guns.  I thought I would treat myself, to a newer glue gun.  When I used it for the first time, I inadvertently stuck my hand into the hot  gooiness and boy did I regret it.  It didn’t just burn a little it burned A LOT, and  I adhered two of my fingers together!

High Temp Hot Glue Gun by Ad Tech

2. Mod Podge + Mod Podge =DISASTER:  Mod Podge is a magical substance, but at the end of the day it is simply a glue and adhesive.  When storing furniture made with Mod Podge it is important to not allow two pieces of furniture to be stored in such a way that they “lean” up against each other.  I once had a TV tray that was stuck to a chair, and rip!  Thanks goodness I was able to re-paint and repair the damaged tv tray! Lesson learned!

3. Decoupage over Decoupage = DISASTER:  When decoupaging, always make sure you are adhering to the “flat” original surface of a project and that the material you are using, fabric, paper, ect does not overlap with the same. This creates a uneven surface prone to wrinkles and air bubbles.  If you are decoupaging a material like paper onto a brightly colored surface be sure the material is think enough to prevent the color from “bleeding through.”

4. Treat your paint brushes as you would want to be treated:  There is nothing worse than projects ruined or further complicated by poorly cared for paint brushes with loose bristles that find their way forever embedded in a project, Or the poorly rinsed brush that streaks the wrong color across the face of a project.  Be sure and keep these clean and inspect occasionally for loose bristles. I use the method to clean my brushes illustrated here on Wiki How.

Paint Brush Cleaning

5. Have a “Crafting Happy Place”:  If possible, I have found it best to have a separate crafting space or at the very least a piece of furniture for crafting you wouldn’t mind getting a few globules of paint on.  No matter how many drop cloths, wipes and sponges you have handy accidents happen and you may not always see a paint splatter or glue glob right away.  I single-handedly over time ruined the surface of our kitchen table.  The bright side you ask? I am planning to cover it with fabric can you say a project? Stay tuned! Ok my craft room looks nothing like these, but a Upcycling Mom can have a dream right?

6.  Thinking about taking the easy way out?  Don’t do it!  Crafting may appear fun, but much of it is hard work:  sawing, cleaning, sanding, priming.  For me this is all preparation and no reward.  I want to see the finished item I envisioned; However these things are important steps often times when creating a quality project that lasts.  Not all items will require the same preparation, but one of the most important and simple steps before painting or decoupage is removing dust and dirt.

7. If at first you don’t succeed: Keep trying!  As much as the cyber blogging world is filled with wonderful people, there are also haters out there that are cruel instead of encouraging.  Always stay true to yourself and believe in what you are doing even if others don’t necessarily approve. Stay positive and don’t let a project fail stop you in your tracks! Don’t be too hard on yourself (So far this has been the toughest lesson of all, but like I said keep trying right?)

The Broken Chair Challenge Part 2: Chair Back Photo Frame

It all started when I purchased a lovely (but very abused) chair from Goodwill for $3.99.  I loved the design qualities of this chair and thought it would make a lovely restyle. I especially loved the is.  Which means “ Lily flower” in French.  I removed the chair seat, only to discover it broken beyond repair. I was not willing to let this chair go, and  I was determined to find a replacement seat.  My husband and I kept our eyes open for any broken chairs on the side of the road that we could use to salvage a seat.

For months, this chair sat and I resisted the temptation of buying a chair to salvage.  Then one day, my patience paid off.  My sister and I went thrift shopping one weekend and in front of the store they had free furniture.  I was ecstatic!  Their it was the perfect candidate, a chair missing the arms, but with a perfectly usable seat.  I confirmed with the store manager that this chair was indeed “free” and loaded it into the car with the biggest smile planted on my face. I immediately removed the seat when I got the chair home and it was a perfect fit.

Upcycled Black and White Damask Chair

To read more about this project see The Broken Chair Challenge: Upcycled Black and White Damask Chair.

Now, I was left with the remnants of another chair, and did not want the all the parts of this chair to end up in the trash.  It had a lovely seat back, and I had seen some lovely upcycling of chair backs into picture frames on Pinterest. I decided to give it a try.  One great example of this can be found at All Things Thrifty.com

Old Chair Back

The finish on this was extremely worn. If it had not been in such poor shape, I don’t think I would have opted to paint it. By far,  the most difficult and challenging aspect of this project was sawing the legs off the chair back.  I used a hacksaw, but it was quite tough to do!  An electric or battery operated hand saw would have worked better, but on the bright side it was at least a 500 calorie burner! Rarely can you say you burn calories crafting!  Once this was completed, I sanded the area that was cut.  I took the chair back outside and spray painted it black, using about two coats.  I allowed the piece to dry overnight.

The next day, I chose a large photo from one of my daughter’s previous Picture People photo sessions.  I measured the area and trimmed the photograph to sit inside the middle of the chair back.  I used a hot glue gun to adhere the photo to the wood.  I had a few craft jewels and roses that I added to the chair back to make it “pop”  I originally glued a large rose to the bottom of the chair back, but decided to remove it later as you will see in the photos below.  One of the smaller roses, I carefully glued to her hand in the photo, It creates an illusion that she is actually holding a rose in the photo.  I think it gives the photo a bit of an extra dimension.  A nice little “touch” to the project.

Hand Holding Rose

I decided to hang this in our bedroom which is black, white with grey wall.  It was very difficult to snap an adequate photo as the flash kept reflecting off the shiny surface , but it is lovely and I am so glad I tried this!

DSC_0343

Think of all the possibilities before you toss that old chair!

Materials:

Hot Glue Gun

Spray Paint (If you choose to paint)

Old Chair Back

Scissors

Saw (If needed)

Screw driver (if needed)

Sandpaper

An old chair back re-purposed into a Picture frame

Tangled No More: Upcycled Wooden Shaker Peg Rack

I have a confession.  I am horrible when it comes to keeping my jewelry together and organized. I am always losing earrings,  and I constantly tangle my necklaces together.  When I picked up this Shaker Peg Rack at a thrift shop, I planned on using it to hang “crafty”things in my crafting area. I decided against it when I realized it was more urgently needed in our bedroom for jewelry.    I reached my breaking point this weekend, when I went to change my necklace only to discover a tangled mess!

Image

I decided I would use the fabric featured on Upcycled Spaghetti Jar Lamp.  I tried removing the pegs, but needed some of the hubby’s strength to remove them. He was able to loosen them and I was able to finally pop them out. My plan was to glue the pegs back on later. After pulling them out, they still fit snuggly which was great.  Removing the pegs would make it easier when covering the rack with fabric, and it would appear seamless.   I traced the rack surface onto the fabric with a black marker.

DSC_0274

I cut the fabric outline with a pair of scissors.  I placed the fabric aside.  I applied Mod Podge to the wooden rack with a foam craft brush, I carefully applied the cut fabric to the wooden surface smoothing it out on the surface with my hands.  I marked off the spot on the fabric, where the peg holes were.  This way, when dry I could pierce the holes with a scissor tip without making the fabric shift and move. I placed this piece aside to dry and painted the pegs with black acrylic paint.  I painted any areas not covered with fabric black.  Once the paint was completely dry, I covered all the painted and fabric covered areas with another layer of Mod Podge, and glued the wooden pegs back into the holes.  I used two long black screws to mount the jewelry holder to the wall.

This fabric and style looks great in our grey/neutral bedroom. You can use any fabric or color scheme you like and unfinished Shaker Peg Racks can easily be picked up at yard sales and thrift shops for a couple bucks. The perfect upcycle!

Upcycled Shaker Peg Rack Made with fabric, Paint and Mod Podge