Fredrika Fabric Corner Shelf Makeover: A Final Farewell

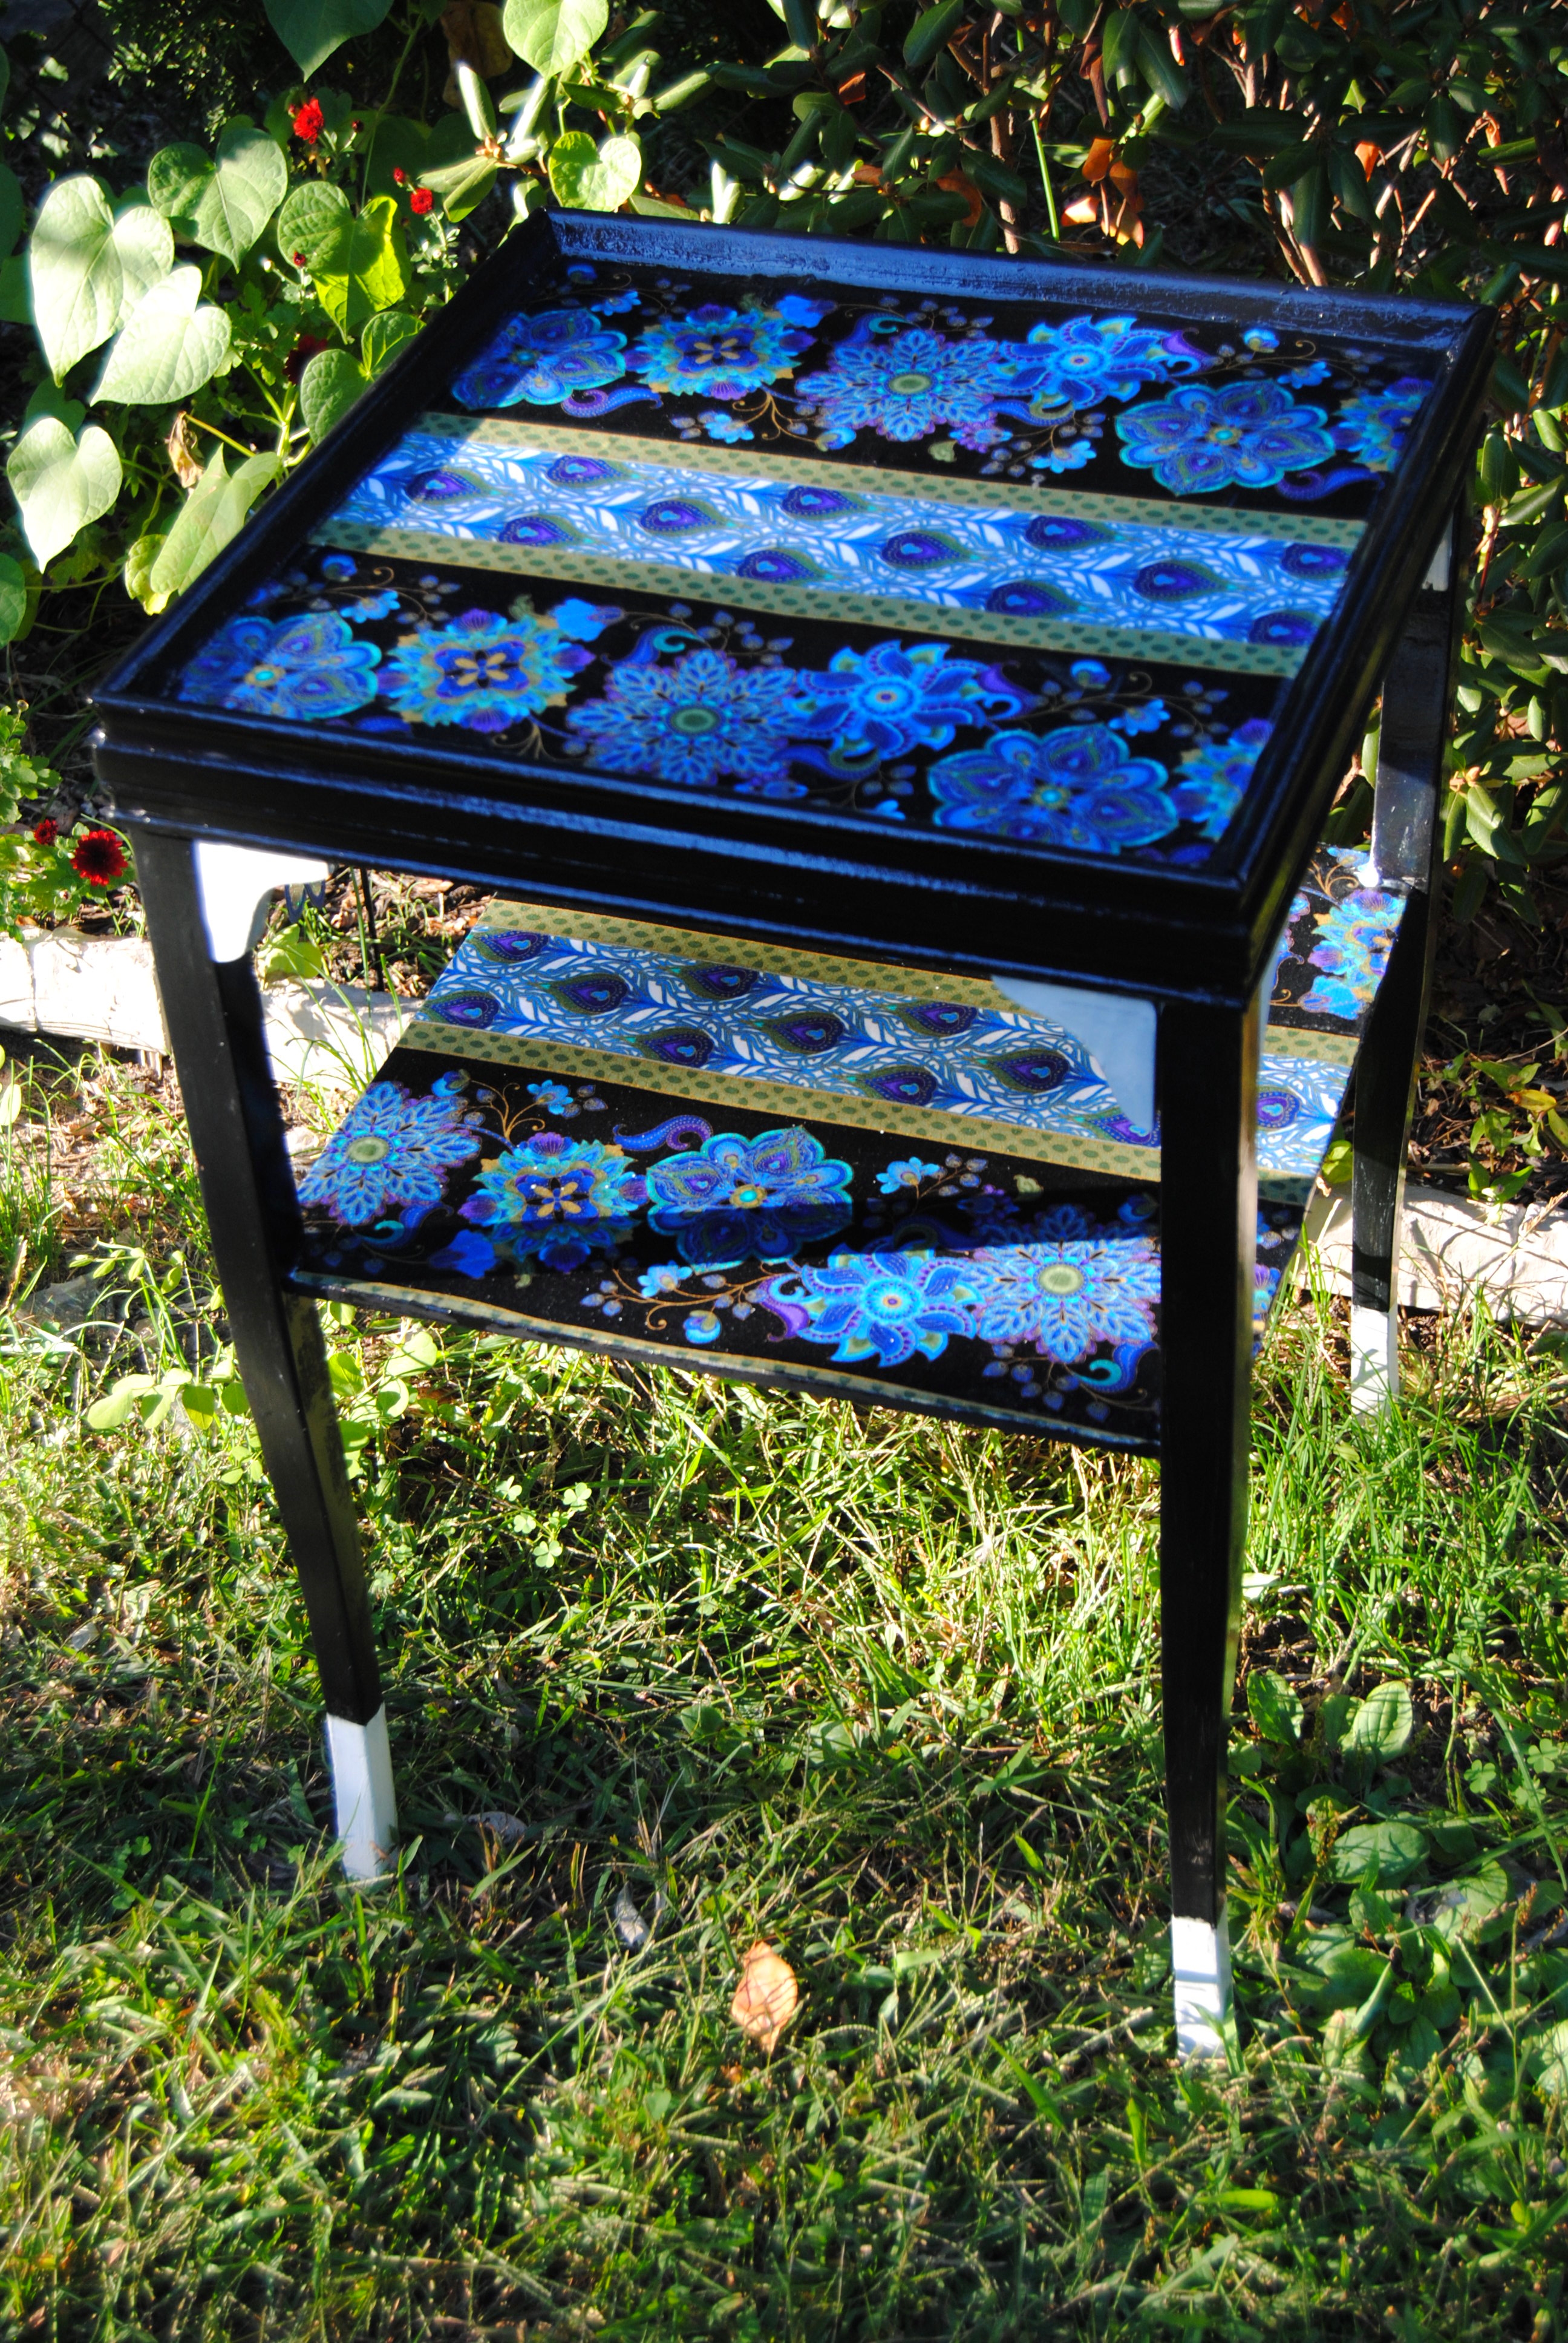
I was a bit sad when I realized I was running out of one of my favorite thrift store finds,  Fredrika Fabric from Ikea. It is amazing when I think of all the great projects restyled with this fabric, most of which currently reside in our daughter’s playroom.  Ahh the upcycling memories.  First it was a little wooden step stool, then many more followed, lost basement table, 1960’s Coffee Table, Repurposed Umbrella Holder/Toybox and even a Garden Pig Makeover!

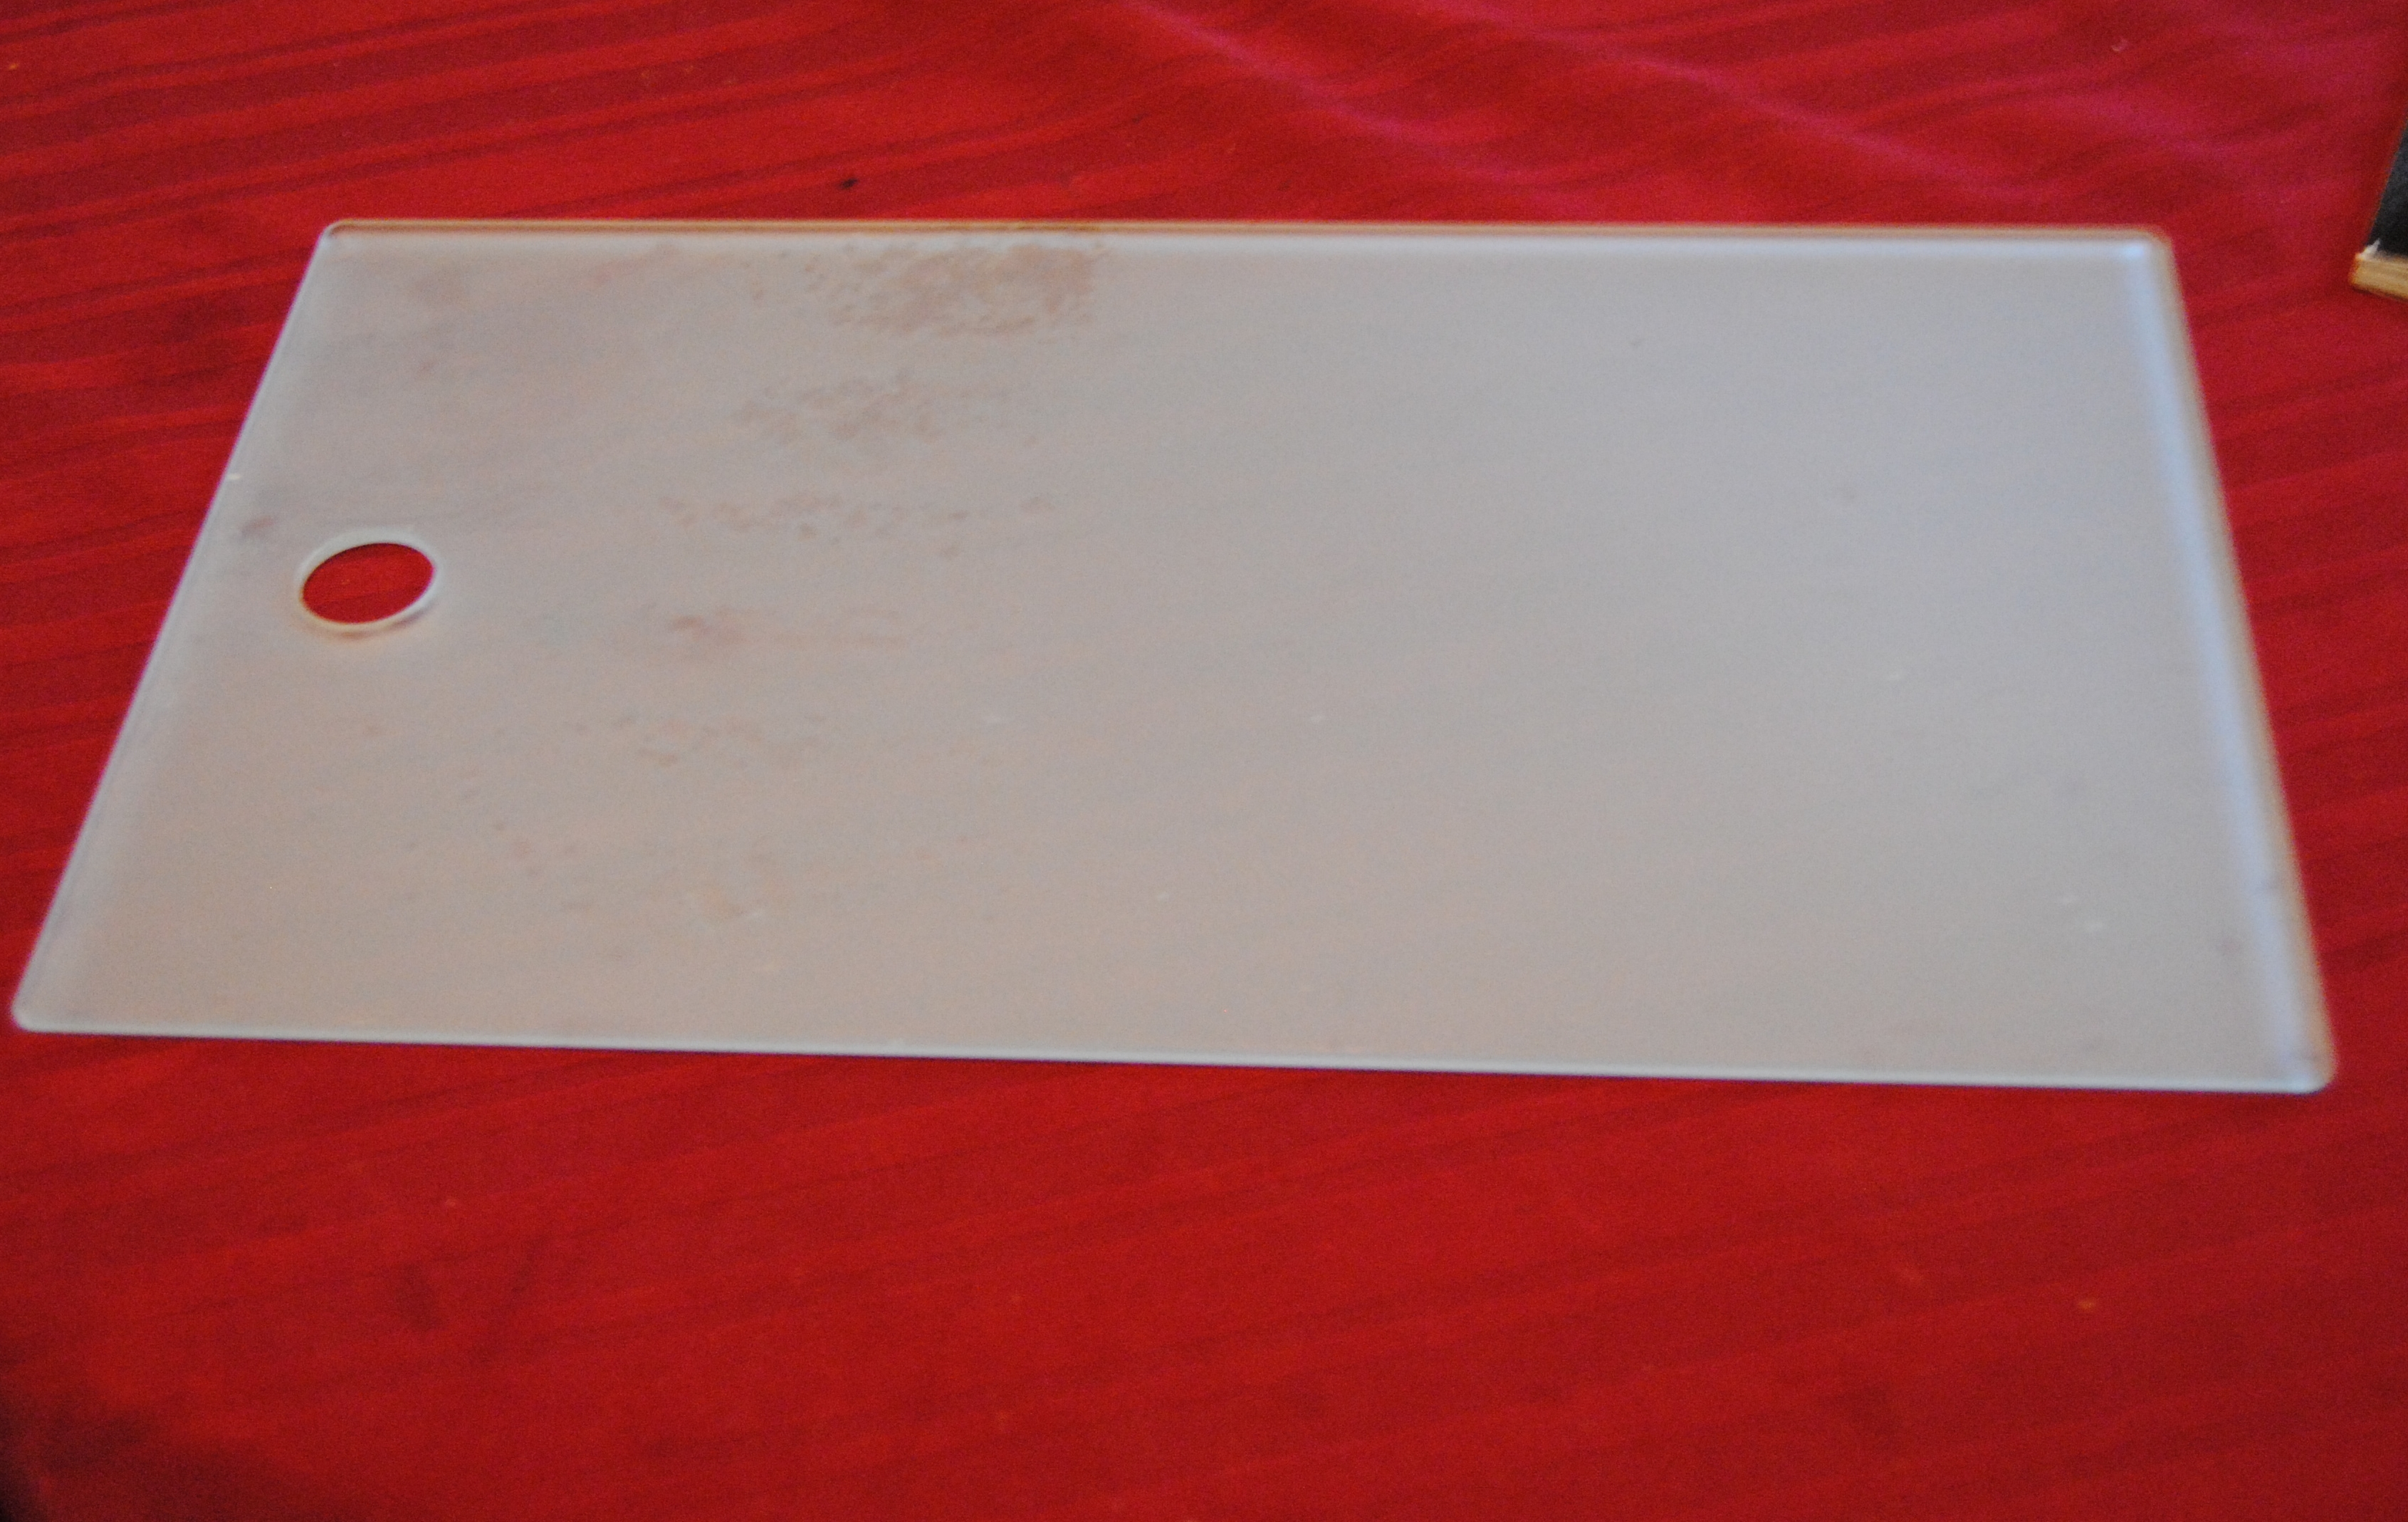
We needed a shelf in the playroom out of our daughter’s reach.  We had a great baseball lamp my sister gave to us as a gift, and we needed a place to display it on. The playroom still has a sporty theme coupled with a girly mod look.  I found this great corner shelf at Goodwill for $2.99 and I snatched it up!

DSC_0649

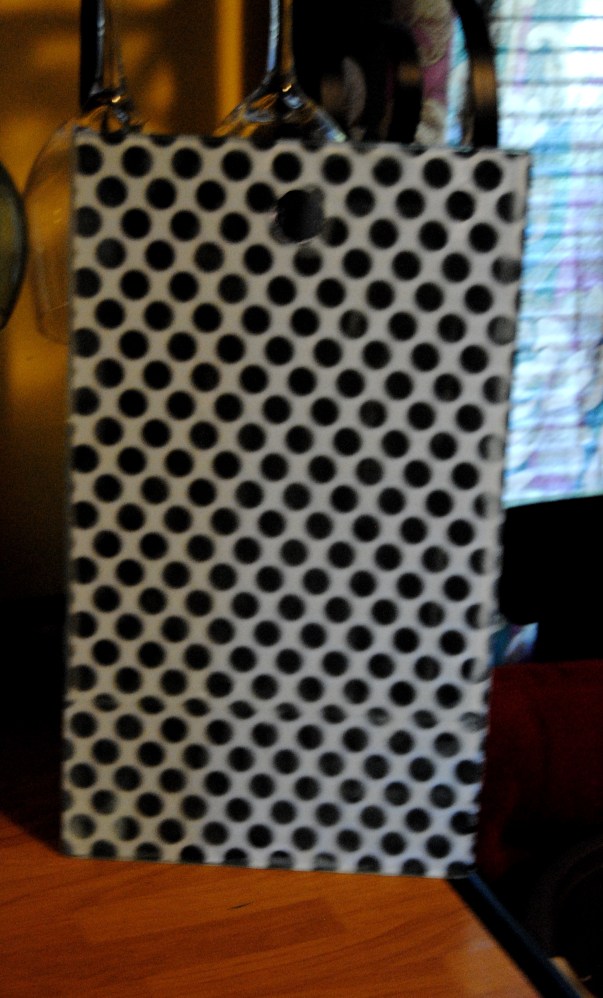
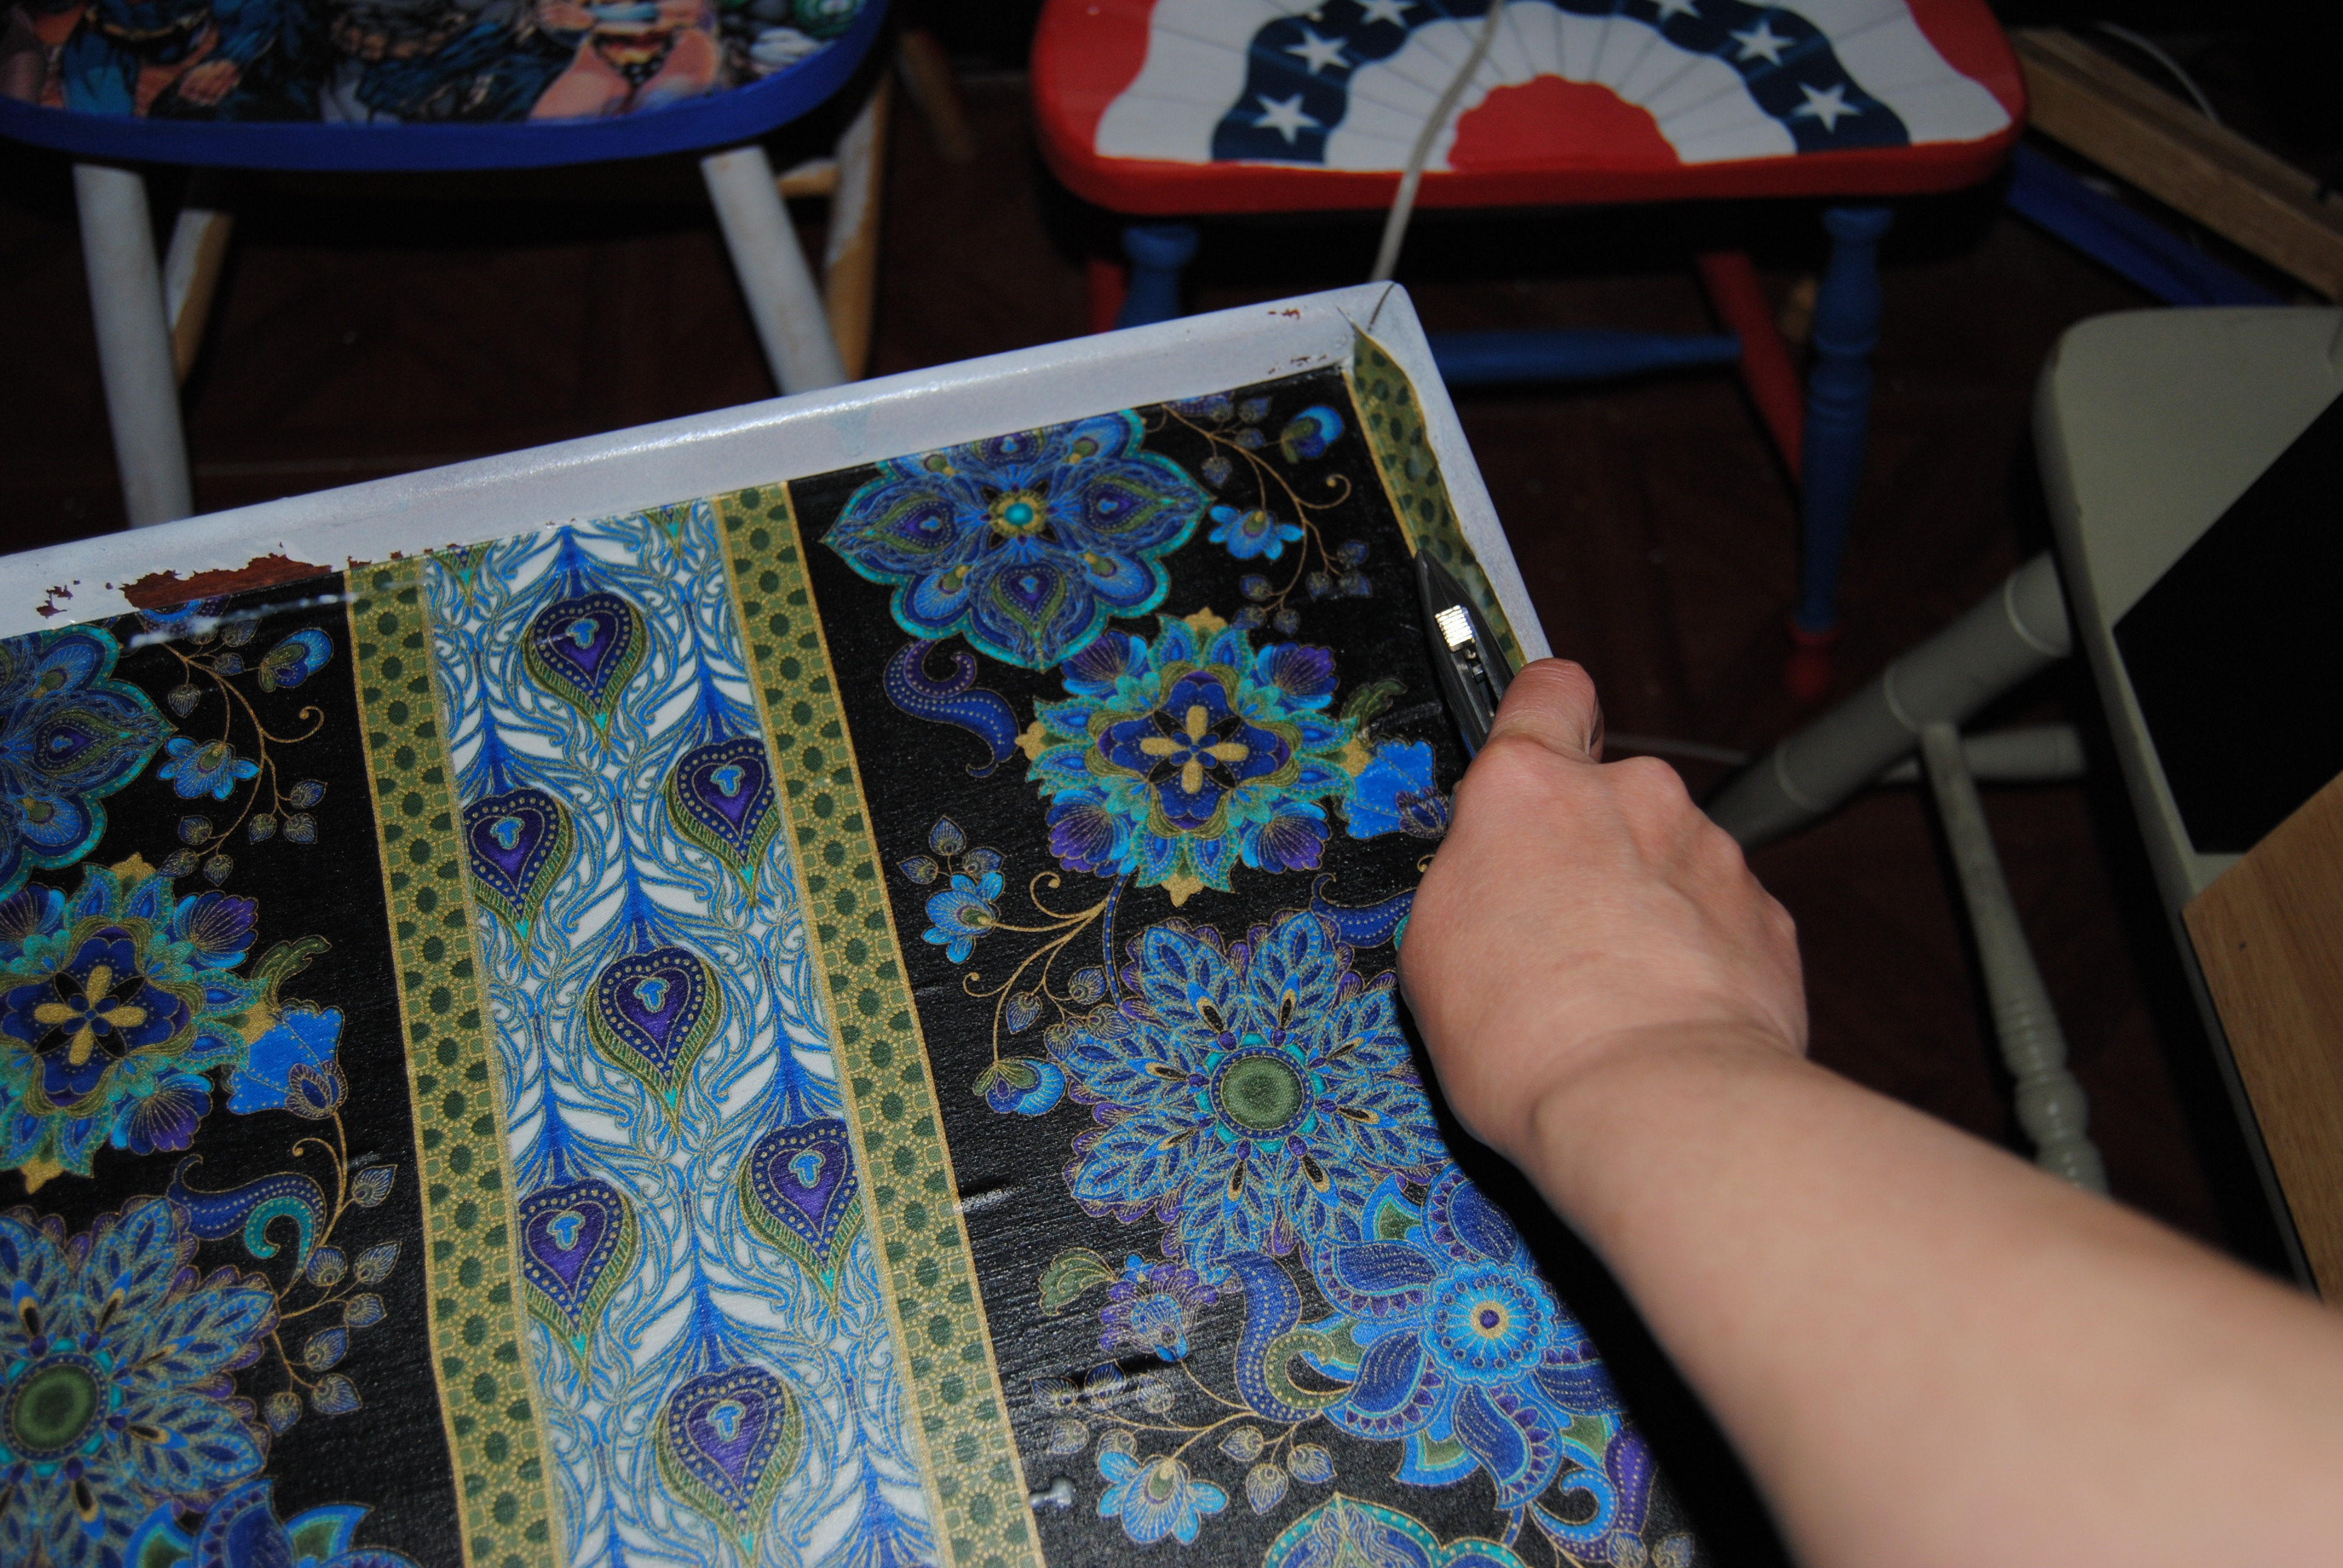
I had just enough fabric to cover the surface with a few scrap pieces to spare. I traced the shelf on the fabric and cut the tracing with a pair of scissors.  I applied Mod Podge to the shelf surface and carefully placed the fabric on top.  Once dry, I applied Mod Podge over it to seal it.

DSC_0650

The most difficult part of this project was hanging the shelf!  It had 3 slots which required three screws hung on the wall precisely.

DSC_0653

I love how this turned out and so simple to make!  You can “jazz” up ordinary furniture and decor and make it a unique expression of your own personal home style!  This project was certainly bitter-sweet.  I will miss you.  Farewell Fredrika!

It’s Raining Black Cats: DIY Upcycled Decorative Halloween Lamp

Hands down, Autumn is my favorite time of year.  From Pumpkin coffee to homes decorated with colorful mums, It is apparent fall is here and Halloween is just around the corner.  What better way to celebrate the most fun and certaintly most spookiest of holidays than with an upcycle craft celebrating All Hallows Eve?

I visited Joann Fabric and picked up some festive material featuring very scary black cats in different poses.  I thought the orange-colored background would look nicely when the lamp light shines through it.

DSC_0746

Materials:

Halloween fabric of choice

Small lamp base

Dollar Store Glass Vase (You can also use a glass jar)

Mod Podge

Scissors/Paint Brush/thin tipped black marker

Twine/String

First, I wrapped the fabric around the outside of the vase and trimmed with scissors.  I traced the bottom of the glass vase on the back of the fabric.  I cut the circle of material out and placed it aside,  I applied Mod Podge to the outside of the glass with a brush and carefully wrapped the material around it smoothing it out with my hands.  I cut a piece of twine off the spool and tied it around what would be the base of the lamp.  Doing this helps add a decorative touch and holds the fabric in place while drying,

DSC_0747

I  stood the vase up and applied the last piece of fabric to what would be the top of the lamp.  Once applied, I covered the entire outside with Mod Podge.

DSC_0750

Once the piece was dry, I added one additional coat of Mod Podge to the lamp and fabric.  What is great about these lamps is the capability to use one lamplight base and switch out different decorated glass jars and vases to create new decorative lighting looks.

DIY Decorative Halloween lamp made with Mod Podge and fabric

Hope you enjoy my festive feline Halloween lamp!  ahhh I can taste the candy corn now!

Restyled Polka Dot Cutting Board

I have a glass cutting board I used for cutting paper and crafts.  I have several cutting boards, and did not have a use for this one in the kitchen so,  I used it for crafting on and cutting paper.  I was sitting at my work station one day and decided to “dress it up” a little.  I had this great black and white polka dot scrapbook paper.  Since the cutting board was made from a clear glass, the idea was to adhere the paper to the back, and allow the polka dot image to appear through the glass without affecting the usable surface.

DSC_0642

I applied Mod Podge to the back of the cutting board  with a foam craft brush and adhered the scrapbook image facing out. I then trimmed the paper around the glass.  I carefully matched the polka dots up so the pattern appeared as seamless as possible.  I applied Mod Podge on the back of the paper to seal it.  If I were to use this as a real cutting board, I would use outdoor Mod Podge to seal the back for added protection.  This cutting board will be used for cutting, but not used around water so I used Mod Podge matte finish to seal it.

DSC_0645

Just think of the possibilities!  It also would make a nice decorative piece also if not used as a cutting board.  You could Mod Podge any image and photos behind the glass!

Pretty As A Peacock: Side Table Redesign

I picked up this side table at Goodwill.  I loved the design qualities it had, but this piece was in poor shape.  Most of the finish was worn off, and it had issues with sturdiness.  Due to these shortcomings, this table was priced right at only $3.99.

DSC_0655


It sat for a while collecting dust.  I wanted to do something really special with it, but my vision was stifled.  I used it to work on projects, but this table certainly deserved a more dignified life, A trip to Jo Ann Fabrics changed everything.  They have a new super store less than a mile from home and it stocks row upon row of fabric.  I came across a beautiful peacock inspired fabric.  It made me think of the side table and I decided to buy about a yard of it.  I liked it so much I wanted to have extra to use in a future project or two. It felt nice to treat myself a little, plus I had a 40% off coupon!

I took the table outside cleaned it, and tightened it up as best I could. I used a can of white spray primer to prepare the table for painting.

DSC_0659

Once dry I brought it  back inside the house to the craft room.  I flipped the table over tracing the table on the back of the fabric with a black fine tipped marker twice, once for the top surface and once for the middle shelf.  I cut the fabric with scissors.  I applied the Mod Podge on both shelves and carefully place the fabric down, smoothing it out with my hands,  I applied Mod Podge over top and allowed it to dry,  Any excess fabric, I trimmed with a box cutter knife.  I also applied extra Mod Podge to the corners where the fabric meets the table .

DSC_0684

I used two coats of black and white acrylic paint to paint the remaining areas of the table. Once the paint was dry, I used a Polyurethane clear gloss to seal the table and give it a shiny appearance.

DSC_0707


Before and After:

peacock table before and after


Want to strut your stuff and make a peacock inspired table?  Here is what you will need:

Table

Peacock inspired fabric (From Jo ann Fabric)

Mod Podge

Acrylic Paint

Spray on Primer

Polyurethane clear sealer

Box Cutter, Scissors, Fine tipped marker

Paint Brushes


Stepping through time: DIY Cemetery Flowers And A walk through St Peter’s Cemetery, Staten Island, New York

Yesterday, my daughter and I took a trip to visit my aunt in New York.  During the trip, my sister and I traveled over to St. Peter’s Cemetery in Staten Island to visit several ancestors memorials.  I called the cemetery office and spoke with Pat who was wonderful!  I e-mailed her with a list of names I suspected were interred at the cemetery. She responded back with several and provided the grave plots and locations along with a cemetery map.  I planned on photographing the graves, but also wanted to leave something for them out of respect.

I found some old artificial flowers and glass candle holders in our attic as well as some left over styrofoam packing materials.  I decided to use these items to come up with a small tribute to each grave as I visited.

DSC_0574

I had to create five total and did not have enough styrofoam for the bases.  I used two glass candle holders instead with a small piece of styrofoam inside to attach the flowers.  I used scrap fabric, paint and hot glue to put these together.  I was also stopping by to visit my grandparents and made a special one for them with my daughter’s picture in it.

Repurpused Grave Memorial Flowers

DSC_0579

My daughter visiting her great grandparents

Stay tuned for more of the genealogy series!

The Cats Meow: Repurposed Cookie Jar Planter

In my kitchen recently while organizing and cleaning, I came across this great white cat cookie jar I had for many years that I picked up at a yard sale.  When I originally purchased it, I knew nothing about it.  It had a slight crack in the front.  Through the years, the straw hat was broken and missing, and it sat for 7 years collecting dust on the top of the kitchen cabinet.

I took it down and gave it a look.  Thanks to the internet I discovered it is a Metlox Cookie Jar.  Turns out they are vintage and very collectible when in good condition. Online they go for between $35.00 to $125.00! Of course this cat had seen better days, and wouldn’t be worth anything with a cracked nose and a missing hat.

I am starting to begin to think my upcycling ways are beginning to rub off on my husband.  When I scratched my head as to what to do with it he suggested a planter!

Upcycled Broken Metlox Cookie jar

What a great idea!  I purchased a small fall mum and placed it inside the jar.  Since there are no holes at the bottom of the jar, I left the mum in its original container so the water can properly drain away from the plants roots. Recently, I lost my beautiful cat Clyde at the age of 17 to kidney disease.  I created a memorial garden in his honor,  and I thought this would make a great addition to it. A great way to upcycle an old cookie jar!

Metlox Broken Cookie Jar Upcycle

Feline Memorial Garden


My daughter was more interested in the wind chime, but loves to help mom in the garden and in the craft room.  She is my little toddler apprentice after all.

DSC_0557


Just For Fun: Rainbow Brite Decoupage Tote Bag

I have been intrigued recently by the idea of using decoupage on purses and suitcases. This requires me to work with different materials I have not tried before, and overcoming certain obstacles such as shape, texture and overall size. I thought this tote bag would be a great practice project, and a cute item to carry/store my daughter’s toys in.

DSC_0570

Their was an overall texture to the bag and I was not sure how the Mod Podge would adhere to it. I was concerned at the possibility that the texture underneath the paper would make the decoupage appear wrinkled.  I printed out an image of the Rainbow Brite characters.  I trimmed the image with a pair of scissors.   I applied Mod Podge to the bag surface with a foam craft brush carefully smoothing out any wrinkles in the paper.  Once dry,  I applied multiple coats of Mod Podge over the image. (The more coats on synthetics/plastics, the better the bond) It appeared to adhere to the bag well, but I have been burned by plastic/synthetic surfaces before.  The Mod Podge simply does not adhere well to these surfaces. Through constant use by two year-old hands, only time will tell the durability of this project. I would guess that canvas would be a bit more “user friendly” The decoupage looks great and the surface does not appear to have affected the paper much.  I hope my toddler appreciates Rainbow Brite as much as her mommy does!

Rainbow Brite Decoupage Tote bag

Materials:

Tote bag

Print for decoupage

Mod Podge

Scissors

foam craft brush

And The Winner Is…. Me!?!

Good Morning to all my blogging friends!  It is a happier Monday than usual, thanks to Diana at Ray’s Sew Crafty.  I just wanted to personally thank her for making my day!  She has an amazing crafting blog, and is a lover of cats as I am!  Be sure and check it out! Diana sponsored a Labor Day Giveaway on her site and I happened to be the very lucky winner of a book of beautiful scrapbook papers (Can you say decoupage?)

Scrapbook paper winner!

Congratulations also to  Laura (from the Sew Frou Frou Quilter ) She won the cute Hugabook story book panel.

Also… If you missed it, be sure and check out my friend Elise from 2 Geeks and a Grandma at Cheeky Geeks Blog.  This month, Elise is featuring all things “Geeky”  Sci Fi, Retro you name it!  I was honored when Elise asked if I would be a guest blogger, my very first guest blogger position! My contribution is a  full tutorial on how to make a retro upcycled kids table and chair featuring an old Strawberry Shortcake record.  Be sure and stop by and check it out! Elise will be featuring all things “retro” this week.   Visit her for more to come, should be lots of fun!!

Enjoy your day my friends!

Cheeky Geeks : Geek Month Celebration

Strawberry Shortcake Sunday | CheekyGeeks

I want to thank Elise from Cheeky Geeks for featuring “On The Upcycle” during Geek month.  This week is retro week and what a better way to celebrate than with an upcycled Kids Strawberry Shortcake Record table and chair.  Be sure and check out my full tutorial on Cheeky Geeks.

Strawberry Shortcake Sunday | CheekyGeeks.

r\Retro Strawberry Shortcake Chair and Record table
Cheeky Geeks : Geek Month Celebration

Upcycled Strawberry Shortcake Kids Record Chair

For The Record: Upcycling Vinyl

I have seen many exciting ways to upcycle old vinyl online, but the idea for me actually started when I stumbled upon an awesome shop on Etsy called ” It’s our earth” They upcycle records, and floppy discs into coasters, chip bowls and clocks just to name a few.  I was shopping online for Christmas and saw a clock made from a Thin Lizzy record, my husband’s favorite band.  I jumped at the chance to get it and the price was right.  It hangs proudly in our living room next to our 1970 Pioneer stereo cabinet. Most importantly, he loves it!

It's our earth upcycled record clock on Etsy

The plaque below it says “Life is a song and love is the music”

I loved all the great upcycling ideas for small record side tables, and they looked very easy to make.  It would also go nicely with the clock in our living room. I am a great lover of music and the sound of vinyl, so I scoured my collection for a record I had purchased from a dollar record bin that was damaged and unplayable.

Aerosmith Greatest Hits

Aerosmith is a cool band, but this  record was destroyed! It was perfect for making a record table.  I also had an old, weathered metal plant stand.  I cleaned it and spray painted it black and allowed it to dry.

Spray painted metal plant stand

I then simply used a high heat hot glued gun to adhere the record to the plant stand.

Upcycled Plant Stand Record Table

Not only a cute living room addition, but a great functional side table!

Record Side Table