
Follow On The Upcycle Now on Twitter
Now there is another new way to keep up with the “upcycle”. You can follow my blog “On the Upcycle” via my new Twitter account. I have never “tweeted” before so this should be interesting!


Follow On The Upcycle Now on Twitter
Now there is another new way to keep up with the “upcycle”. You can follow my blog “On the Upcycle” via my new Twitter account. I have never “tweeted” before so this should be interesting!

It has been a hectic few weeks and my upcycling ways have suffered a bit. My free time has consisted of some travel, household chores, decorating for fall and getting my craft space in order. I have a few projects in the works, but lately I feel like I am coming up mostly empty-handed during my Goodwill lunches. During these lean crafting times, I try to work on the craft room. I am hoping to share it one day, but alas it is far from finished. I am still finding ways to organize supplies, and just hung some shelves: Progress!
A great way to organize paint brushes and general supplies are old coffee cans and glass jars. I like to cover them with fabric using Mod Podge. Glass covered jars not only make great lamps, they also are a decorative way to organize craft room supplies. Simply measure the fabric, cut, and apply the Mod Podge and fabric to the outside of the coffee can.

Similar method can be used to apply fabric to glass jars, such as pickle jars, and spaghetti jars. The possibilities and uses for these items are endless, and it is a great way to repurpose and recycle throw away items. What’s better than craft room storage for free?
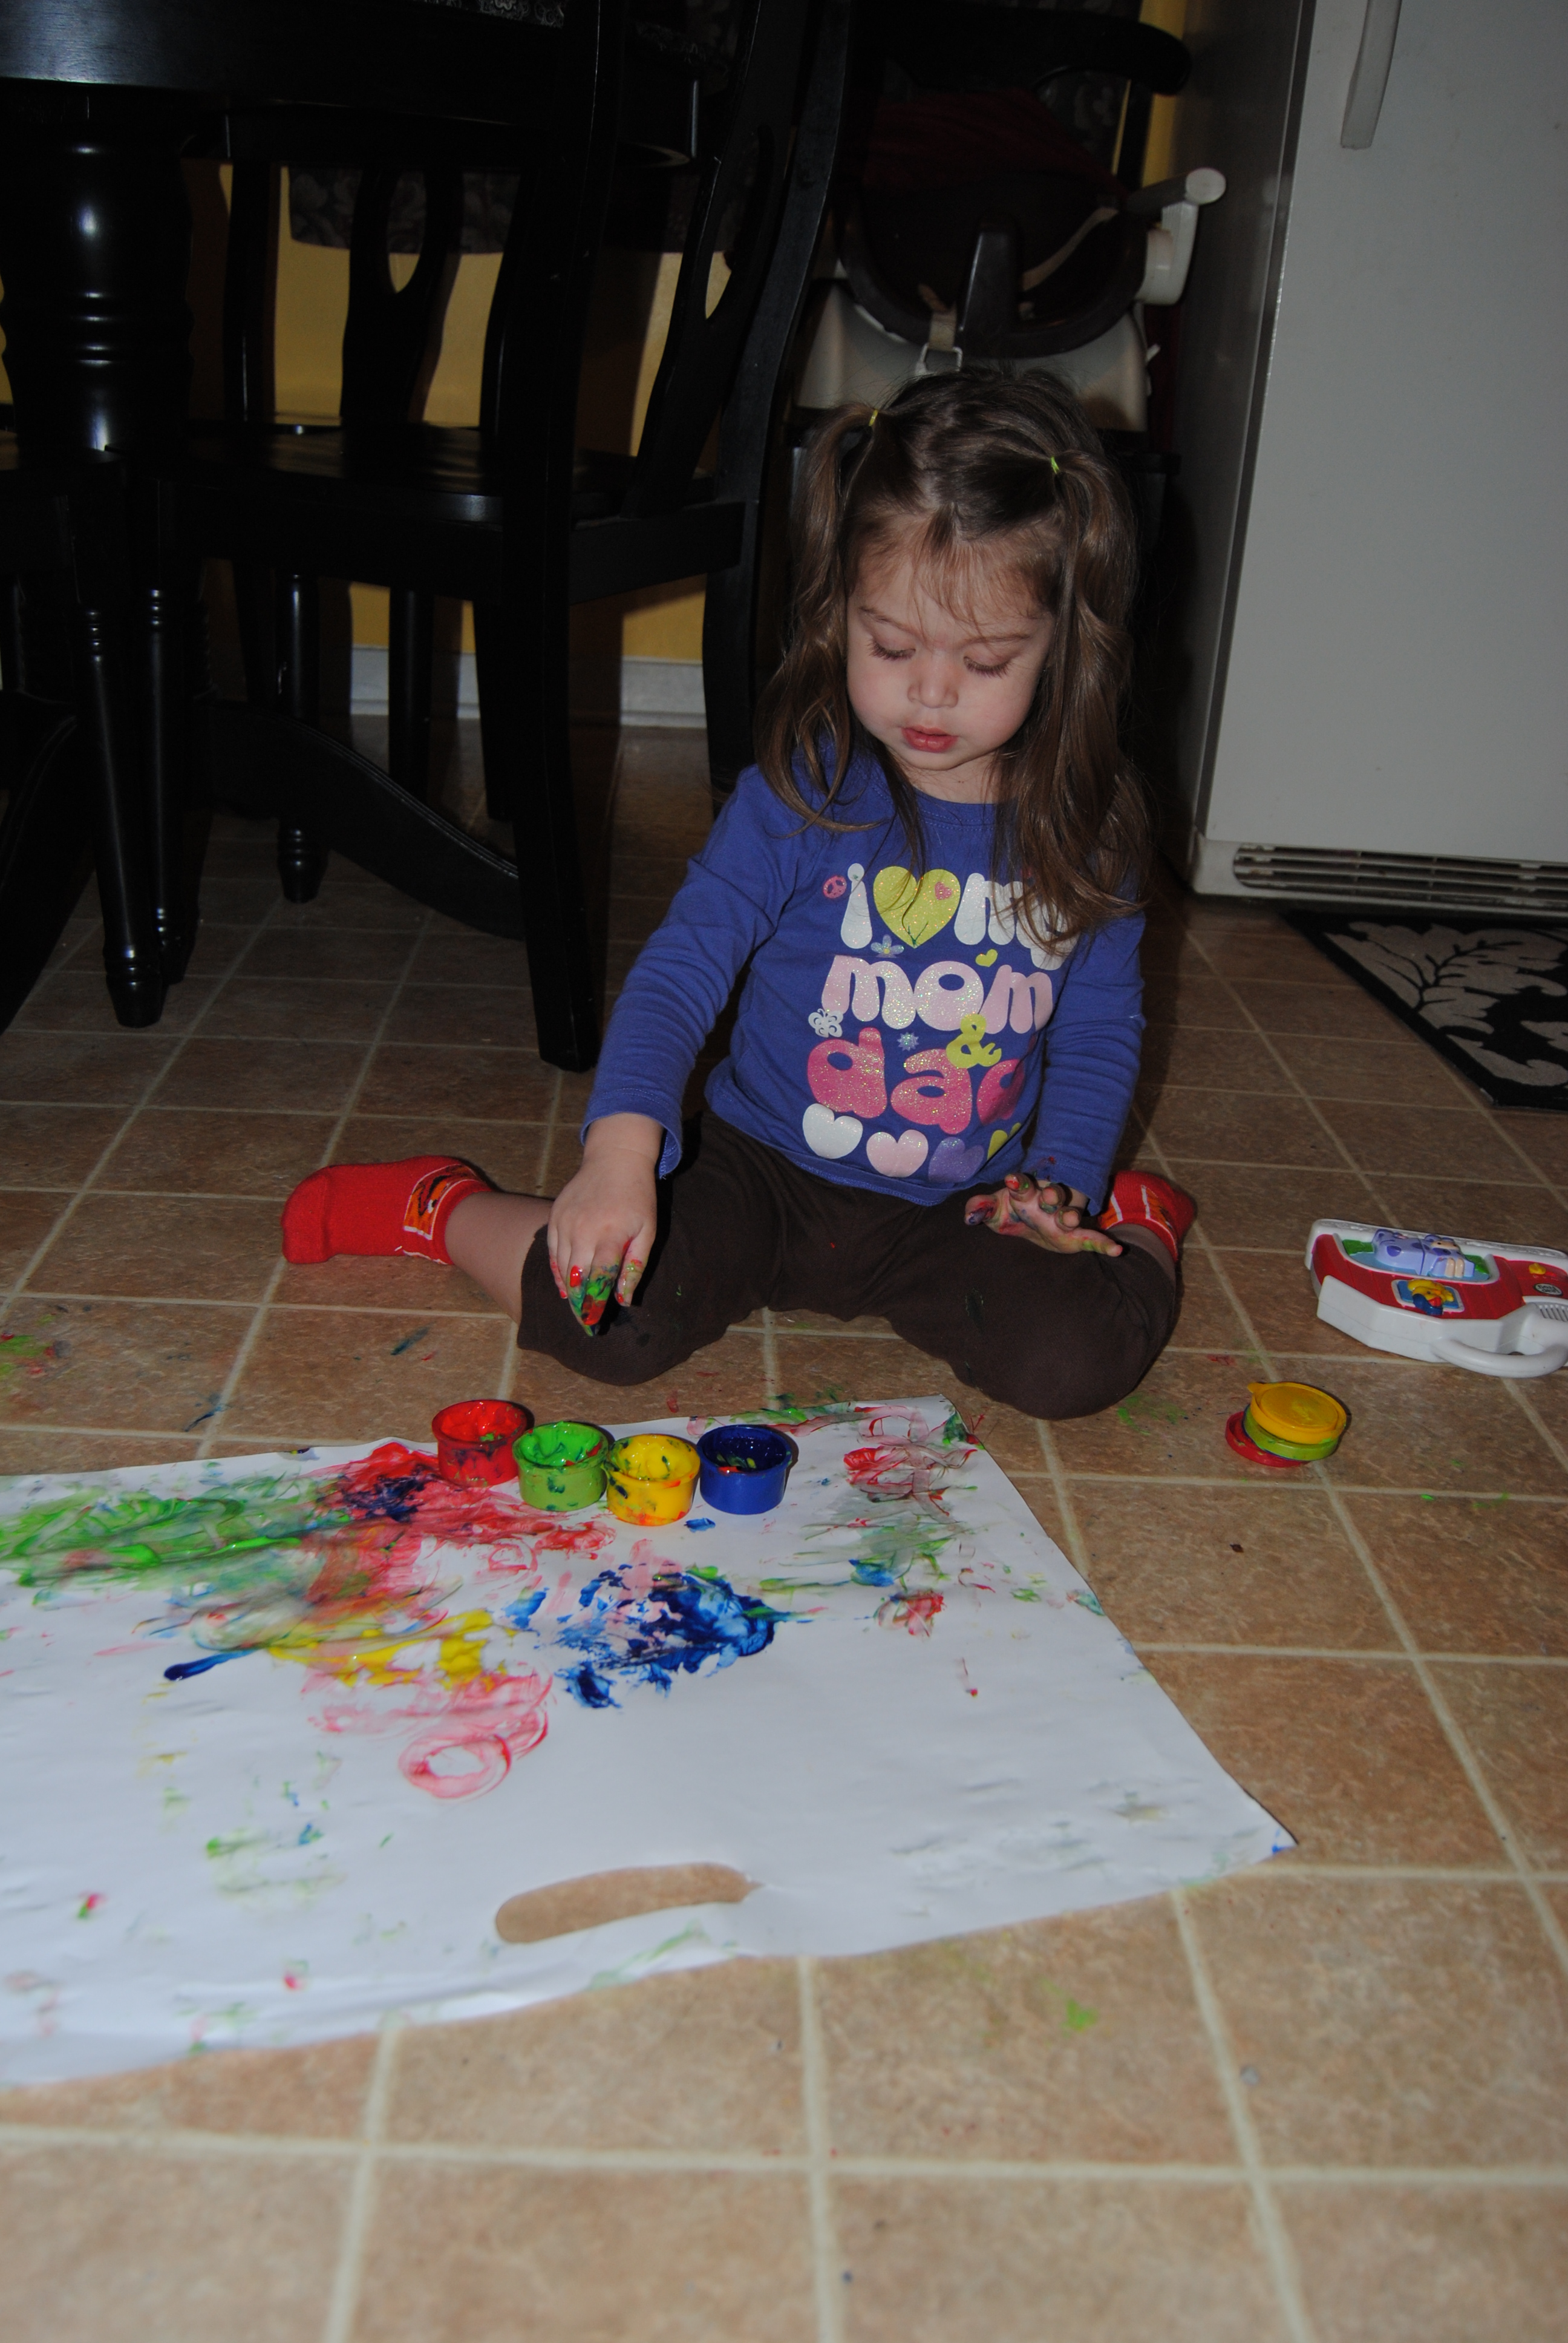
Two of the toddler apprentice’s favorite activities are drawing and painting. As a proud mom, I consider all of her drawings mini masterpieces. I like to keep and display her artwork, but the refrigerator door was becoming too crowded. I decided to display them on the playroom wall via a “mini” clothes line. (minus the clothes of course!)
Materials needed to make an “Art” line:
string/twine
2 small metal hooks
scissors
clothes pins
I used two mini metal hooks, hanging them on opposite ends of the wall. I measured out the twine and cut to the desired length with the scissors. I tied the twine to the metal hooks allowing a bit of sag on the twine. I then hung all of my daughter’s art on the line with clothes pins.
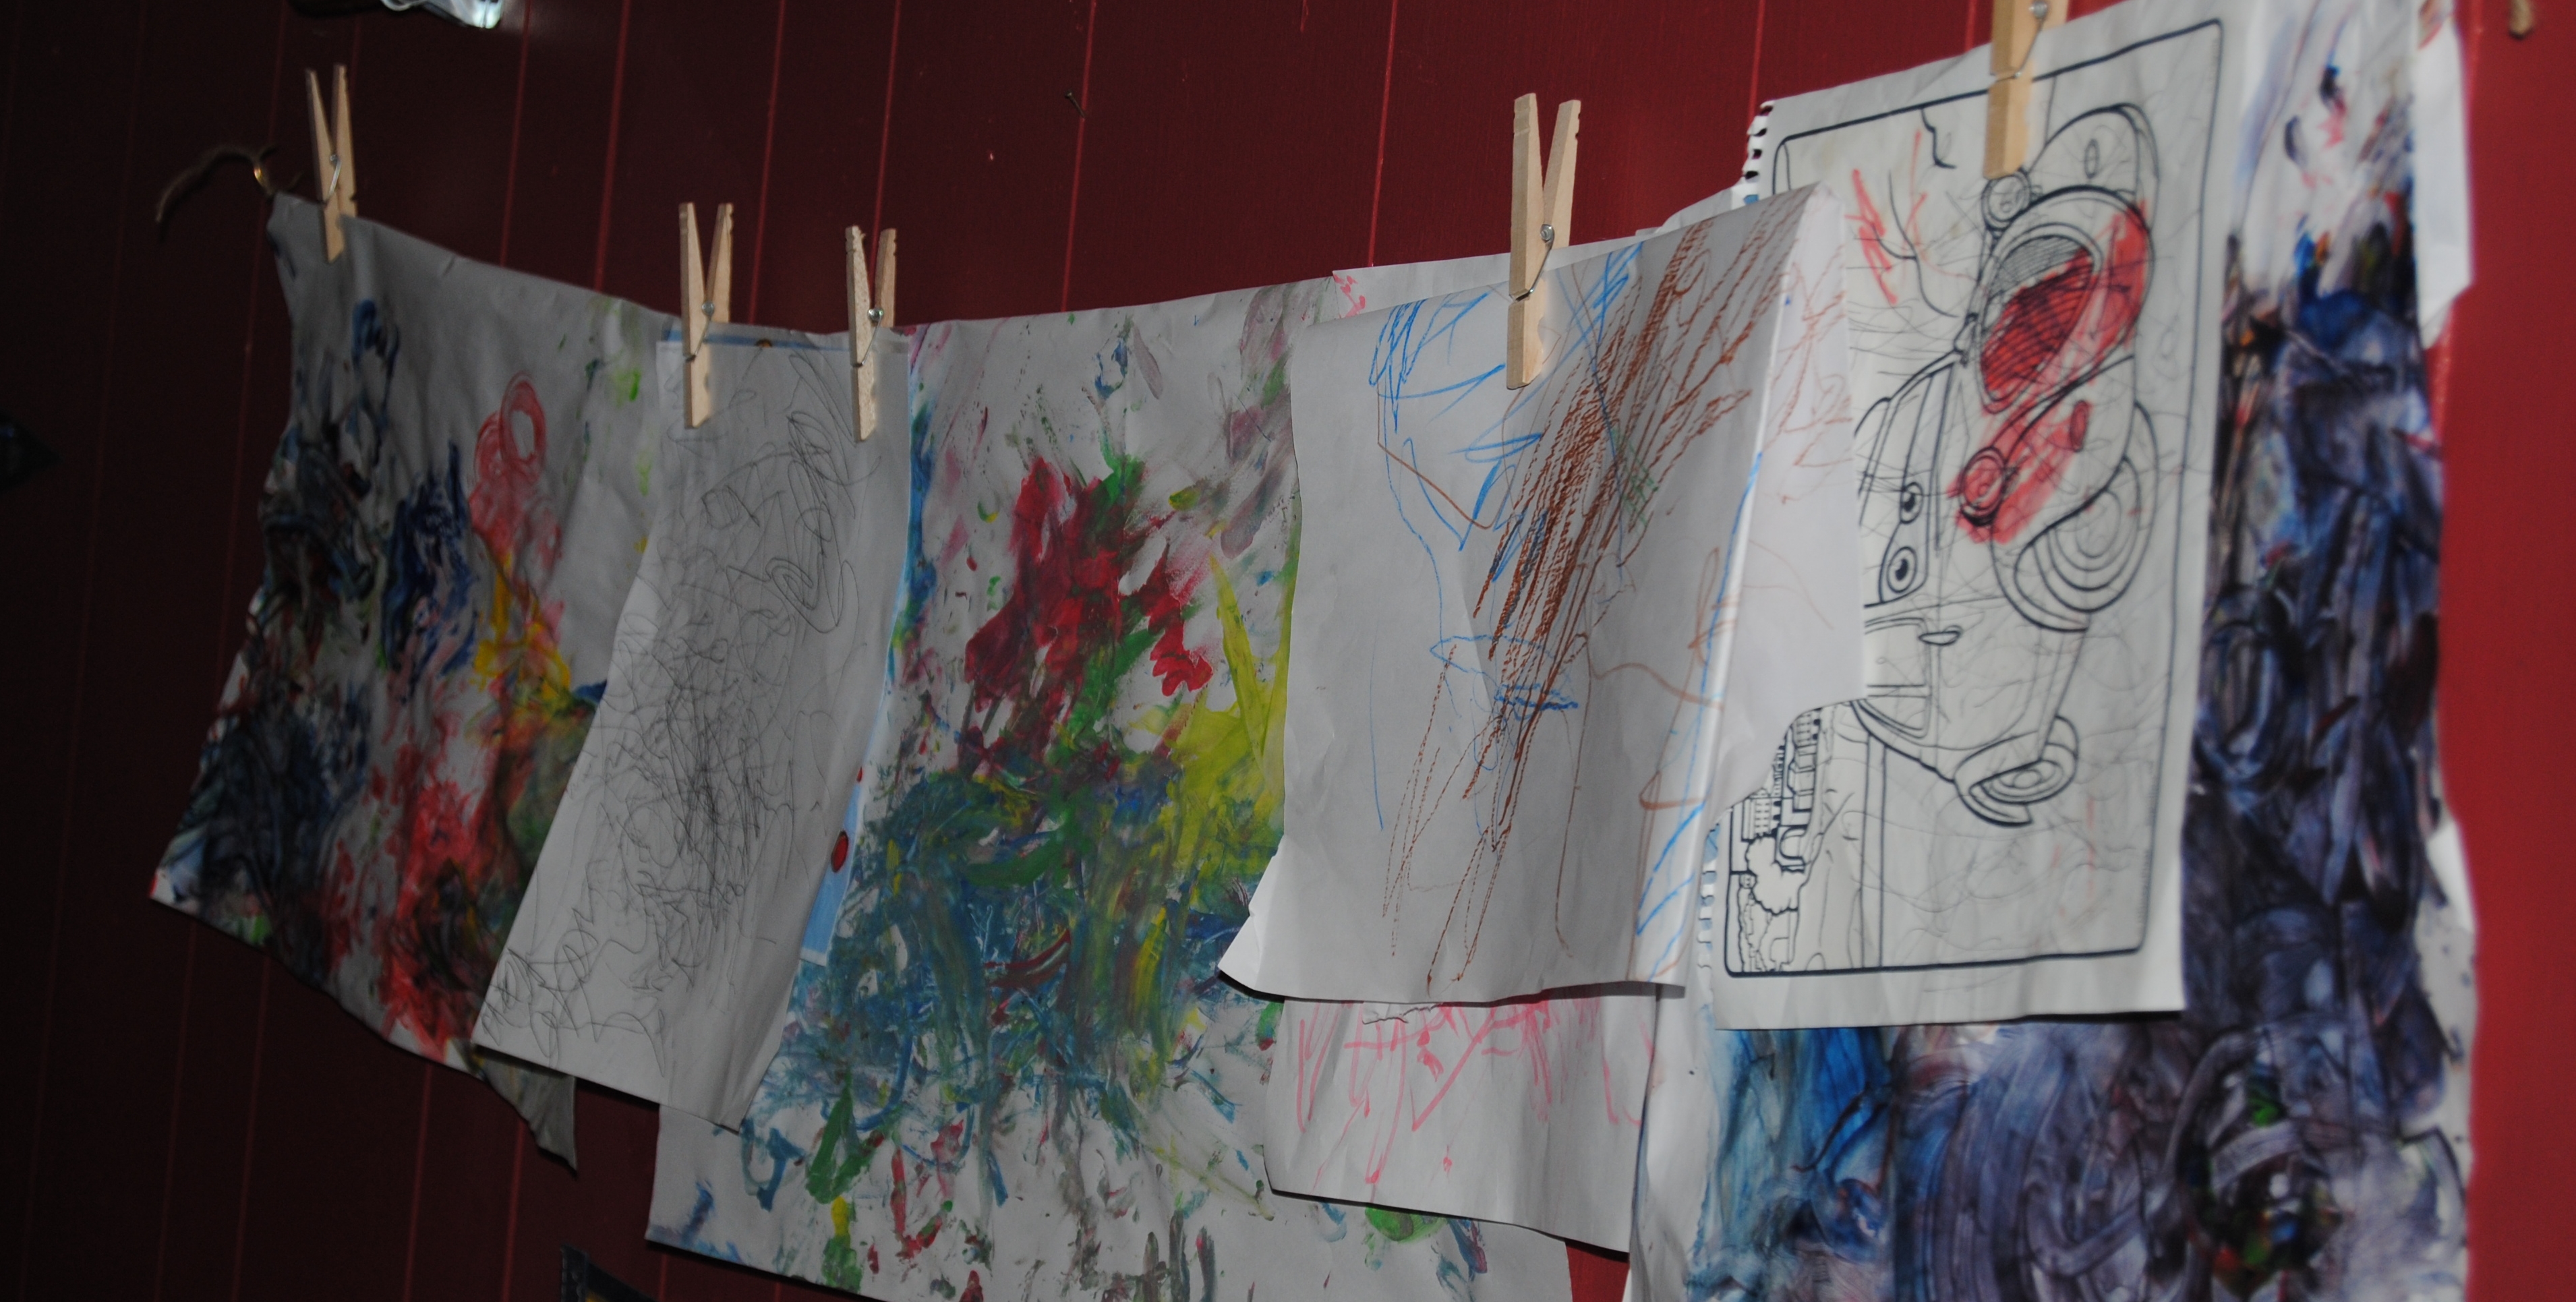
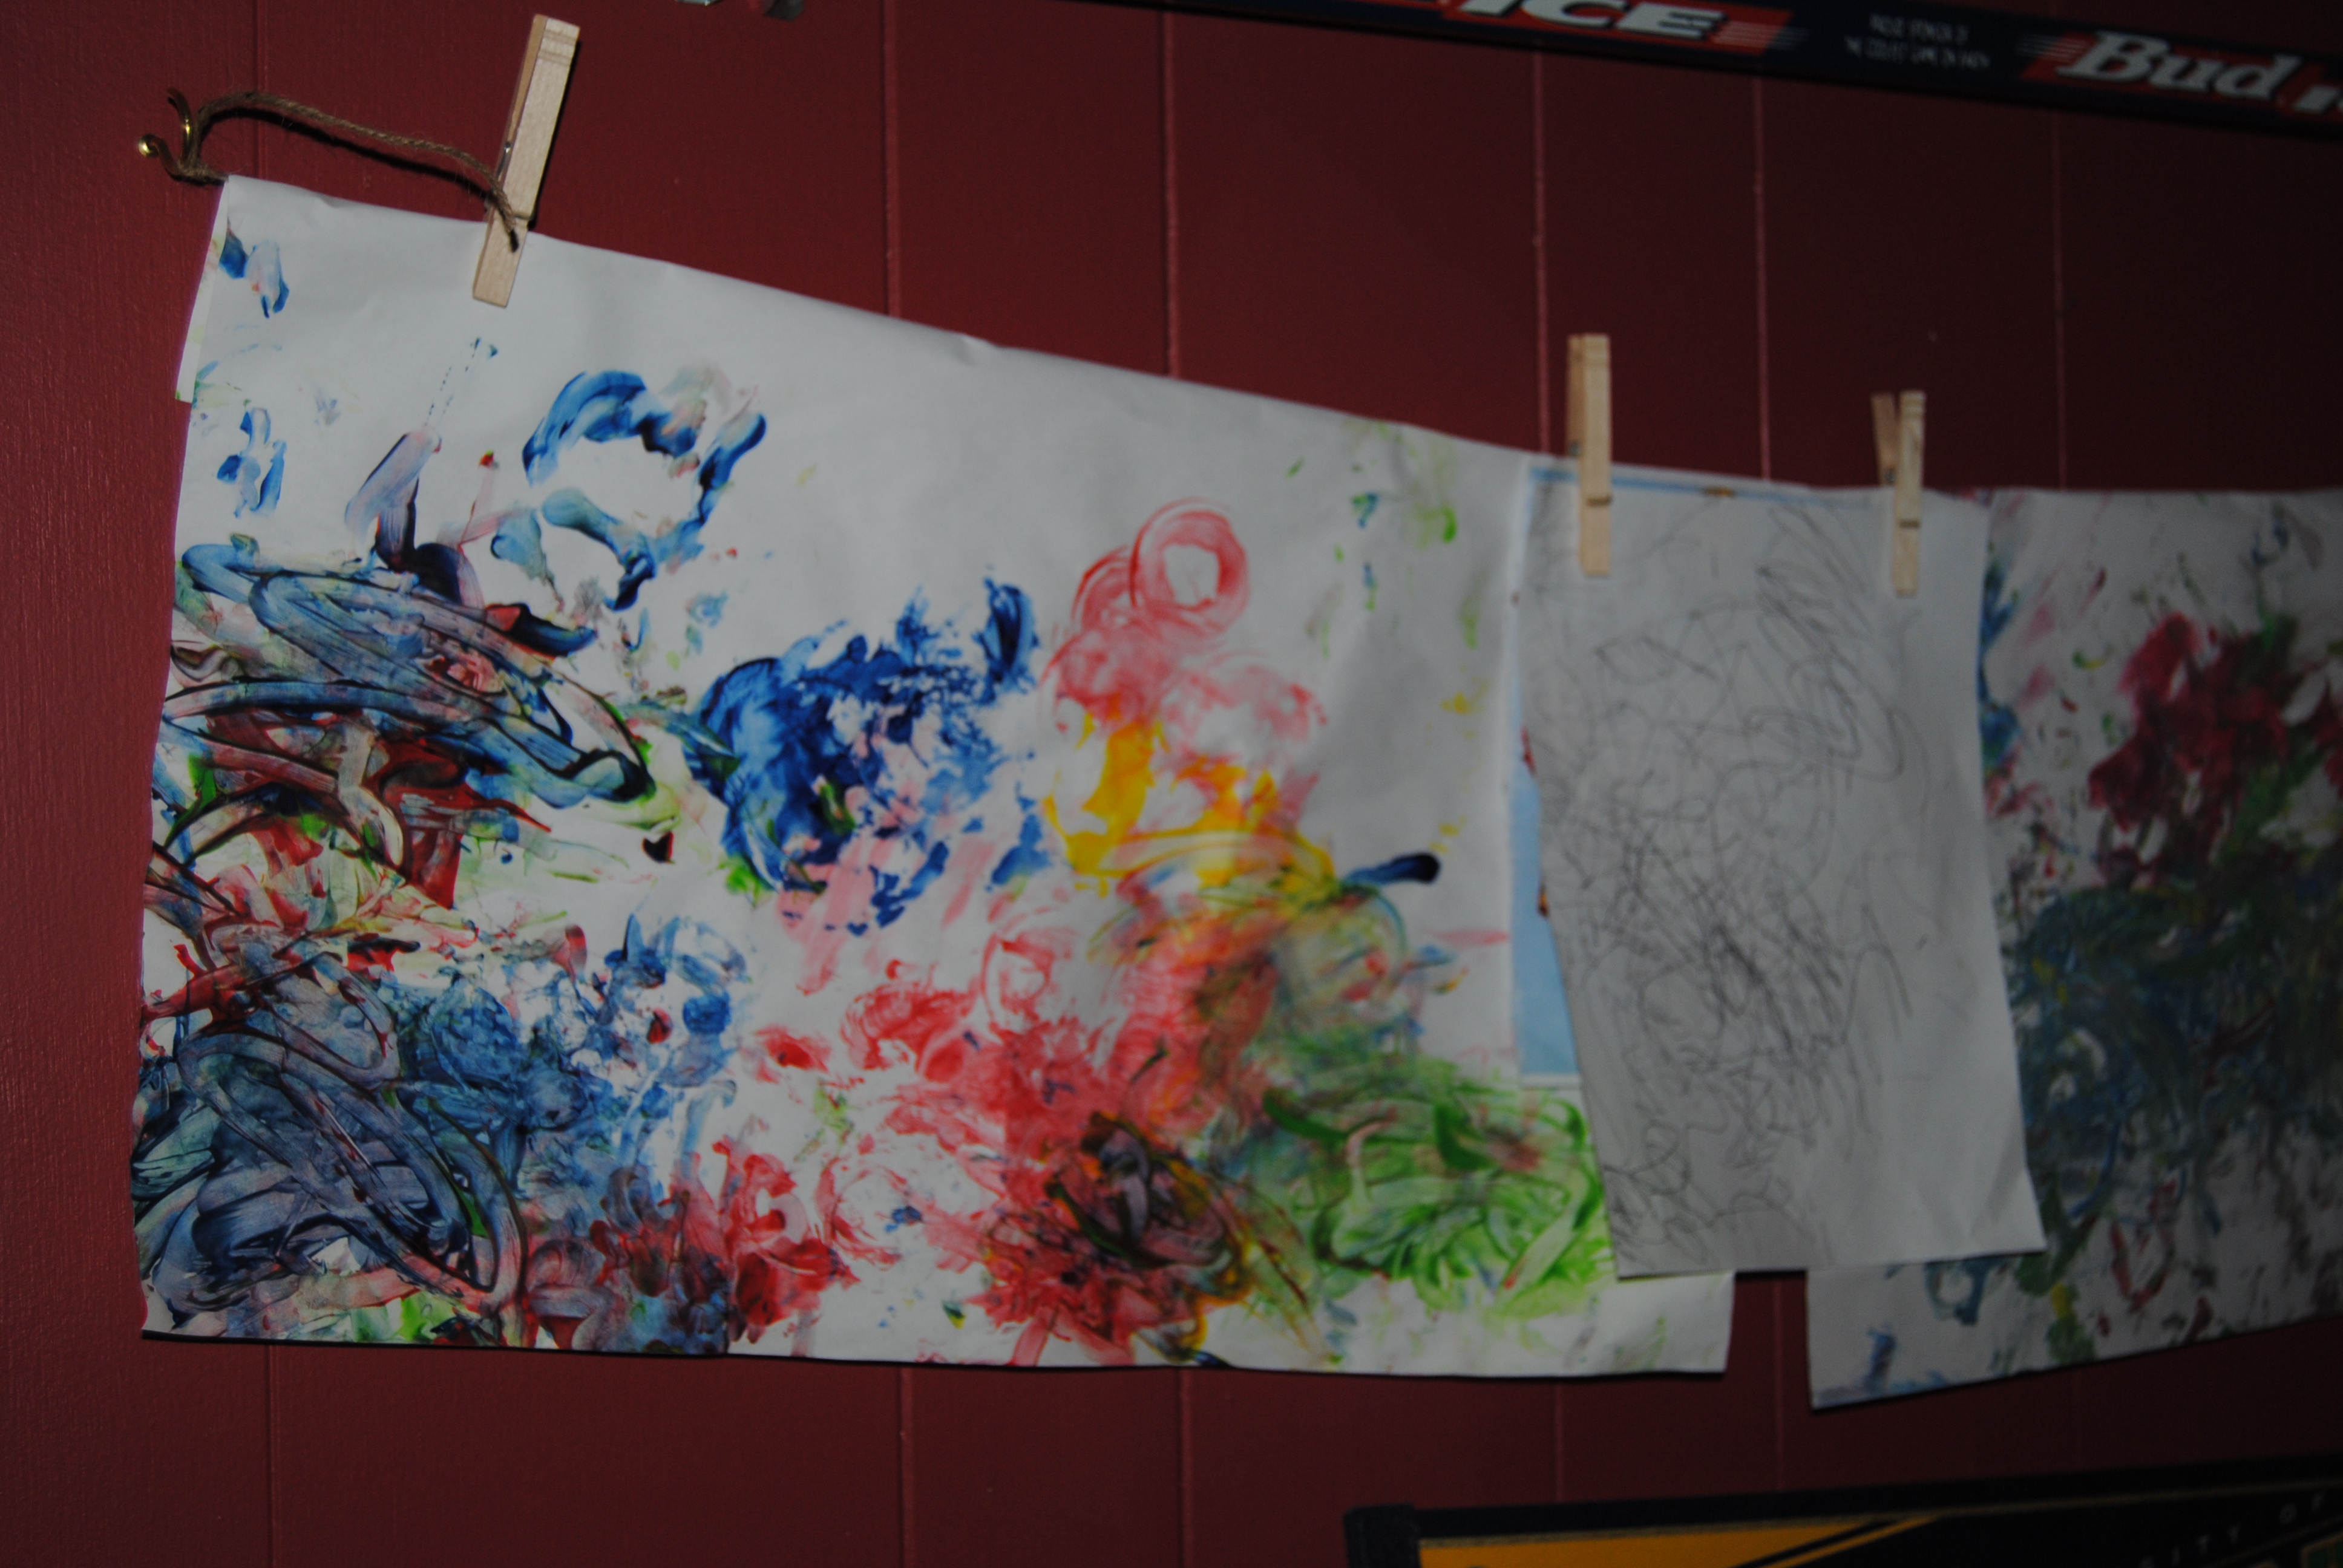
What a great way to display her art, a simple DIY solution !

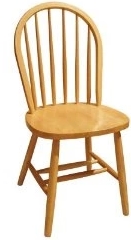
Poor abused dinner table chair! I managed to spill paint on it, drip hot glue on it, and just made a general mess out of it. It became a place to craft on with the intention that one day, I would give it a new life. I have a set of four that belonged to the kitchen table we owned previously. The table was broken, but we kept the chairs. They are about as basic as it gets, similar to the one picture below.
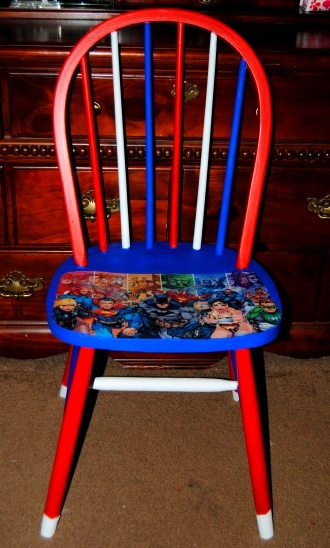
 When I finished the Kids Justice League Of America Chair a few people including the hubby, suggested I create an adult version for all the “grown up” Justice League fans out there. This chair seemed like a good candidate for a super hero makeover. The chair was heavily lacquered so a white latex primer was a must! Once primed, I trimmed and applied the print to the seat surface. I found a great image featuring The Justice League Of America characters. These characters had a more adult feel. I used Mod Podge to adhere the image to the seat with a coat of Mod Podge applied over top to seal. I then painted the entire chair with Red, White and Blue acrylic paint. This was the most labor intensive part of this project and required multiple applications of paint, but proved therapeutic after another stressful week. I applied Mod Podge to the entire painted area of the chair to seal it.


To make a “Super” Chair you will need:
Old chair
Comic book pages or printed image
Acrylic paint
White latex primer spray or brush on
brushes, scissors
Mod Podge

The daughter and I were invited by a friend to the Philadelphia Zoo today and we had a wonderful time! It was unseasonably warm for a day in October and it felt more like summer than fall. Seeing the animals was a great opportunity to enjoy one of my other hobbies, photography. I took the Nikon to the zoo with us and broke out the closeup lens and started shooting.


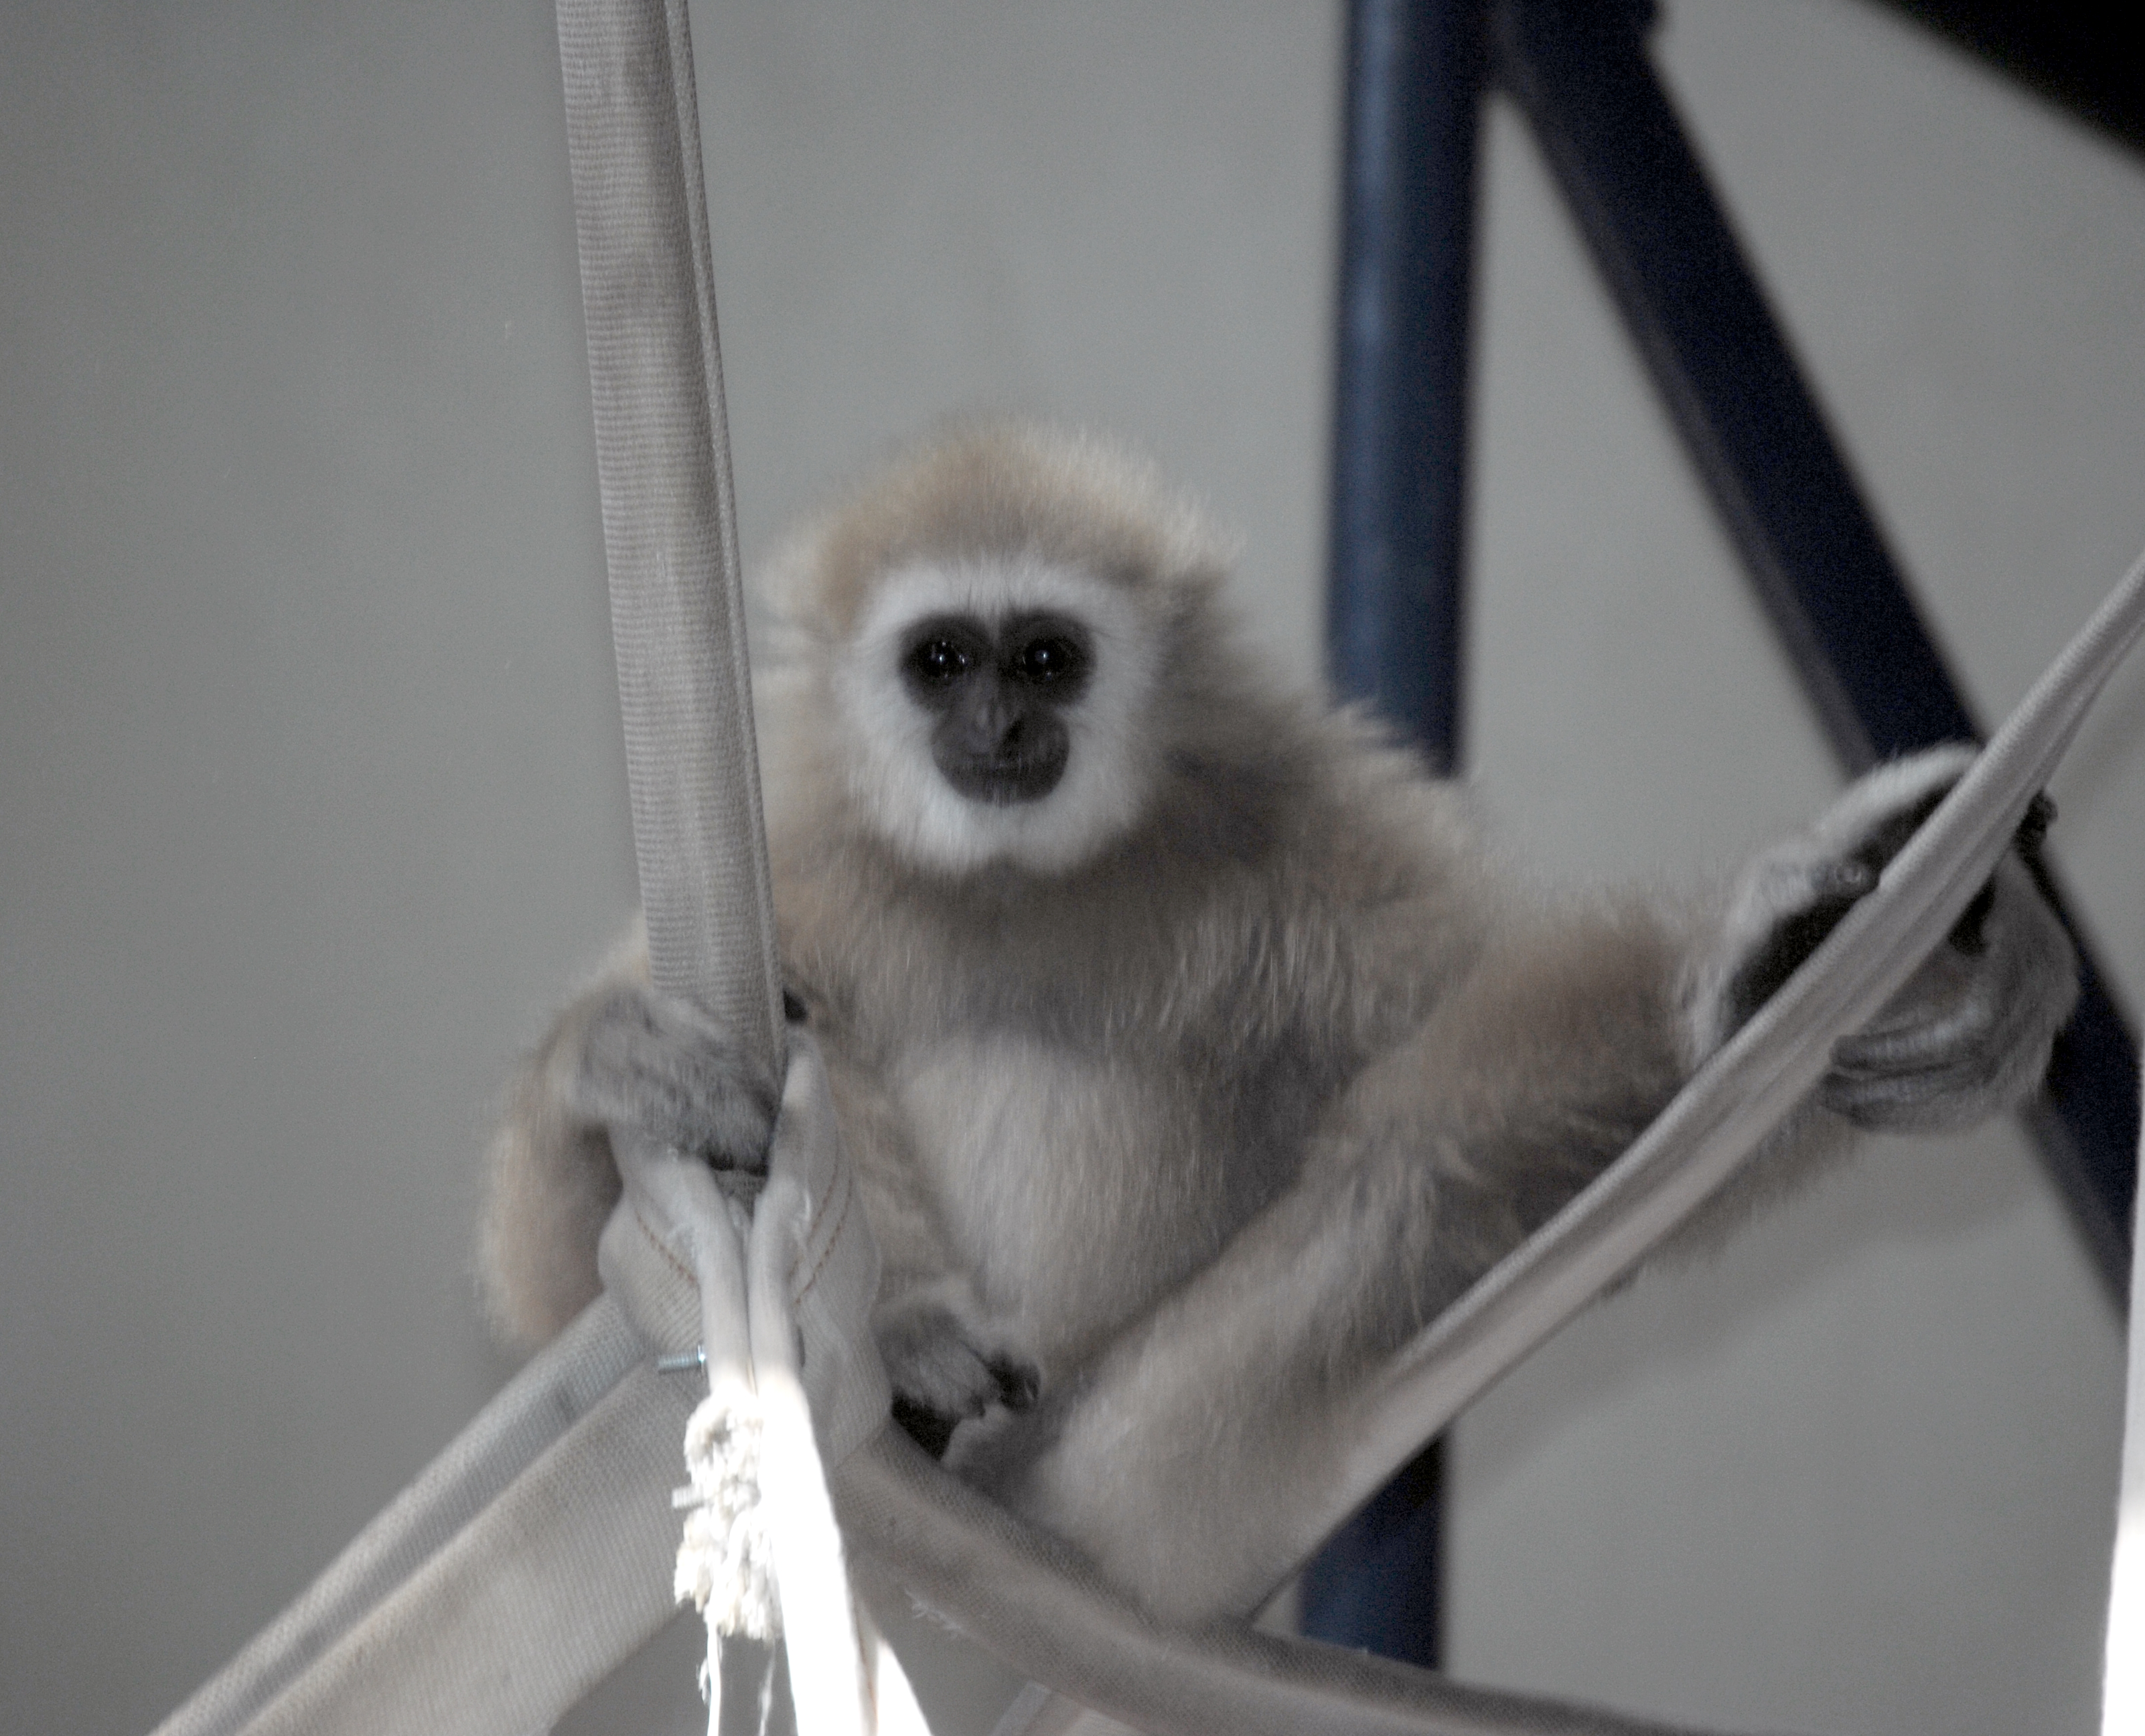
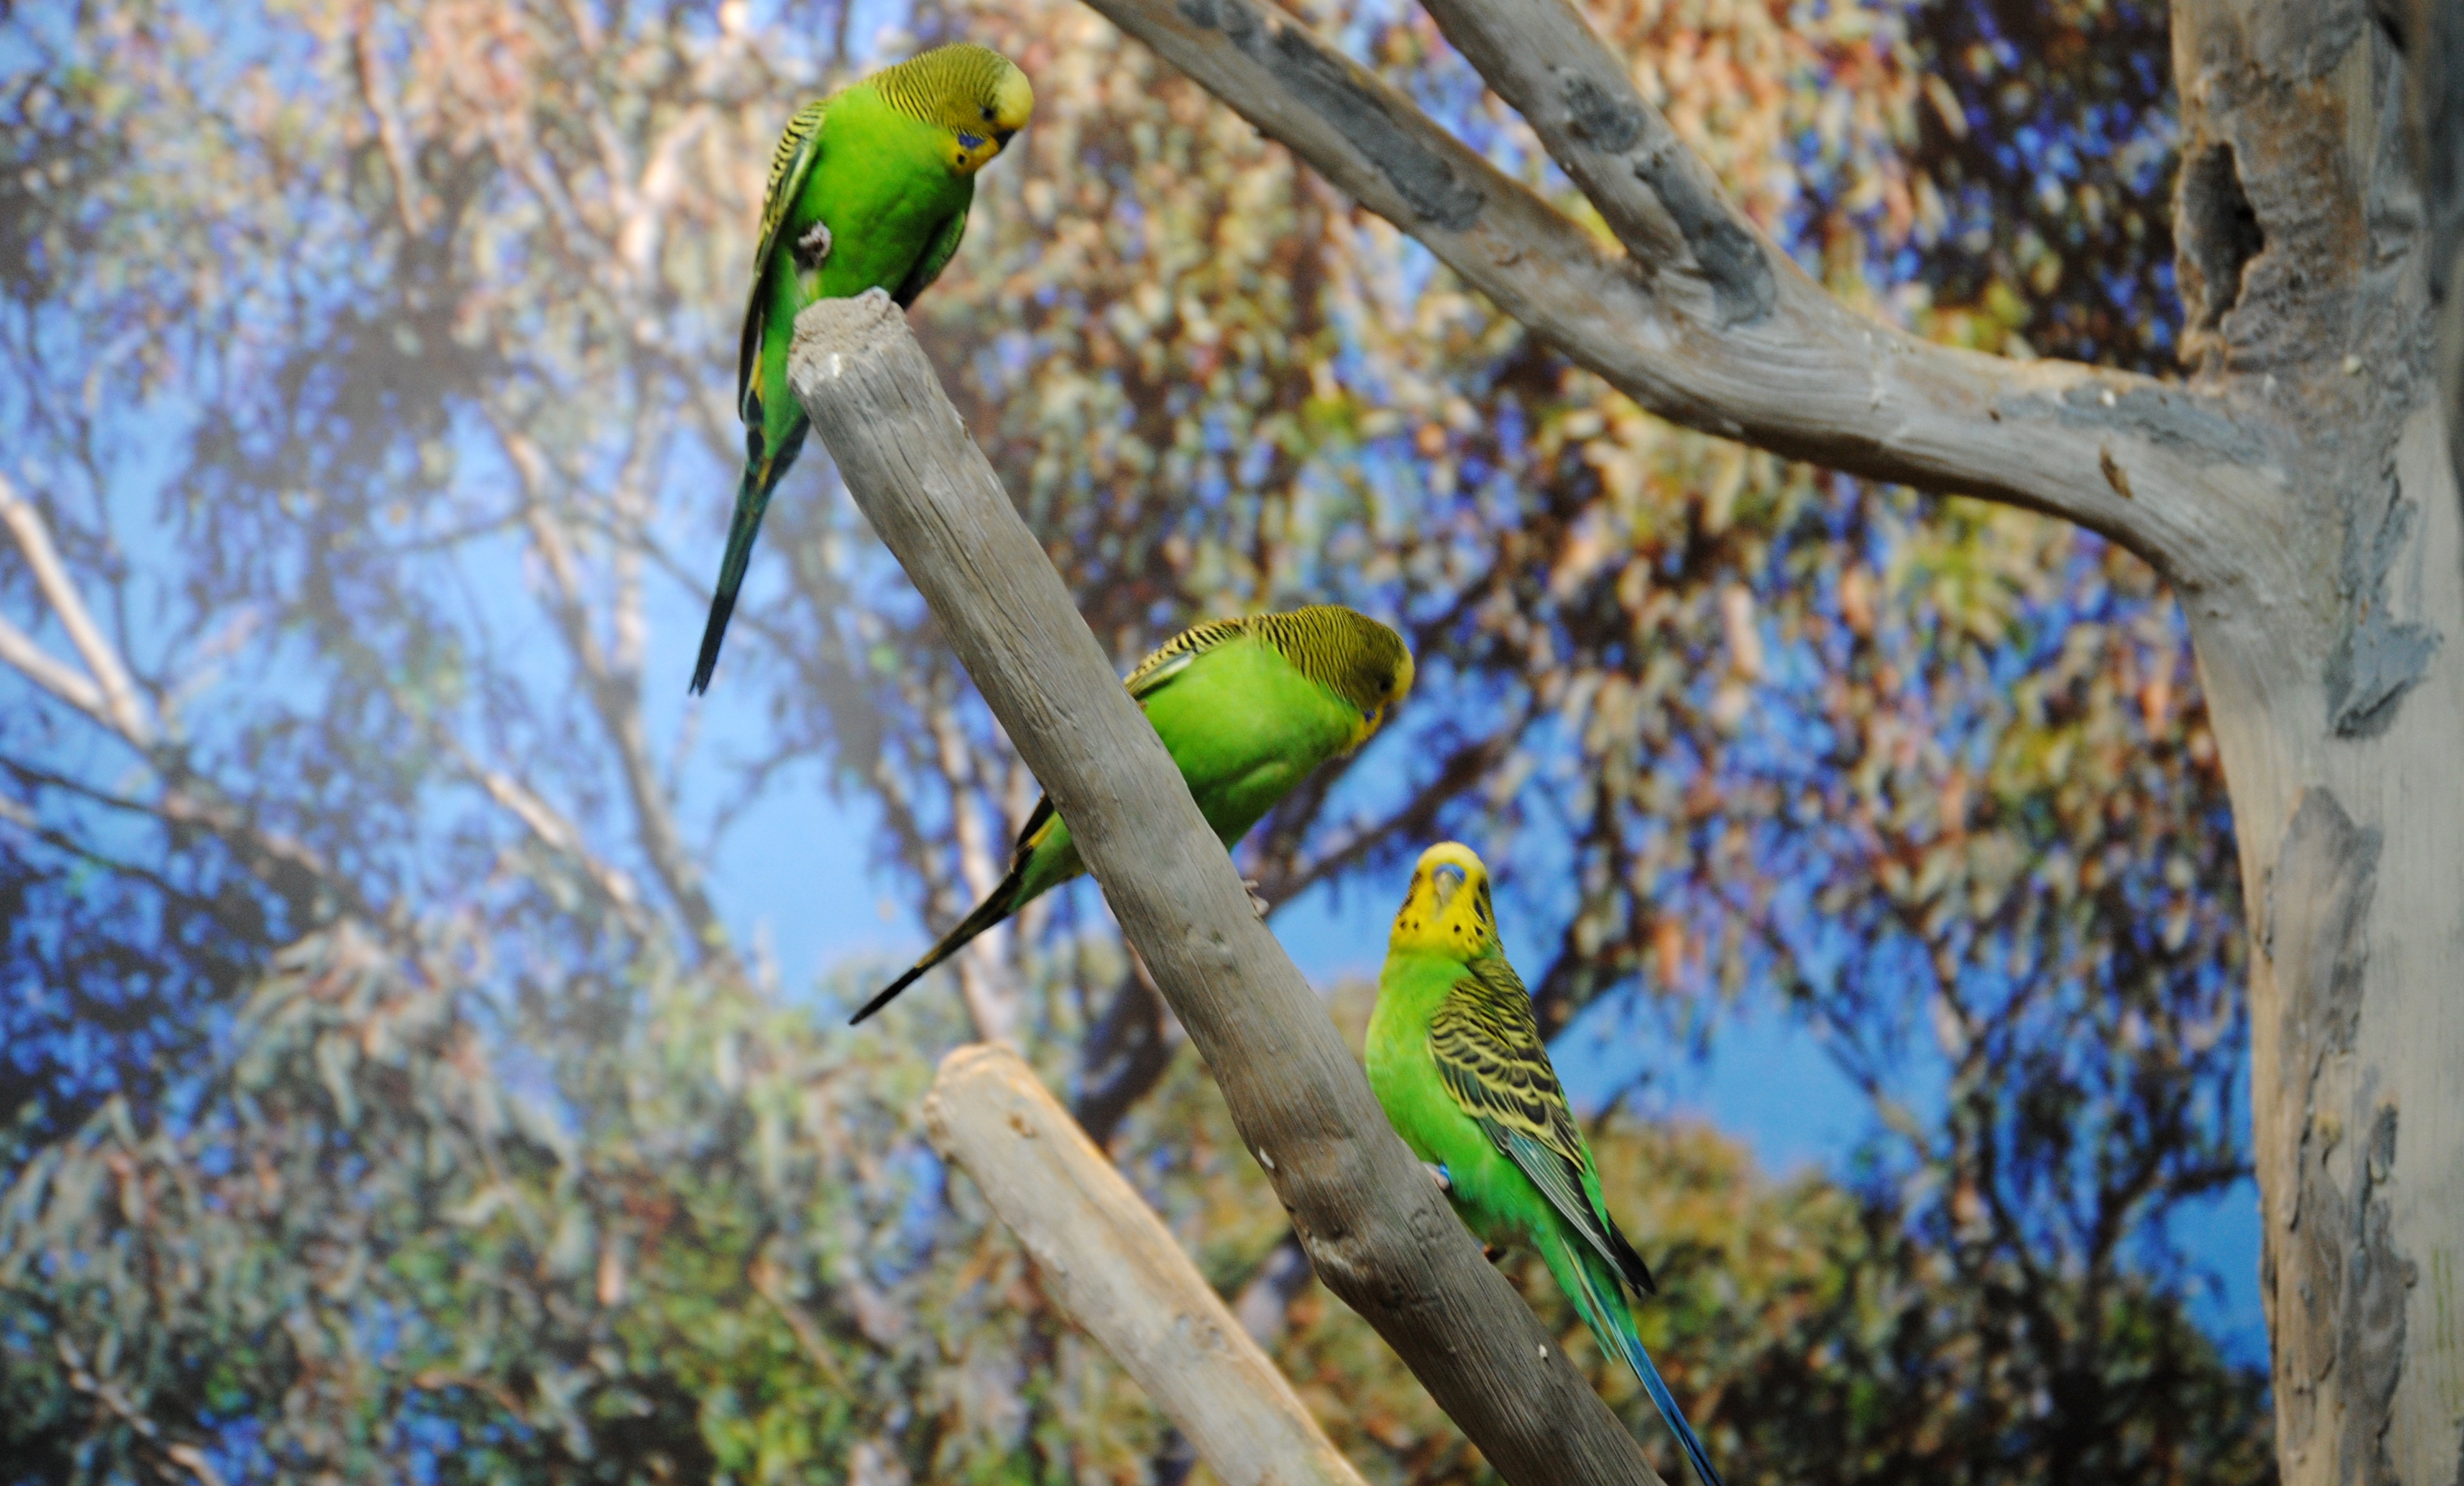


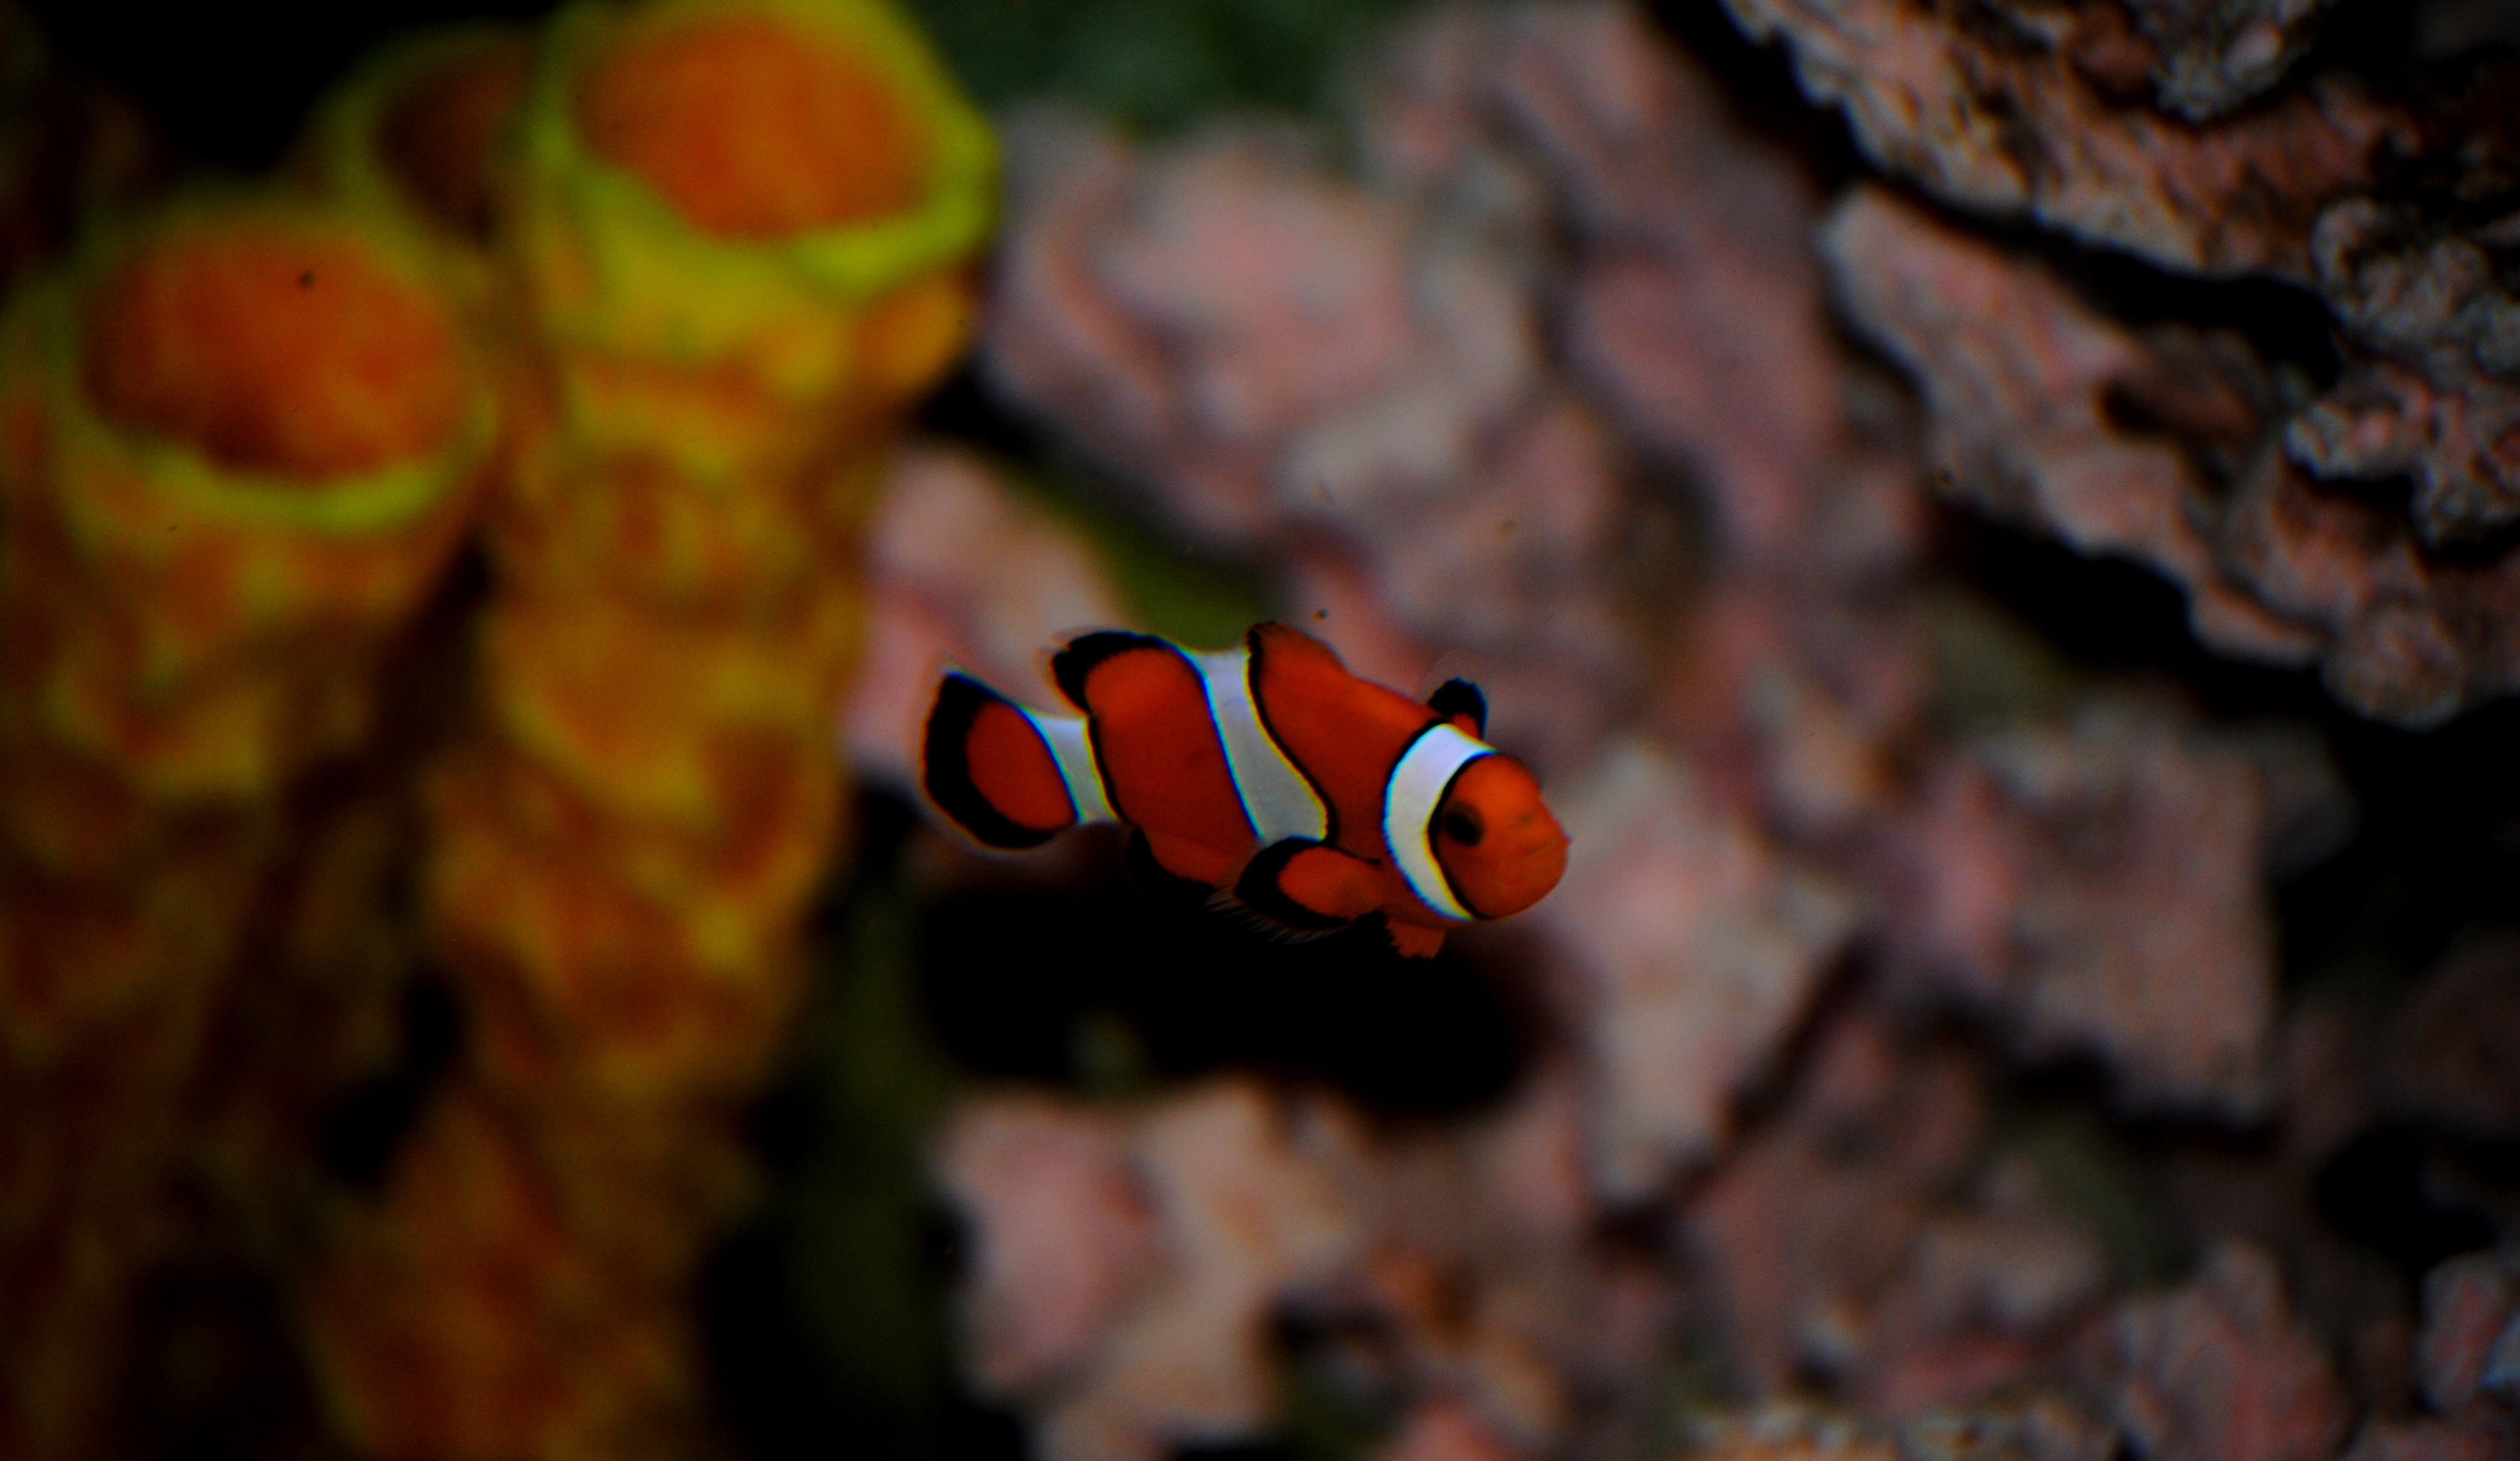


The toddler apprentice especially enjoyed the otters. Hope you enjoyed getting to know our wild friends!

I was a bit sad when I realized I was running out of one of my favorite thrift store finds, Fredrika Fabric from Ikea. It is amazing when I think of all the great projects restyled with this fabric, most of which currently reside in our daughter’s playroom. Ahh the upcycling memories. First it was a little wooden step stool, then many more followed, lost basement table, 1960’s Coffee Table, Repurposed Umbrella Holder/Toybox and even a Garden Pig Makeover!
We needed a shelf in the playroom out of our daughter’s reach. We had a great baseball lamp my sister gave to us as a gift, and we needed a place to display it on. The playroom still has a sporty theme coupled with a girly mod look. I found this great corner shelf at Goodwill for $2.99 and I snatched it up!

I had just enough fabric to cover the surface with a few scrap pieces to spare. I traced the shelf on the fabric and cut the tracing with a pair of scissors. I applied Mod Podge to the shelf surface and carefully placed the fabric on top. Once dry, I applied Mod Podge over it to seal it.

The most difficult part of this project was hanging the shelf! It had 3 slots which required three screws hung on the wall precisely.

I love how this turned out and so simple to make! You can “jazz” up ordinary furniture and decor and make it a unique expression of your own personal home style! This project was certainly bitter-sweet. I will miss you. Farewell Fredrika!
Tonight, In the spirit of Fall, I share with you a wonderful blog called Embrace My Space. Sara has a genuine talent for home decorating and I love her autumn decorations both inside and out!
LAST WEEK I gave you a glimpse of the outside of our home as we transition into the cooler months.

Halloween soon will take over our household so I wanted to give you a peek of the fall decor I incorporated inside before it’s too late! Essentially all of my indoor fall decorating happened in the living room since it’s the space where we spend the most time and the space guests see when they come to visit. Here’s what I did, along with a few tips for transitioning your living room into fall with minimal clean up when it comes time to break out the skulls, jack o’ lanterns and spider webs.
Change up the mantel. Typically I display a combination of shells, sea glass and other natural elements on our mantel, but for fall it’s all about wheat, acorns and pumpkins!

Since our TV is above the mantel I try to keep the…
View original post 491 more words

Hands down, Autumn is my favorite time of year. From Pumpkin coffee to homes decorated with colorful mums, It is apparent fall is here and Halloween is just around the corner. What better way to celebrate the most fun and certaintly most spookiest of holidays than with an upcycle craft celebrating All Hallows Eve?
I visited Joann Fabric and picked up some festive material featuring very scary black cats in different poses. I thought the orange-colored background would look nicely when the lamp light shines through it.

Materials:
Halloween fabric of choice
Small lamp base
Dollar Store Glass Vase (You can also use a glass jar)
Mod Podge
Scissors/Paint Brush/thin tipped black marker
Twine/String
First, I wrapped the fabric around the outside of the vase and trimmed with scissors. I traced the bottom of the glass vase on the back of the fabric. I cut the circle of material out and placed it aside, I applied Mod Podge to the outside of the glass with a brush and carefully wrapped the material around it smoothing it out with my hands. I cut a piece of twine off the spool and tied it around what would be the base of the lamp. Doing this helps add a decorative touch and holds the fabric in place while drying,

I stood the vase up and applied the last piece of fabric to what would be the top of the lamp. Once applied, I covered the entire outside with Mod Podge.

Once the piece was dry, I added one additional coat of Mod Podge to the lamp and fabric. What is great about these lamps is the capability to use one lamplight base and switch out different decorated glass jars and vases to create new decorative lighting looks.

Hope you enjoy my festive feline Halloween lamp! ahhh I can taste the candy corn now!
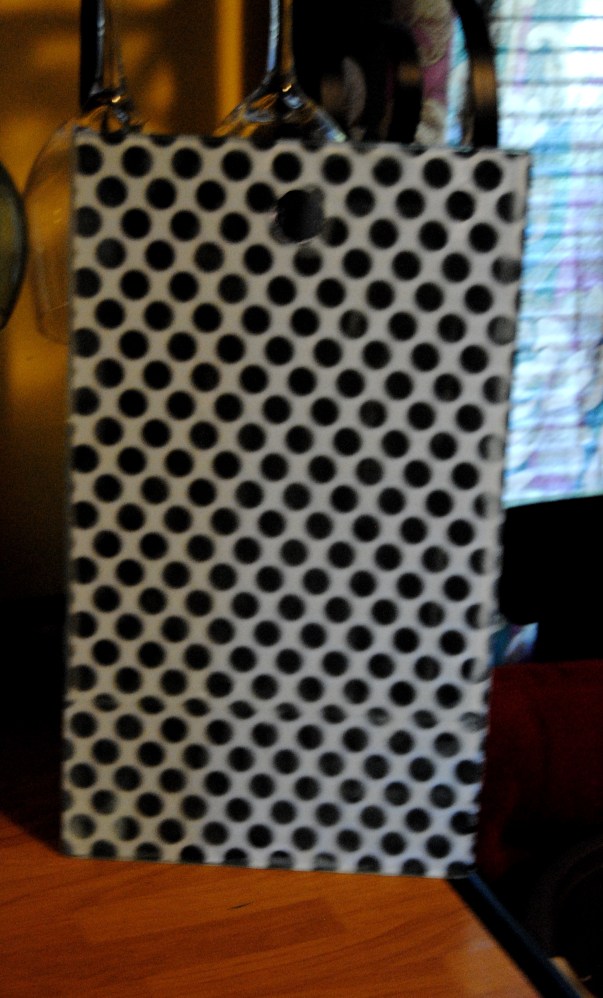
I have a glass cutting board I used for cutting paper and crafts. I have several cutting boards, and did not have a use for this one in the kitchen so, I used it for crafting on and cutting paper. I was sitting at my work station one day and decided to “dress it up” a little. I had this great black and white polka dot scrapbook paper. Since the cutting board was made from a clear glass, the idea was to adhere the paper to the back, and allow the polka dot image to appear through the glass without affecting the usable surface.
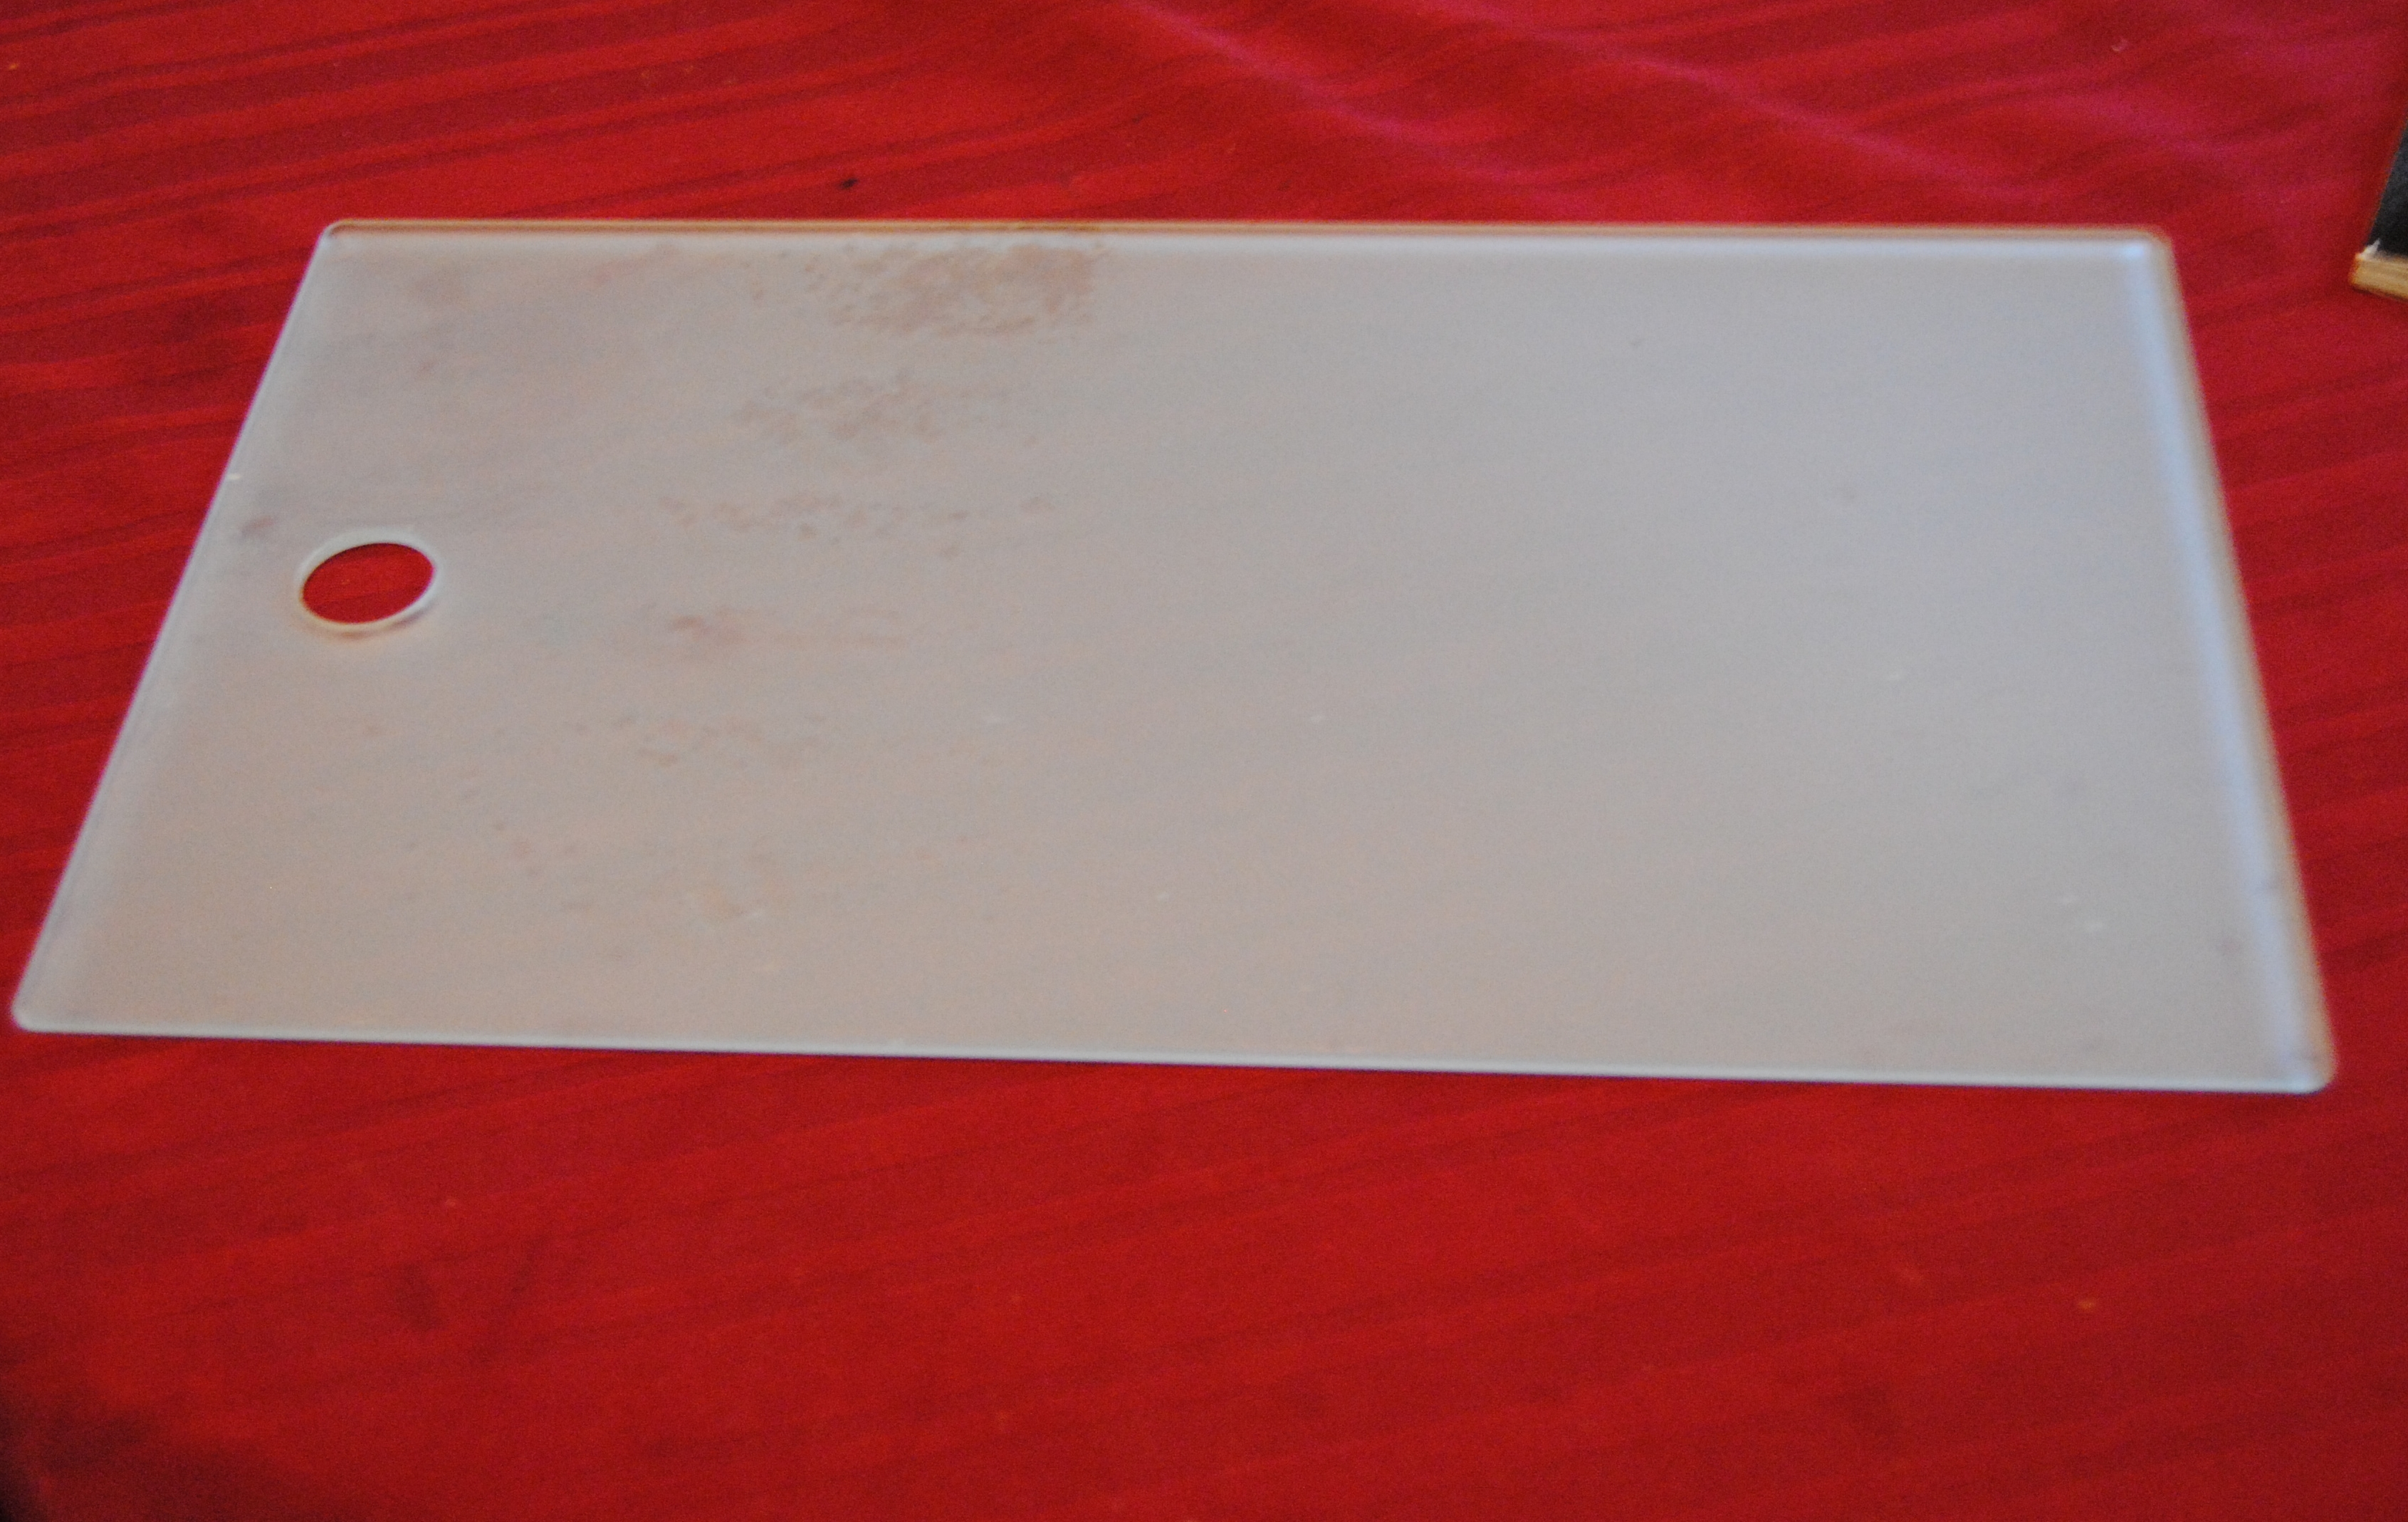
I applied Mod Podge to the back of the cutting board with a foam craft brush and adhered the scrapbook image facing out. I then trimmed the paper around the glass. I carefully matched the polka dots up so the pattern appeared as seamless as possible. I applied Mod Podge on the back of the paper to seal it. If I were to use this as a real cutting board, I would use outdoor Mod Podge to seal the back for added protection. This cutting board will be used for cutting, but not used around water so I used Mod Podge matte finish to seal it.

Just think of the possibilities! It also would make a nice decorative piece also if not used as a cutting board. You could Mod Podge any image and photos behind the glass!

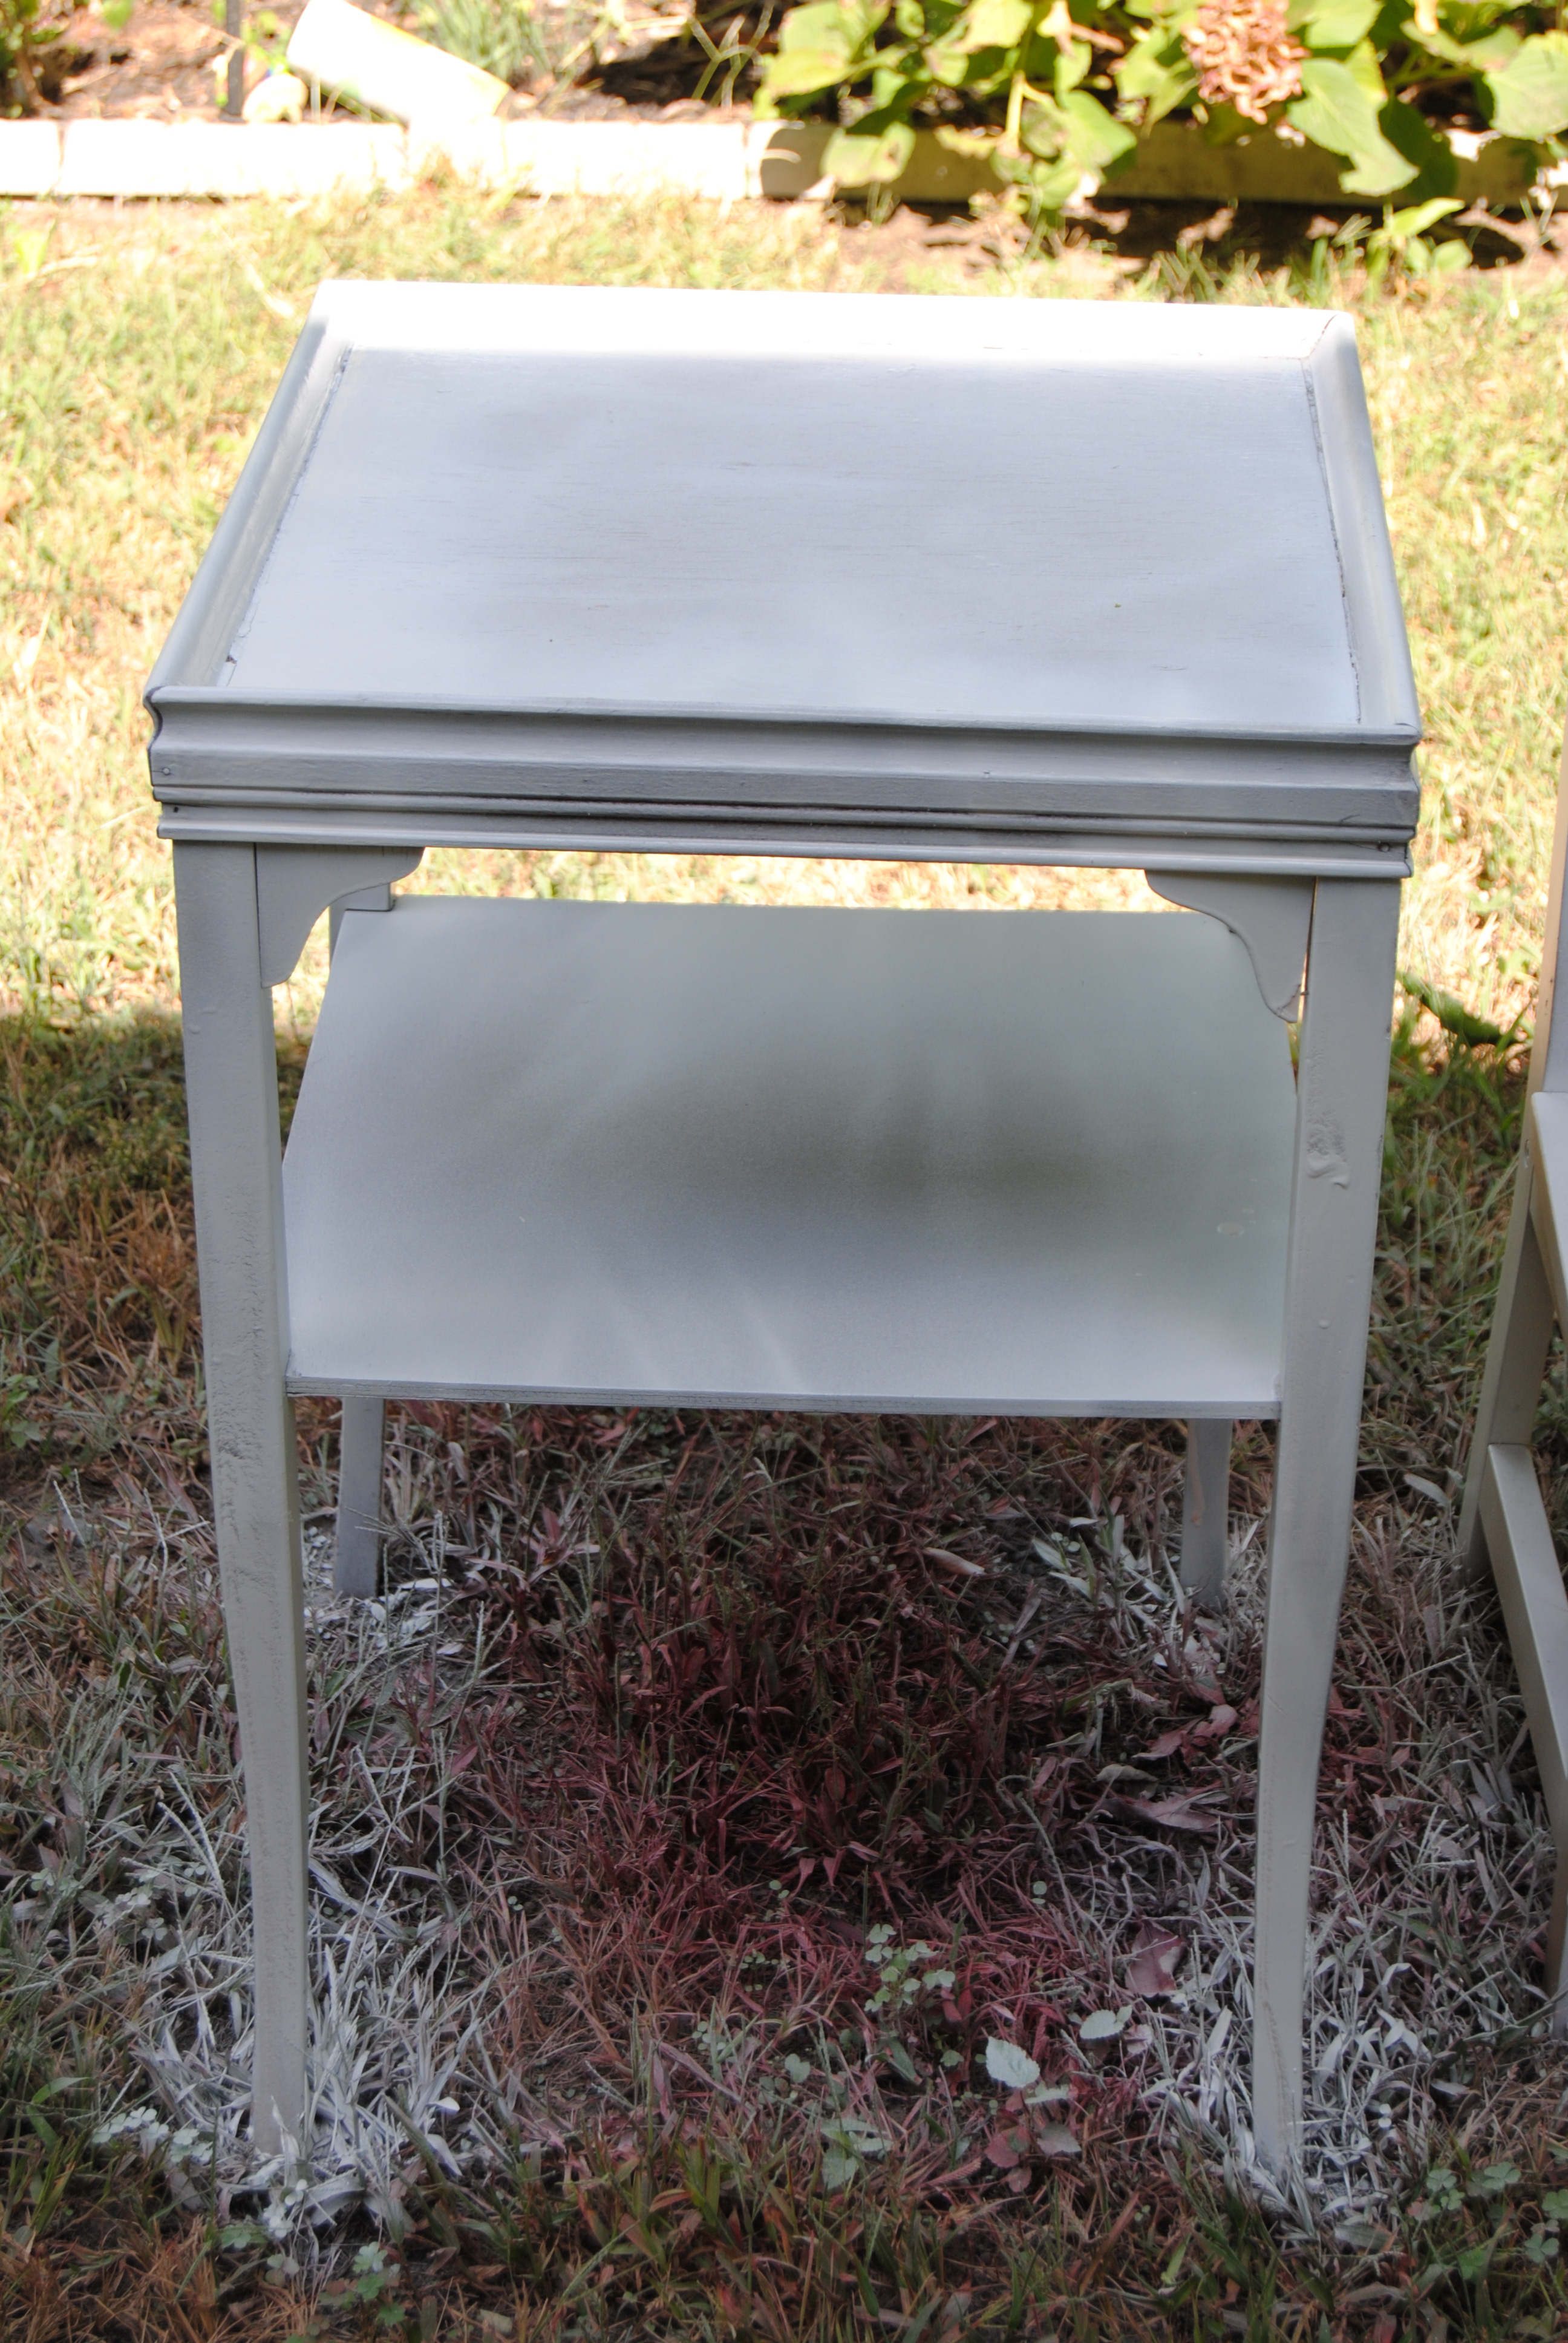
I picked up this side table at Goodwill. I loved the design qualities it had, but this piece was in poor shape. Most of the finish was worn off, and it had issues with sturdiness. Due to these shortcomings, this table was priced right at only $3.99.
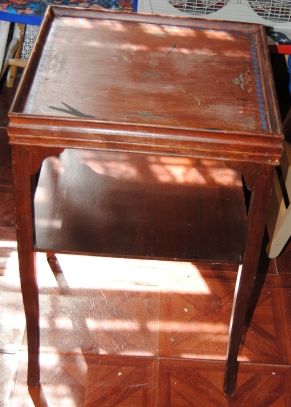
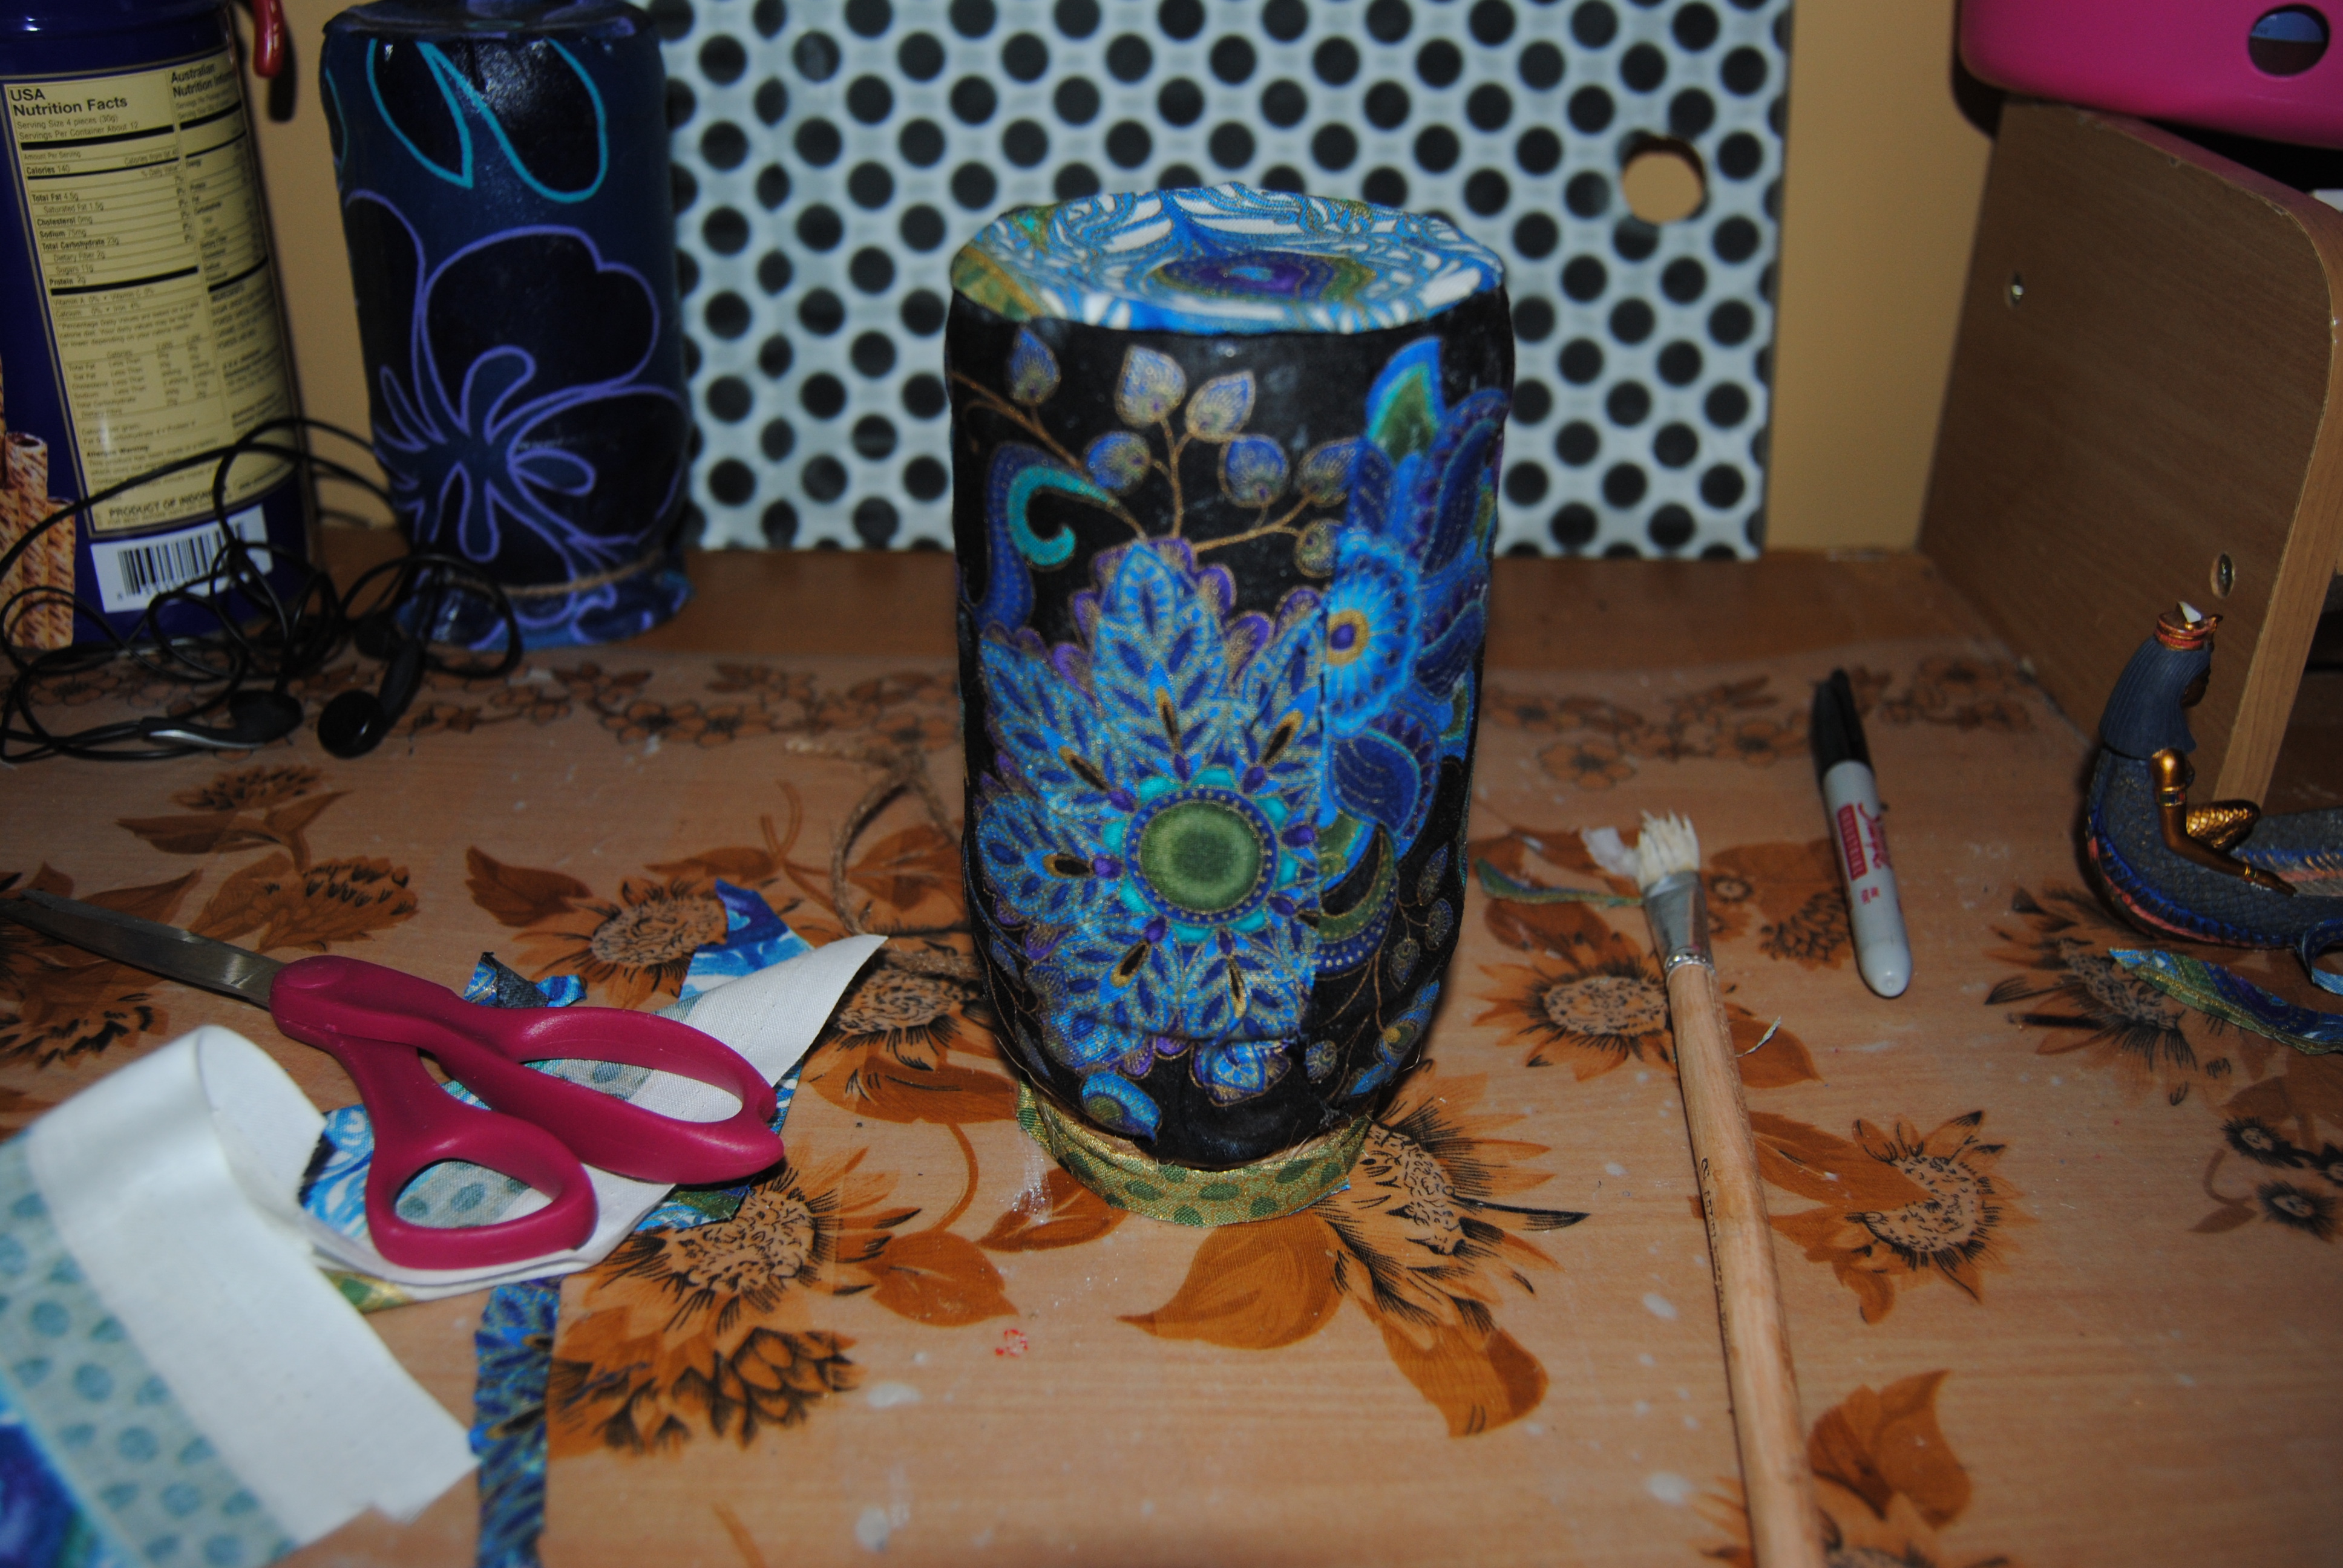
It sat for a while collecting dust. I wanted to do something really special with it, but my vision was stifled. I used it to work on projects, but this table certainly deserved a more dignified life, A trip to Jo Ann Fabrics changed everything. They have a new super store less than a mile from home and it stocks row upon row of fabric. I came across a beautiful peacock inspired fabric. It made me think of the side table and I decided to buy about a yard of it. I liked it so much I wanted to have extra to use in a future project or two. It felt nice to treat myself a little, plus I had a 40% off coupon!
I took the table outside cleaned it, and tightened it up as best I could. I used a can of white spray primer to prepare the table for painting.
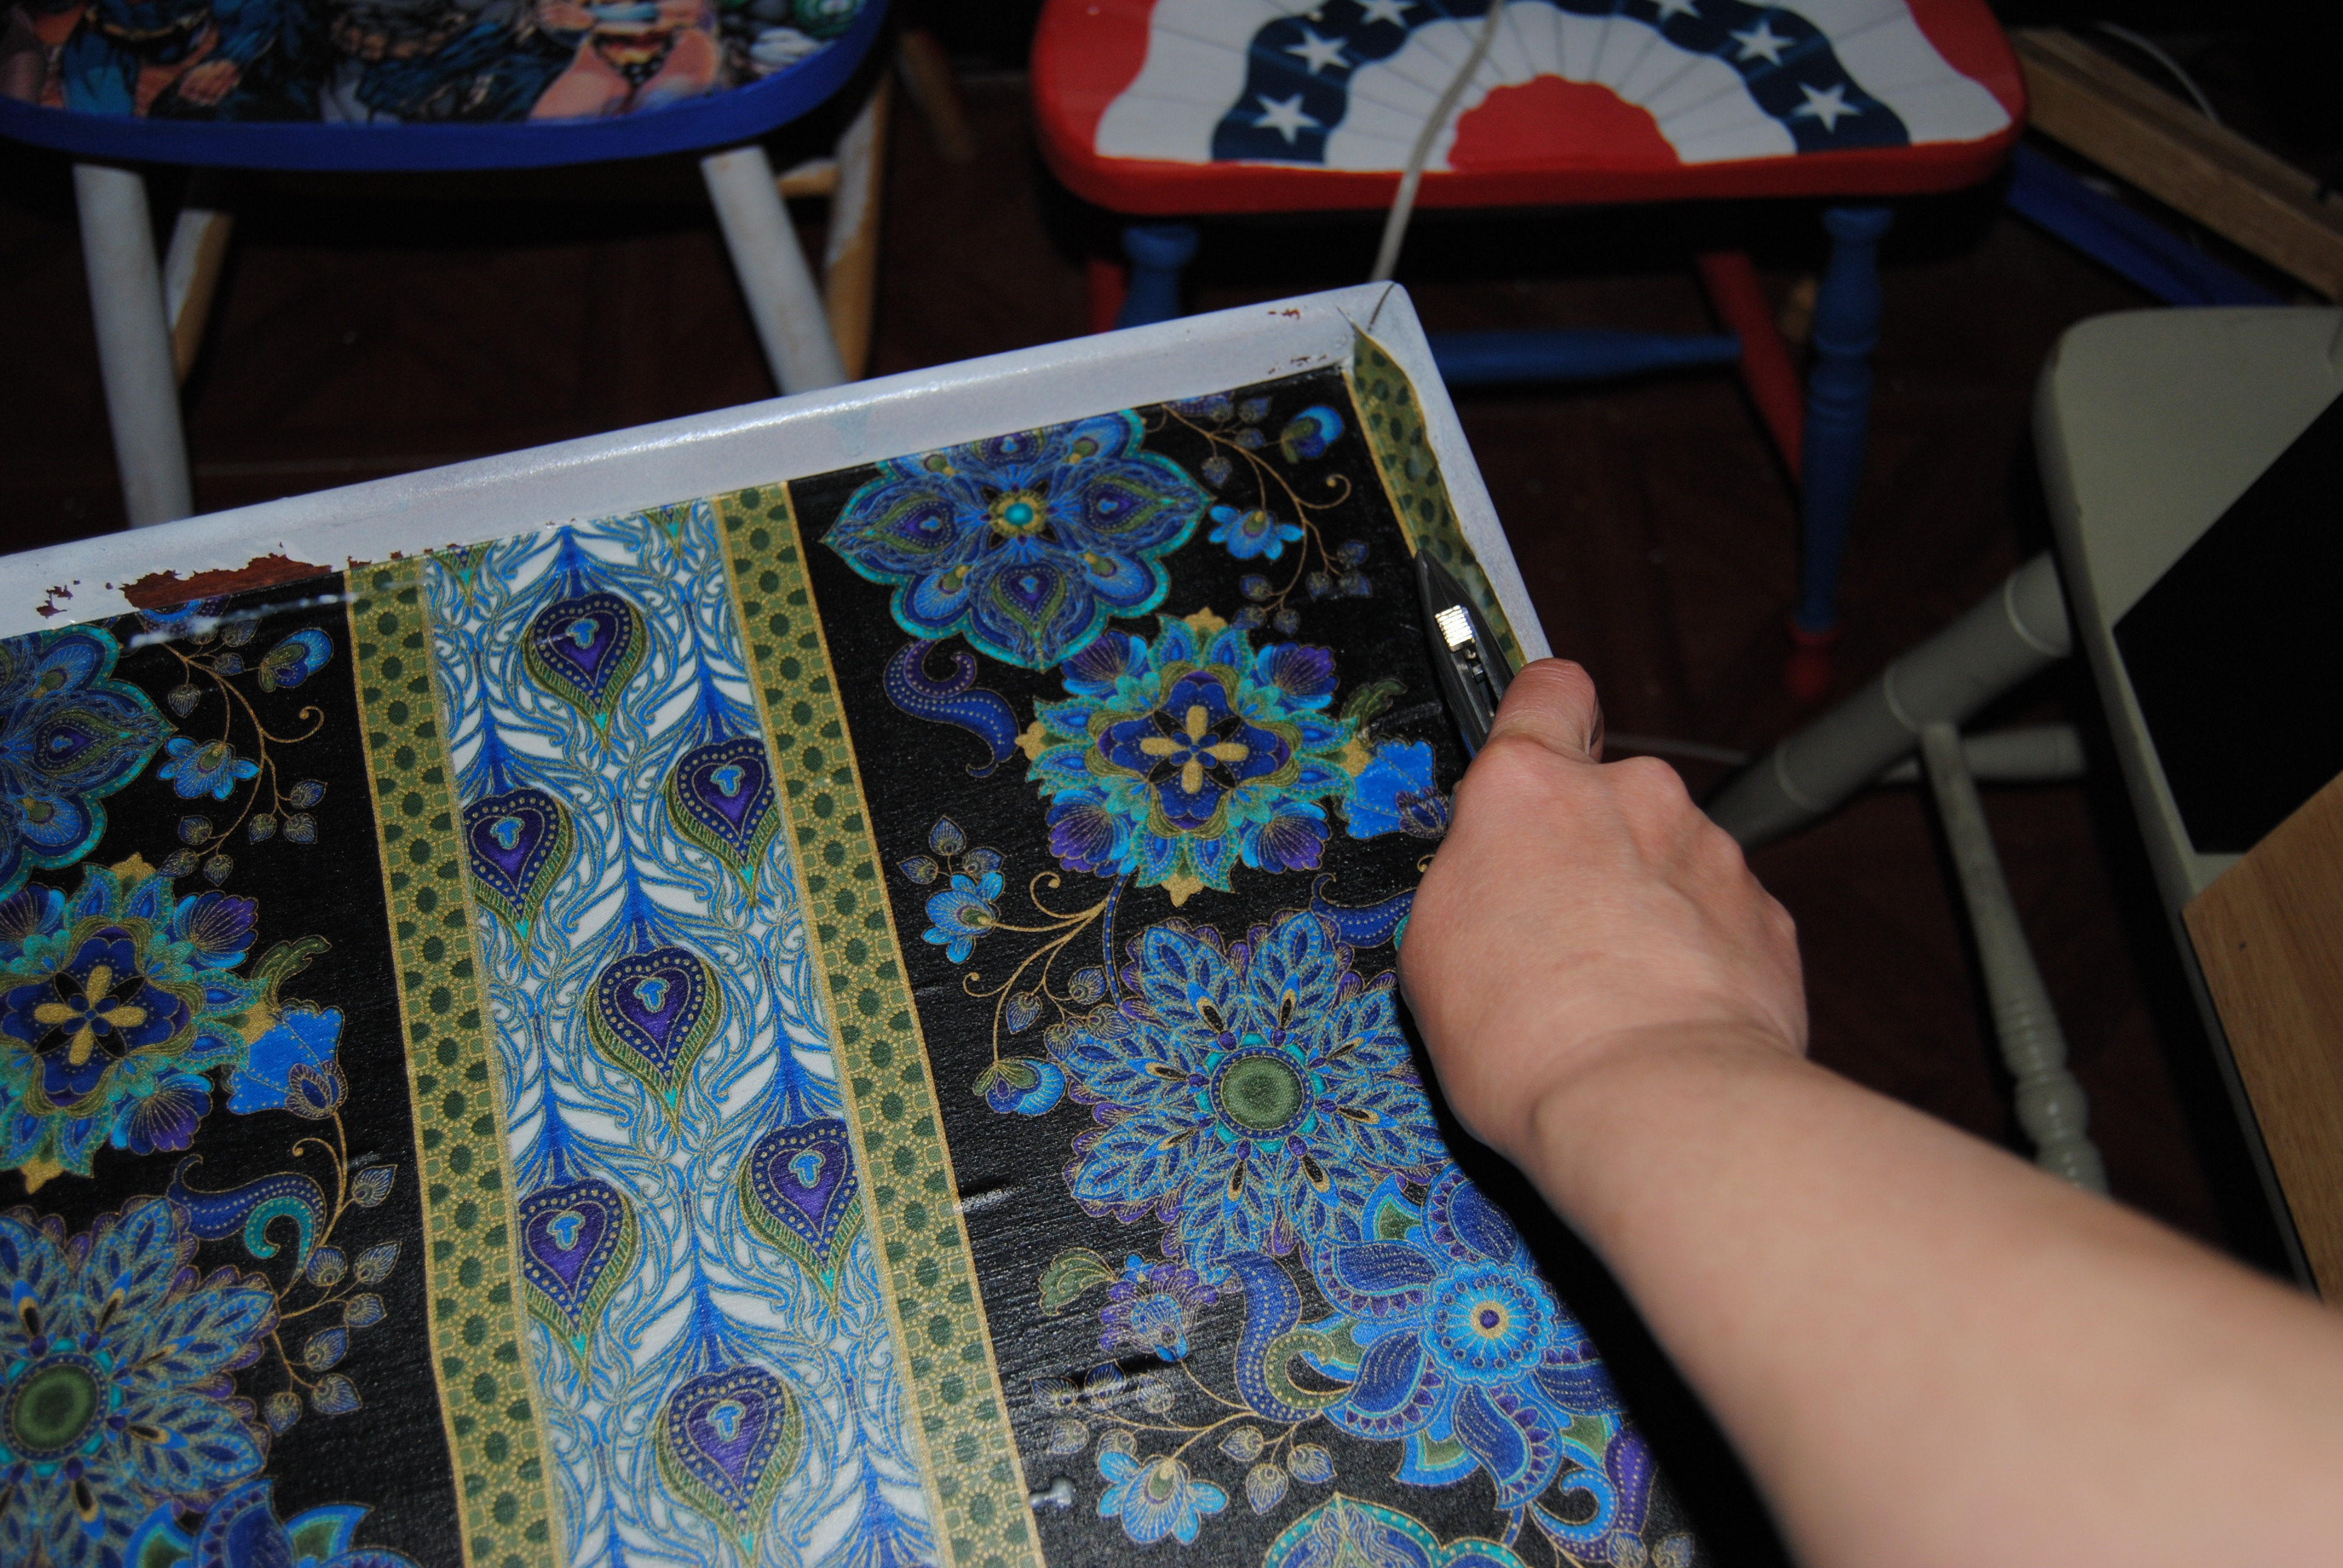
Once dry I brought it back inside the house to the craft room. I flipped the table over tracing the table on the back of the fabric with a black fine tipped marker twice, once for the top surface and once for the middle shelf. I cut the fabric with scissors. I applied the Mod Podge on both shelves and carefully place the fabric down, smoothing it out with my hands, I applied Mod Podge over top and allowed it to dry, Any excess fabric, I trimmed with a box cutter knife. I also applied extra Mod Podge to the corners where the fabric meets the table .
I used two coats of black and white acrylic paint to paint the remaining areas of the table. Once the paint was dry, I used a Polyurethane clear gloss to seal the table and give it a shiny appearance.
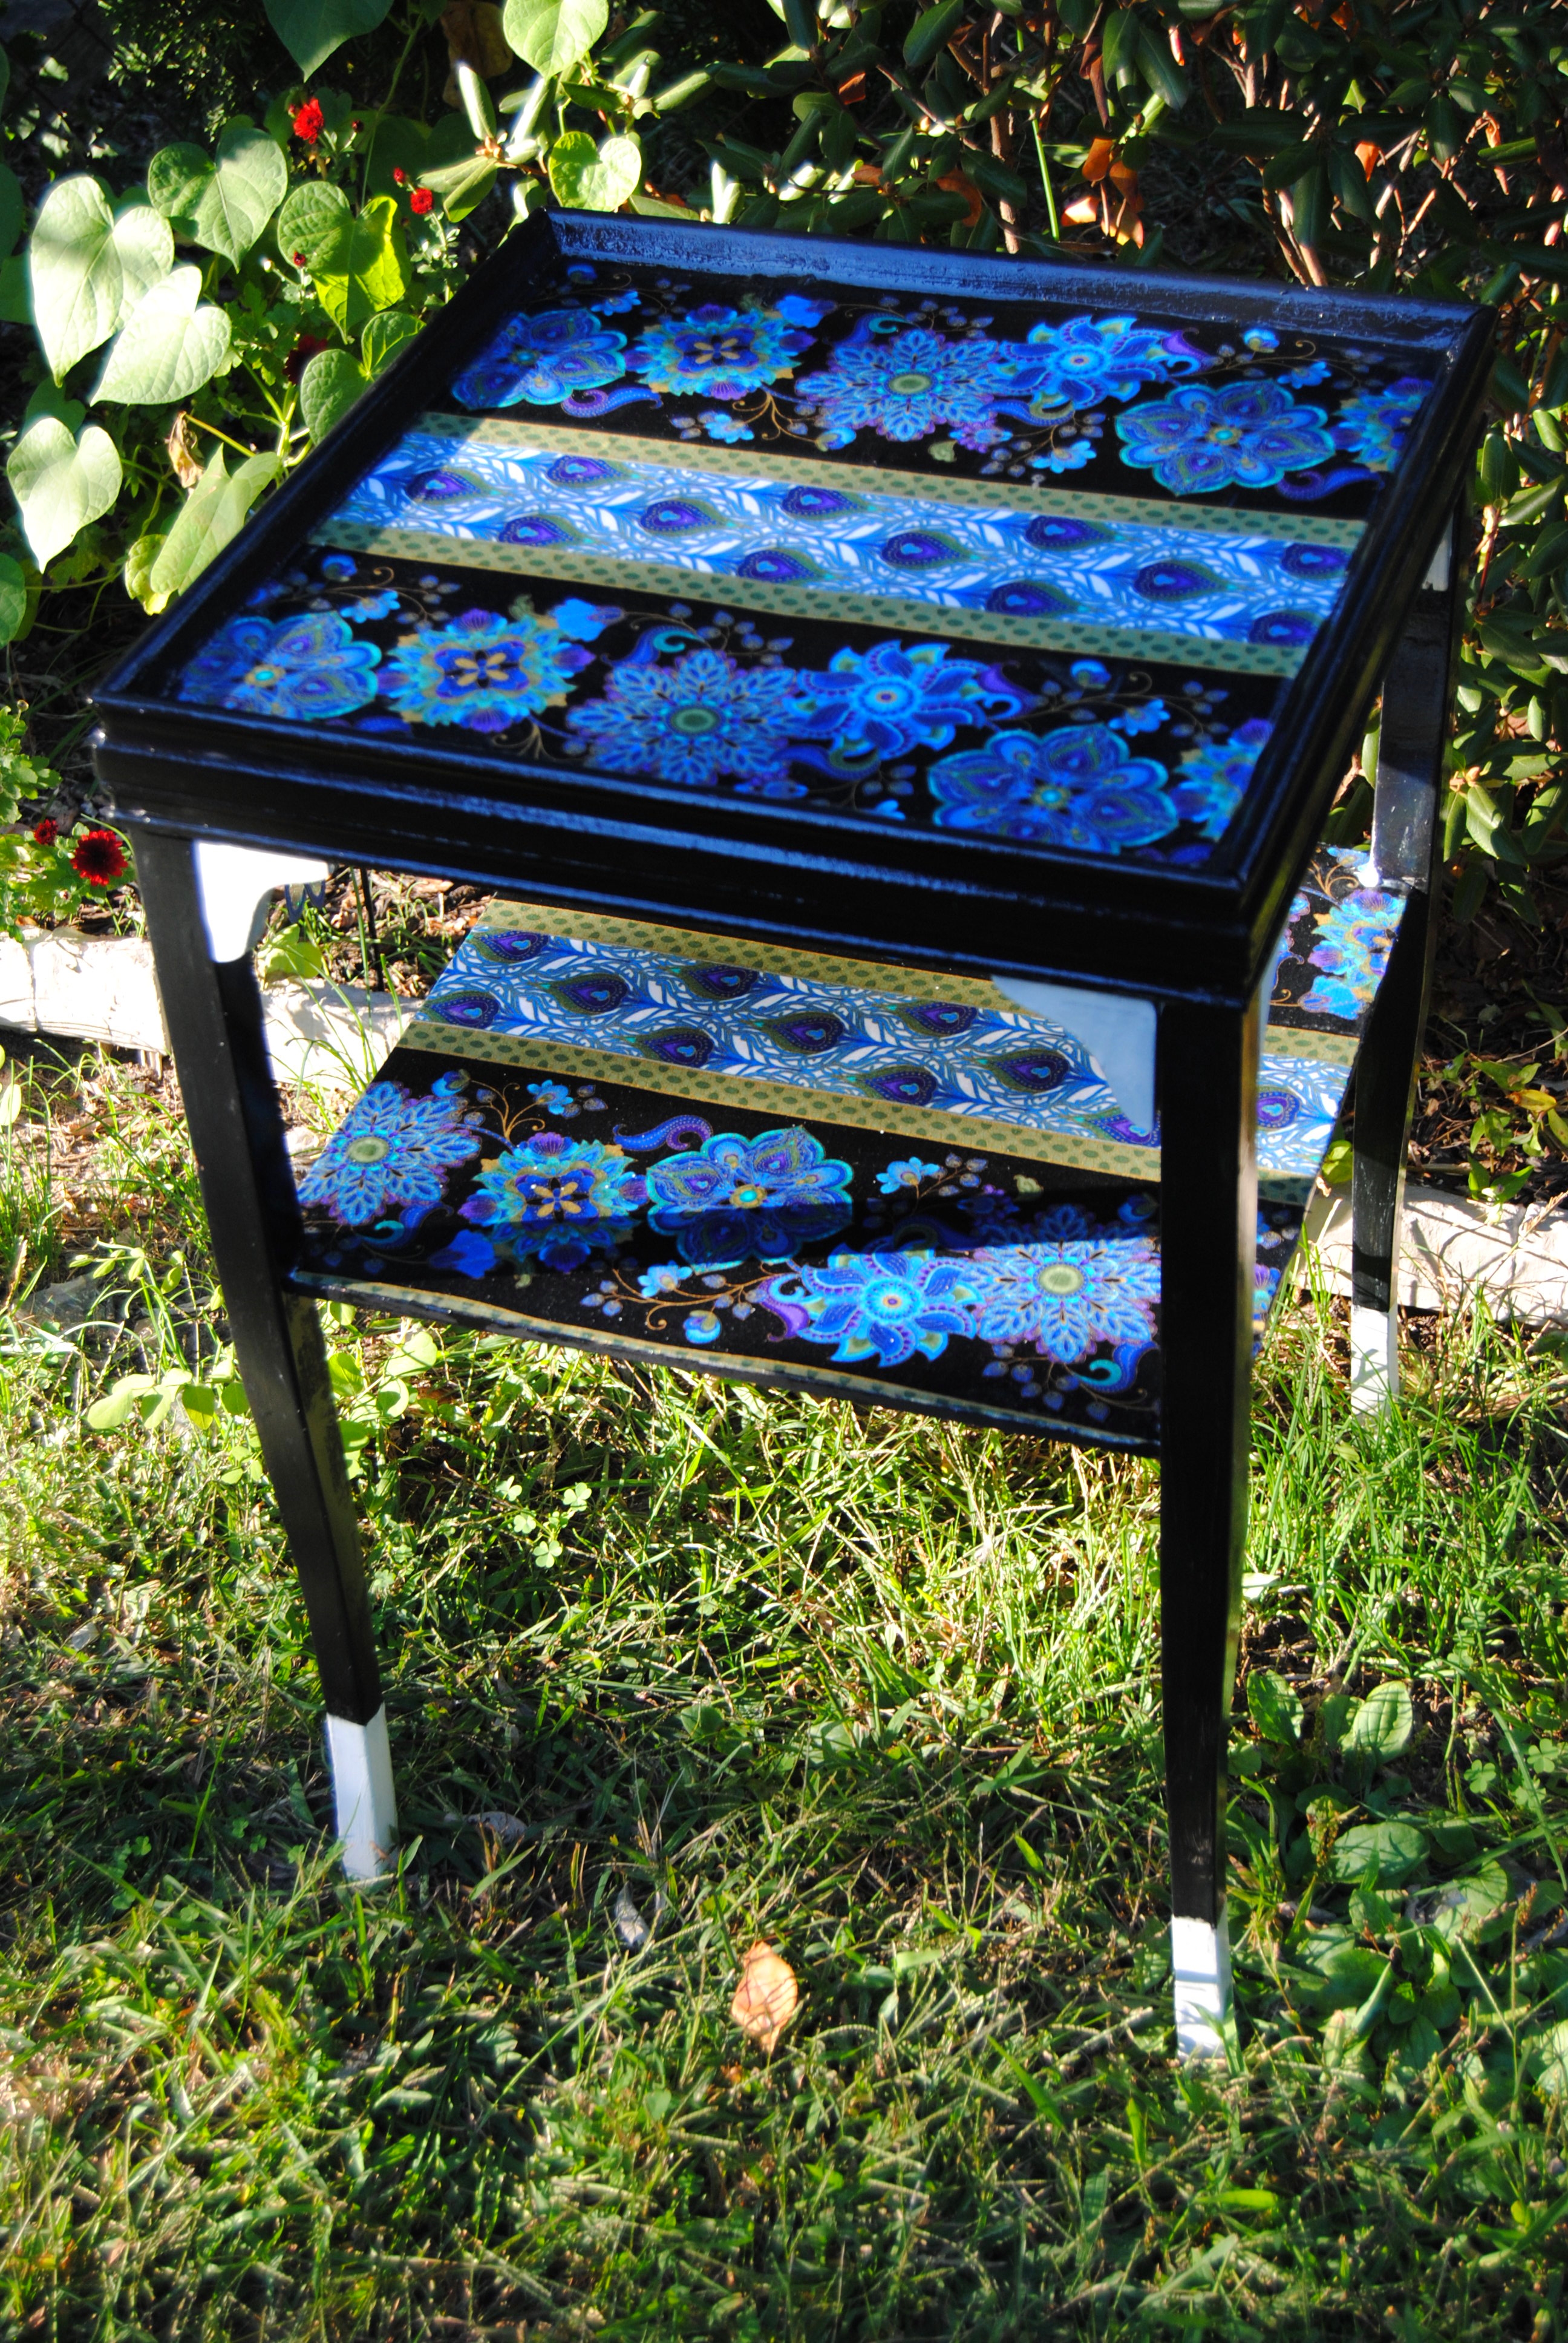
Before and After:

Want to strut your stuff and make a peacock inspired table? Here is what you will need:
Table
Peacock inspired fabric (From Jo ann Fabric)
Mod Podge
Acrylic Paint
Spray on Primer
Polyurethane clear sealer
Box Cutter, Scissors, Fine tipped marker
Paint Brushes
The random stream of consciousness of a cynical being
A great WordPress.com site
A Motor Neurone Disease (MND/ALS) blog
by Hamda
Create Something Fabulous
Fun, easy and inspirational DIY and up-cycled projects along with creative crafts and more!
Ramblings about what crafts I've been doing lately- with links to some of my free and paid patterns
my craft addiction
My musings on poetry, films and books
DIY, Crafts and Handmade
Inquire, Inspire, Aspire
Life is a great bundle of Little Things ! :)
a little bit of...something different
