Creative Blast Off: Star Wars Fabric Decoupage Kids Chair

I was in Joann Fabric recently and came across some great Star Wars themed fabric.  They were in the midst of having a huge fabric sale and I jumped at the chance to purchase something unique and fun at a discounted price.  When I brought the fabric to the counter to have it measured and cut, the clerk informed me that their was a larger scrap piece she could sell me for an additional half off!  It was my lucky day as I really only needed a half yard.  This piece was large enough to use for additional projects, and I jumped at the chance to buy it.  Two other fabrics I purchased also had discounted scrap pieces.  It was my lucky day!  Over a yard of fabric Star Wars fabric cost a mere $5.30!

Thrift Store Kids Chair

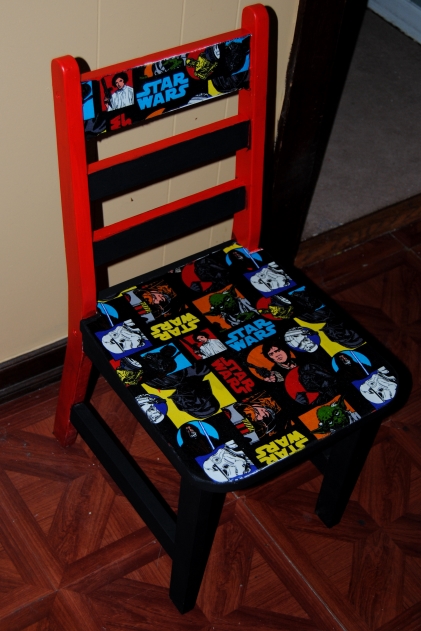
I had picked up two kids chairs during a furniture sale (shown above) at a local Goodwill store.   My first project to utilize one of these chairs was for a Strawberry Shortcake themed guest blogger project celebrating Geek Month on Cheeky Geeks Blog. I primed both chairs with a spray on white latex primer, and this chair sat for quite sometime unfinished.  It seemed a perfect fit for the Star Wars fabric.  My husband and I are like many our age, huge fan “geeks” when it comes to Star Wars. I was more than happy to base a kids chair on such a fun topic from our youth.

Trace chair seat on to fabric

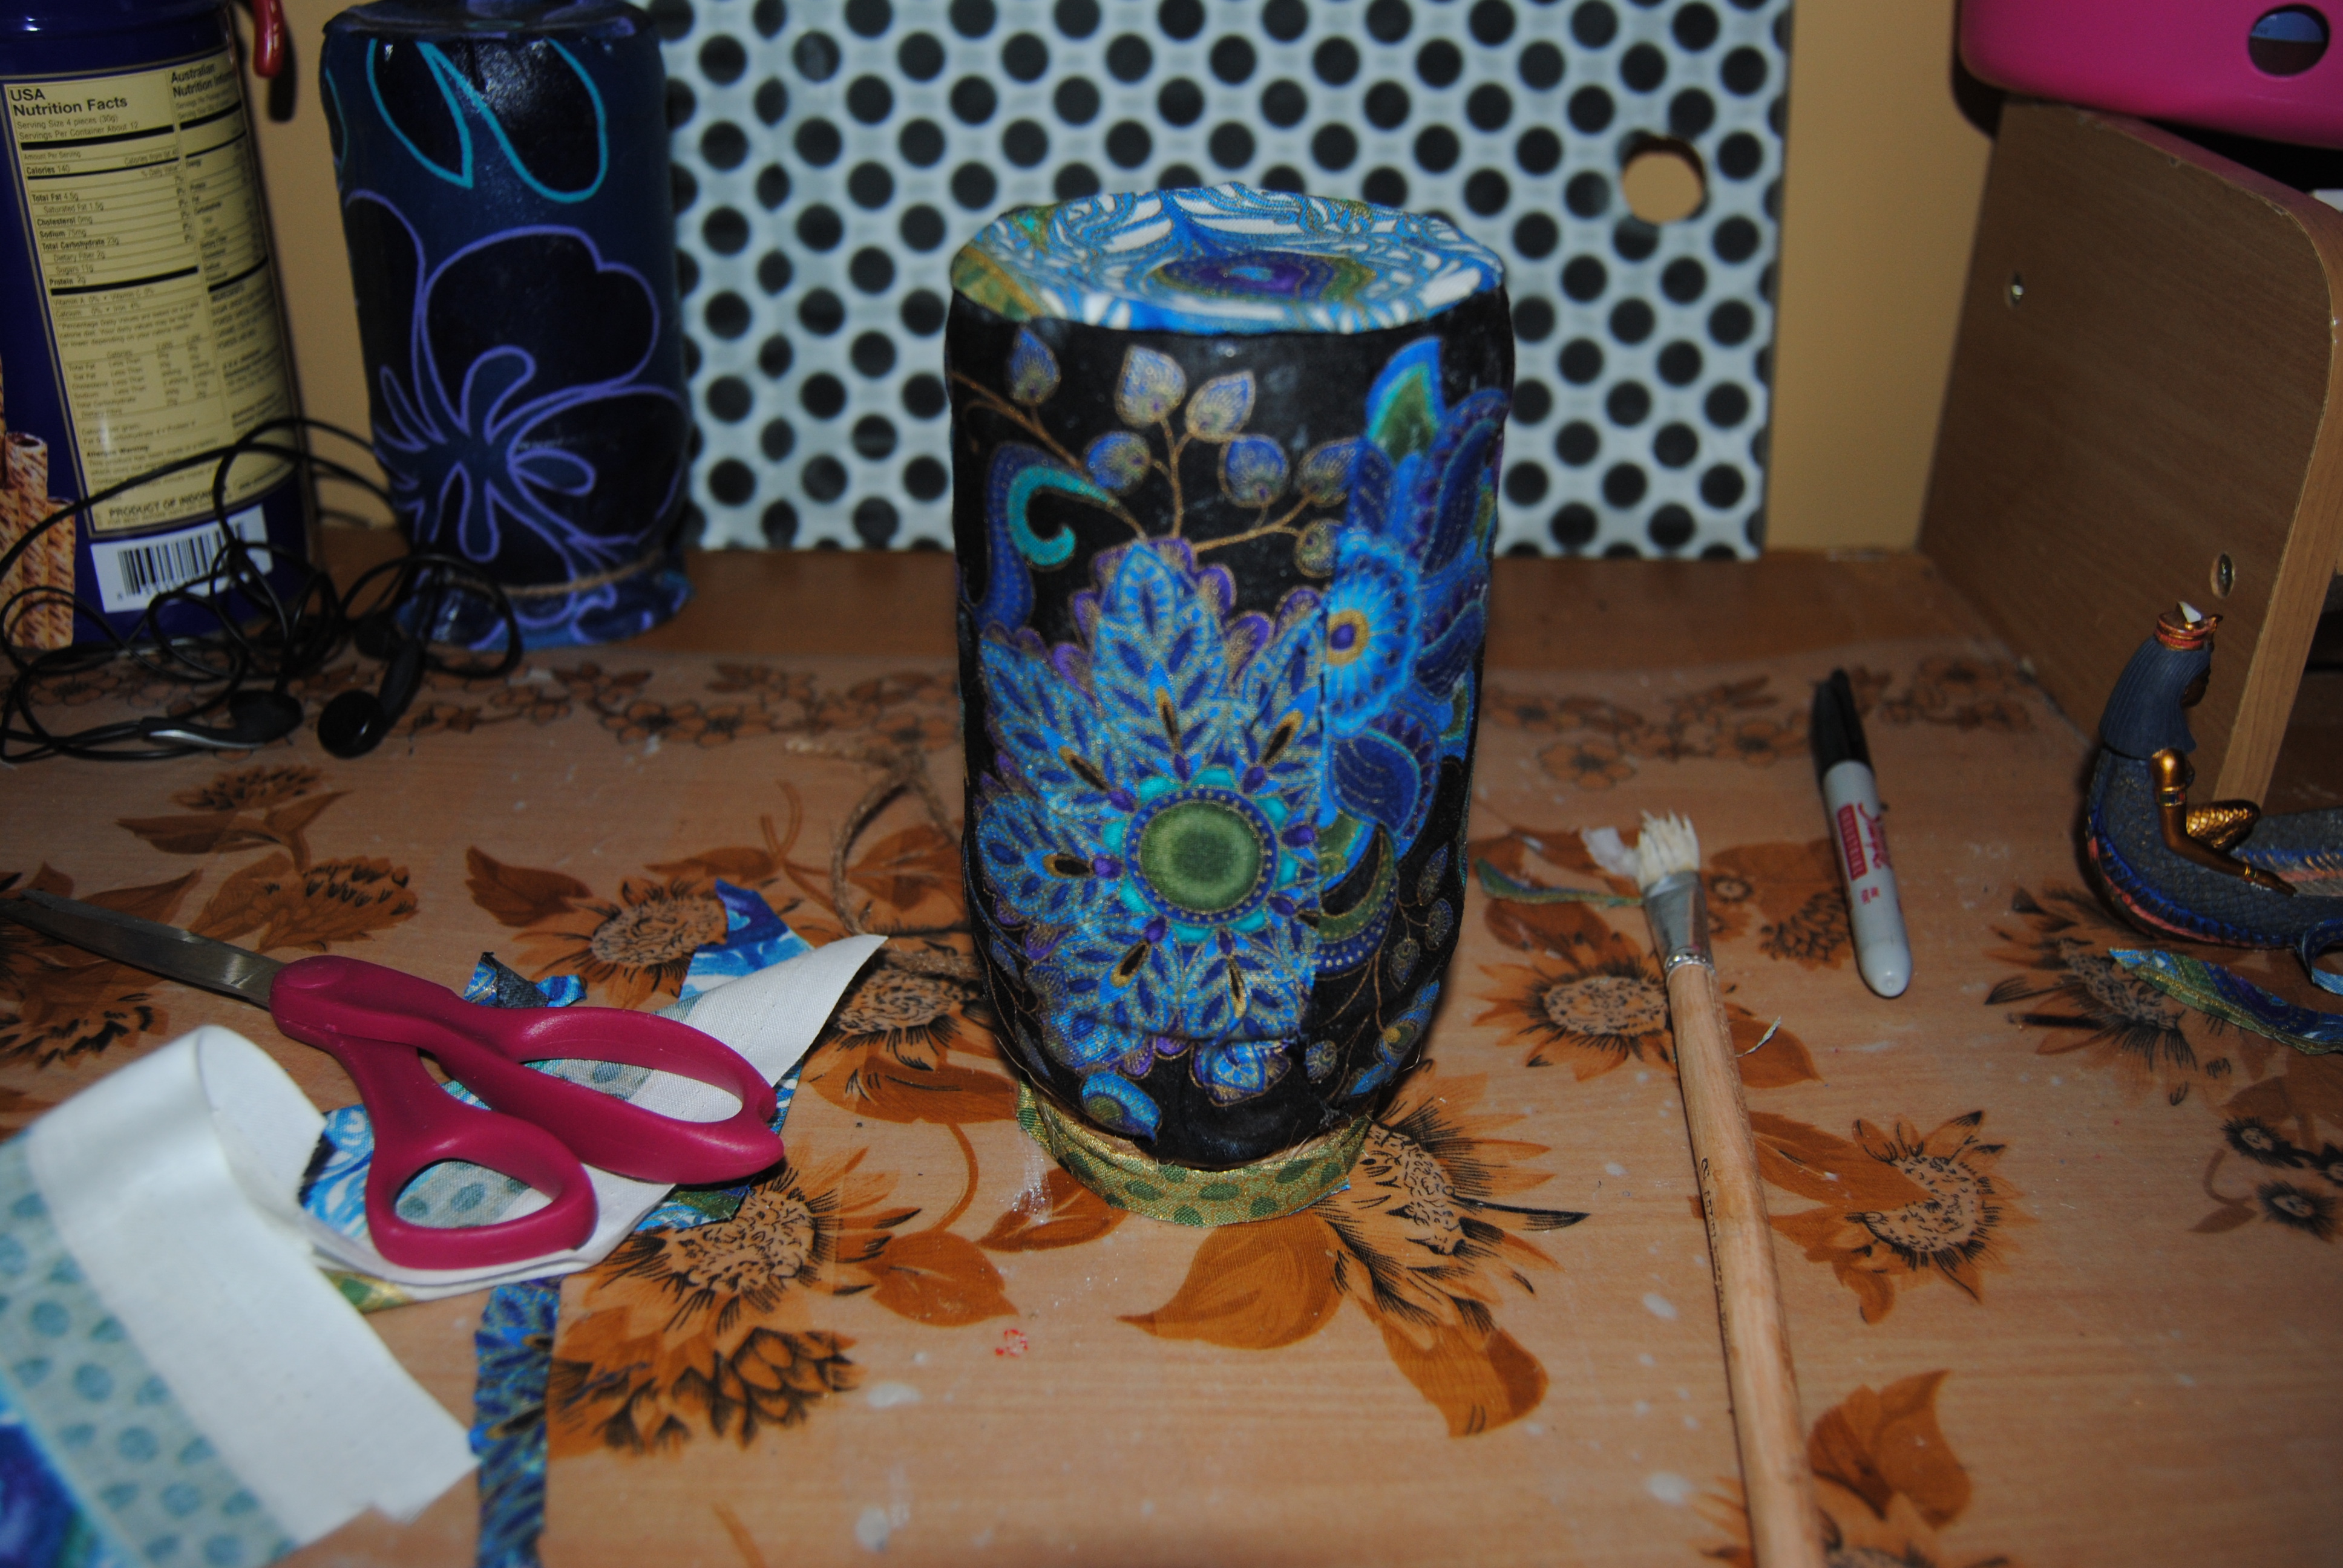
I flipped the chair over on to a table and laid the chair seat upon the flip side of the fabric, tracing carefully with a black marker.  I carefully cut out the piece of fabric, along with a smaller sized piece I would use for the chair back. I applied Mod Podge to the chair seat surface with a large foam craft brush.  I then carefully laid the cut fabric on the chair with my hands smoothing it out to prevent wrinkles.  I trimmed the back of the fabric carefully where the seat back and chair back met. This enabled me to cover the seat with as much fabric as possible.  I repeated the same steps to apply the smaller piece of fabric to the chair back.  Once dry, I covered the fabric over top with Mod Podge, and allowed it to dry.

Decoupage Kids Chair

I then hand-painted the chair with red and black acrylic paint.  Like the first chair, it required quite a few coats of paint. Once dry, I painted on a coat of Mod Podge to seal it.

Star Wars Fabric Decoupage Kids Chair

Materials Used:

Old Kids Chair

Mod Podge

Star Wars Themed Fabric

Foam Craft Brush/Paint Brushes/Scissors

Black and Red Acrylic Paint

White Latex Primer

Star Wars Themed Fabric Decoupage Chair

Check out all the great licensed character themed fabrics Joann Fabric has to offer here

Fabric Decoupage Chair Seat

You had me at “Half Table” Yard Sale Table Rescue

I was excited when a friend of mine from work approached me about a table she had spotted at a yard sale.  She had arrived toward the end of the sale and the family was packing things up that hadn’t sold.  She informed my friend that she was taking most of what didn’t sell and was placing it out on the curb for the trash collectors.  She was nice and asked my co-worker if she wanted to take anything at no charge since it would end up in the trash anyway.  This is the part of the story I am truly thankful for!  She spotted a little half-moon table and thought of me and how much I love to upcycle.  She thought it would be a perfect candidate and that I could “do something” with it.  I was so excited when she brought the table to me. She had no idea the love I have for these little tables!  I had come across a half table previously at a thrift store and snatched it up! That post was called Crazy for Half Tables! so you can see she had me at half table!  I snatched this table up happily and decided to use the table in our living room.  I decided to match the table design to our damask black and white chair which is one of my favorite upcycled chairs to date.

Yard Sale Half Table Before

The table finish was rough and ready for priming.  I cleaned the table and placed it upside down on to the fabric I was going to use.  I traced the table surface with a black felt tipped marker.

DSC_0942

I carefully cut out the tracing and placed the fabric aside.  I primed the table with a white latex primer and allowed the table to dry,  If you are working with a dark piece of furniture and lighter fabric  it is especially important to prime it because the darker color will bleed through the fabric from underneath and may appear darker than desired.  I learned this myself in the past the hard way!

Apply fabric and Mod Podge

I applied Mod Podge to the surface of the table, applying the fabric slowly to avoid and wrinkles or air bubbles.  Once the fabric was smoothed out, I applied Mod Podge over it with a foam craft brush.  Allowing it to dry.

Painted legs

While the Mod Podge was drying,  I used acrylic paint going with the black and white alternating theme.  Once the piece was completely dry I used a coat of polyurethane sealer to “seal the deal”  Now the piece was allowed to dry overnight.

Restyled Half Moon Table using Mod Podge and Fabric

Thanks again to my awesome like-minded friend who saw the possibilities in this piece! Someone’s trash truly is to another a treasure!  Now my damask chair has a friend and my living room is all the better for it!

Upcycled chair with half moon table

Repurposed Decoupage Photograph Shadow Box

I was very excited recently, when I received my prize in the mail from Ray’s Sew Crafty‘s Labor day giveaway.  A lovely book filled with different designed scrapbook paper. I was eager to use this paper on a project and share it with all of you.  Once again I want to send a big thank you to Diana at Ray’s Sew Crafty. Be sure and stop by and check out her blog!

Labor Day Giveaway


I had a set of three different sized black shadow box shelves that I wasn’t sure what to do with.  I decided to repurpose the medium-sized shelf into a photo shadow box.  I gathered my materials:

Shelf

Scrapbook paper

Photo

Mod Podge/Foam craft brush

Hot Glue Gun

Black Fine Tipped Marker and Scissors

I traced the four sides of the shelf with a black marker.  I cut the tracings out with a pair of scissors and placed them aside.  I applied Mod Podge to the outside of the shelf with a foam brush, and carefully applied the scrapbook paper to the outside.  Once dry, I applied Mod Podge over the top of the paper to seal it.  I used the hot glue gun to carefully glue the photo to the back, leaving a small space at the top if I decided to hang it on the wall.

Photo Shadow Box


I wish the edges had come out better, as I accidentally touched them before they were dry! Overall I loved the project and what a wonderful way to display a favorite photograph!

Upcycled Coffee Cans and Glass Jars

It has been a hectic few weeks and my upcycling ways have suffered a bit.  My free time has consisted of some travel, household chores, decorating for fall and getting my craft space in order.  I have a few projects in the works, but lately I feel like I am coming up mostly empty-handed during my Goodwill lunches.   During these lean crafting times, I try to work on the craft room.   I am hoping to share it one day, but alas it is far from finished.  I am still finding ways to organize supplies, and just hung some shelves: Progress!

A great way to organize paint brushes and general supplies are old coffee cans and glass jars.  I like to cover them with fabric using Mod Podge.  Glass covered jars not only make great lamps, they also are a decorative way to organize craft room supplies. Simply measure the fabric, cut,  and apply the Mod Podge and fabric to the outside of the coffee can.

DSC_0106

DSC_0754

Similar method can be used to apply fabric to glass jars, such as pickle jars, and spaghetti jars.  The possibilities and uses for these items are endless, and it is a great way to repurpose and recycle throw away items. What’s better than craft room storage for free?

Fredrika Fabric Corner Shelf Makeover: A Final Farewell

I was a bit sad when I realized I was running out of one of my favorite thrift store finds,  Fredrika Fabric from Ikea. It is amazing when I think of all the great projects restyled with this fabric, most of which currently reside in our daughter’s playroom.  Ahh the upcycling memories.  First it was a little wooden step stool, then many more followed, lost basement table, 1960’s Coffee Table, Repurposed Umbrella Holder/Toybox and even a Garden Pig Makeover!

We needed a shelf in the playroom out of our daughter’s reach.  We had a great baseball lamp my sister gave to us as a gift, and we needed a place to display it on. The playroom still has a sporty theme coupled with a girly mod look.  I found this great corner shelf at Goodwill for $2.99 and I snatched it up!

DSC_0649

I had just enough fabric to cover the surface with a few scrap pieces to spare. I traced the shelf on the fabric and cut the tracing with a pair of scissors.  I applied Mod Podge to the shelf surface and carefully placed the fabric on top.  Once dry, I applied Mod Podge over it to seal it.

DSC_0650

The most difficult part of this project was hanging the shelf!  It had 3 slots which required three screws hung on the wall precisely.

DSC_0653

I love how this turned out and so simple to make!  You can “jazz” up ordinary furniture and decor and make it a unique expression of your own personal home style!  This project was certainly bitter-sweet.  I will miss you.  Farewell Fredrika!

Restyled Polka Dot Cutting Board

I have a glass cutting board I used for cutting paper and crafts.  I have several cutting boards, and did not have a use for this one in the kitchen so,  I used it for crafting on and cutting paper.  I was sitting at my work station one day and decided to “dress it up” a little.  I had this great black and white polka dot scrapbook paper.  Since the cutting board was made from a clear glass, the idea was to adhere the paper to the back, and allow the polka dot image to appear through the glass without affecting the usable surface.

DSC_0642

I applied Mod Podge to the back of the cutting board  with a foam craft brush and adhered the scrapbook image facing out. I then trimmed the paper around the glass.  I carefully matched the polka dots up so the pattern appeared as seamless as possible.  I applied Mod Podge on the back of the paper to seal it.  If I were to use this as a real cutting board, I would use outdoor Mod Podge to seal the back for added protection.  This cutting board will be used for cutting, but not used around water so I used Mod Podge matte finish to seal it.

DSC_0645

Just think of the possibilities!  It also would make a nice decorative piece also if not used as a cutting board.  You could Mod Podge any image and photos behind the glass!

Stepping through time: DIY Cemetery Flowers And A walk through St Peter’s Cemetery, Staten Island, New York

Yesterday, my daughter and I took a trip to visit my aunt in New York.  During the trip, my sister and I traveled over to St. Peter’s Cemetery in Staten Island to visit several ancestors memorials.  I called the cemetery office and spoke with Pat who was wonderful!  I e-mailed her with a list of names I suspected were interred at the cemetery. She responded back with several and provided the grave plots and locations along with a cemetery map.  I planned on photographing the graves, but also wanted to leave something for them out of respect.

I found some old artificial flowers and glass candle holders in our attic as well as some left over styrofoam packing materials.  I decided to use these items to come up with a small tribute to each grave as I visited.

DSC_0574

I had to create five total and did not have enough styrofoam for the bases.  I used two glass candle holders instead with a small piece of styrofoam inside to attach the flowers.  I used scrap fabric, paint and hot glue to put these together.  I was also stopping by to visit my grandparents and made a special one for them with my daughter’s picture in it.

Repurpused Grave Memorial Flowers

DSC_0579

My daughter visiting her great grandparents

Stay tuned for more of the genealogy series!

Just For Fun: Rainbow Brite Decoupage Tote Bag

I have been intrigued recently by the idea of using decoupage on purses and suitcases. This requires me to work with different materials I have not tried before, and overcoming certain obstacles such as shape, texture and overall size. I thought this tote bag would be a great practice project, and a cute item to carry/store my daughter’s toys in.

DSC_0570

Their was an overall texture to the bag and I was not sure how the Mod Podge would adhere to it. I was concerned at the possibility that the texture underneath the paper would make the decoupage appear wrinkled.  I printed out an image of the Rainbow Brite characters.  I trimmed the image with a pair of scissors.   I applied Mod Podge to the bag surface with a foam craft brush carefully smoothing out any wrinkles in the paper.  Once dry,  I applied multiple coats of Mod Podge over the image. (The more coats on synthetics/plastics, the better the bond) It appeared to adhere to the bag well, but I have been burned by plastic/synthetic surfaces before.  The Mod Podge simply does not adhere well to these surfaces. Through constant use by two year-old hands, only time will tell the durability of this project. I would guess that canvas would be a bit more “user friendly” The decoupage looks great and the surface does not appear to have affected the paper much.  I hope my toddler appreciates Rainbow Brite as much as her mommy does!

Rainbow Brite Decoupage Tote bag

Materials:

Tote bag

Print for decoupage

Mod Podge

Scissors

foam craft brush

And The Winner Is…. Me!?!

Good Morning to all my blogging friends!  It is a happier Monday than usual, thanks to Diana at Ray’s Sew Crafty.  I just wanted to personally thank her for making my day!  She has an amazing crafting blog, and is a lover of cats as I am!  Be sure and check it out! Diana sponsored a Labor Day Giveaway on her site and I happened to be the very lucky winner of a book of beautiful scrapbook papers (Can you say decoupage?)

Scrapbook paper winner!

Congratulations also to  Laura (from the Sew Frou Frou Quilter ) She won the cute Hugabook story book panel.

Also… If you missed it, be sure and check out my friend Elise from 2 Geeks and a Grandma at Cheeky Geeks Blog.  This month, Elise is featuring all things “Geeky”  Sci Fi, Retro you name it!  I was honored when Elise asked if I would be a guest blogger, my very first guest blogger position! My contribution is a  full tutorial on how to make a retro upcycled kids table and chair featuring an old Strawberry Shortcake record.  Be sure and stop by and check it out! Elise will be featuring all things “retro” this week.   Visit her for more to come, should be lots of fun!!

Enjoy your day my friends!

Cheeky Geeks : Geek Month Celebration